

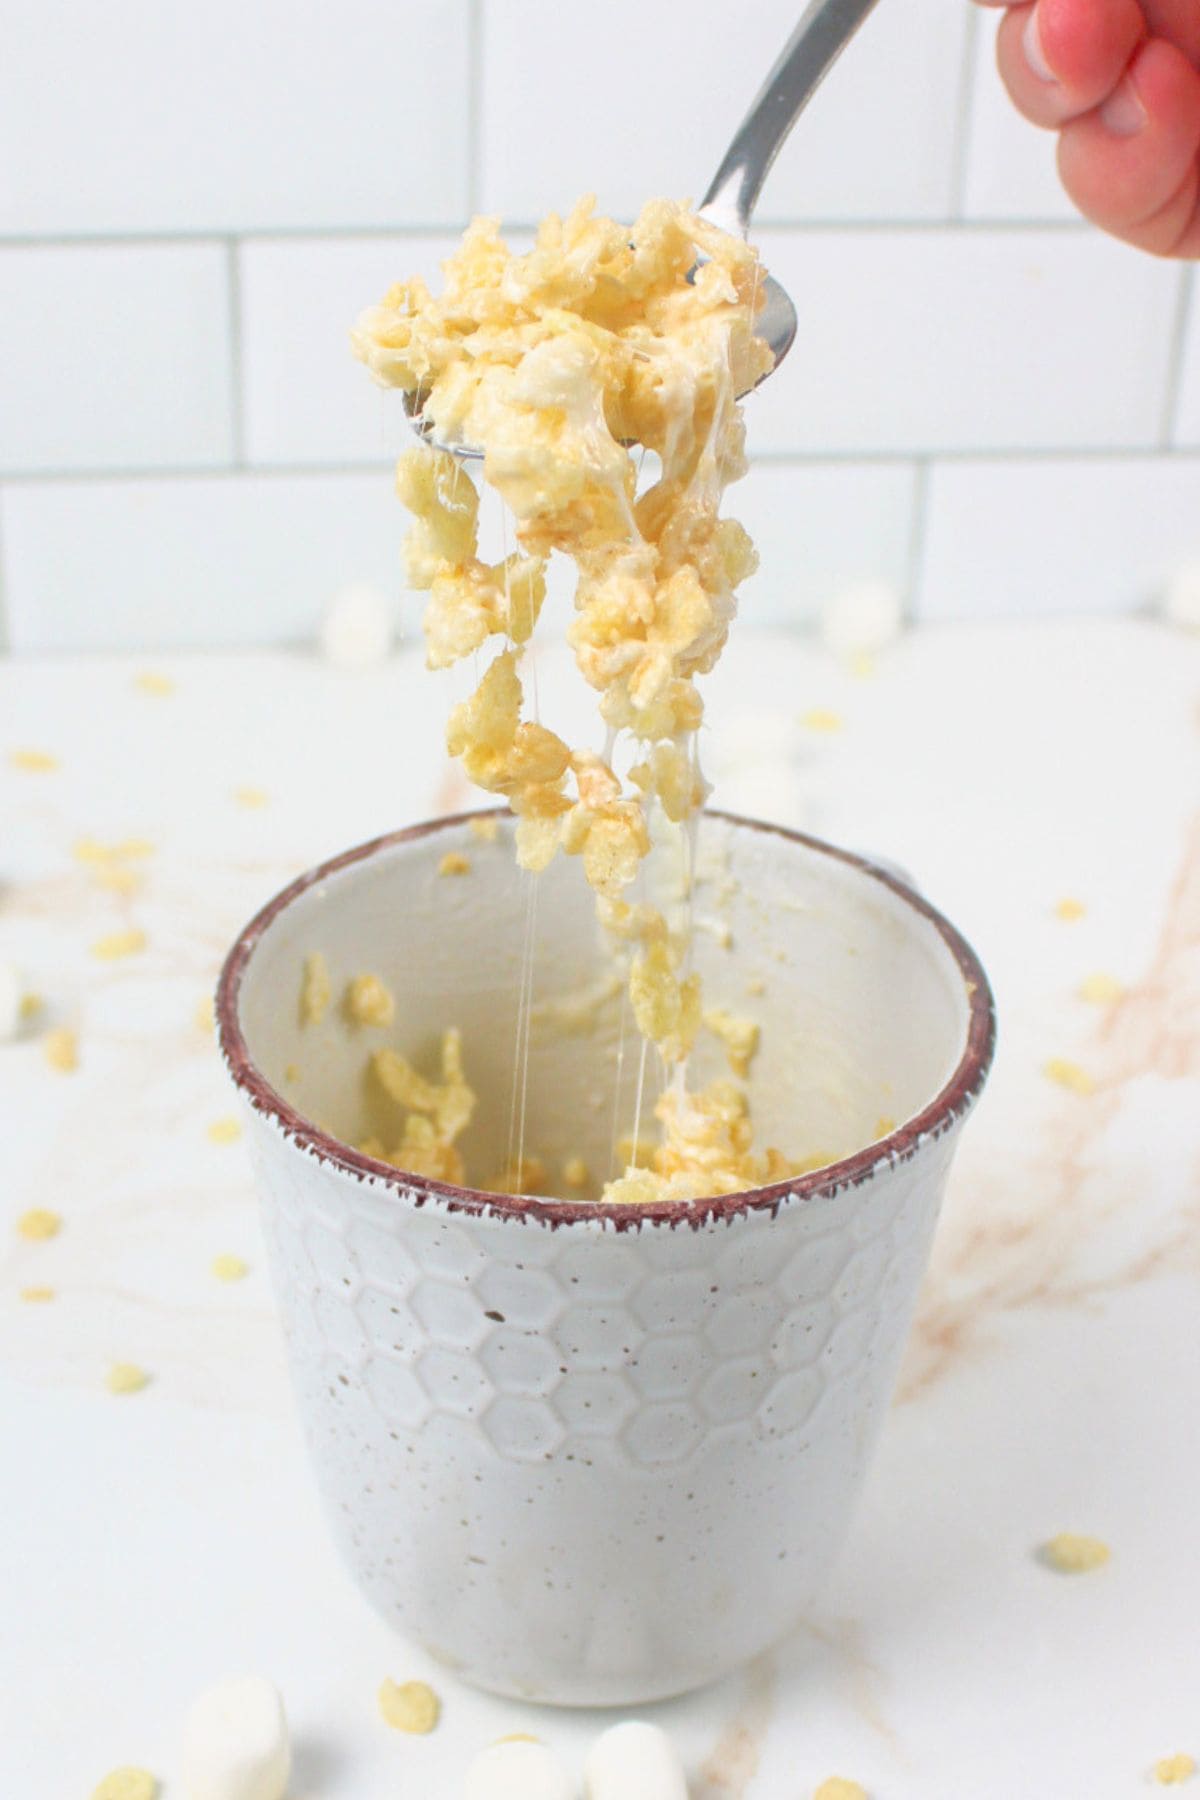
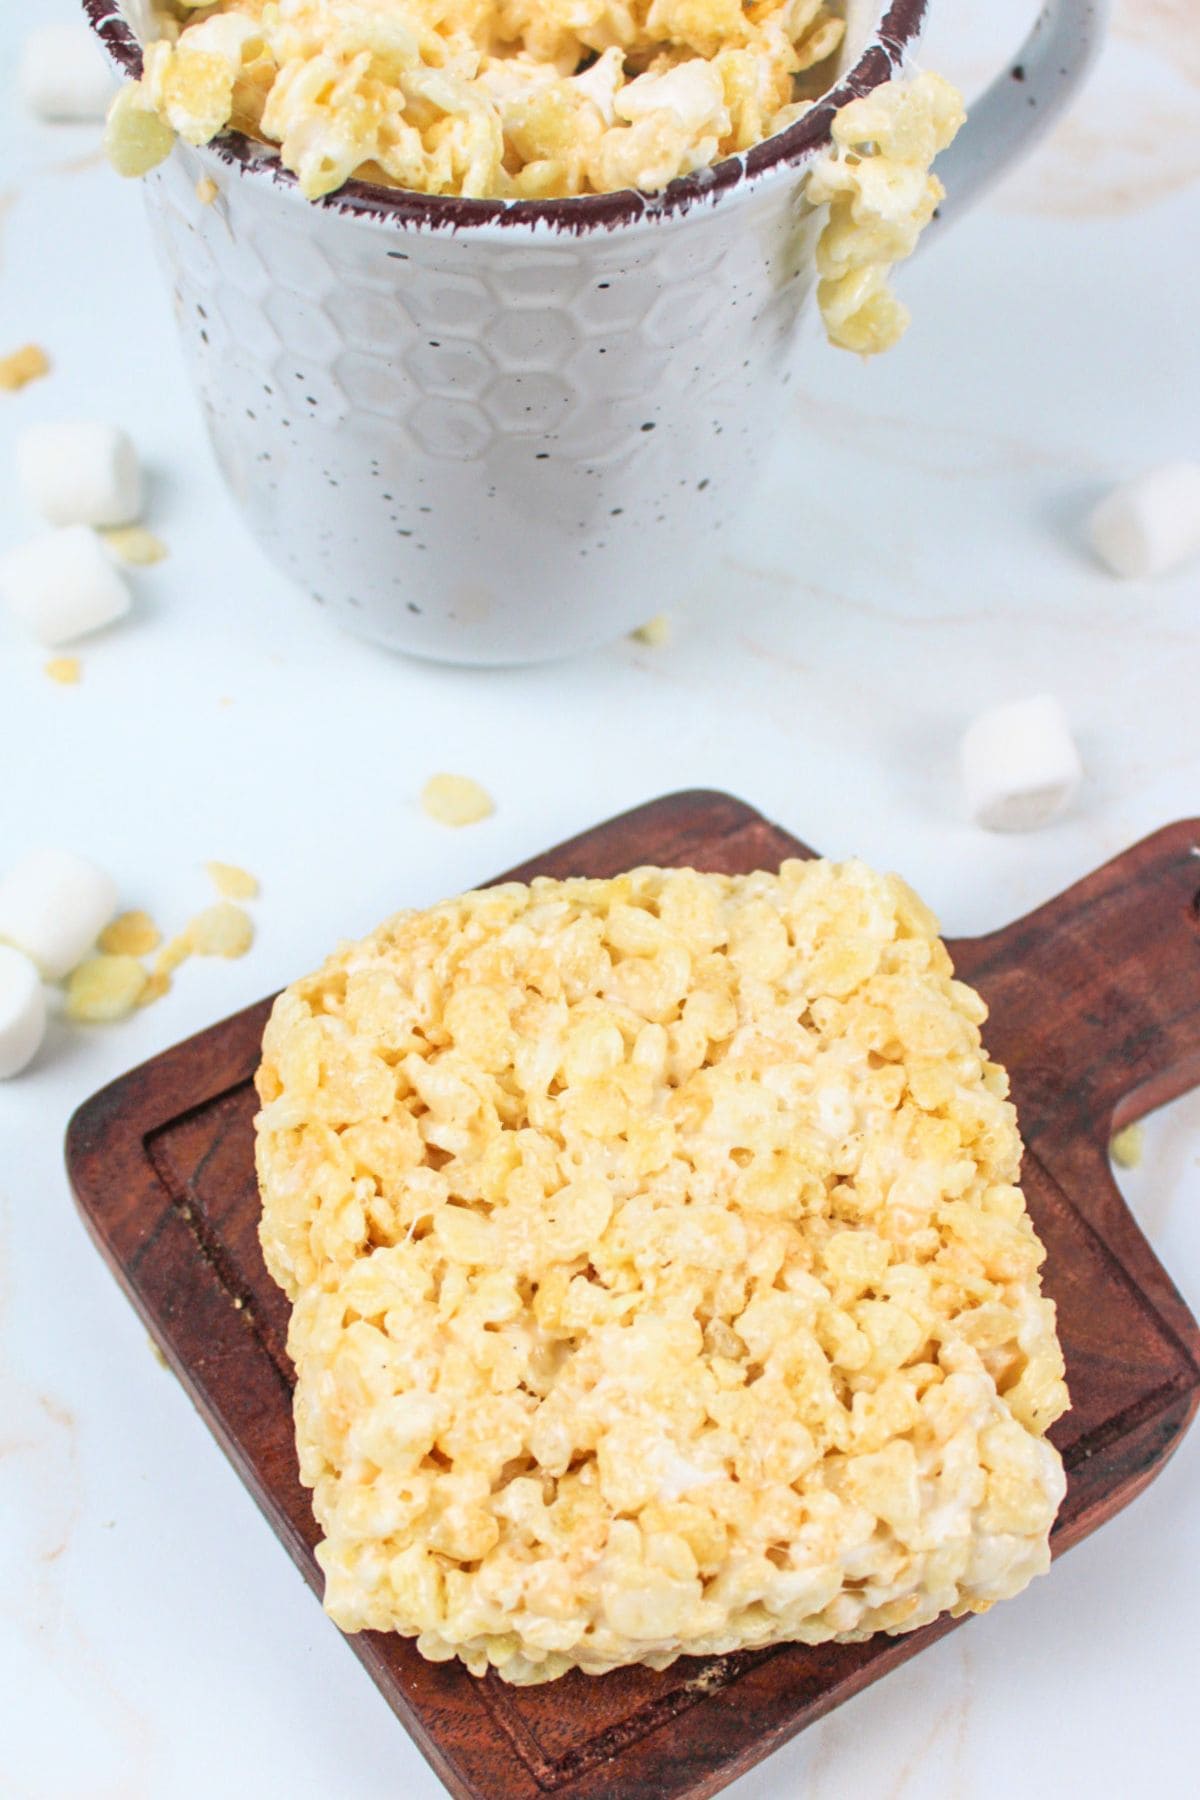
Why make a bunch of treats when making one is just as easy? Within a few short minutes, you can have your own personal rice krispie treat in a mug. Gooey, sweet, and the perfect treat or late night snack.
Save This Recipe to Your Inbox
By signing up, you’ll join our email list and can unsubscribe anytime.
Whether satisfying a sugar craving or using up leftover cereal, this mug rice krispie treat is ideal.
Often, we're left with remnants of cereal in the bag, insufficient for a bowl but suitable for Fruity Pebbles Banana Bread or a Fruity Pebbles Milkshake. Yet, what about a quick, tasty fix?
In mere seconds, this recipe is ready, simple enough to repeat endlessly. Once you've tried in microwave rice krispie treats in a mug, snacking may never be the same. With ooey-gooey marshmallows, buttery cereal, and the option to eat it with a fork, the experience is extraordinary.
For more rice krispie recipes, explore our Oreo Rice Krispie Treats and Rice Krispie Treats with Marshmallow Fluff.
Jump to:
💛 Why You'll Love This Recipe
- It's fast. Within seconds flat, your rice krispie is finished cooking. How long you wait to eat it is up to you, but this recipe is incredibly quick, especially when compared to making these treats in larger quantities using the traditional method.
- Minimal ingredients are needed. You'll need barely a handful of cereal or marshmallows for this recipe. This is significantly less than if you were to make a huge batch, and it's perfect for using up smaller amounts that may be in the pantry. Great for a Clean Out the Pantry Challenge!
- Minimal dirty dishes are created. All you need is a fork and a mug for this recipe. No baking dishes, large pots, wooden spoons, etc. This means that you can prepare your recipe, enjoy it, and enjoy not having to spend more time cleaning up than you do cooking.
🛒 Ingredients
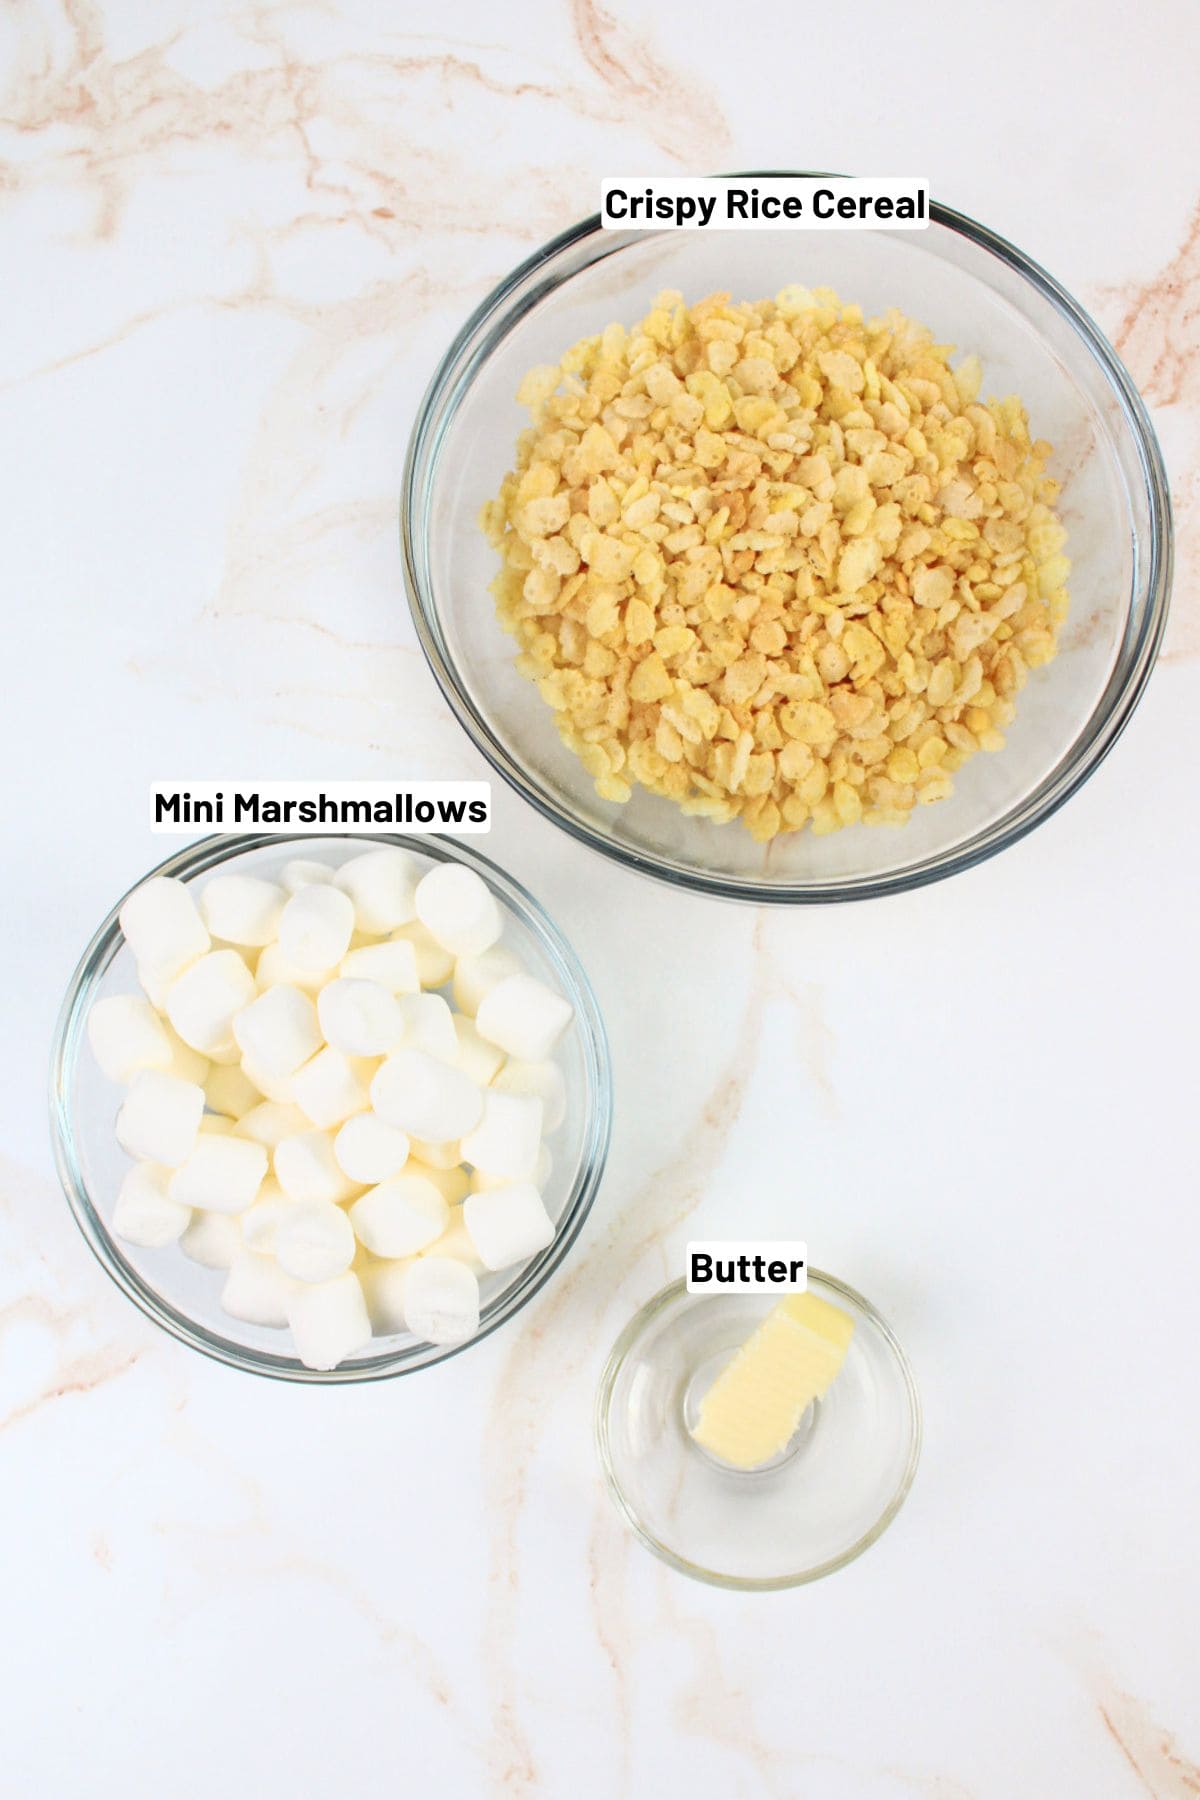
Butter- You will need a little bit of butter for this recipe. The butter will help to melt the marshmallows, keep the treats soft and add flavor to them as well. Not only that, but it helps to grease the mug, so the cleanup is much easier. If desired, you could swap the butter for coconut oil to make Dairy Free Rice Krispie Treats.
Cereal- Use some rice crispy cereal for these treats. You can switch out the cereal for different varieties if desired.
Marshmallows- Using mini marshmallows is recommended as they will melt more easily and uniformly.
See the recipe card below for full ingredients and instructions.
🔀 Substitutions & Variations
Cereal. Feel free to use any brand of cereal or cereal variety. Using fruity pebbles instead of rice krispies can give a nice fruity flavor, whereas cinnamon toast crunch can add a nice sweet and spice flavor.
If you're still looking for more ways to use up leftover dry cereal, check out our Cinnamon Toast Crunch Shake, Lucky Charms Cookies, or Captain Crunch Cookies.
💰 Budget-Friendly Tips
Use leftover cereal: This recipe is perfect for the last cup or two at the bottom of the bag, no need to open a new box.
Buy marshmallows on sale: Mini marshmallows keep well and often go on deep discount around holidays. Stock up and store in airtight containers.
Swap the butter: Margarine or coconut oil works just as well and stretches your grocery budget.
Add-ins from the pantry: A spoonful of chocolate chips, sprinkles, or crushed leftover cereal adds flavor without buying anything new.
🥄 Instructions for Rice Krispie Treat in a Mug
Step 1: Measure out the ingredients and keep them close by as this recipe will progress quickly.
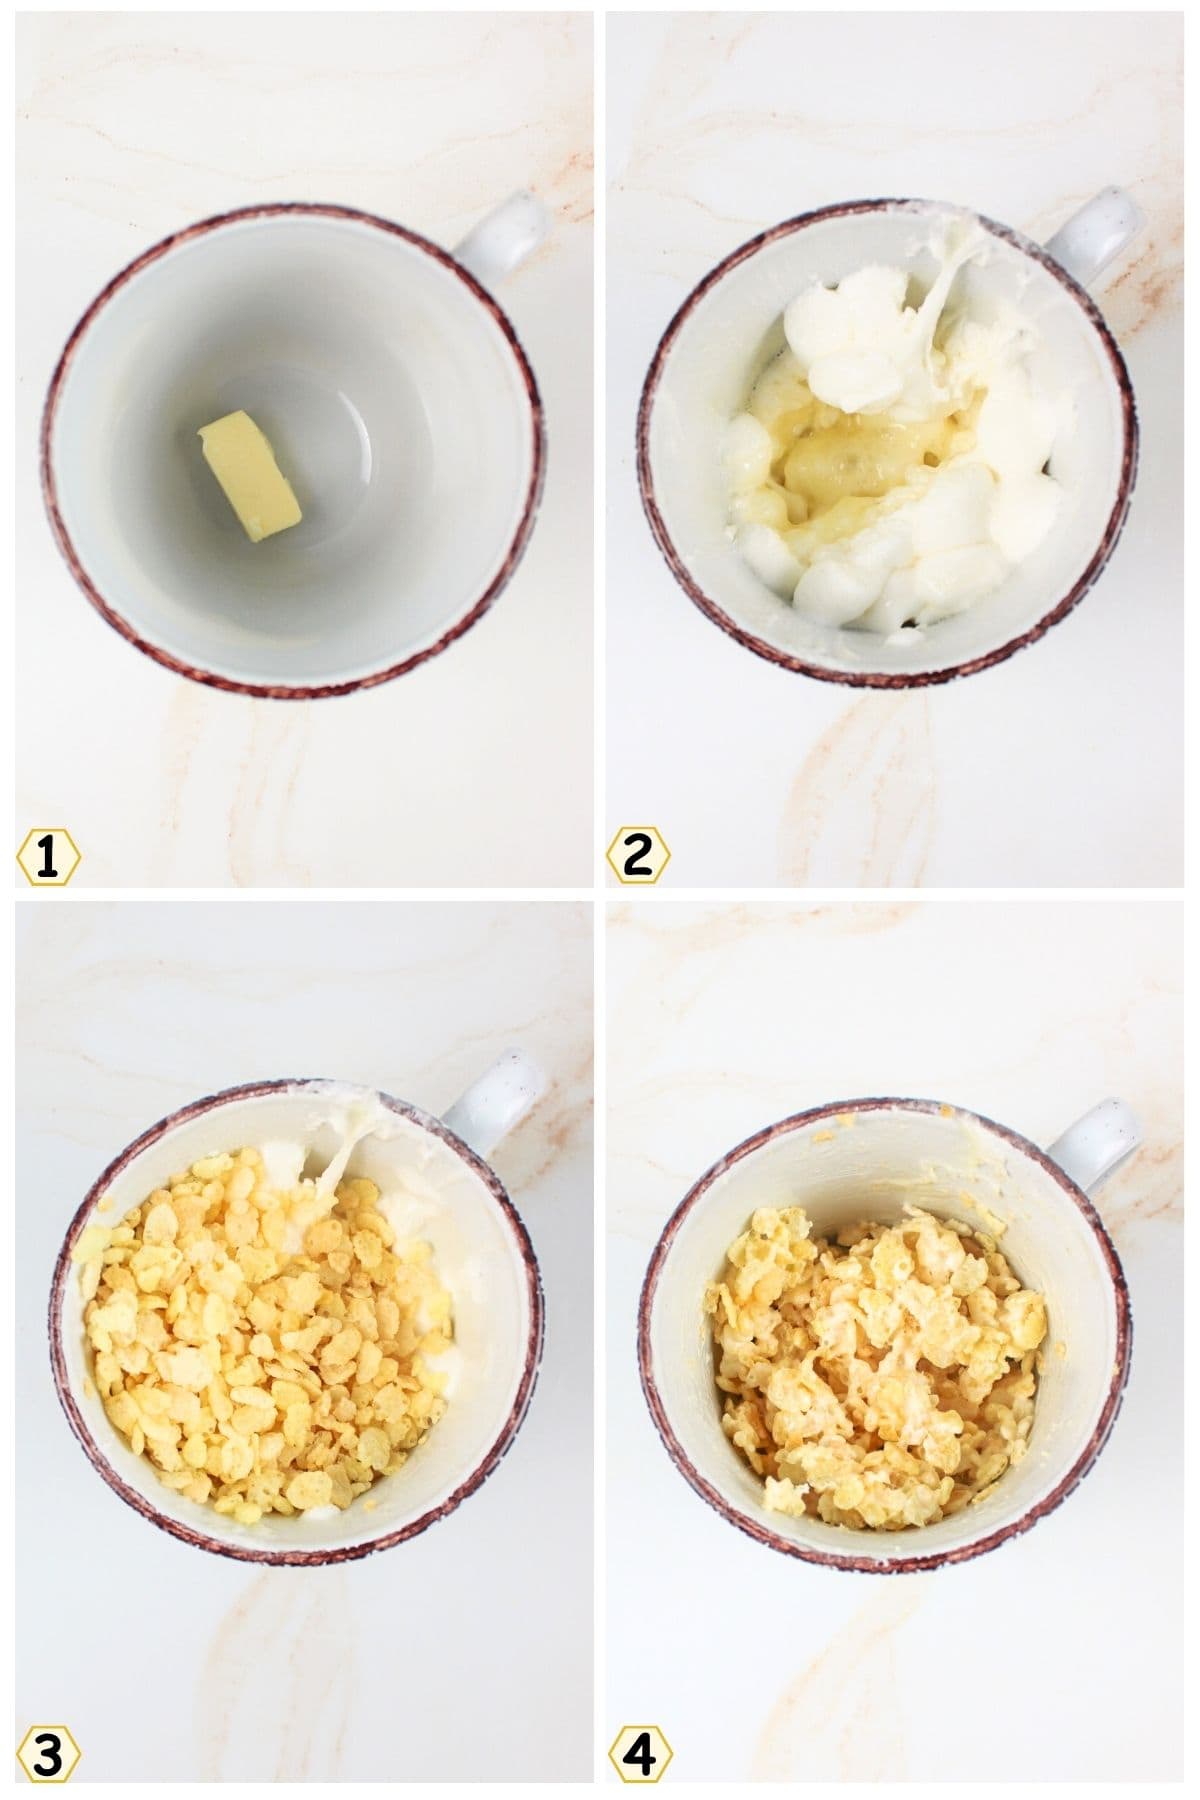
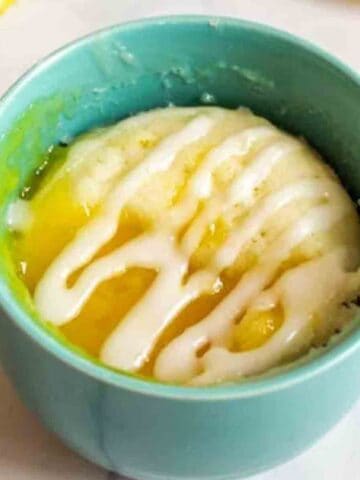
Step 2: Add the butter to a 12-16 oz microwave-safe mug. (Image 1)
Step 3: Microwave 10-15 seconds, or until just melted. Tip: Swirl the butter around the sides of the mug to lightly coat it and reduce sticking.
Step 4: Add the marshmallows (no need to stir). (Image 2) Microwave 30 seconds, until puffy and melted.
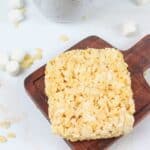
Step 5: Add ½ cup cereal and stir to combine. (Image 3) Add up to ¼ cup more cereal if you prefer a firmer treat. (Image 4)
Step 6: Eat right away for a warm, gooey treat, OR:
- Wait 1-2 minutes → softer, more classic texture
- Wait 5 minutes → can press into a square or bar
Optional but fun: top with sprinkles, chocolate chips, crushed cookies, or a drizzle of melted chocolate.
👩🏻🍳 Expert Tips
- Try not to overcook or over stir your treats. Microwaves all heat a little differently, and some may run hotter than others. (We mention this tip in our Cake Mix Mug Cakes recipe too).
- Practice makes perfect. For this, you'll want to test this recipe a time or two before getting the timing perfect. You want the butter just melted and the marshmallows to be just softened and starting to dissolve.
- Don't overwork the marshmallows. Marshmallows will puff up when microwaved, and if overcooked, when you stir them around, they'll harden as they cool.
❄️ Storage
Storage: This mug treat is meant to be eaten right away, but if desired, you can make it and save it for later.
Room Temp- You can store it in an airtight container or zipper-topped baggie for up to a week or two at room temperature. I recommend eating them sooner rather than later as they'll taste best when fresh.
Freezer- To freeze your treats, place them in an airtight container or individually wrap serving-sized squares in plastic wrap before placing them in a freezer-safe container. Then freeze for up to 3 months. Thaw at room temperature before eating.
🥗 Side Dishes or Pairing Ideas
These quick pairings turn your mug treat into a fun snack break:
- Iced Coffee Drinks: Peppermint Iced Coffee, Maple Iced Coffee, or Oreo Iced Coffee all pair perfectly with a sweet cereal treat.
- Fresh Fruit: Sliced bananas, strawberries, or grapes balance the sweetness without adding much cost.
- Simple Snacks: A handful of pretzels, popcorn, or cheese cubes for a salty-sweet combo.
- Ice Cream Cone BrowniesRecipe $4.16 / Serving $0.35
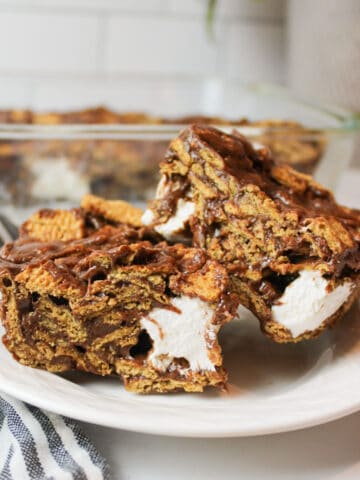
- Golden Graham Smores BarsRecipe $4.64 / Serving $0.39
- Fruity Pebbles TreatsRecipe $4.23 / Serving $0.35
- Microwave ScotcheroosRecipe $7.33 / Serving $0.61

❓ Recipe FAQs
Yes, absolutely! Simply use any margarine instead of butter and follow the recipe as requested. The end result should be a soft texture that tastes fabulous. Another great alternative is to use coconut oil instead of butter, but it will leave a coconut flavor behind.
If you overcook, over-stir, or overheat your marshmallows and butter, then you can easily end up with hard cereal treats.
Yes, you could use salted butter or unsalted depending on your preference. While unsalted butter may keep the flavors true, a little salt from salted butter could really make the flavors pop and add a nice contrast.
Unfortunately, they don't melt properly, turning into a single blob instead of being soft and gooey. Follow this tip: Reserve older marshmallows for hot cocoa and s'mores, and opt for a fresh bag for perfect rice krispie treats.
🍽️ More Recipes You'll Love
- Lemon Mug Cake With Lemon CurdRecipe $0.82
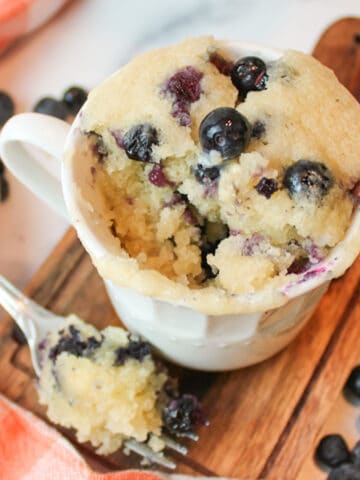
- Blueberry Muffin in a MugRecipe $1.17
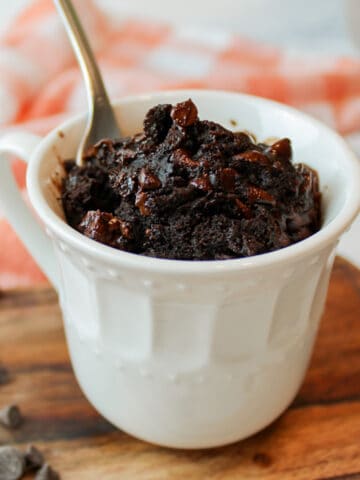
- Vegan Mug BrownieRecipe $0.38
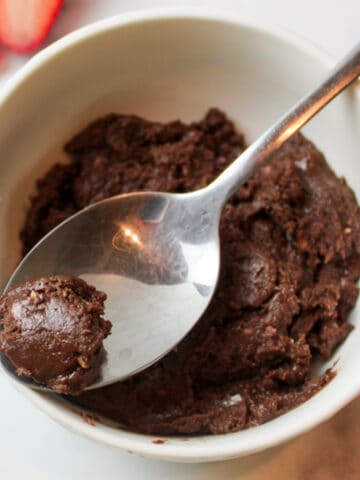
- Armpit FudgeRecipe $0.42
🐝 If you tried this rice krispie treat in a mug, please leave a ⭐️ star rating and share your buzz in the 💬 comments below. I'd truly appreciate it!
📖 Recipe
Rice Krispie Treat in a Mug
Ingredients
- ½ tablespoon unsalted butter - ($0.06)
- ¾ cup mini marshmallows - ($0.11)
- ¾ cup crispy rice cereal - ($0.04)
Instructions
- Melt butter. Add butter to a 12 to 16-ounce microwave-safe mug. Microwave 10 to 15 seconds until just melted. Swirl butter around the sides of the mug to lightly coat.
- Melt marshmallows. Add marshmallows to the mug. Microwave 30 seconds until puffy and melted.
- Stir. Stir immediately to fully combine melted butter and marshmallows.
- Add cereal. Stir in ½ cup cereal until coated. Add up to ¼ cup more cereal for a firmer texture.
- Set or eat. Enjoy immediately for a warm, gooey treat, or let rest 1 to 2 minutes for a softer texture. Let rest about 5 minutes to press into a square or bar.
Notes
- Microwave Tip. Avoid overcooking or over-stirring. Melt just until soft to prevent hard treats once cooled.
- Texture Control. Less cereal makes it gooier, more cereal makes it firmer.
- Toppings. Add sprinkles, chocolate chips, crushed cookies, or a drizzle of melted chocolate if desired.
- Storage. Store airtight at room temperature up to 2 weeks or freeze individually wrapped portions up to 3 months. Thaw at room temperature before eating.
Nutritional Information
Save This Recipe to Your Inbox
By signing up, you'll join our email list and can unsubscribe anytime.

Comments
No Comments