
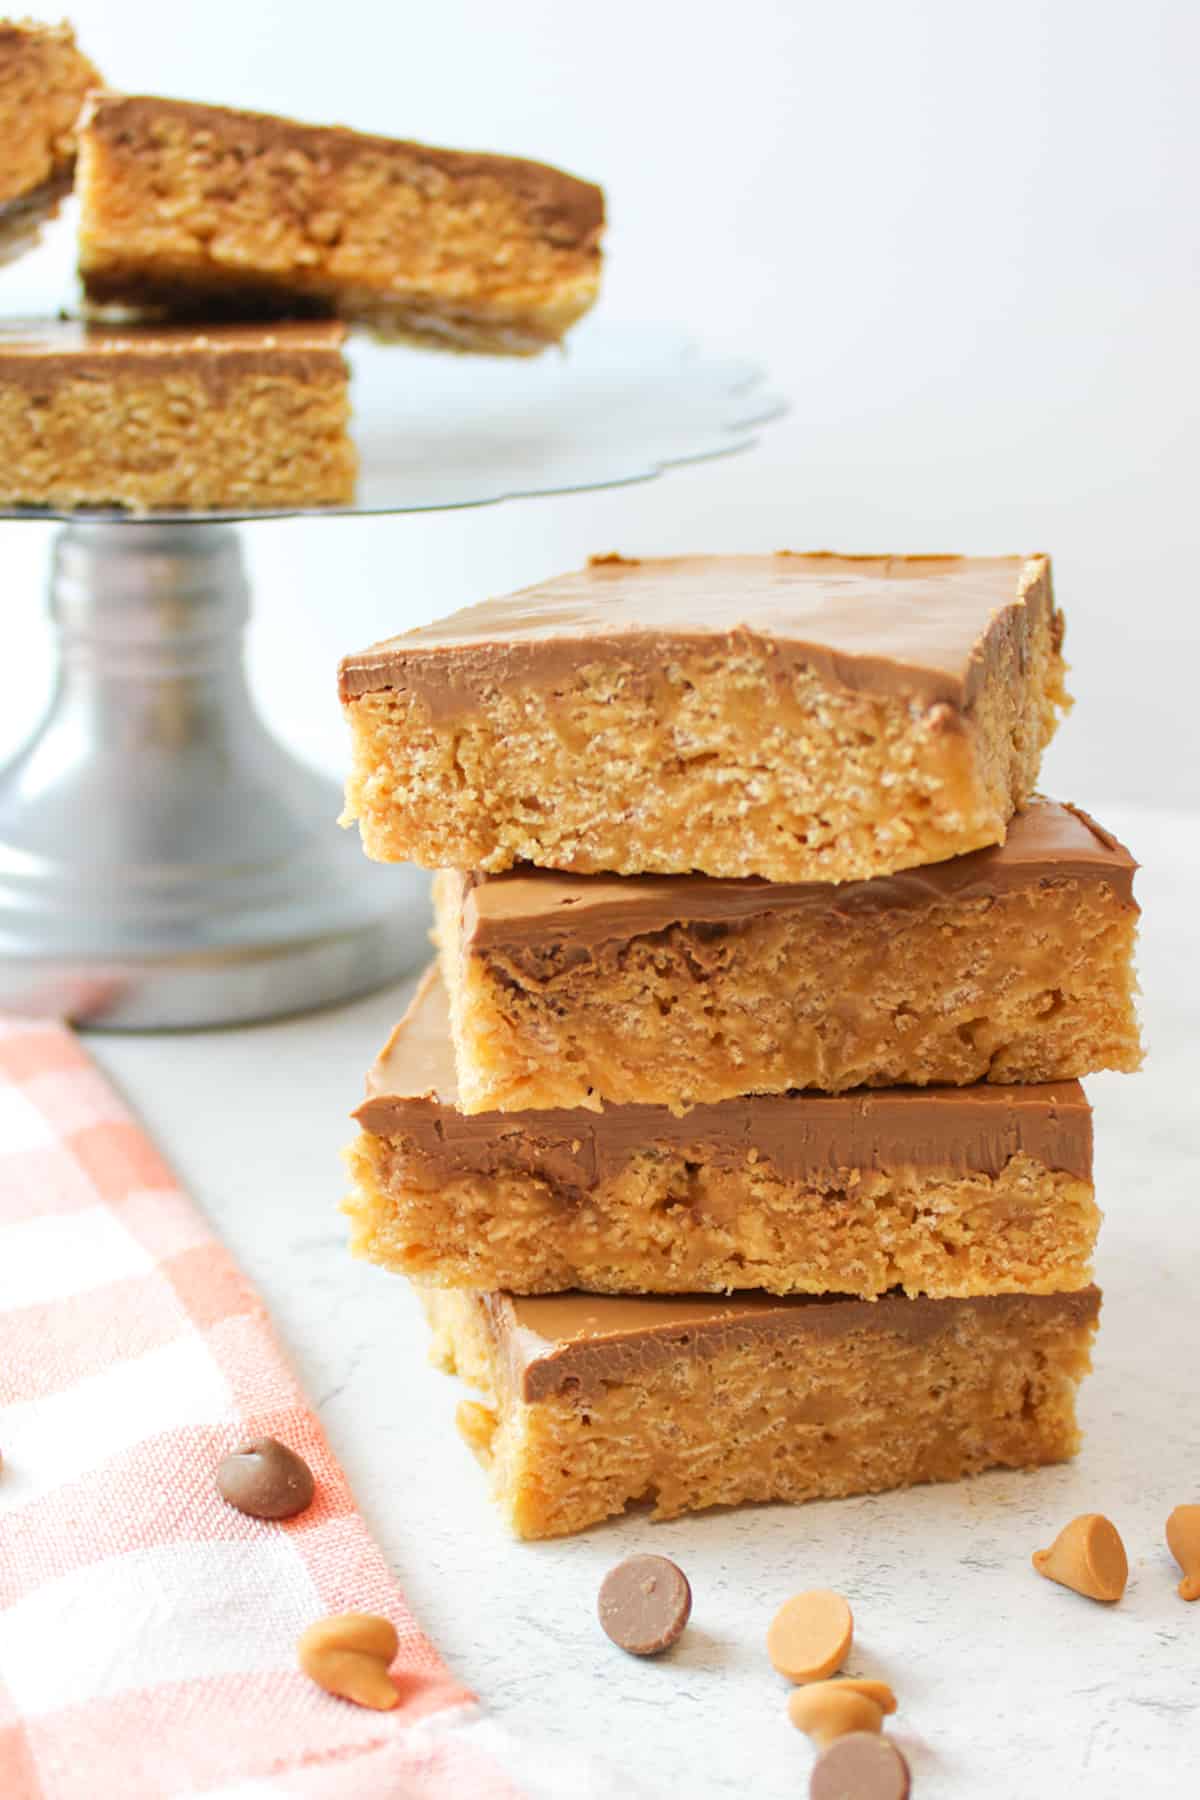
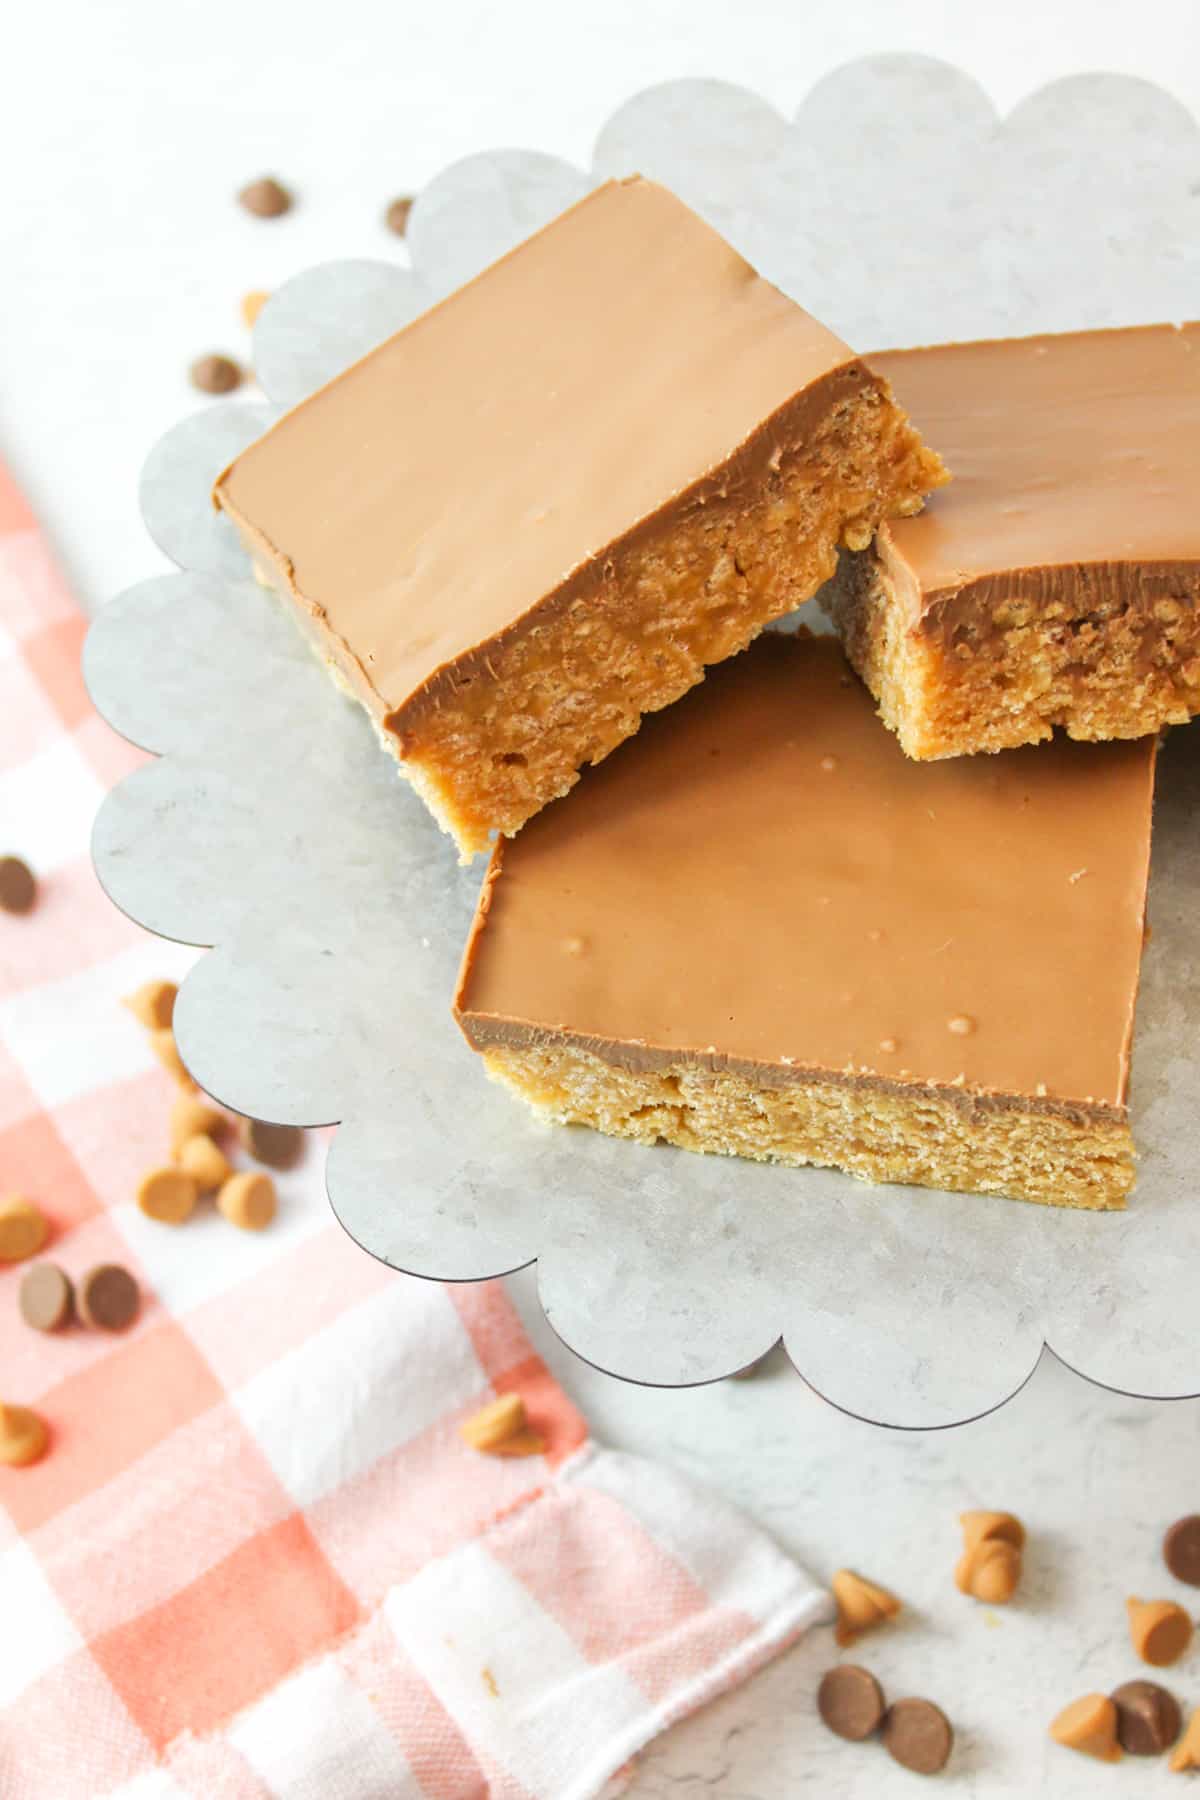
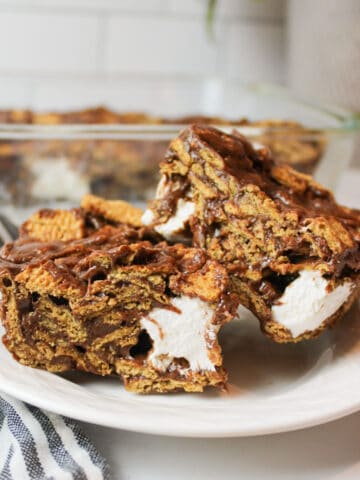
Easy Microwave Scotcheroos are a quick and delightful treat that captures the essence of the classic no-bake dessert in a fraction of the time. With a combination of peanut butter, butterscotch, and chocolate, they're both rich and satisfying.
Save This Recipe to Your Inbox
By signing up, you’ll join our email list and can unsubscribe anytime.
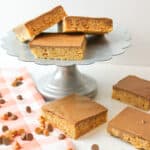
These peanut butter butterscotch Rice Krispie treats are quick, easy, and perfect when you need something sweet fast.
Microwave scotcheroos skip the stovetop and come together in just minutes, making them a great shortcut without sacrificing flavor. They're ideal for when you want a no bake dessert with minimal effort.
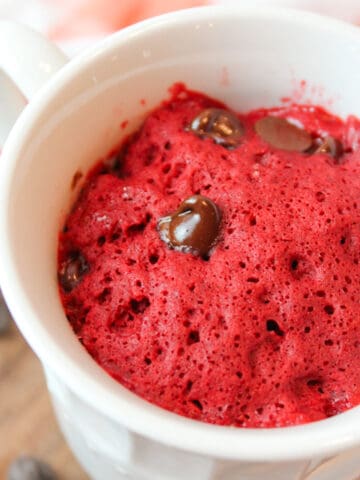
With a rich combination of peanut butter, butterscotch, and chocolate, every bite is hard to resist. If you love Rice Krispie treats, be sure to check out Chocolate Peanut Butter Rice Krispie Treats, Rice Krispie Treat in a Mug, and Oreo Rice Krispie Treats.
Jump to:
💛 Why You'll Love This Recipe
- No marshmallows needed. These peanut butter butterscotch Rice Krispie treats skip marshmallows entirely and still turn out soft, rich, and irresistible.
- Microwave friendly. Save time, energy, and dishes by using the microwave. There's no waiting for sugar to boil on the stove. We love the microwave for everything from Lemon Mug Cake (With Lemon Curd!) to Microwave Yellow Squash.
- Consistent results. This easy scotcheroo recipe delivers perfectly set bars every time, with minimal effort required.
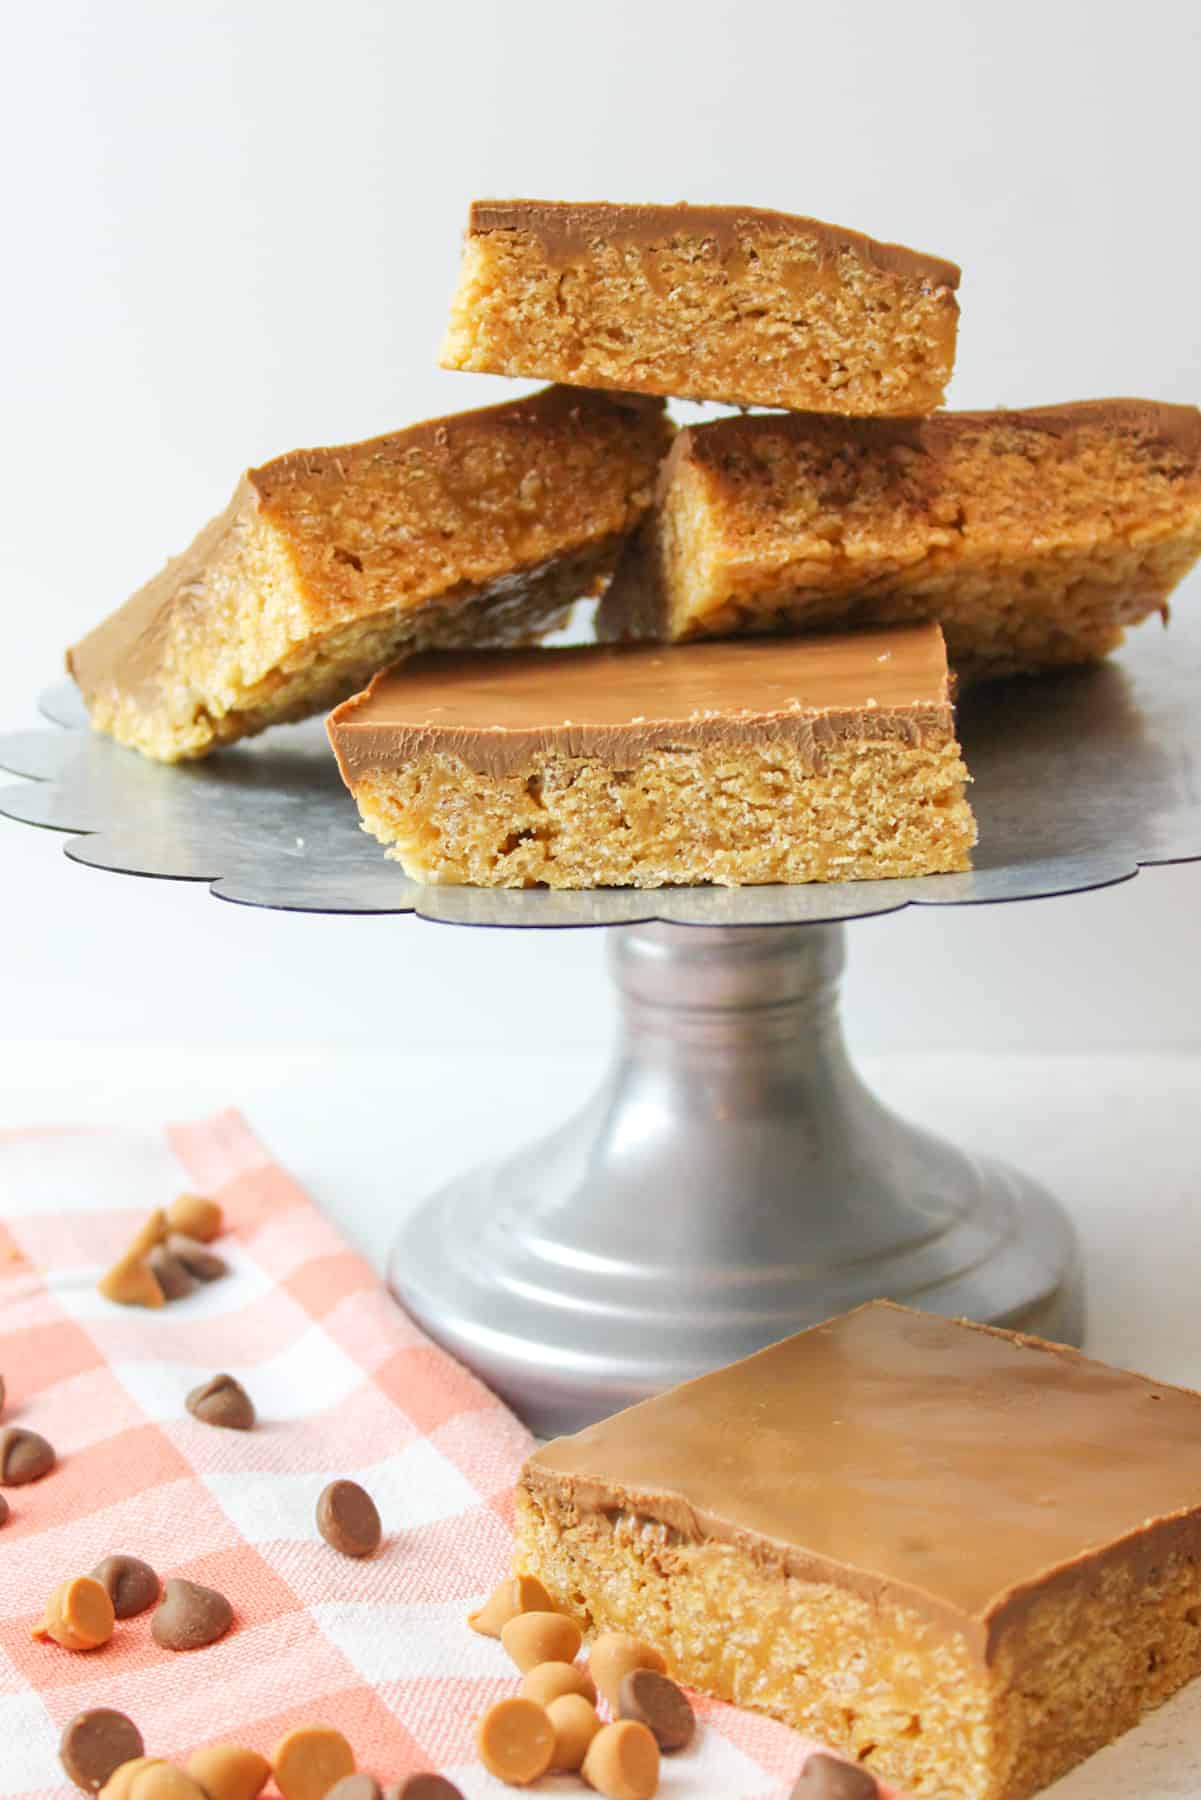
🛒 Ingredients
Light corn syrup. Prevents sugar crystals from forming so the treats set up smooth and chewy.
Creamy peanut butter. Creamy styles like Jif or Skippy work best. Natural peanut butter isn't recommended due to its texture.
Semi sweet chocolate chips. Semi sweet gives a balanced sweetness, but milk chocolate works too.
Butterscotch chips. Add rich flavor and a creamy topping. Use any extras to make Butterscotch Chocolate Chip Cookies.
See the recipe card below for full ingredients and instructions.
🔀 Substitutions & Variations
No corn syrup option. Simmer 1 cup sugar with ¼ cup water until dissolved and thickened. Let cool, then use as directed. This is similar to our Microwave Simple Syrup, just thicker for structure.
Cereal swap. Use plain cornflakes instead of crispy cereal for a different crunch.
Peanut butter options. Add up to ½ cup extra peanut butter for softer bars, or replace half with Nutella for a richer flavor.
Chocolate variations. Swap semi sweet chocolate for white chocolate, or add sprinkles for holidays and parties.
Sweet salty finish. Sprinkle flaky sea salt over the chocolate layer for a balanced bite.
💰 Budget-Friendly Tips
Use store brands: Generic cereal, peanut butter, chocolate chips, and butterscotch chips can save several dollars.
Watch for sales: Baking chips often go on sale around holidays, stock up and freeze extras.
Stretch the pan: Cut bars smaller for parties or lunchboxes to get more servings from one batch.
Skip specialty items: Regular peanut butter works best and is usually cheaper than natural varieties.
🥄 Instructions for Microwave Scotcheroos
Step 1: Grease a 9x13 baking dish and then set it aside.
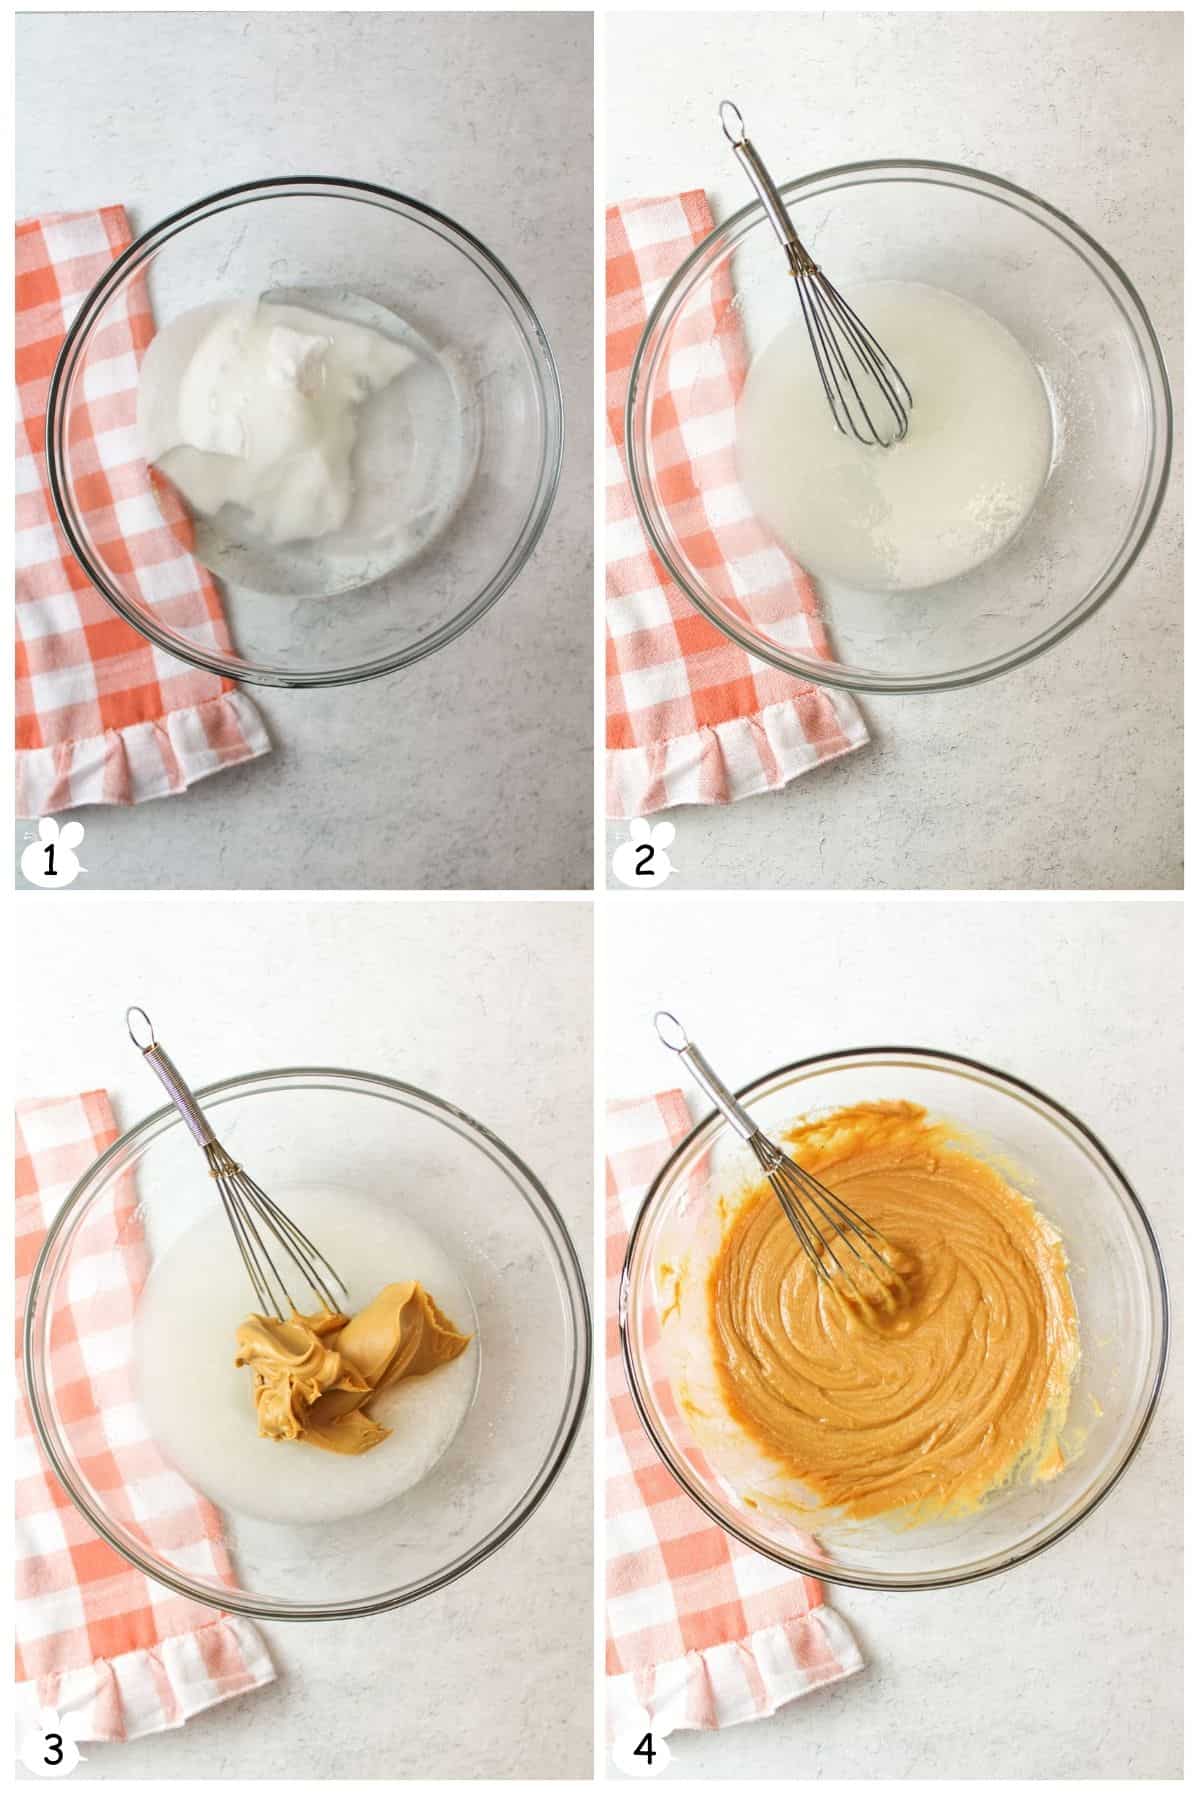
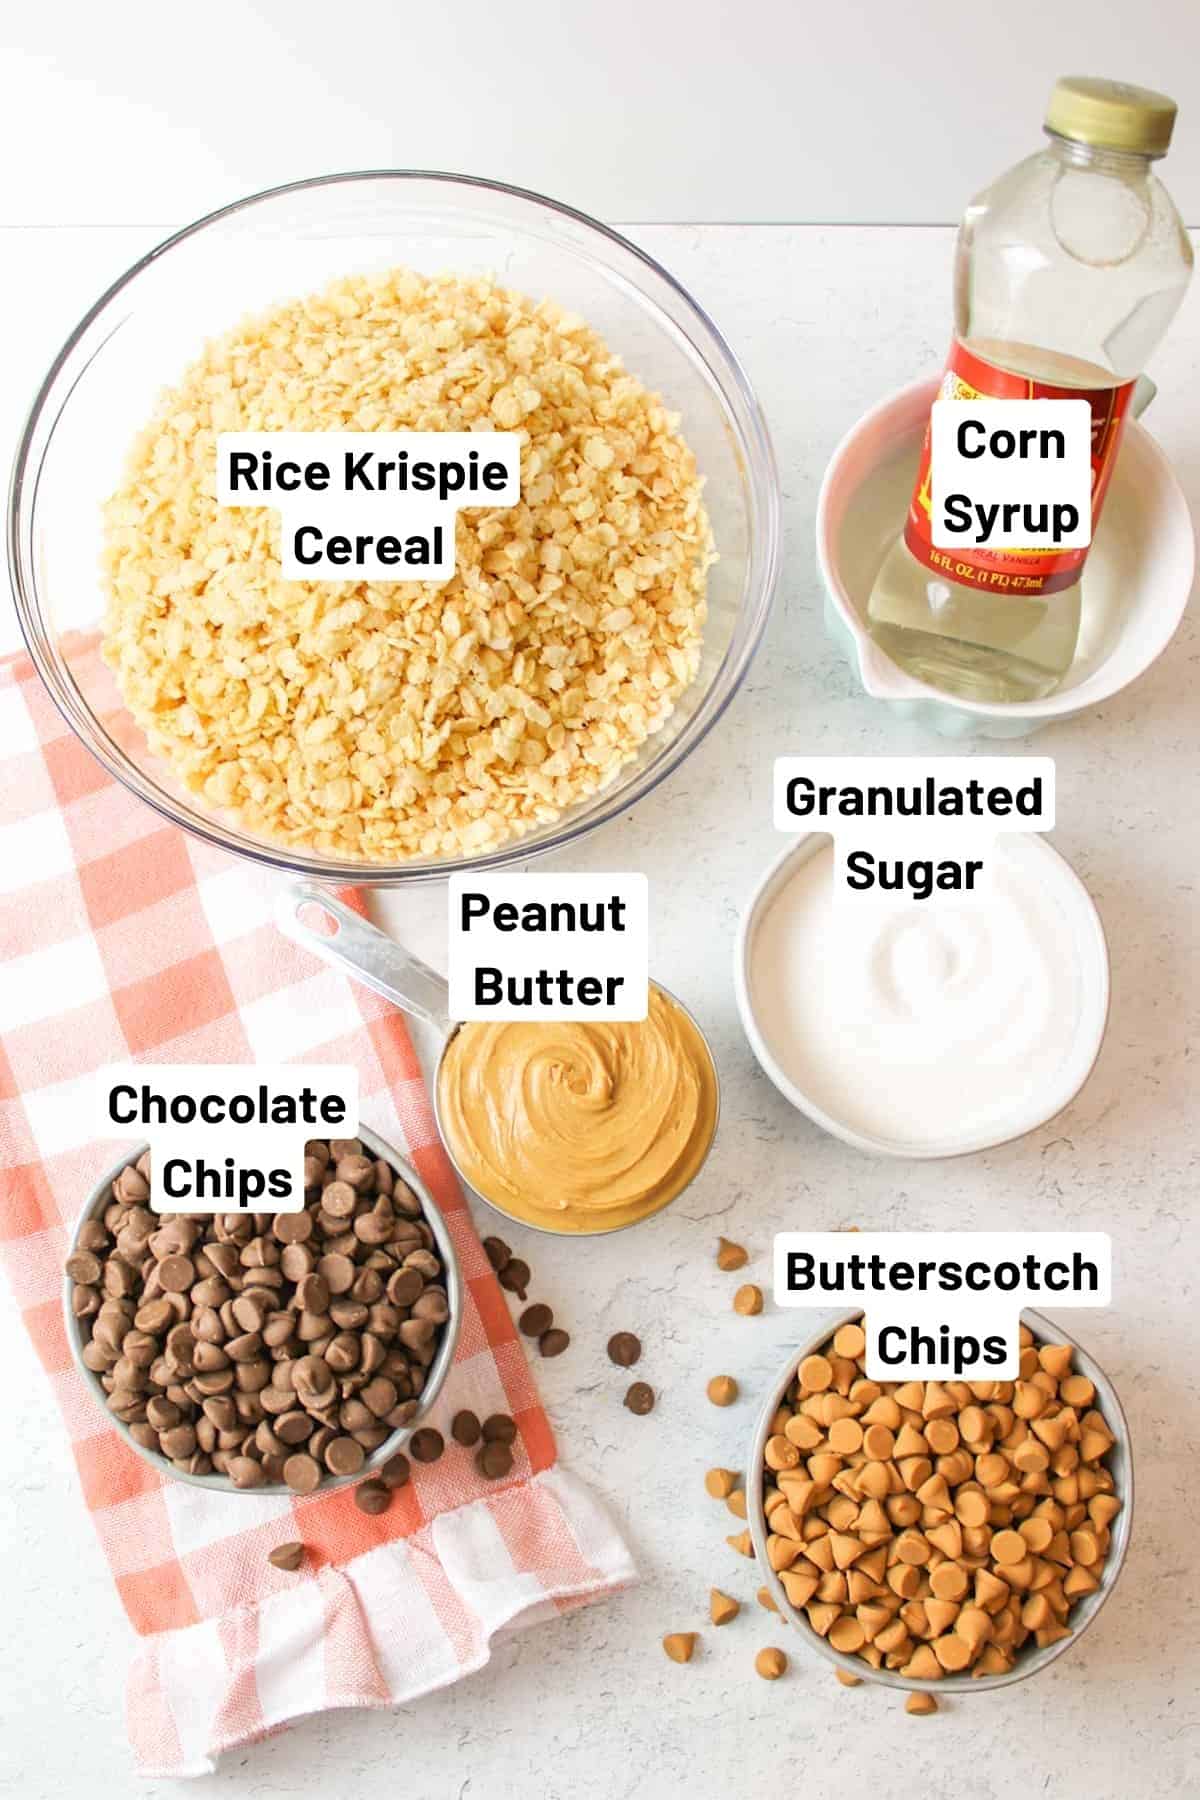
Step 2: In a large microwave safe bowl, combine your corn syrup and sugar (Image 1).
Step 3: Microwave on high for 1 minute 30 seconds to 1 minute 45 seconds depending on the strength of your microwave. Be careful not to let the mixture boil.
Step 4: Mix the sugar and corn syrup with a whisk until the bowl is no longer hot and the sugar looks dissolved (Image 2).
Step 5: Add in the peanut butter (Image 3).
Step 6: Stir together until blended (Image 4). Don't be afraid to get your hands in there and mix everything if it's too thick for your spoon to handle.
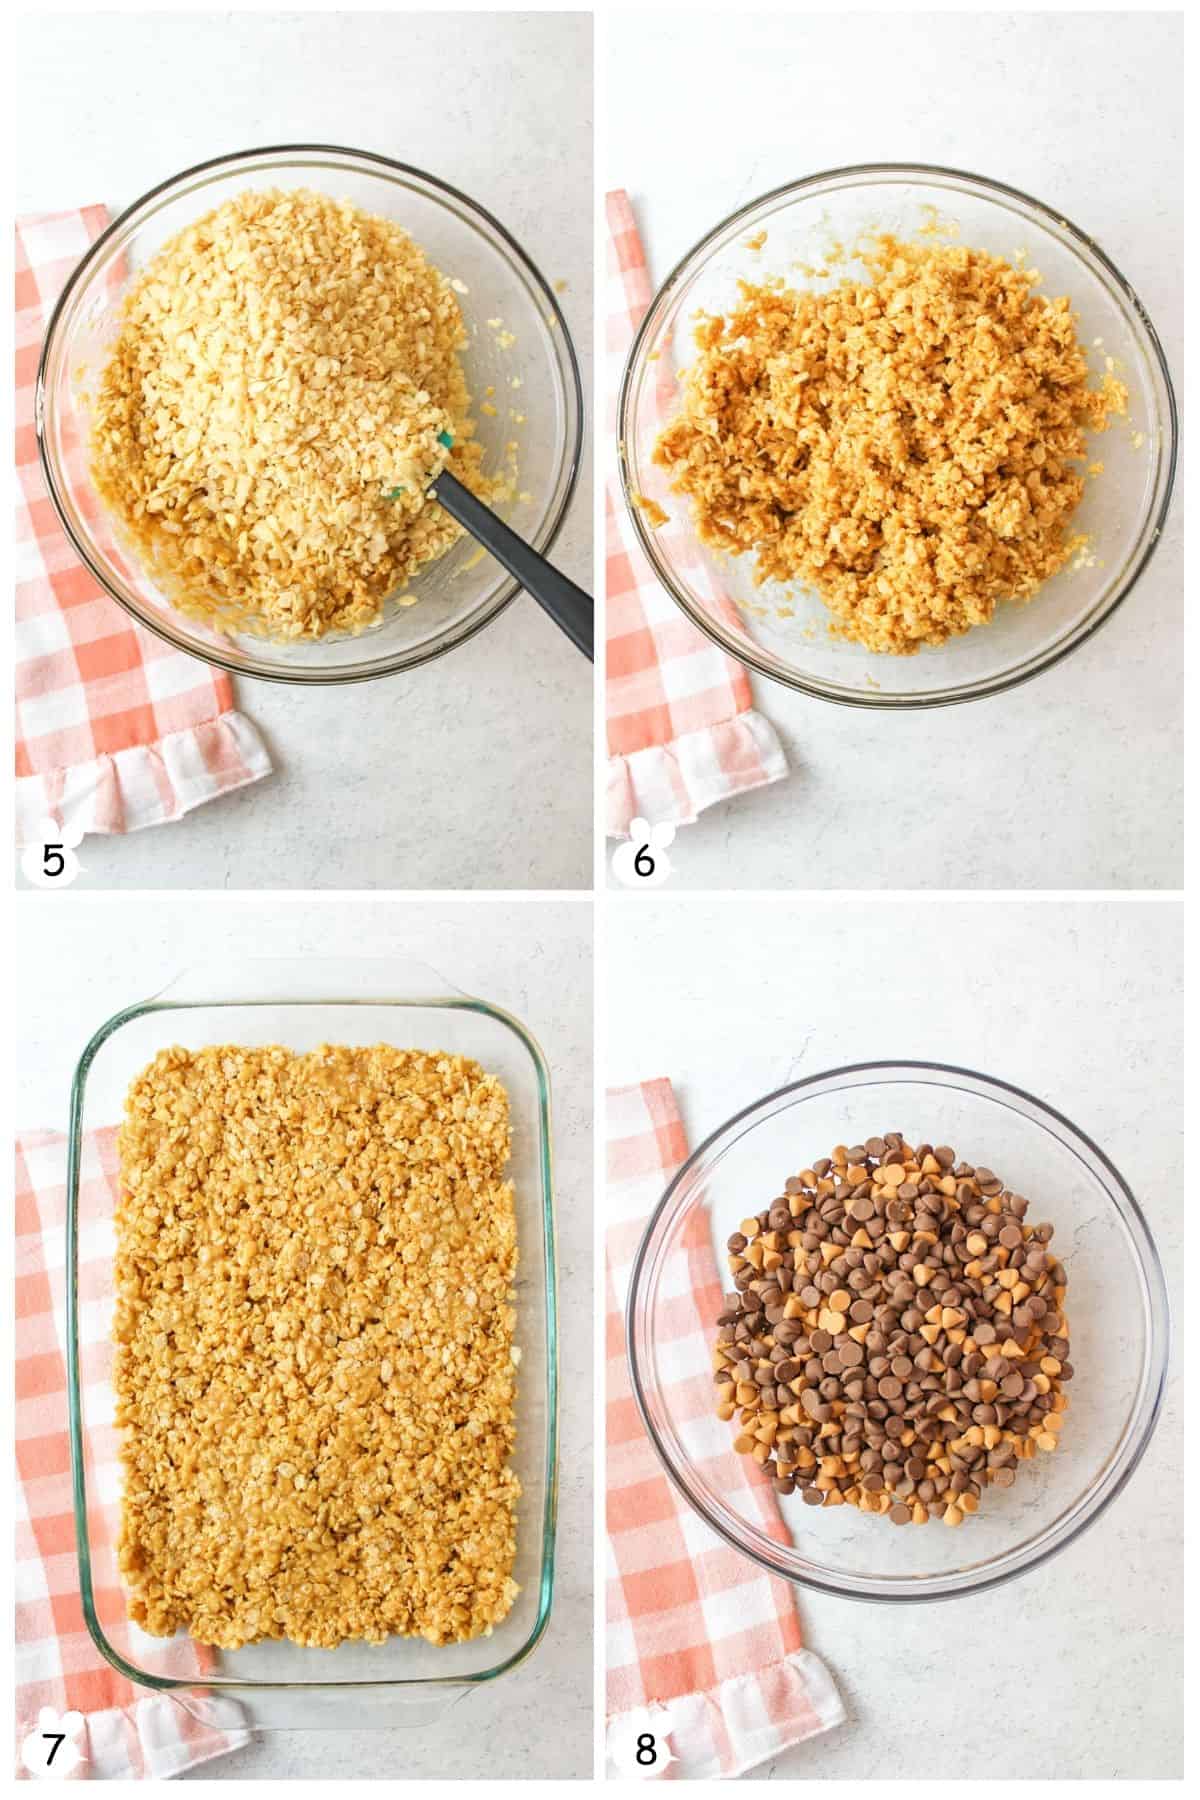
Step 7: Add in half of the cereal and mix it together (Image 5).
Step 8: Add in the rest and mix some more (Image 6).
Step 9: Once the mixture has been well blended, press it into the bottom of the prepared baking dish (Image 7).
Step 10: In a small microwave safe mixing bowl, add your chocolate chips and butterscotch chips (Image 8).
Step 11: Microwave on high for 1 minute and 30 seconds, stopping midway to mix.
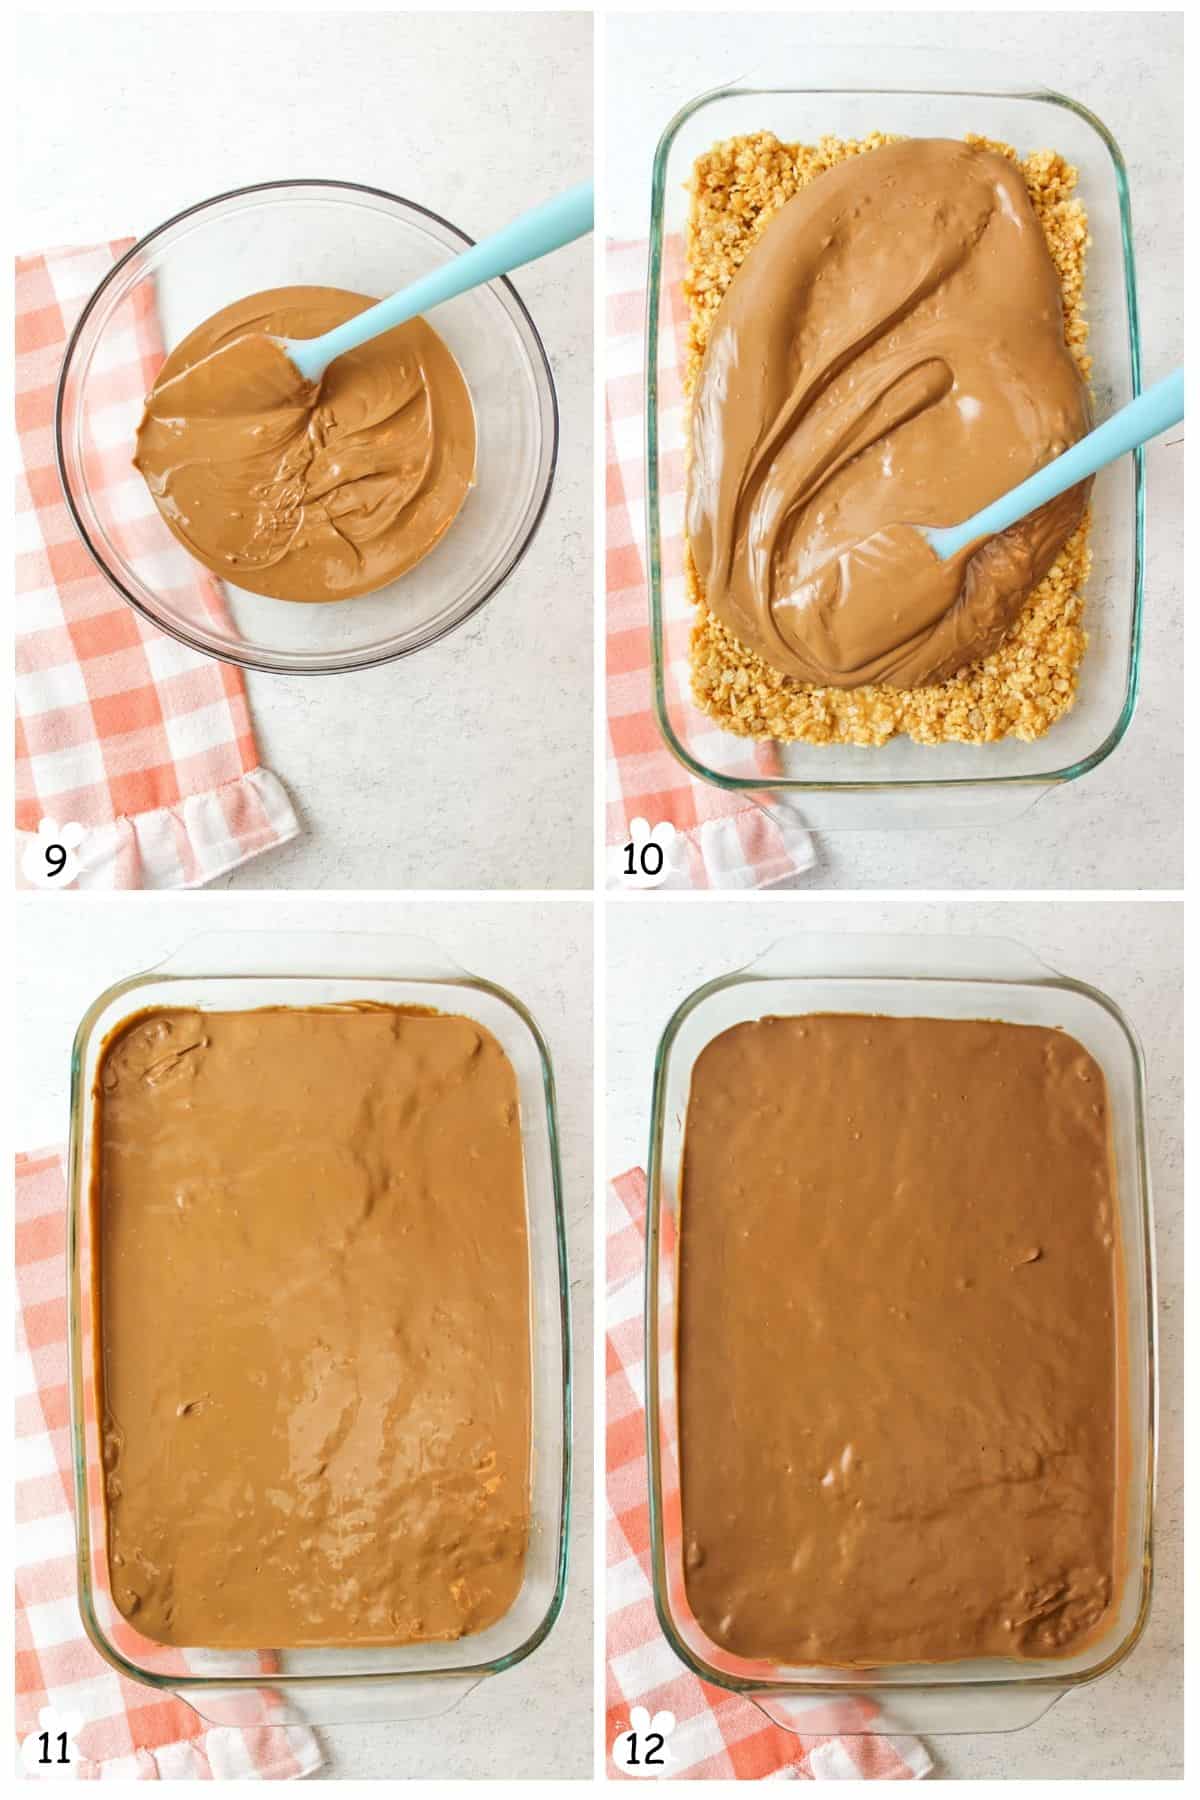
Step 12: Stir the chips again until smooth, adding another 30 seconds if needed (Image 9).
Step 13: Pour your smooth chocolate mixture over the top of the rice crispies and spread it out to cover the whole top (Images 10&11).
Step 14: Let cool and harden before cutting into squares and serving (Image 12).
Step 15: Cut and serve. Enjoy!
👩🏻🍳 Expert Tips
- Microwave timing. Microwave power varies, so watch closely and adjust the time as needed.
- Melt, don't boil. Heat the sugar mixture just until fully melted. Boiling can make the bars too hard.
- Prep ahead. Grease a 9×13 baking dish well and measure ingredients before starting for smoother assembly.
- Peanut butter choice. Creamy peanut butter works best. Chunky is fine, but avoid natural peanut butter since the oil content can affect texture.
❄️ Storage, Reheating & Make Ahead
Storage: Store Microwave Scotcheroos in an airtight container at room temperature for up to 1 week.
Freezing: Freeze bars for up to 3 months; wrap individually for grab-and-go snacks.
Make Ahead: These bars are perfect for making a day or two in advance for parties or events.
Serving Tip: Let frozen bars sit at room temperature for a few minutes before eating.
🥗 Side Dishes or Pairing Ideas
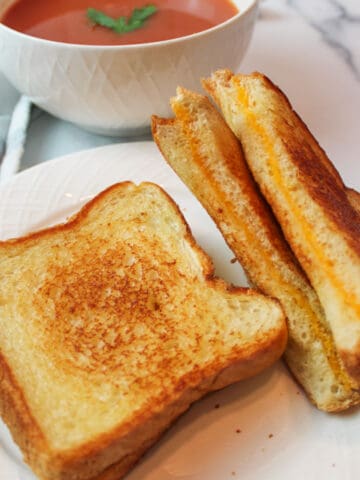
Serve Microwave Scotcheroos with fresh fruit to balance the sweetness, or pair with milk for a classic combo. These bars also work well on dessert trays alongside cookies, brownies, or other no-bake treats.
- Pink Chocolate Covered StrawberriesRecipe $2.33 / Serving $0.47
- Chocolate Covered Cheesecake StrawberriesRecipe $5.53 / Serving $1.38
- Butterscotch Chocolate Chip CookiesRecipe $2.93 / Serving $0.24
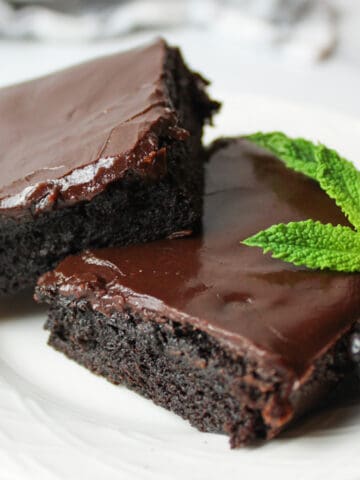
- Hershey's Best BrowniesRecipe $3.41 / Serving $0.28


❓ Microwave Scotcheroos FAQs
Scotcheroos are a Midwest thing. With scotcheroos being created in Iowa and having branched out over the years to neighboring states, not everyone has gotten to try (or hear about) this tasty bar dessert.
They're a mixture of butterscotch, peanut butter, crispy cereal, and chocolate. Usually, you see them made with a pot on the stove, but we made our recipe more modern to create easy microwave scotcheroos. No stove top needed.
You can easily have gluten free scotcheroos by simply opting for a gluten free cereal. Rice Krispies and a few other kinds of cereal have a certified gluten free label on them, making it easy to spot the safe options in the grocery store.
Make sure to check labels and avoid cross contamination if you're remaining gluten free as a result of an allergy.
Absolutely! You can freeze them prior to cutting so that the chocolate hardens faster, and you can freeze them after they've been cut for a longer storage solution.
I recommend cutting the microwave scotcheroos into desired portion sizes and then wrapping them in plastic wrap inside a Ziploc bag as this will help to keep them fresh as long as possible. It's also easier to grab one to toss in a lunchbox here and there.
If you overcook the sugar and corn syrup mixture, by bringing it to a boil, you will cause your scotcheroos to turn out hard. You want to avoid it if you're looking for tender crispy treats.
With this easy scotcheroos recipe, you are going to love making them in the microwave. This simple recipe is delicious and fun to make!
🍽️ More Recipes You'll Love
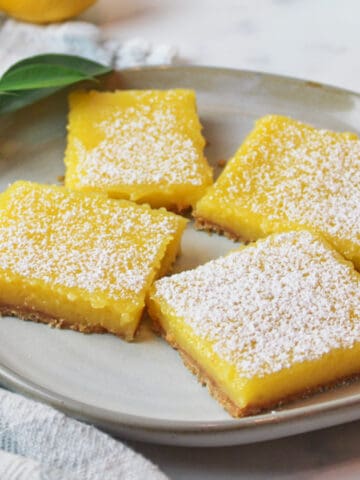
- Lemon Bars with Graham Cracker CrustRecipe $4.25 / Serving $0.18
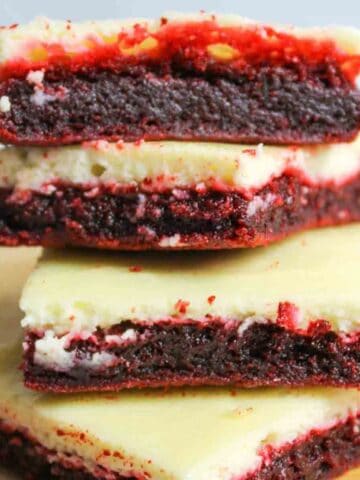
- Red Velvet Cheesecake BrowniesRecipe $4.56 / Serving $0.38
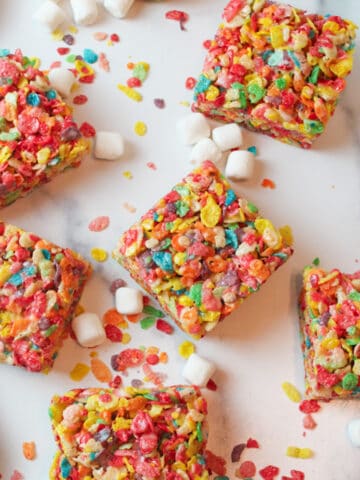
- Fruity Pebbles TreatsRecipe $4.23 / Serving $0.35
- Golden Graham Smores BarsRecipe $4.64 / Serving $0.39
🐝 If you tried these Easy Microwave Scotcheroos, please leave a ⭐️ star rating and share your buzz in the 💬 comments below. I'd truly appreciate it!
📖 Recipe
Microwave Scotcheroos
Equipment
- Large Mixing Bowl (microwave safe)
- Small Bowl (microwave safe)
Ingredients
- 1 cup light corn syrup - ($1.28)
- 1 cup granulated sugar - ($0.36)
- 1 cup creamy peanut butter - ($0.79)
- 6 cups Rice Krispie cereal - ($0.96)
- 1 ½ cup semi sweet chocolate chips - ($1.97)
- 1 ½ cup butterscotch chips - ($1.97)
Instructions
- Prep the Pan: Grease a 9 by 13 inch baking dish and set aside.
- Heat Sugar Mixture: In a large microwave safe bowl, combine the corn syrup and sugar. Microwave on high for 1 minute 30 seconds to 1 minute 45 seconds, stopping before the mixture boils. Whisk until the sugar is fully dissolved.
- Add Peanut Butter: Stir the peanut butter into the warm sugar mixture until smooth and fully combined.
- Add Cereal: Mix in half of the cereal, then add the remaining cereal and stir until evenly coated.
- Press into Pan: Press the mixture firmly and evenly into the prepared baking dish.
- Melt the Topping: In a small microwave safe bowl, combine the chocolate chips and butterscotch chips. Microwave for 1 minute 30 seconds, stirring halfway through. Continue heating in 30 second intervals if needed, stirring until smooth.
- Top the Bars: Pour the melted chocolate mixture over the cereal base and spread evenly to cover the top.
- Set and Serve: Allow the bars to cool and set completely before cutting and serving.
Notes
- Microwave Timing: Microwave power varies, so avoid boiling the sugar mixture to keep the bars soft.
- Prep Ahead: Greasing the pan and measuring ingredients ahead of time helps the recipe come together quickly.
- Peanut Butter Type: Use regular creamy peanut butter. Natural or high oil varieties may cause the bars to separate.
- Dietary Options: Use gluten free cereal to make this recipe gluten free.
- Storage & Freezing: Store bars in an airtight container at room temperature for up to 1 week or freeze for up to 3 months. Individually wrapped bars freeze well for grab and go snacks.
Nutritional Information
Save This Recipe to Your Inbox
By signing up, you'll join our email list and can unsubscribe anytime.


Comments
No Comments