

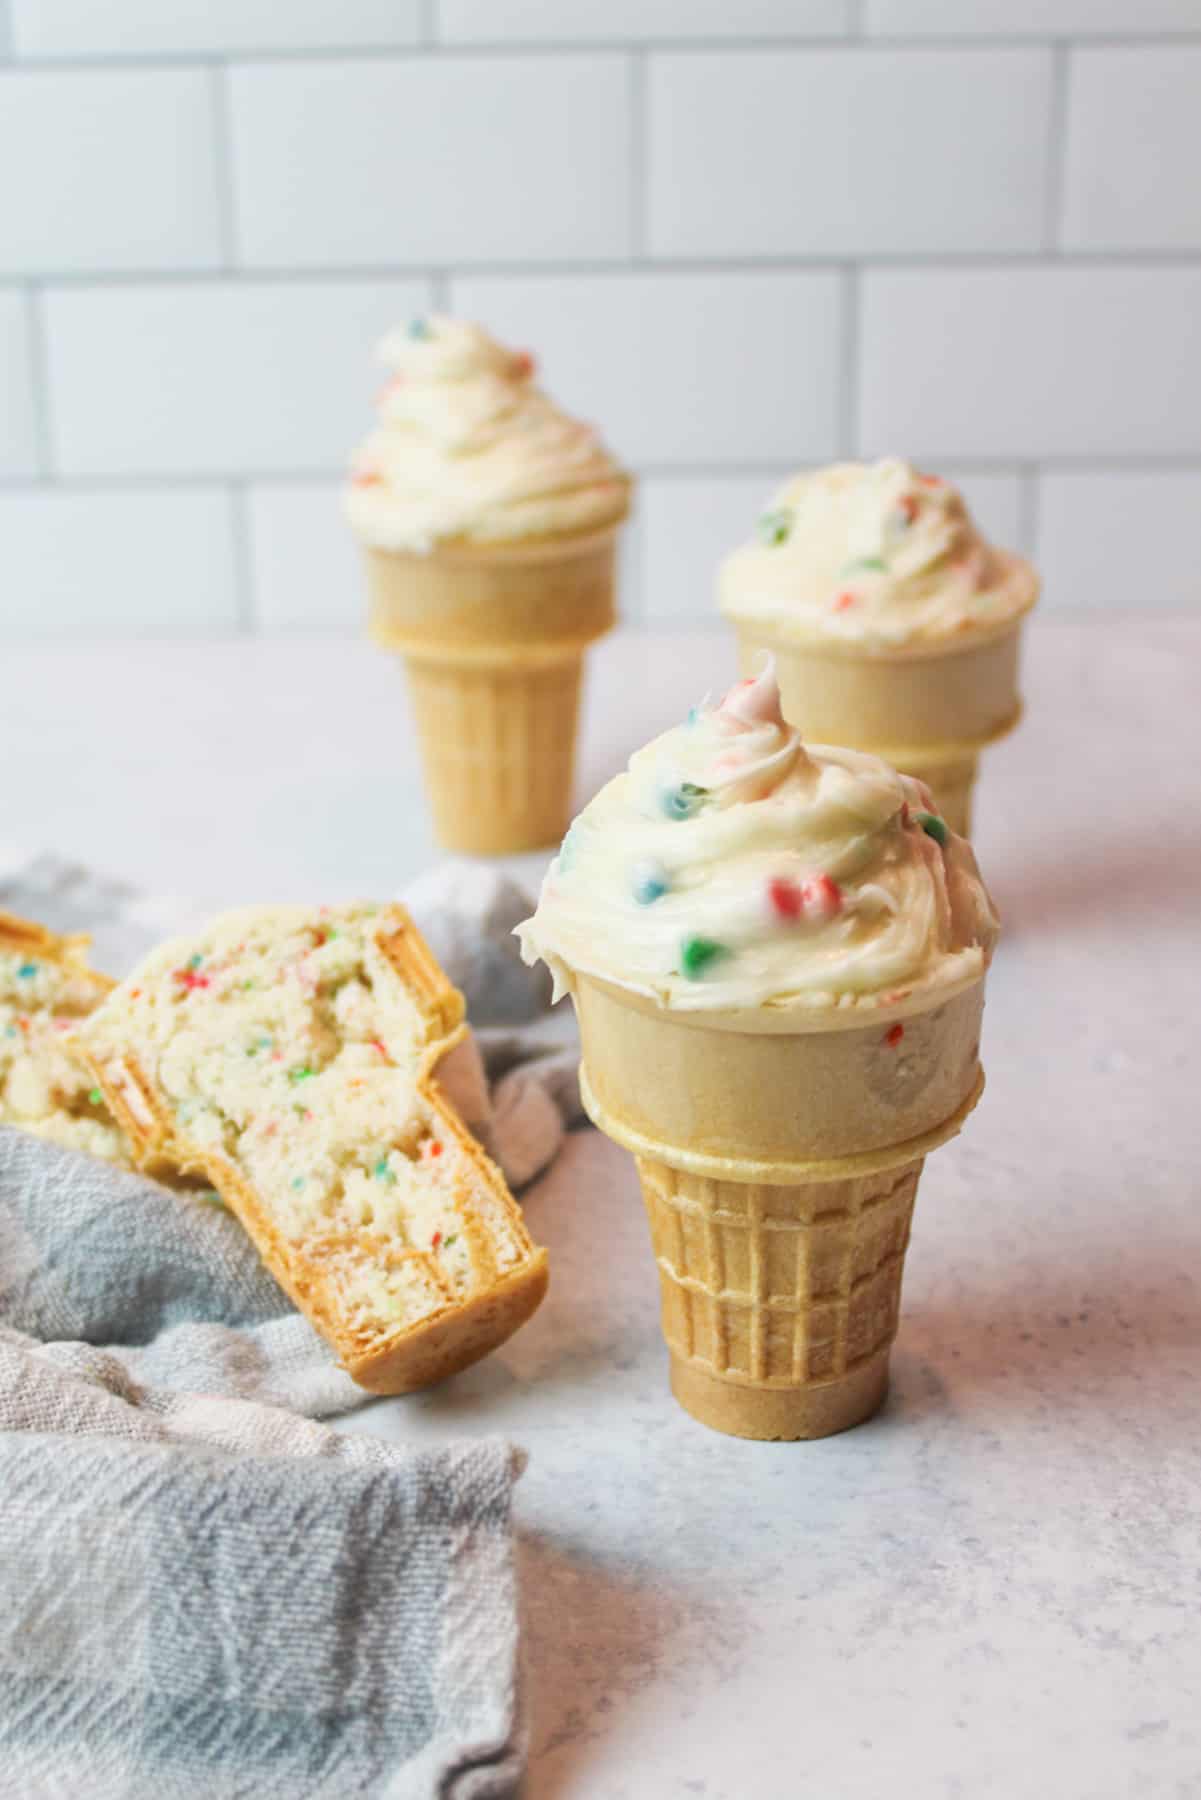
Ice cream cone cupcakes are a timeless treat, but have you ever just wanted one or two instead of a dozen or more? Using the microwave is fast, efficient, and perfect for small batches! You're going to love these Microwave Ice Cream Cone Cupcakes!
Save This Recipe to Your Inbox
By signing up, you’ll join our email list and can unsubscribe anytime.
I recall "volunteering" my mother to make "cupcake cones" (as I called them) for elementary school parties (usually the night before). They were such a favorite treat of mine back then, and now they are loved by my kids as well.
While making dozens of cupcake cones can be fun, tricky, and time cosuming, this recipe keeps it simple, quick, and fast. Perfect for a last minute treat when you want something sweet.
Easy to make and so much fun to eat, these easy ice cream cone cupcakes only take a minute to make and are ready to eat almost as fast! Perfect for a last-minute sweet treat or a dairy free option to take to the party.
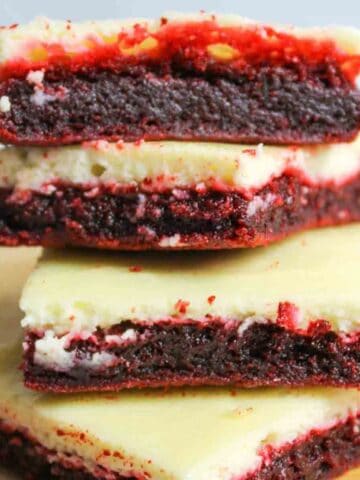
For more ice cream cone recipes, consider Ice Cream Cone Brownies and Ice Cream Nachos (perfect for the broken cones in the box!)
Jump to:
💛 Why You'll Love This Recipe
- Minimal ingredients. All you need is cones, cake mix, and water. Adding frosting is optional, but it definitely adds to the fun! This Microwave Ice Cream Cone Cupcakes recipe is almost as easy as Cake Mix Mug Cakes, but with a tasty cone added.
- They're fast to make. Prepped in seconds and cooked in under a minute, you can have a single-portioned sweet treat faster than you can put everything away.
- They're frugal! These sweets only cost pennies to make, perfect for staying on a tight meal planning budget or when you want to stretch the ingredients you have on hand already.
🛒 Ingredients

Ice cream cones- You will need some flat bottomed ice cream cones. These can stand upright on their own, which makes the process significantly easier than a waffle cone.
Cake Mix- Use any box of cake mix desired. I like yellow cake, chocolate cake, and funfetti. Need more Recipes with Boxed Cake Mixes? Check out these Cherry Chip Cake Mix Cookies.
Frosting- Adding frosting is totally optional and up to you. You can use Oreo Buttercream Frosting or a container of storebought frosting and they'll always be delicious.
See the recipe card below for full ingredients and instructions.
🔀 Substitutions & Variations
Variety of Flavors- You can use any cake mix flavor that you want! Red velvet, chocolate, spice cake mix, etc. Try them all and swap them out for seasonal fun.
Gluten-Free Option- Using gluten free cones and cake mix works great too!
Other Cake Mix Recipes- If you still have cake mix on hand consider Jiffy Cornbread With Cake Mix, 3 Ingredient Banana Bread, or Red Velvet Banana Bread.
💰 Budget-Friendly Tips
Use store-brand cake mix. A boxed cake mix is the cheapest and fastest base. Store-brand versions often cost $1-$1.25 and taste just as good as name brands once frosted.
Make only what you need. Microwave in small batches (2-4 cones at a time) to avoid waste. Only cook what will be eaten that day so unused cones don't get soggy.
🥄 Instructions for Microwave Ice Cream Cone Cupcakes

Step 1: Add the cake mix and water to a small bowl.

Step 2: Mix well until no large lumps remain.
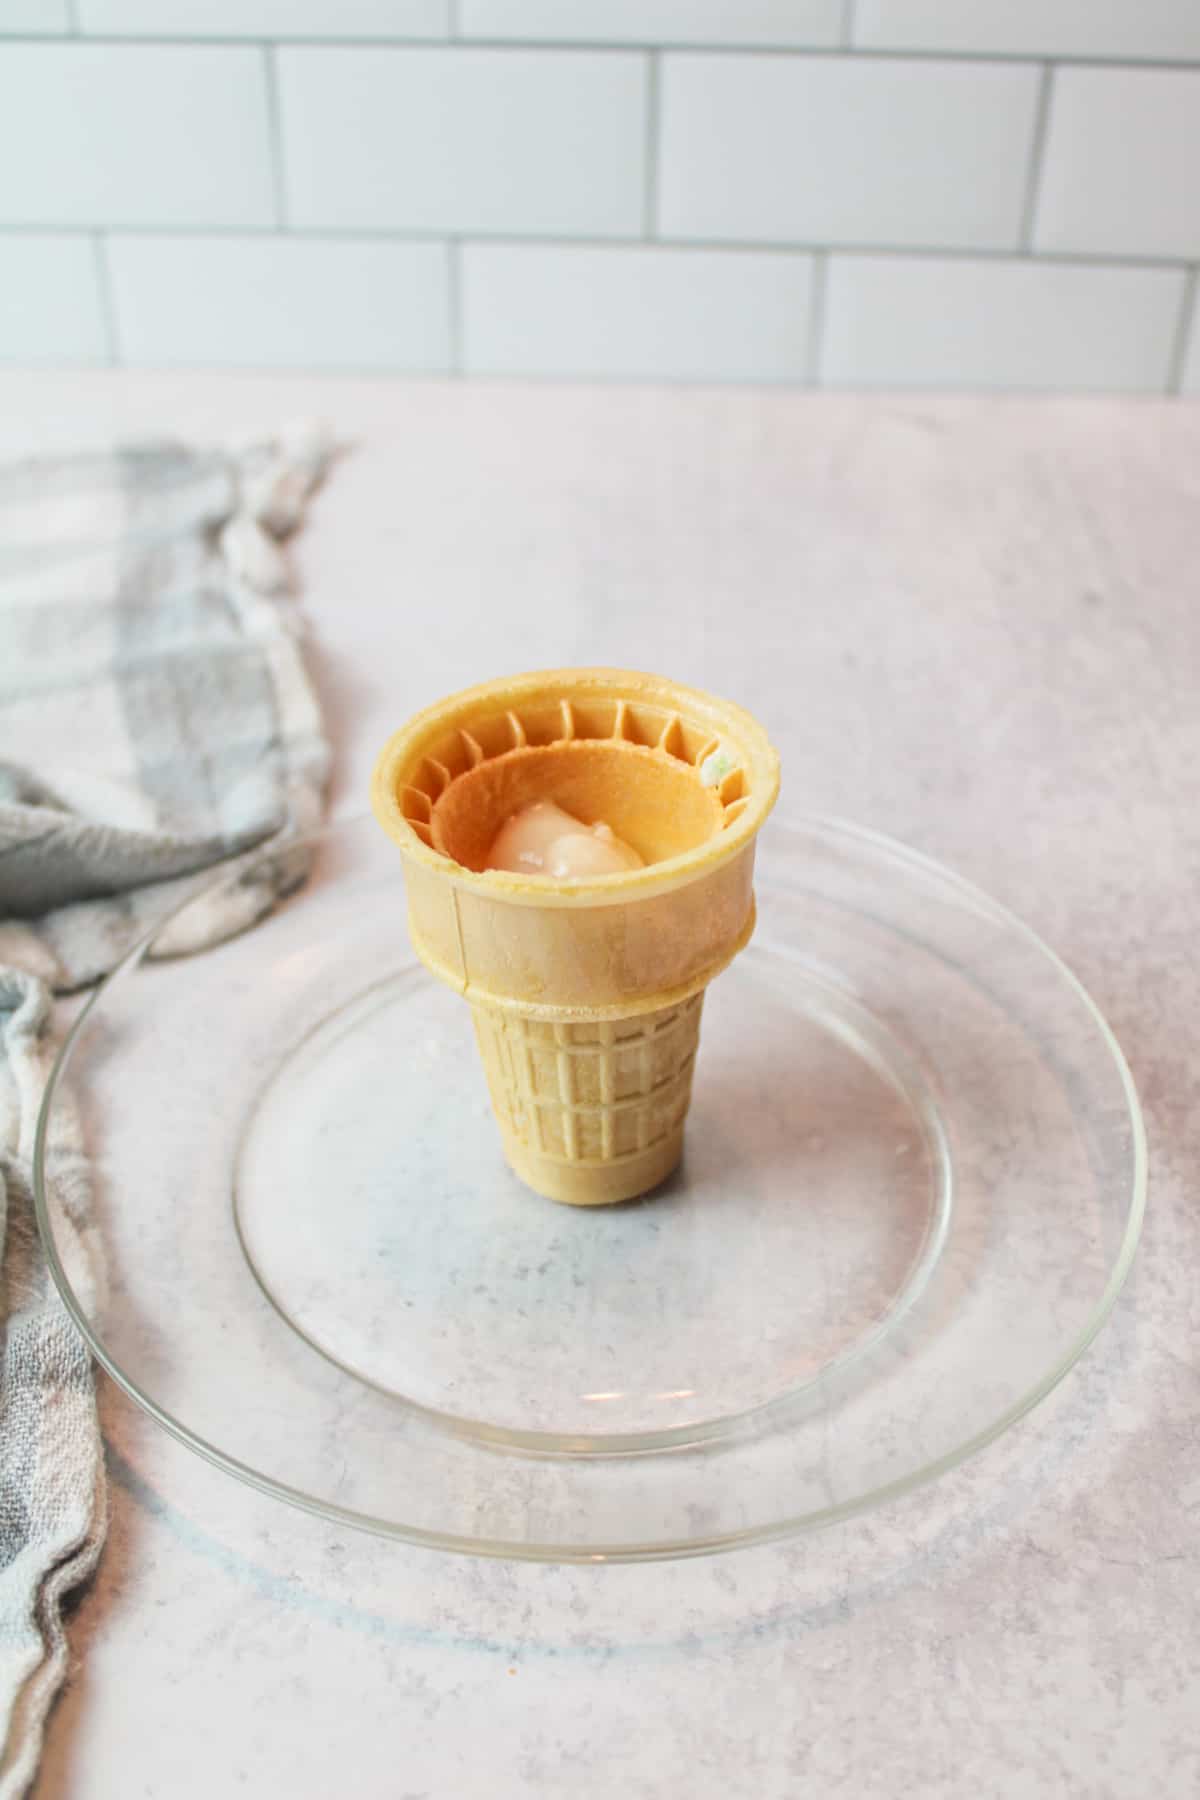
Step 3: Carefully pour the cake batter into an ice cream cone. Place onto a microwave safe plate.
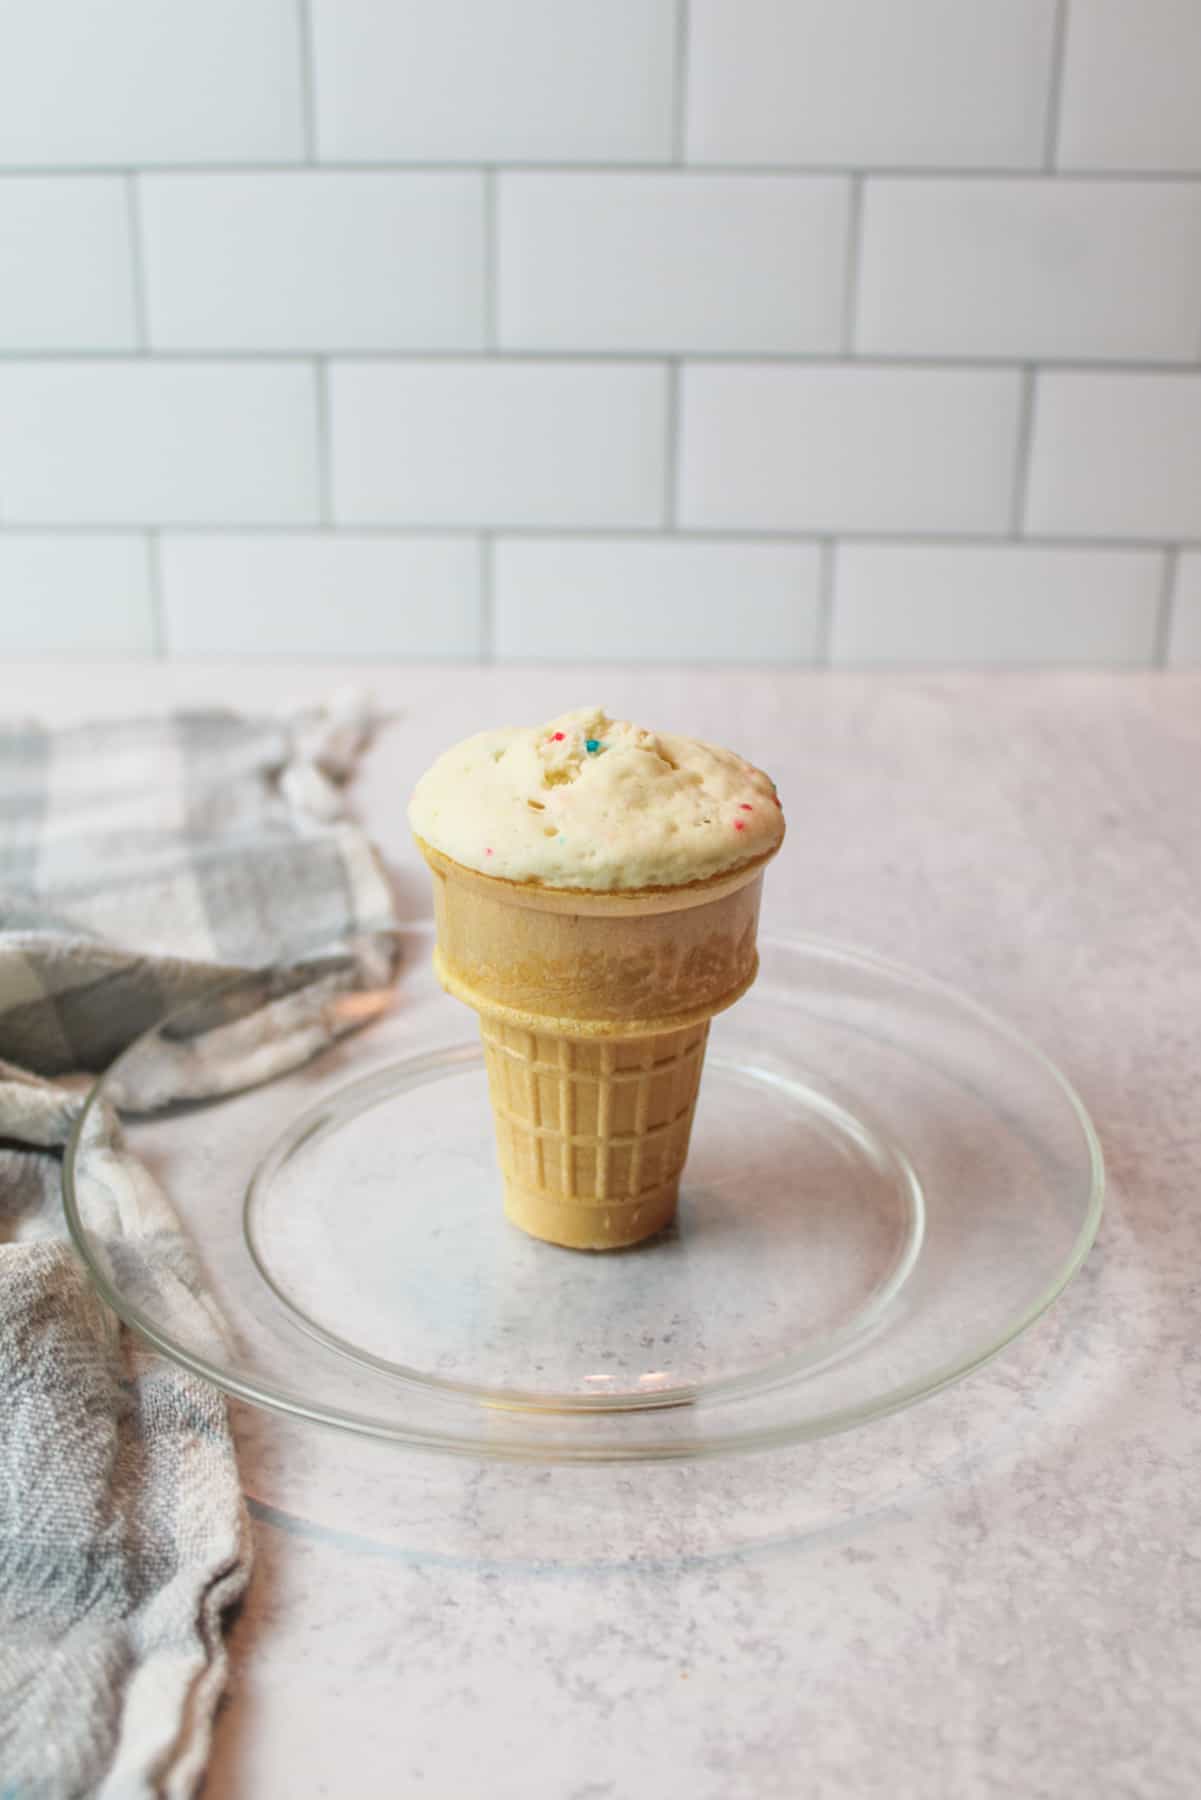
Step 4: Place in the microwave and heat for 45 seconds. The top should no longer look soggy, but a small wet spot is fine.
Step 5: Let cool 1-2 minutes before adding frosting (if using).
Serve and Enjoy!
👩🏻🍳 Expert Tips
- No cupcake cones on hand? No worries! You can still whip up Cake Mix Mug Cakes with just cake mix, water, and a mug.
- If you're doubling or tripling the recipe, make sure to divide the batter evenly among the cones to prevent overflow and mess.
- Allow about 3 minutes of cooling time before handling, as they'll still be quite warm inside.
- For best results, cook only one cone at a time when making multiples. Cooking multiple cones simultaneously can lead to uneven cooking and longer cooking times, resulting in inconsistent results.
❄️ Storage, Reheating & Make Ahead
Storage: These treats are best enjoyed fresh but can be stored in an airtight container at room temperature for up to 3 days. Avoid refrigerating, as moisture can soften the cones.
Reheating: If needed, warm a cone briefly in the microwave (about 5-10 seconds) to refresh it, but avoid overheating to prevent the cone from becoming soggy.
Make Ahead: You can bake the cupcakes up to a day in advance and store them uncovered for 1-2 hours, then lightly cover once cooled. Frost just before serving to keep the cones crisp and fresh.
🥗 Side Dishes or Pairing Ideas
Microwave ice cream cone cupcakes pair well with fun, kid-friendly sides and simple treats. Serve them with fresh fruit like strawberries, grapes, or melon for a light balance to the sweetness. A scoop of ice cream or whipped cream makes them extra festive, especially for parties.
- Red Velvet Cheesecake BrowniesRecipe $4.56 / Serving $0.38
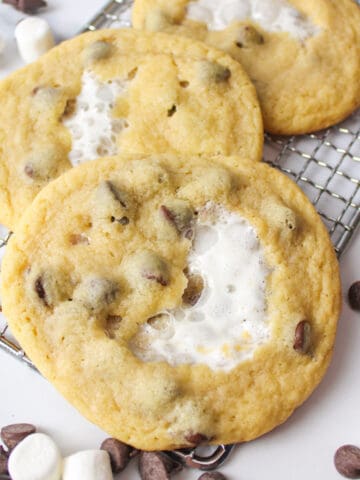
- Chocolate Chip Marshmallow CookiesRecipe $5.04 / Serving $0.21
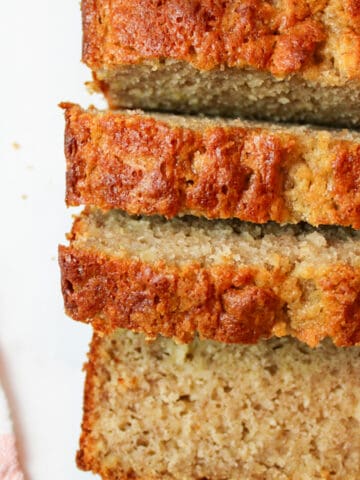
- Banana Bread with Pancake MixRecipe $2.30
- Butterscotch Chocolate Chip CookiesRecipe $2.93 / Serving $0.24

❓ Recipe FAQs
No. Waffle cones will not hold up well to the recipe as they are pointed on the bottom and won't stand up correctly in the microwave. Not only that, but the cones tend to get soggy when warmed.
Yes! These cones can be frozen in an airtight container for up to 3 months. They freeze very well with or without frosting. I like to freeze with frosting and enjoy them while they're still cold!
The three types of ice cream cones are sugar cones, waffle cones, and cake cones. For this recipe, we need cake cones as they are the only cones with a flat bottom base. If you have the wrong cone type, consider filling them with some Chocolate Mason Jar Ice Cream instead!
Transport ice cream cone cupcakes in a foil-lined muffin tin. Use the same tin for decoration and easy transport. For a nicer presentation, decorate or wrap in a box.

🍽️ More Recipes You'll Love
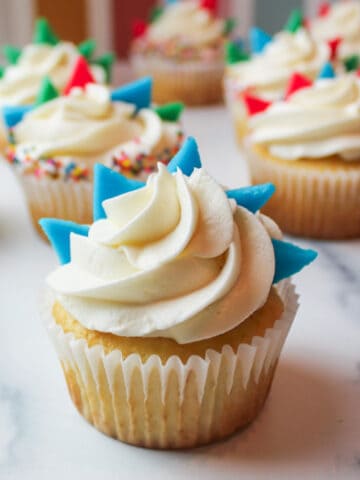
- Dinosaur CupcakesRecipe $7.61 / Serving $0.32
- Apple Cider Cupcakes with Caramel FrostingRecipe $10.68 / Serving $0.45
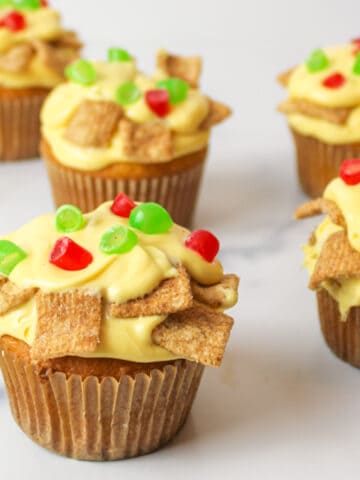
- Nacho CupcakesRecipe $5.01 / Serving $0.21
- Honey Bee CupcakesRecipe $6.57 / Cupcakes $0.55


🐝 If you tried these microwave ice cream cone cupcakes, please leave a ⭐️ star rating and share your buzz in the 💬 comments below. I'd truly appreciate it!
📖 Recipe

Microwave Ice Cream Cone Cupcakes
Ingredients
- 2 tablespoon cake mix, any flavor - ($0.03)
- 1 tablespoon water - ($0.00)
- 1 ice cream cones - ($0.08)
- 1 tablespoon frosting, optional - ($0.06)
Instructions
- Mix batter. In a small bowl, stir cake mix and water until mostly smooth with no large lumps.
- Fill cone. Carefully pour batter into the ice cream cone, filling just to the base of the rounded edge. Do not overfill.
- Microwave. Place the cone upright on a microwave-safe plate and microwave for about 45 seconds, until the top no longer looks wet. A small moist spot is fine.
- Cool. Let stand 1 to 2 minutes before handling.
- Finish. Add frosting if using, then serve immediately.
Notes
- Flavor Options. Any boxed cake mix works, including chocolate, red velvet, vanilla, or spice.
- Batch Cooking. Cook one cone at a time for even results. Cooking multiple cones may require extra time.
- Cooling Tip. Allow cones to cool before handling, as the center stays hot longer.
- Storage. Best enjoyed fresh, but can be stored in an airtight container at room temperature for up to 3 days.
Nutritional Information
Save This Recipe to Your Inbox
By signing up, you'll join our email list and can unsubscribe anytime.


Comments
No Comments