

Don't let the name fool you, because this armpit fudge recipe is actually a simple fudge in a bag, made using your own body heat and hands to knead it to completion.
Save This Recipe to Your Inbox
By signing up, you’ll join our email list and can unsubscribe anytime.
Fudge is a delicious holiday favorite. Especially with recipes like 3 Ingredient Oreo Fudge and Rolo Turtle Fudge, but this Armpit Fudge recipe is best in the summer.
While I wish that I could take credit for this recipe, I honestly can't. This Armpit Fudge is one of the Girls Scouts camping recipes that has been around for decades. And that's because it's so easy and perfect for bringing with you on those outdoorsy adventures.
The name may not sound appealing, but you have to admit it's intriguing because you're here and reading all about it. Girl Scout snack ideas are usually pretty memorable like that.
For more fun camping recipes, make sure to check out my Pizza Dough In a Bag, Cookies and Cream Pizookie, and Golden Graham Smores Bars.
Jump to:
⭐⭐⭐⭐⭐ The Buzz From Readers
"Love this idea, next hiking trip or heck just sitting around on a lazy day hack.. thanks for sharing.. I never got to join Girl Scouts so I love the ideas to teach to my son, even though he's already 18 now. But it's still an awesome easy way to get that chocolate fix in..."
- Brittany
💛 Why You'll Love This Recipe
- The kids can make it. This is a recipe all about the youth! No sharp objects, heating elements, or heavy equipment are needed. They'll just need a pair of warm hands and a plastic baggie.
- It's portable. Bag up everyone's portioned ingredients before heading out, make the fudge at home, and bring it with you in a cooler, or just pack up the ingredients and measure later. There are so many ways you can bring it with you on your next hike or get-together.
- Easy clean up. The mixing bowl and serving bowl are one and the same. Eat your Armpit Fudge right out of the bag or scoop it onto a plate or in a bowl and enjoy it that way.
🛒 Ingredients
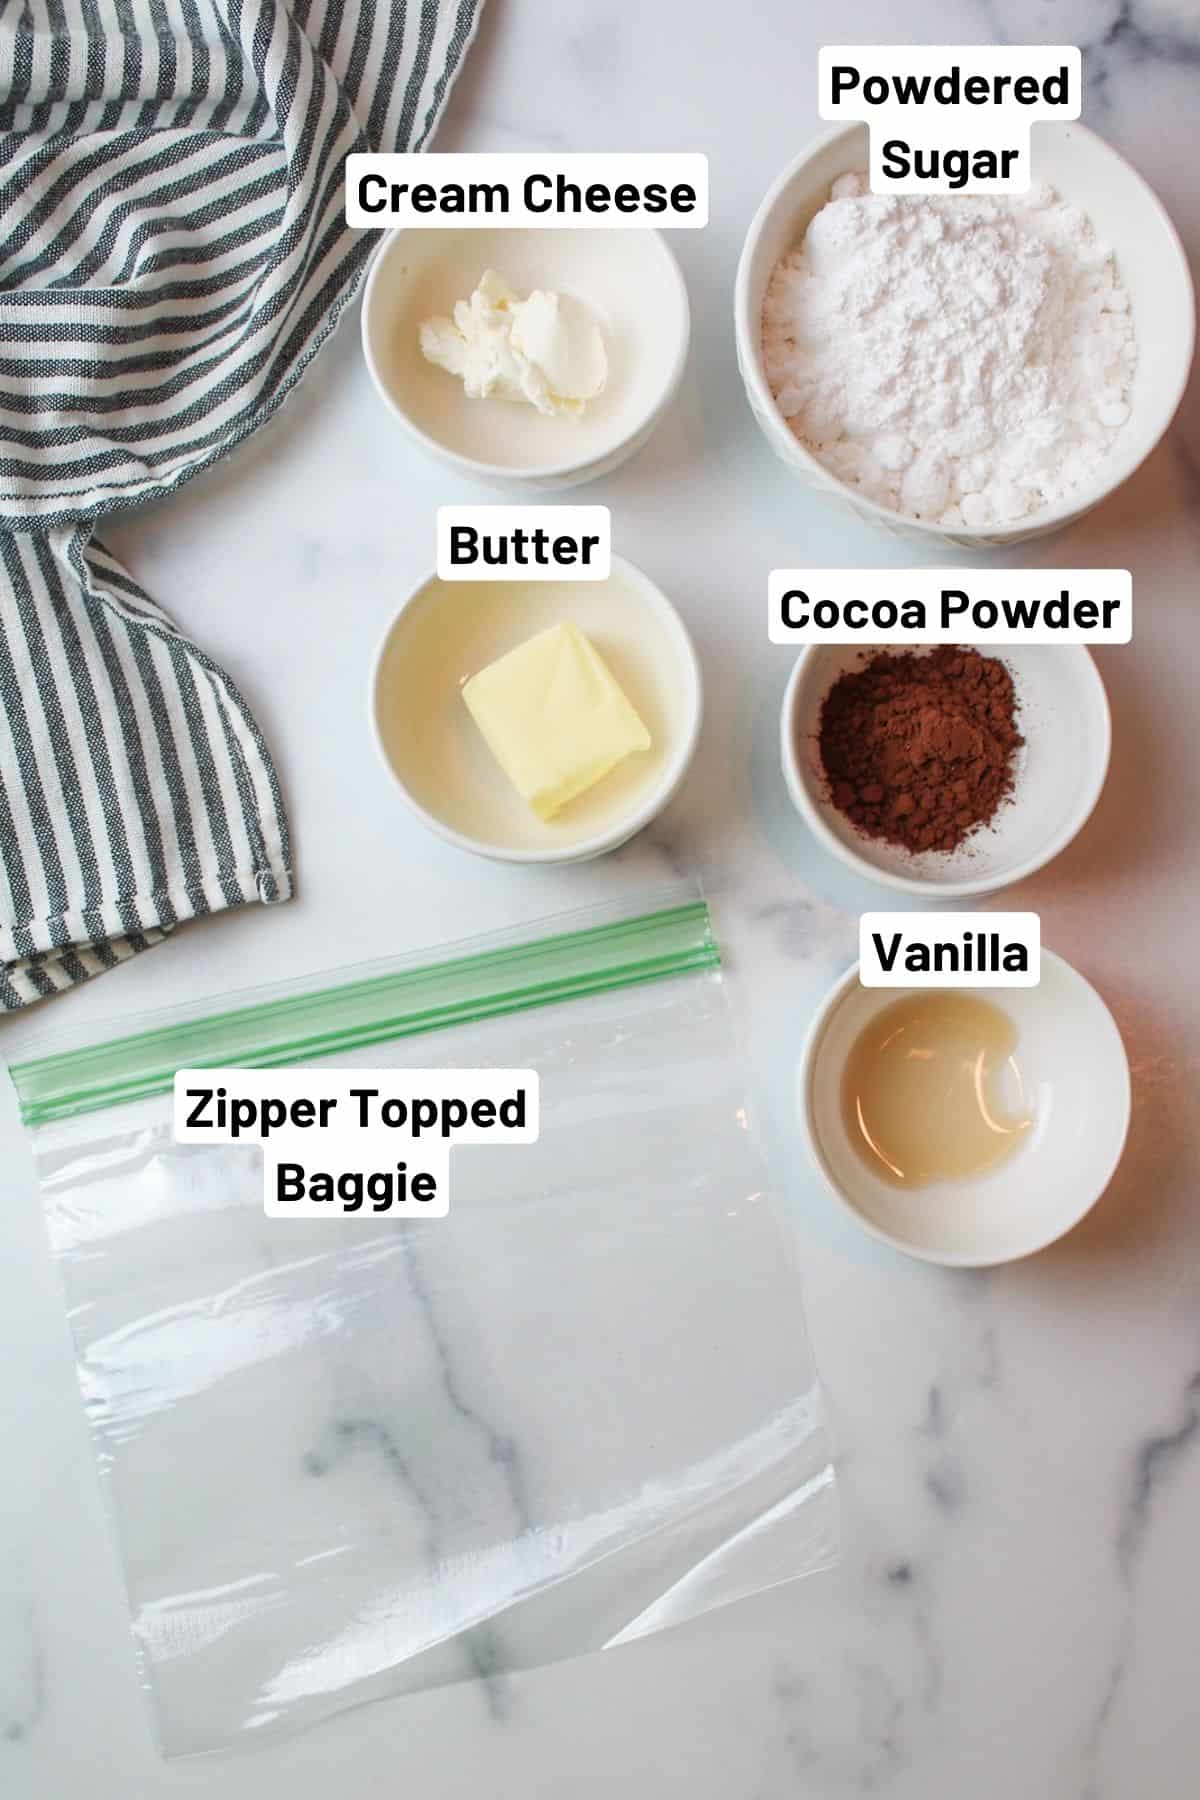
Butter- You will want to use some butter for this Armpit Fudge recipe. Margarine can work in a pinch, but the texture and flavor are best with butter. Use salted or unsalted butter, depending on what you have on hand.
Cocoa Powder- Use some unsweetened cocoa powder (the baking cocoa) to give your fudge a rich chocolate taste. Milk chocolate cocoa powder and dark chocolate cocoa powder both taste really great with this recipe!
Powdered Sugar- This is the base of the recipe and what makes the fudge thick and sweet without changing the smooth consistency.
See the recipe card below for full ingredients and instructions.
🐄 Dairy Free Version
Armpit Fudge without Cream Cheese: To make this recipe dairy-free, replace cream cheese with vegan alternatives like Tofutti or pureed silken tofu for a similar creamy texture.
Substituting Ingredients: Vegan butter such as Earth Balance can be used instead of regular butter. Ensure other ingredients remain unchanged. Check labels for allergen warnings.
Following Recipe Steps: Follow the recipe precisely while avoiding cross-contamination with dairy versions. Use separate measuring tools and maintain cleanliness in work areas.
💰 Budget-Friendly Tips
Use store-brand ingredients. Store-brand cocoa powder, butter, and powdered sugar taste just as good and cost significantly less.
Use leftover butter or cream cheese. This Armpit Fudge recipe only needs small amounts, making it a great way to use up opened packages.
Portion ahead for outings. Pre-measure dry ingredients into baggies so you don't buy overpriced snacks while hiking or camping.
🥣 Recipe Add-Ins
If desired, you can add in 1-2 tablespoons of rainbow sprinkles, mini chocolate chips, or peanut butter cups for a sweeter treat. Chopped walnuts make for a nice add-in too, but you'll want to avoid them if anyone has a nut allergy.
🔪 Instructions for How to Make Armpit Fudge
Step 1: If desired, open a zipper topped baggie and place it into a cup, fold the top over, and push the bag into the cup so that it's now an opened circle. This will make it much easier to add ingredients without the mess and hassle of the bag falling down.
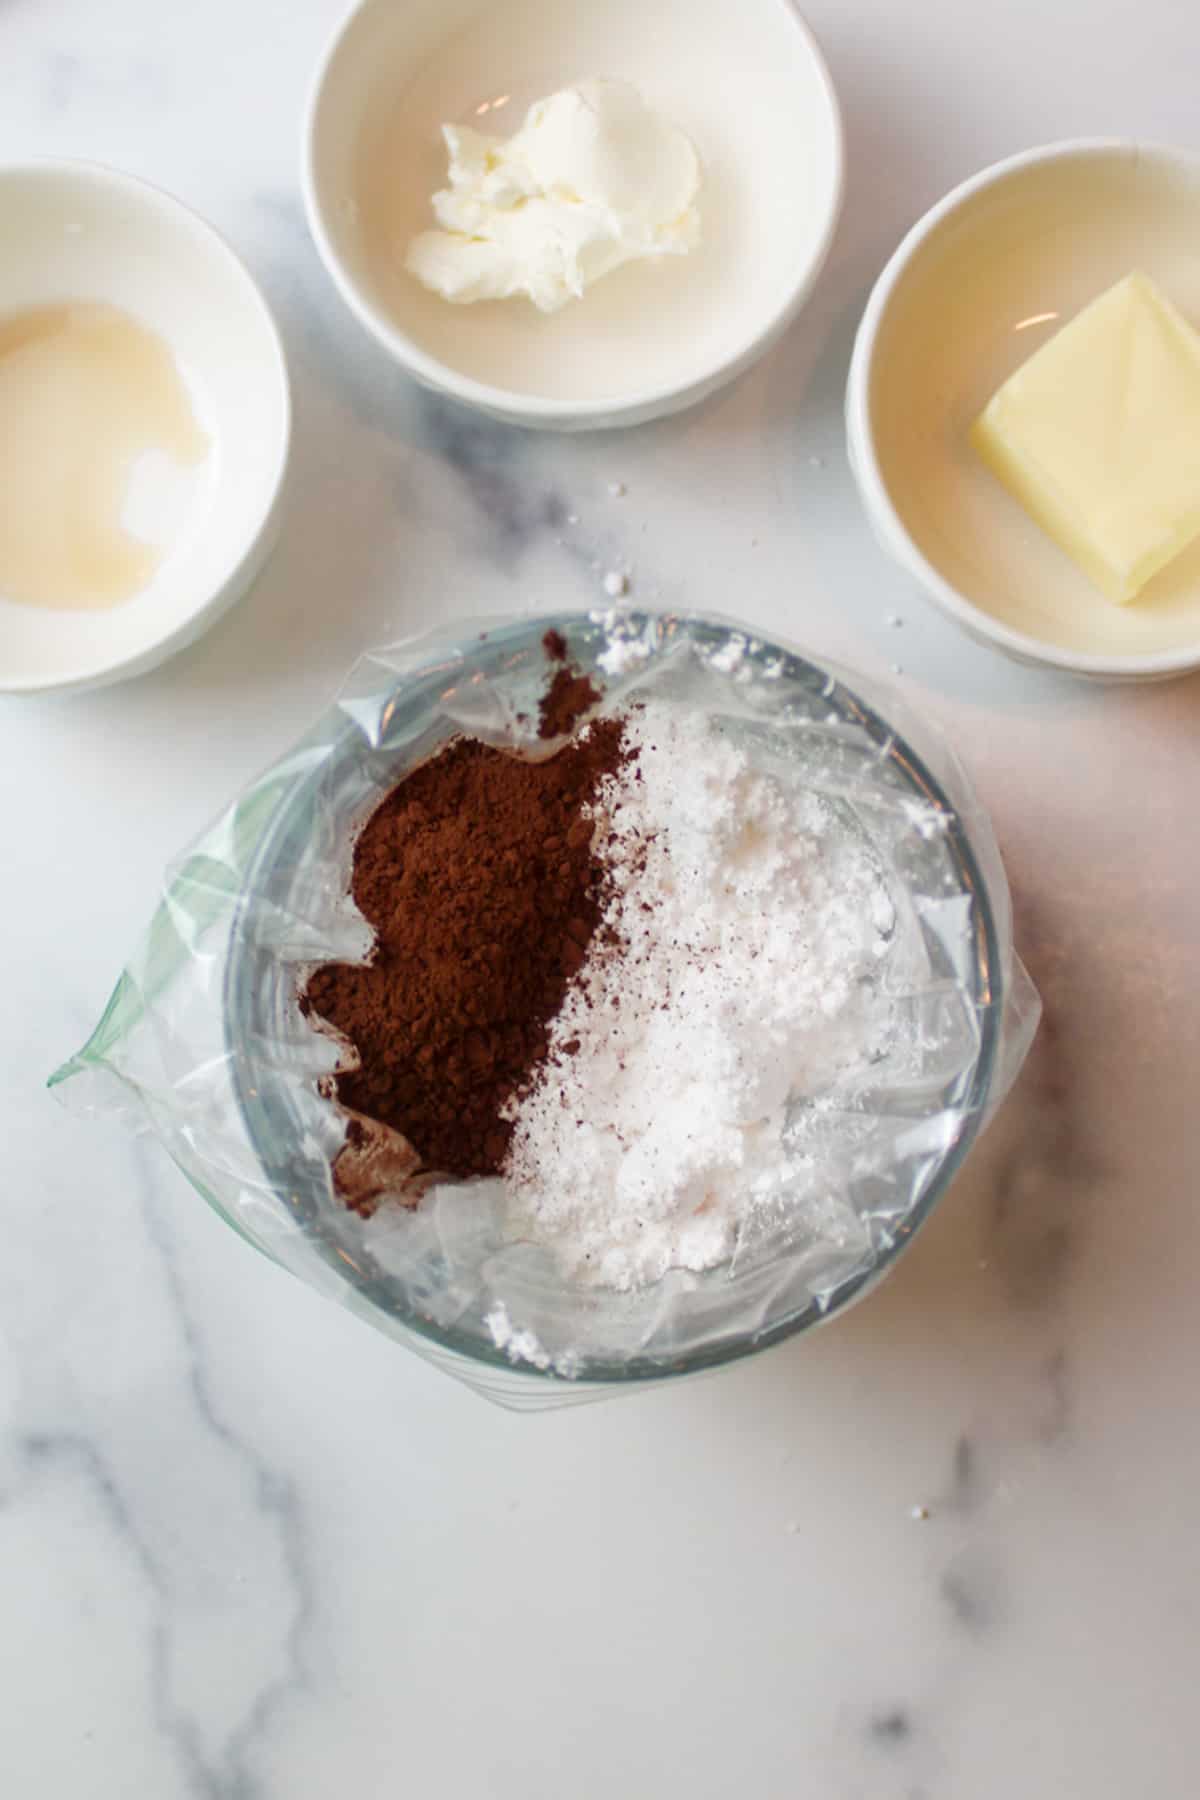
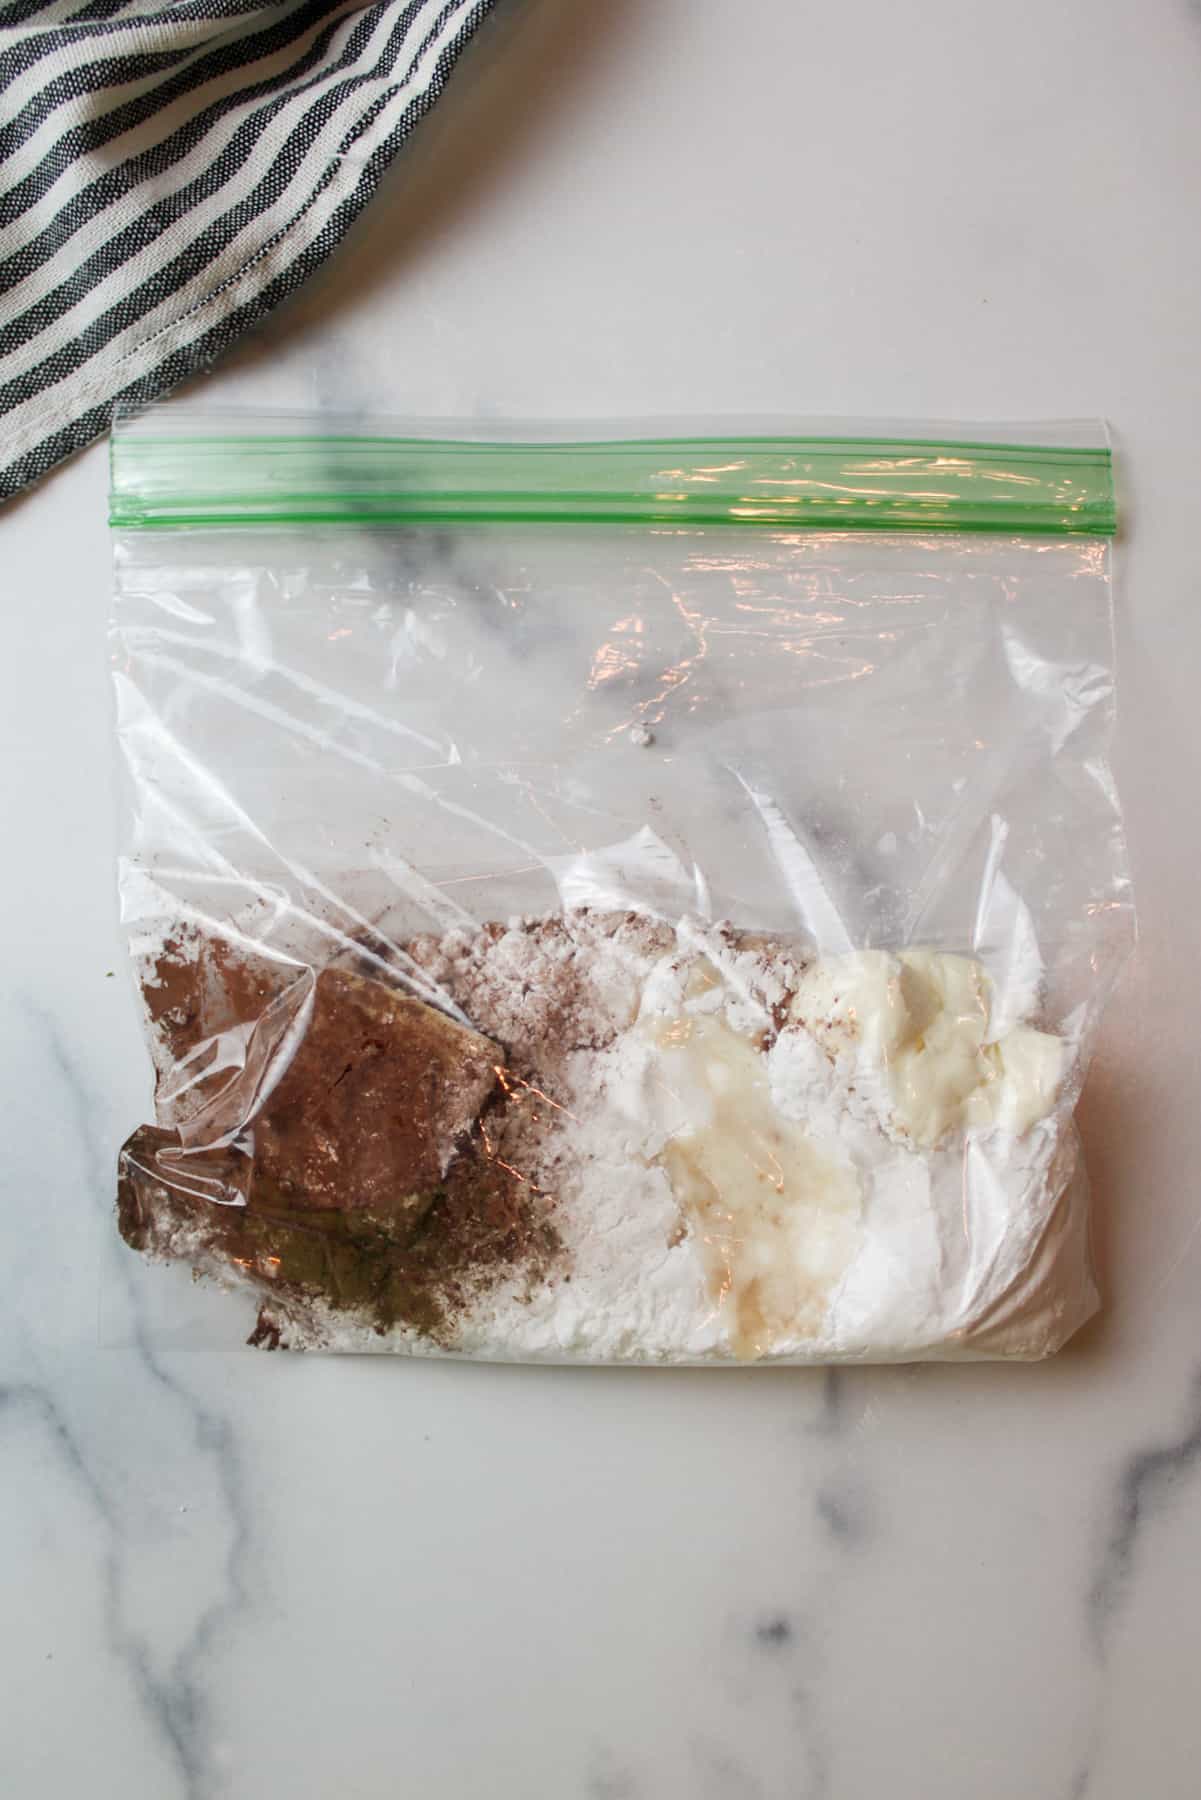
Step 2: Add your cocoa powder and powdered sugar to the baggie.
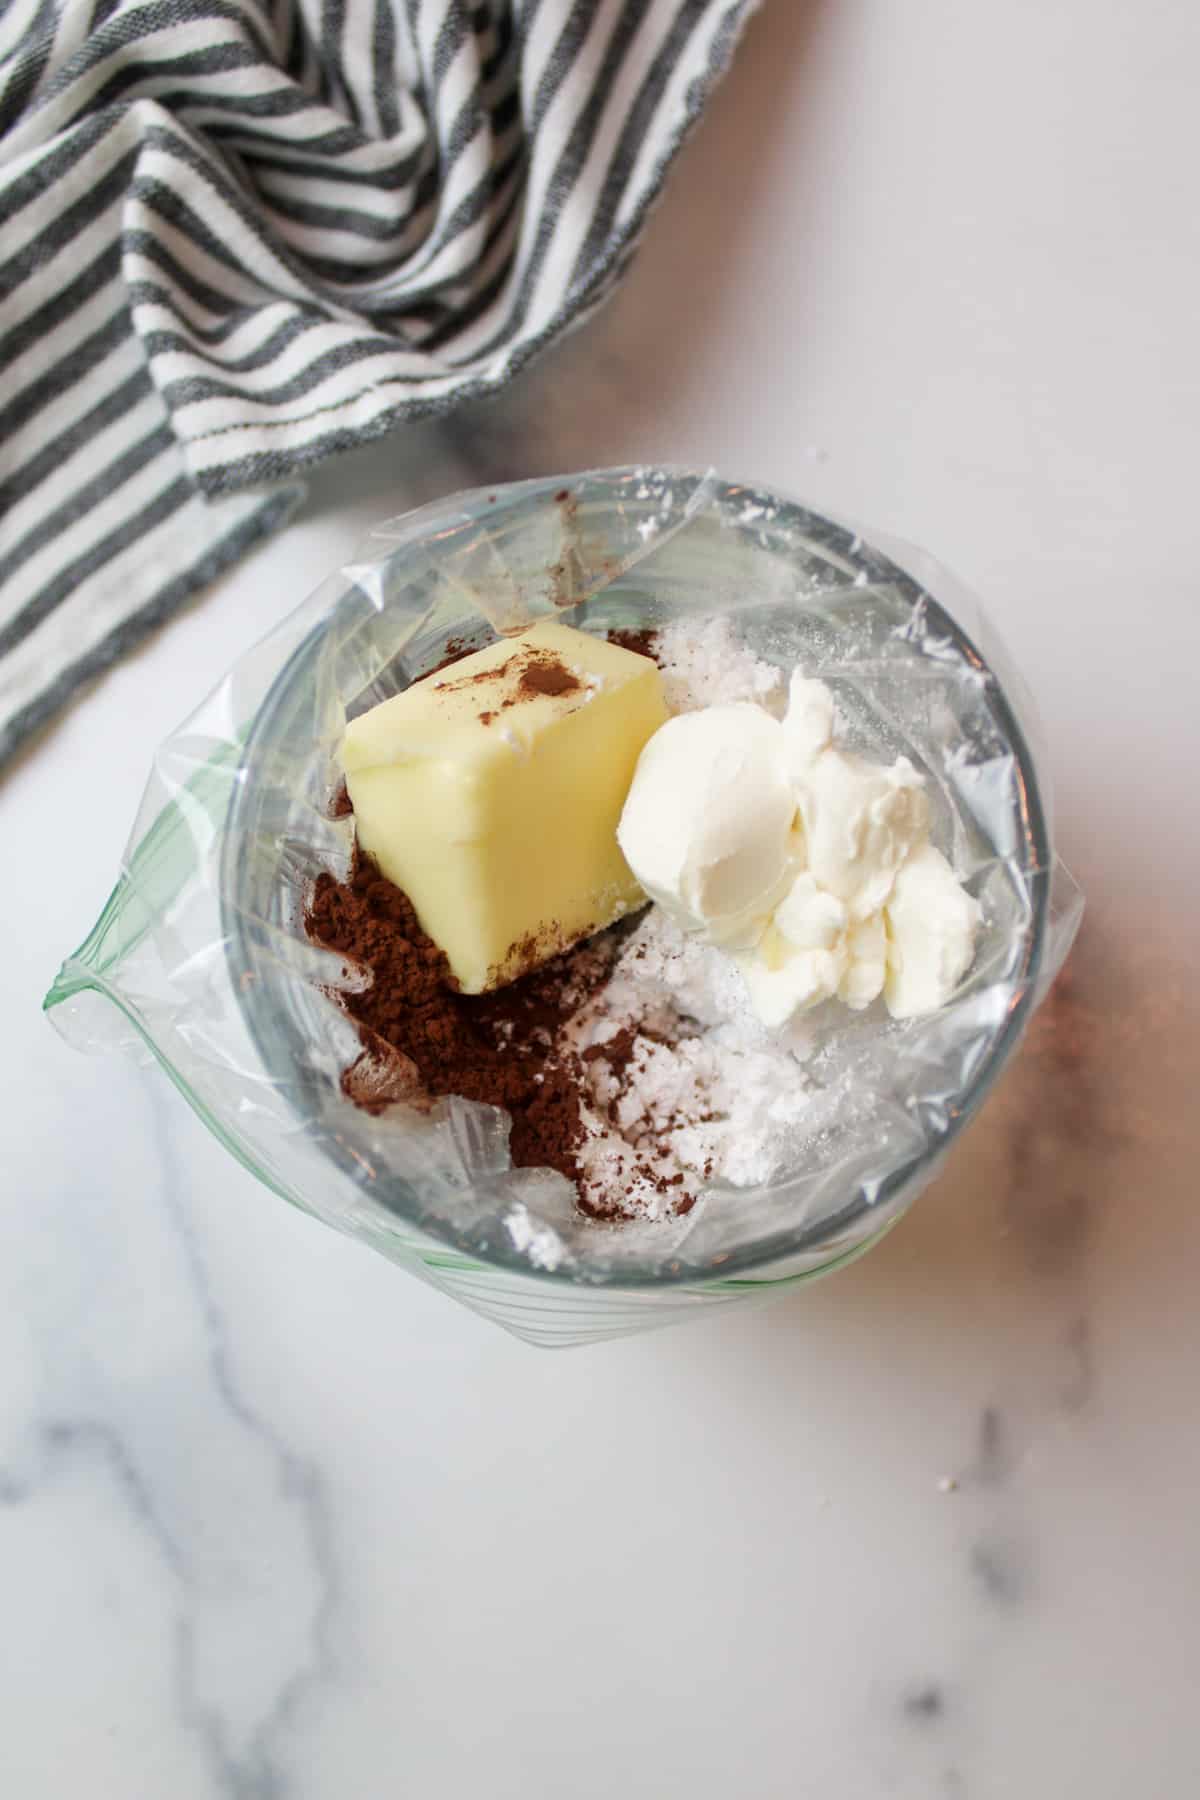
Step 3: Now add in the vanilla, cream cheese, and butter.
Step 4: Remove as much air from the bag as you can and seal it closed.
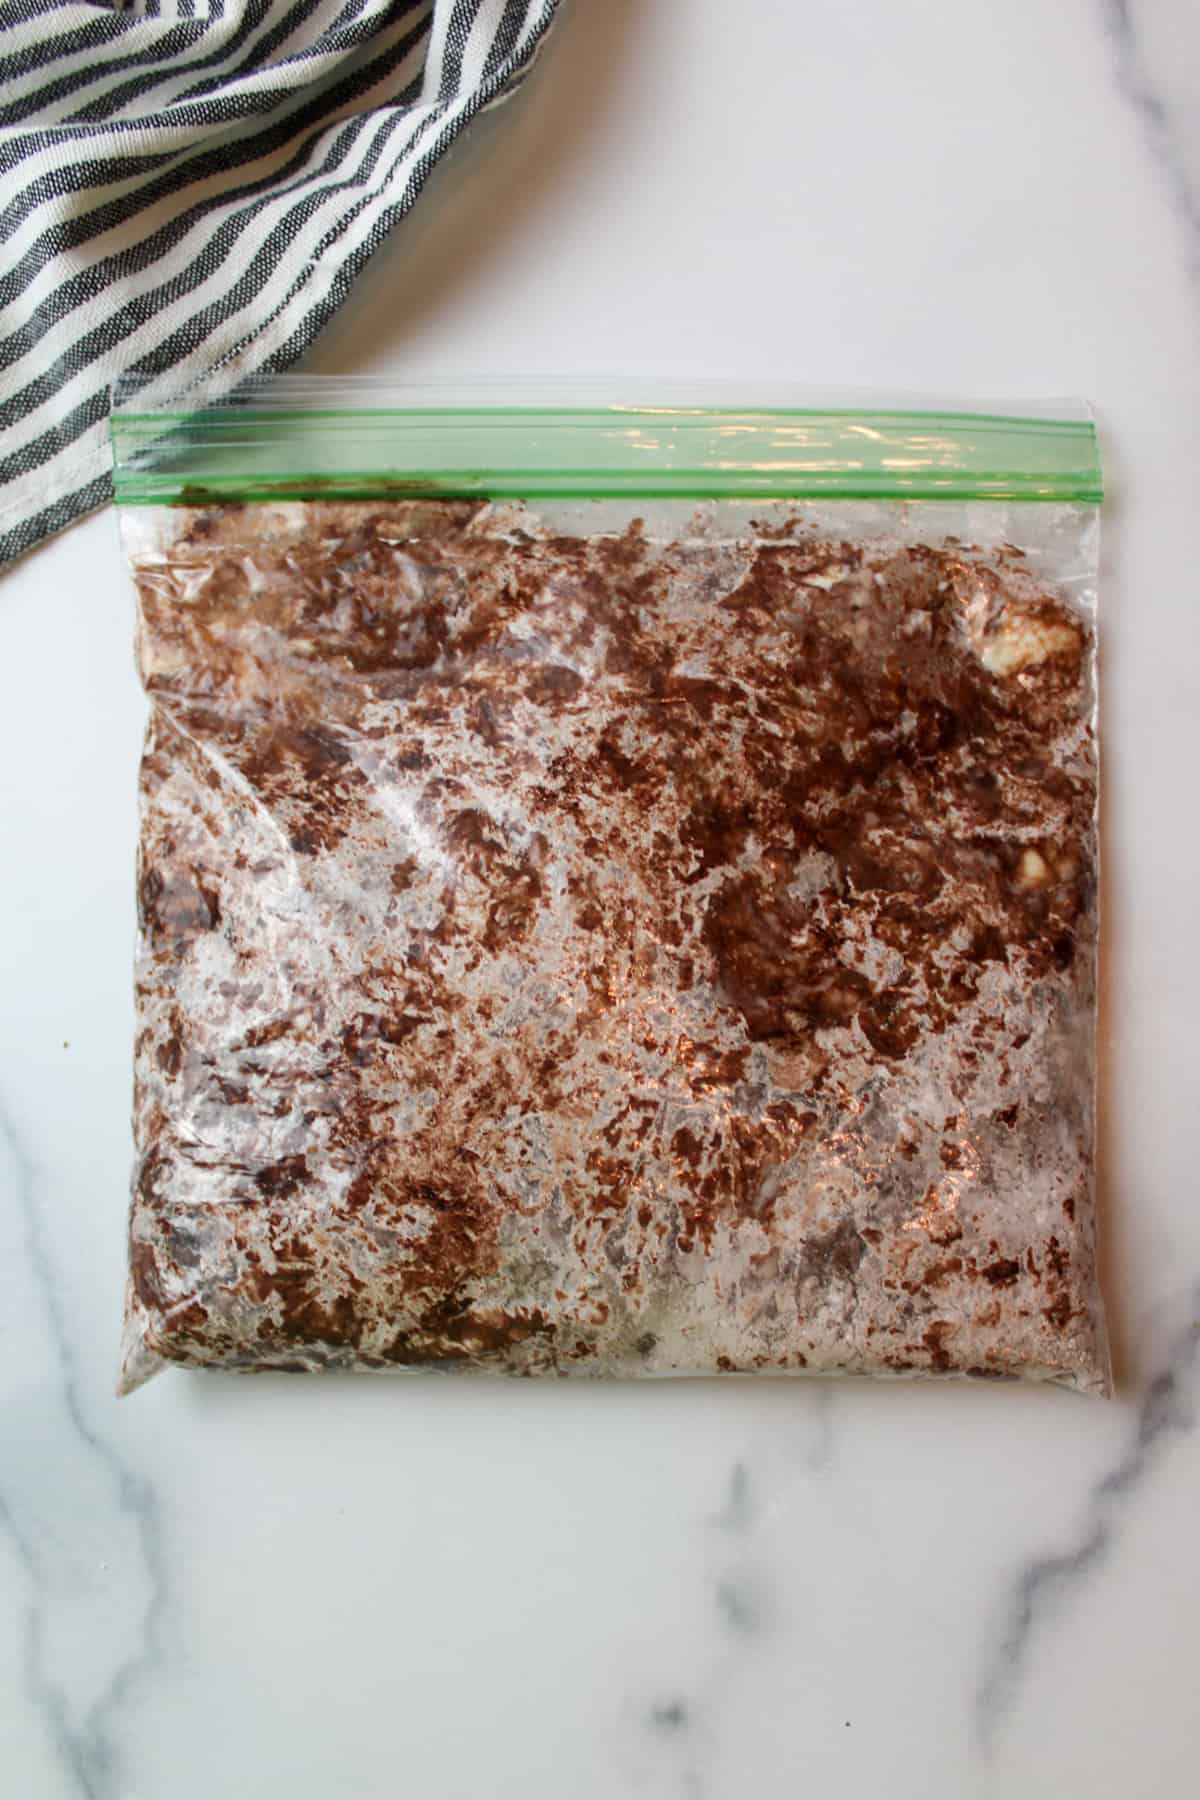
Step 5: Knead the bag between your warm hands for about 5 minutes. Warm body heat can help to melt the butter and cream cheese faster.
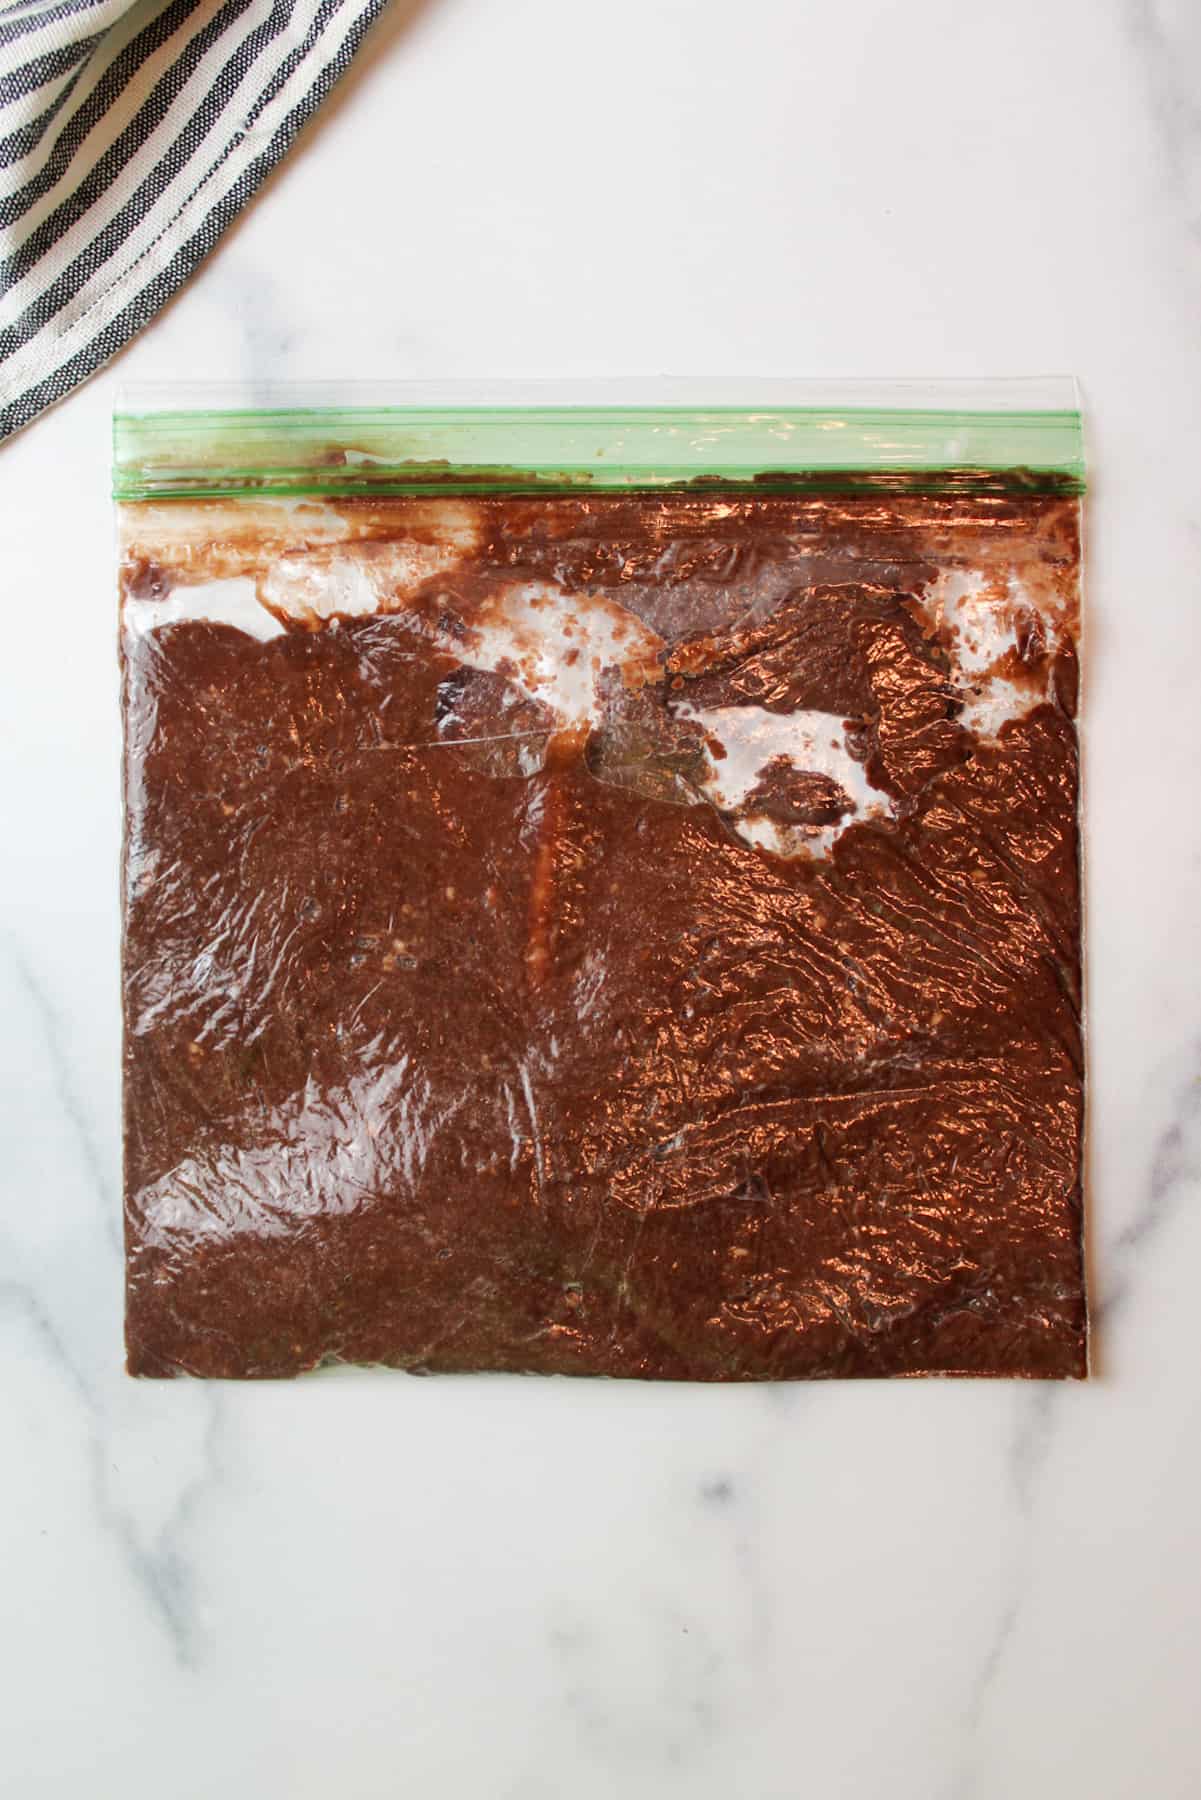
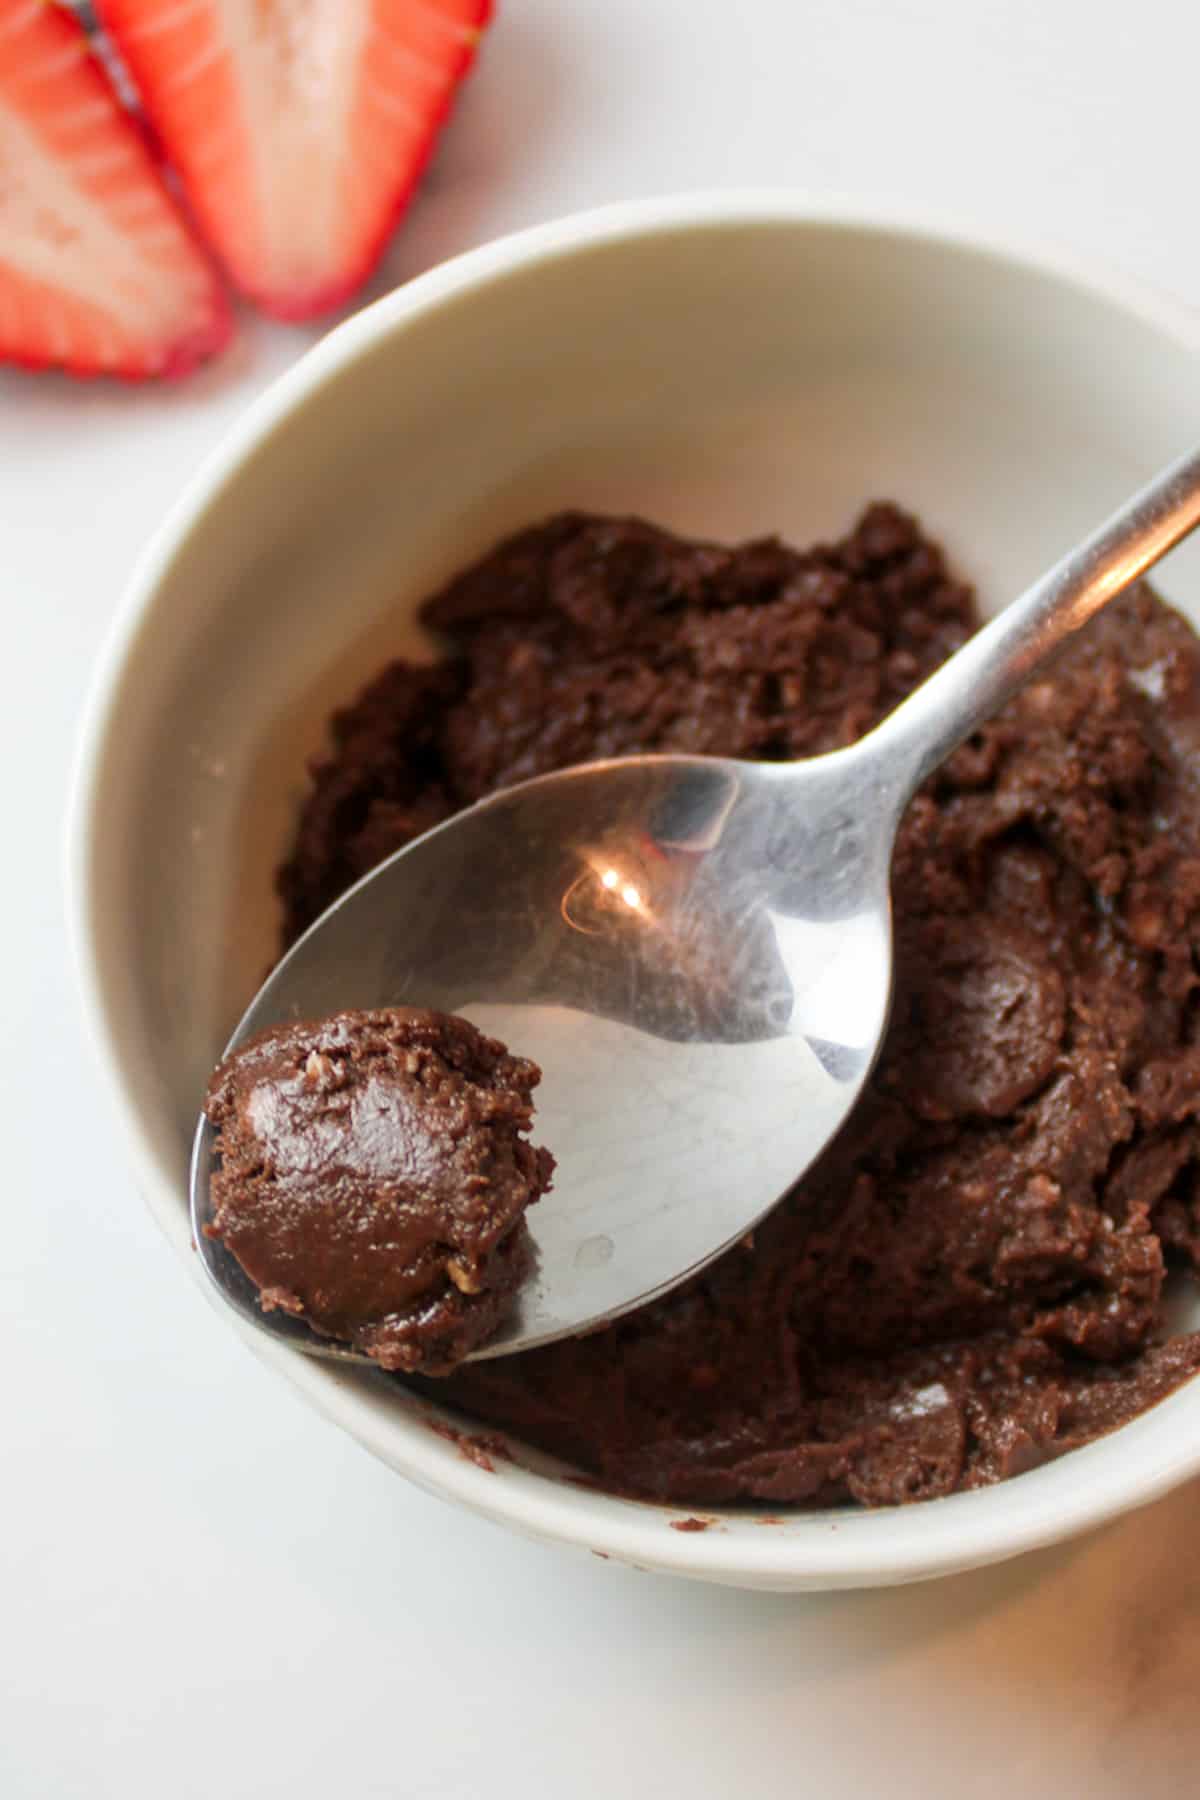
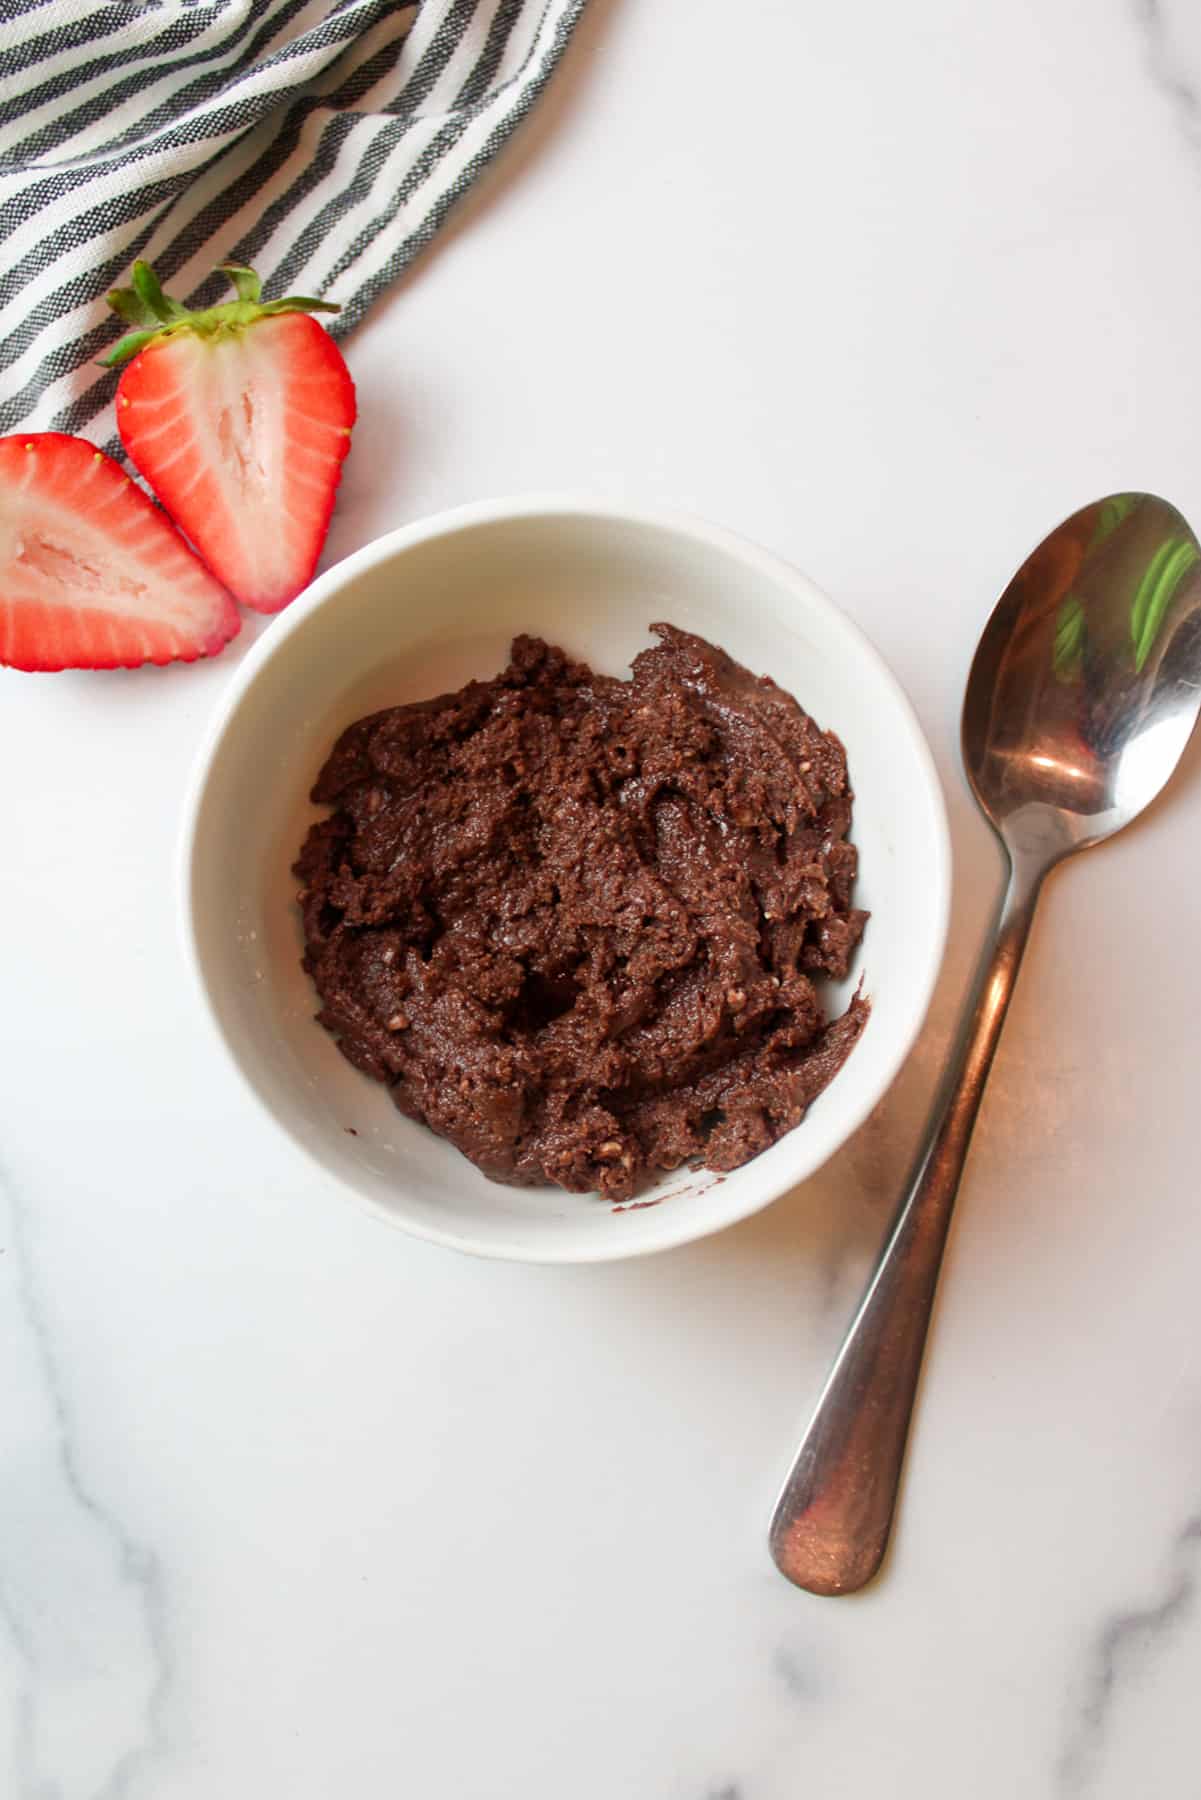
It will turn into a dark creamy consistency when it's ready.
There may still be a few small unmixed chunks. This is okay!
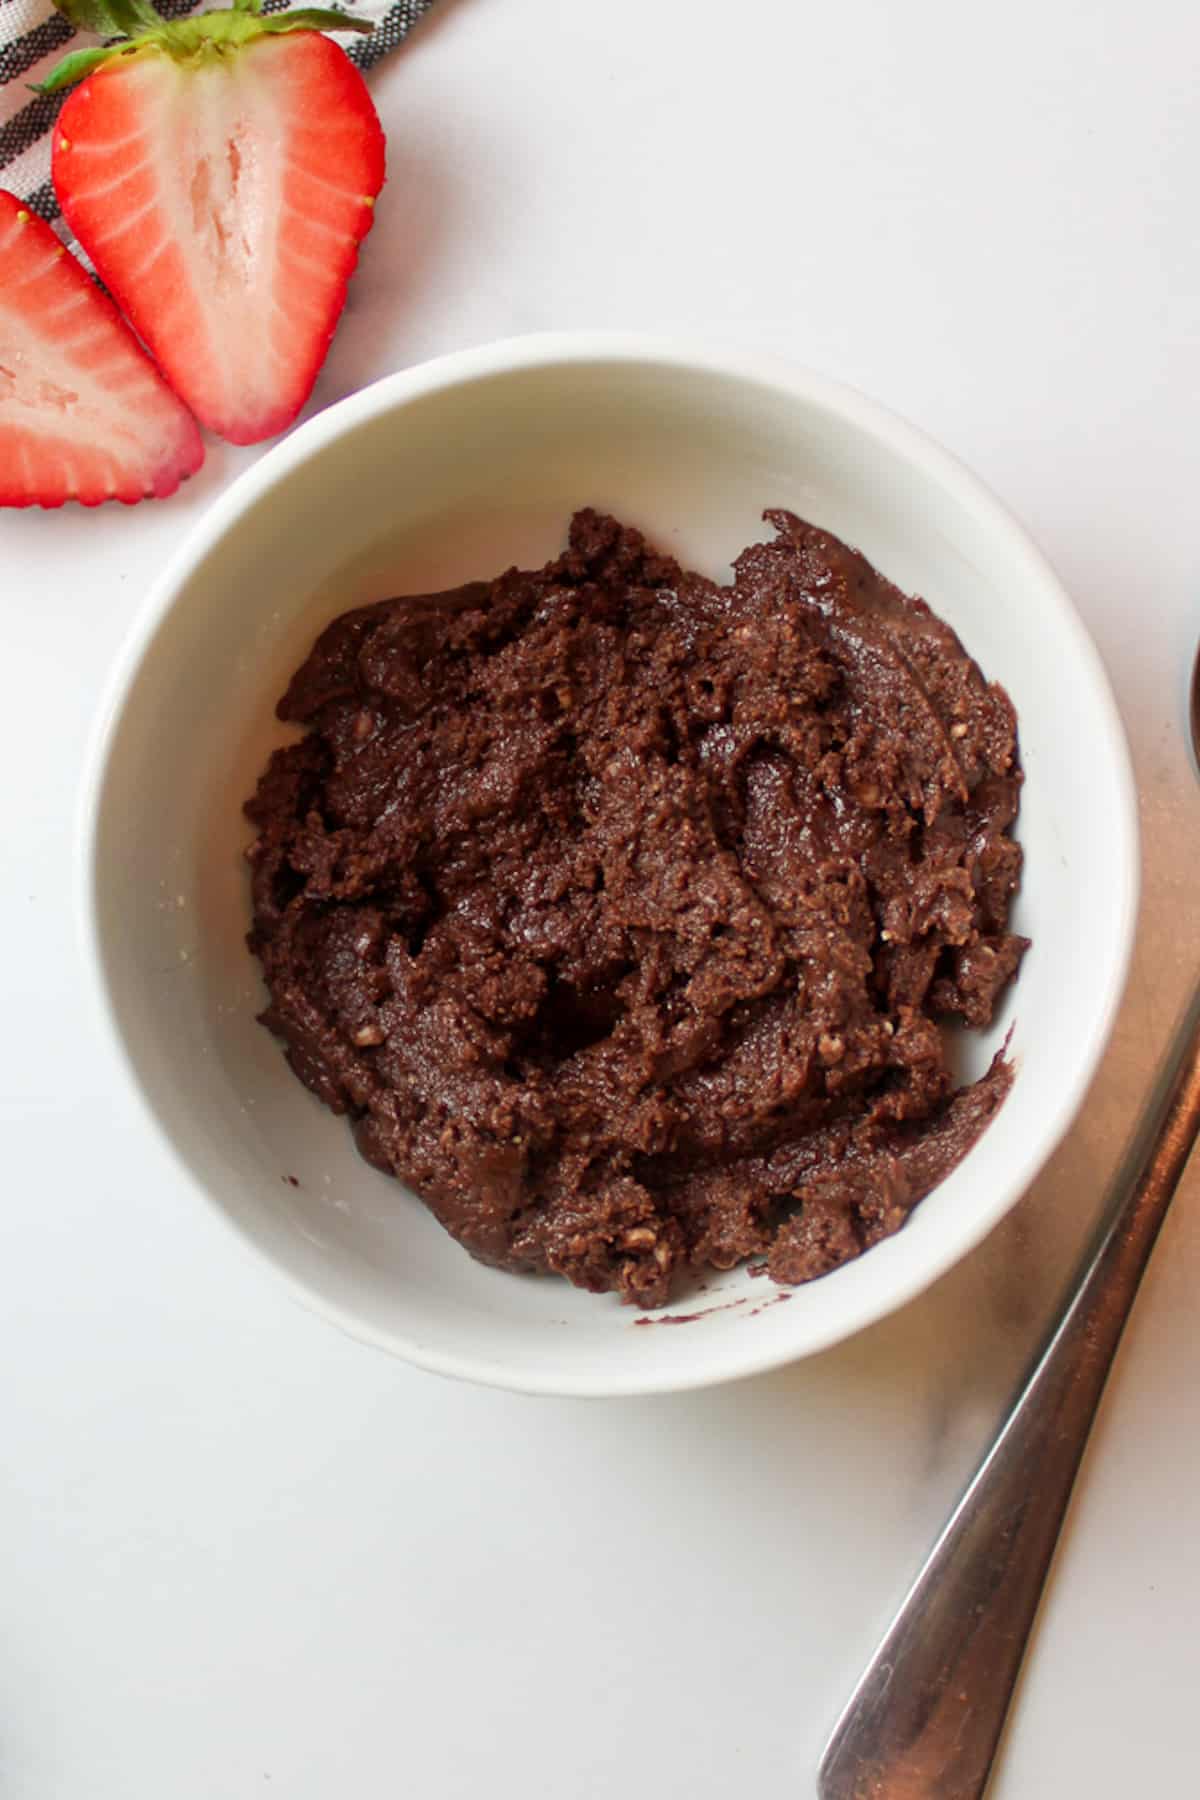
Step 6: Eat straight from the baggie or place it into a bowl for serving.
Dig in and enjoy!
👩🏻🍳 Expert Tips
- This is a soft set fudge. The consistency of this Armpit Fudge will not be like the fudge you usually picture in your mind- those thick hard cut squares of chocolate. Instead, this fudge is thinner than that and more like a thickened chocolate frosting.
- A serving is more than plenty. The fudge is pretty rich and filling, I enjoy serving it up with fresh berries to help cut down on the sweetness.
❄️ Storage and Make Ahead
Storage: Keep any uneaten Armpit Fudge in a labeled, airtight container in the fridge for up to 5 days.
Make Ahead: You can make this fudge in advance and keep it in an airtight container in the fridge. The fudge will solidify as it ages, making it easier to cut into squares (if you choose to do so).
🥗 Side Dishes or Pairing Ideas
Armpit fudge pairs well with fresh fruit, graham crackers, pretzels, or animal crackers for dipping. It also makes a fun dessert after easy camping meals like hot dogs, foil packet dinners, or grilled sandwiches.
- Broiler SmoresRecipe $3.06 / Serving $0.51
- S'mores Sourdough BreadRecipe $3.02 / Serving $0.19
- Walking Taco CasseroleRecipe $9.86 / Serving $1.64
- Pizza Dough In a BagRecipe $0.41


❓ Armpit Fudge FAQs
The Girl Scouts gave this fudge its name after several cold campers decided that their armpits would be a safe warm spot to hold their bags of fudge. That said, your hands will usually work just fine.
I think a sandwich bag would be perfect for this amount of fudge as it gives plenty of space for the ingredients and for moving everything around as you knead the bag. Smaller bags may not work as well, but larger bags like quart-sized or gallon could work just fine.
Absolutely! You don't NEED to go camping to enjoy this nifty dessert. Feel free to whip it up at home (you can even use a mixing bowl) and then sit back and eat your sweet chocolate concoction on the patio or from the couch on a rainy afternoon.
🍽️ More Recipes You'll Love
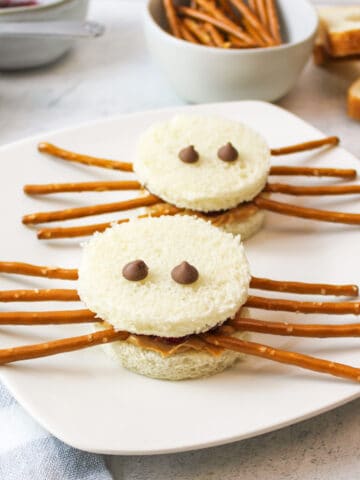
- Spider SandwichesRecipe $0.94 / Serving $0.47
- Earth Day ParfaitsRecipe $5.25 / Serving $0.66
- Sour Patch GrapesRecipe $7.85 / Serving $1.31
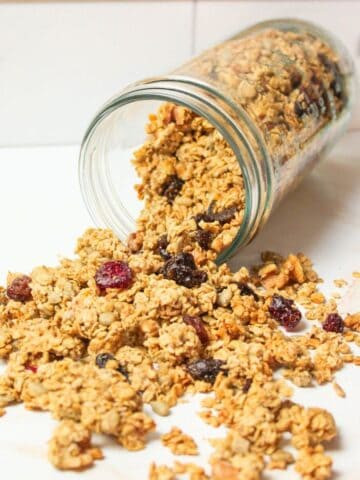
- S'mores Snack MixRecipe $2.84 / Serving $0.47


🐝 If you tried this armpit fudge, please leave a ⭐️ star rating and share your buzz in the 💬 comments below. I'd truly appreciate it!
📖 Recipe

Armpit Fudge
Equipment
Ingredients
- 2 teaspoons unsweetened cocoa powder - ($0.06)
- ½ cup powdered sugar - ($0.18)
- ⅛ teaspoon vanilla extract - ($0.01)
- 2 teaspoons cream cheese - ($0.05)
- 1 tablespoon unsalted butter - ($0.12)
Instructions
- Prep bag. Place a zipper top bag inside a cup, fold the edges over the rim, and open the bag to create a wide opening.
- Add ingredients. Add the cocoa powder and powdered sugar to the bag, followed by the vanilla extract, cream cheese, and butter.
- Seal. Press out as much air as possible and seal the bag tightly.
- Knead. Knead the bag between your hands for about 5 minutes until a dark, creamy mixture forms. Small unmixed bits are fine.
- Serve. Eat straight from the bag or transfer to a bowl and serve.
Notes
- Dairy Free. Use vegan cream cheese or pureed silken tofu and vegan butter.
- Make Ahead. Refrigerate to firm up for easier cutting or portioning.
- Storage. Store in an airtight container in the refrigerator for up to 5 days.
- Add Ins. Stir in 1 to 2 tablespoons sprinkles, mini chocolate chips, peanut butter cups, or chopped nuts if desired.
Nutritional Information
Save This Recipe to Your Inbox
By signing up, you'll join our email list and can unsubscribe anytime.


Brittany C. says
Love this idea, next hiking trip or heck just sitting around on a lazy day hack.. thanks for sharing.. I never got to join girl scouts so I love the ideas to teach to my son, even though he's already 18 now. But it's still an awesome easy way to get that cchocolate fix in...