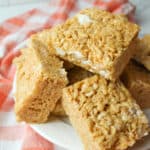
Peanut butter Rice Krispie treats are a delicious spin on a timeless classic. With gooey and soft rice crispies and a great peanut butter flavor, you have a snack everyone can enjoy!
Recipe: $2.90 | Per Serving: $0.24 | Servings: 12
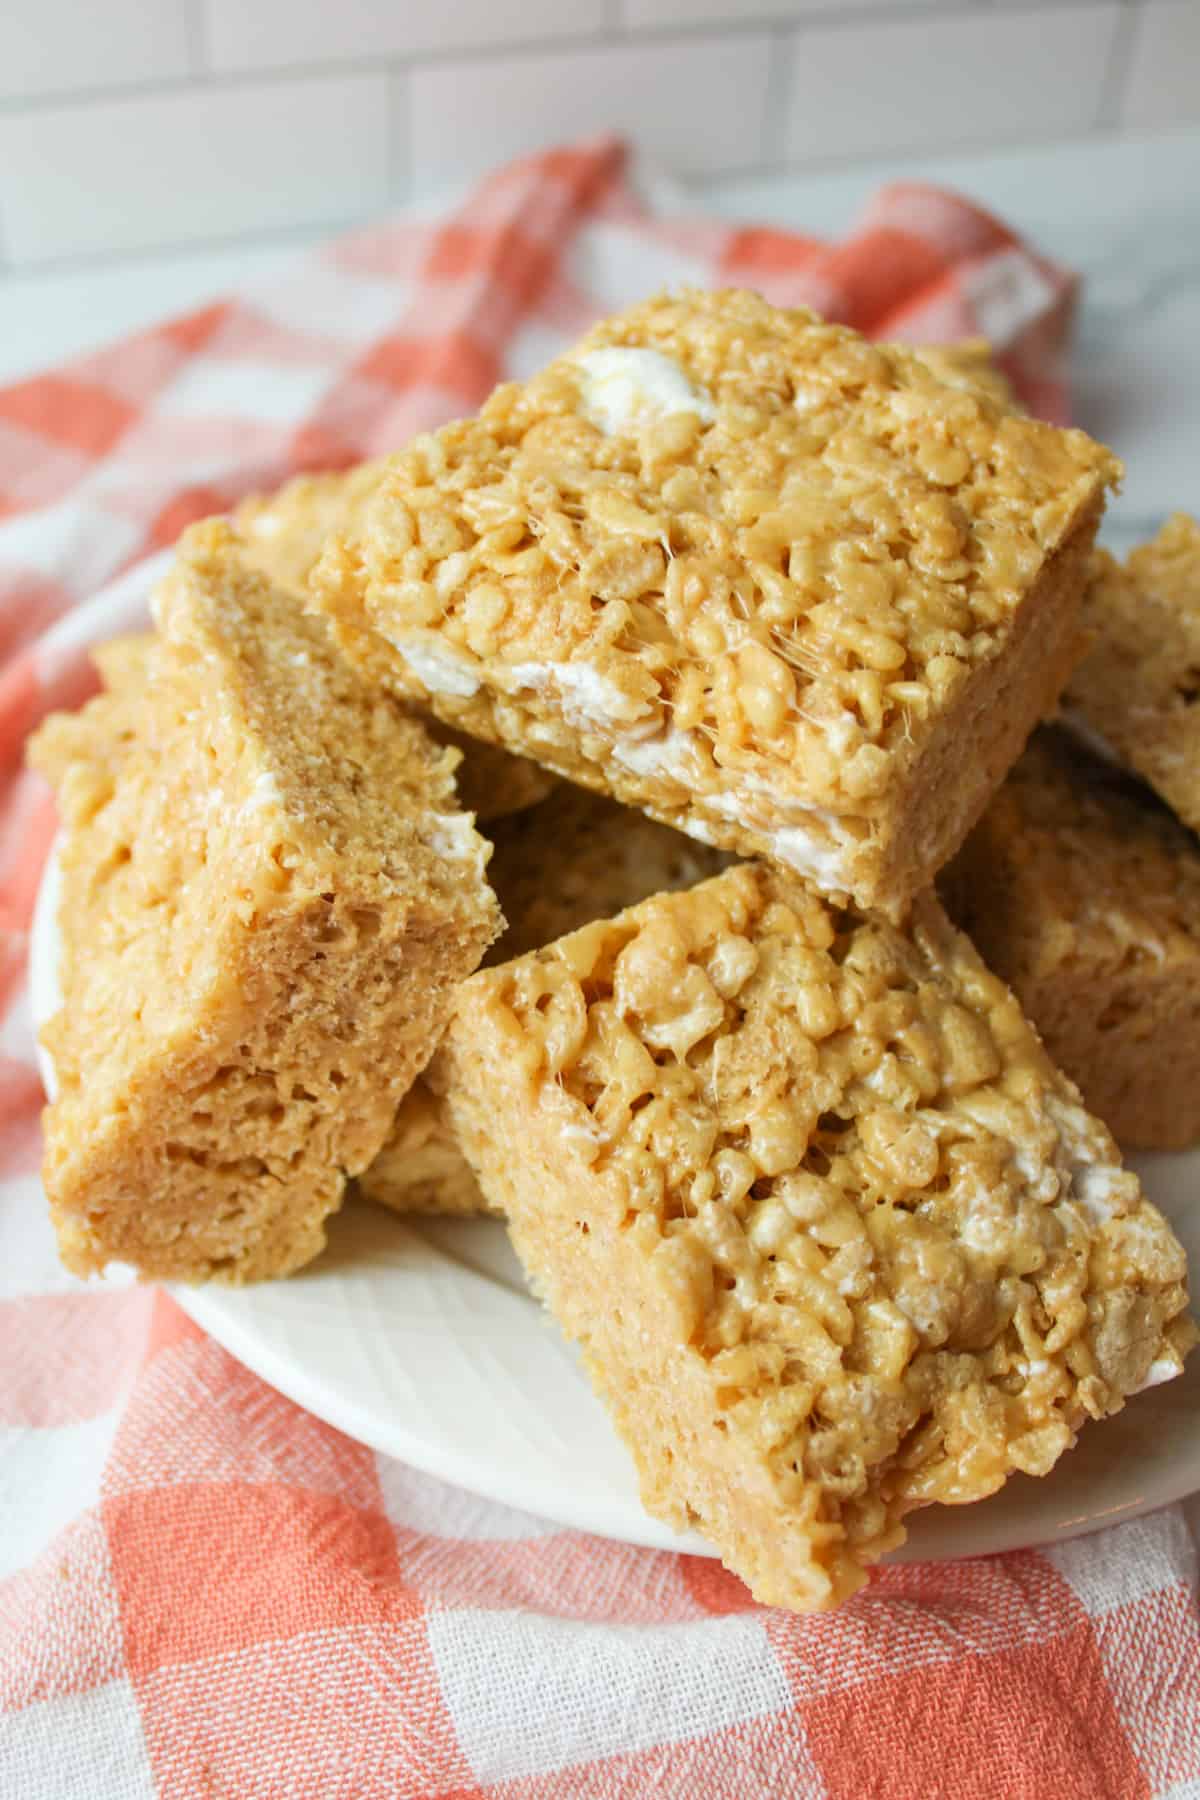
Peanut Butter Rice Krispie Treats are a classic dessert that combines the delightful flavors of peanut butter, marshmallows, and crispy rice cereal. These treats are not only incredibly delicious but also easy to make, making them a popular choice for satisfying your sweet cravings.
Regular Rice Krispie treats are delicious- it's a known fact. But the different flavorful spins on them are always fun! Just like my Smores Bars Recipe, these tasty treats stand alone in their awesomeness.
For a peanut butter lover or someone looking for a slightly more savory twist to a sweet snack, these peanut butter rice crispy bars are it.
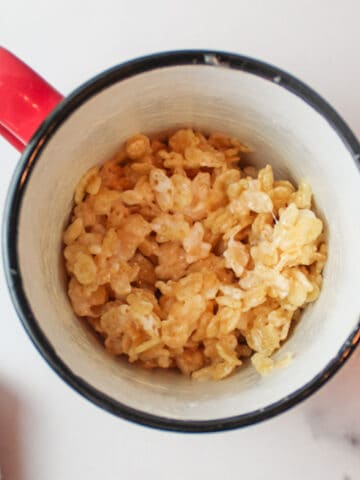
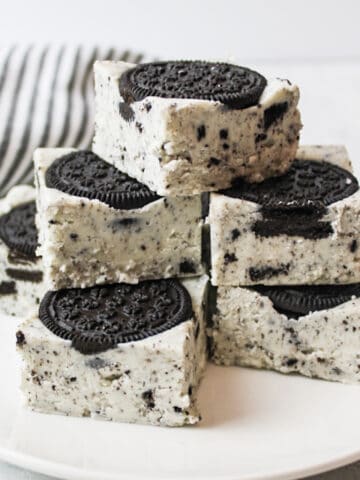
For more rice crispy recipes, be sure to check out my Rice Krispie Treat in a Mug, Oreo Rice Krispie Treats, and Dairy Free Rice Krispie Treats.
Jump to:
🍯 Why This Recipe Works
- They're easy to make. While we do add in some peanut butter, we don't add in any extra effort or steps. These treats are just as simple and basic to make as any other variety, and that's just one more reason to love them!
- They're flavorful. Traditional rice krispie treats are already pretty tasty, but add in the savory taste of peanut butter and we get a wonderful fluffernutter flavor in every square.
- The kids love them! You may want to double this recipe and make it in a 9x13 baking dish if you have crispy treat loving kids like I do. These squares are really hard to resist (not like you'd want to), but having extra pieces means that you can save some for later too.
🥘 Ingredients
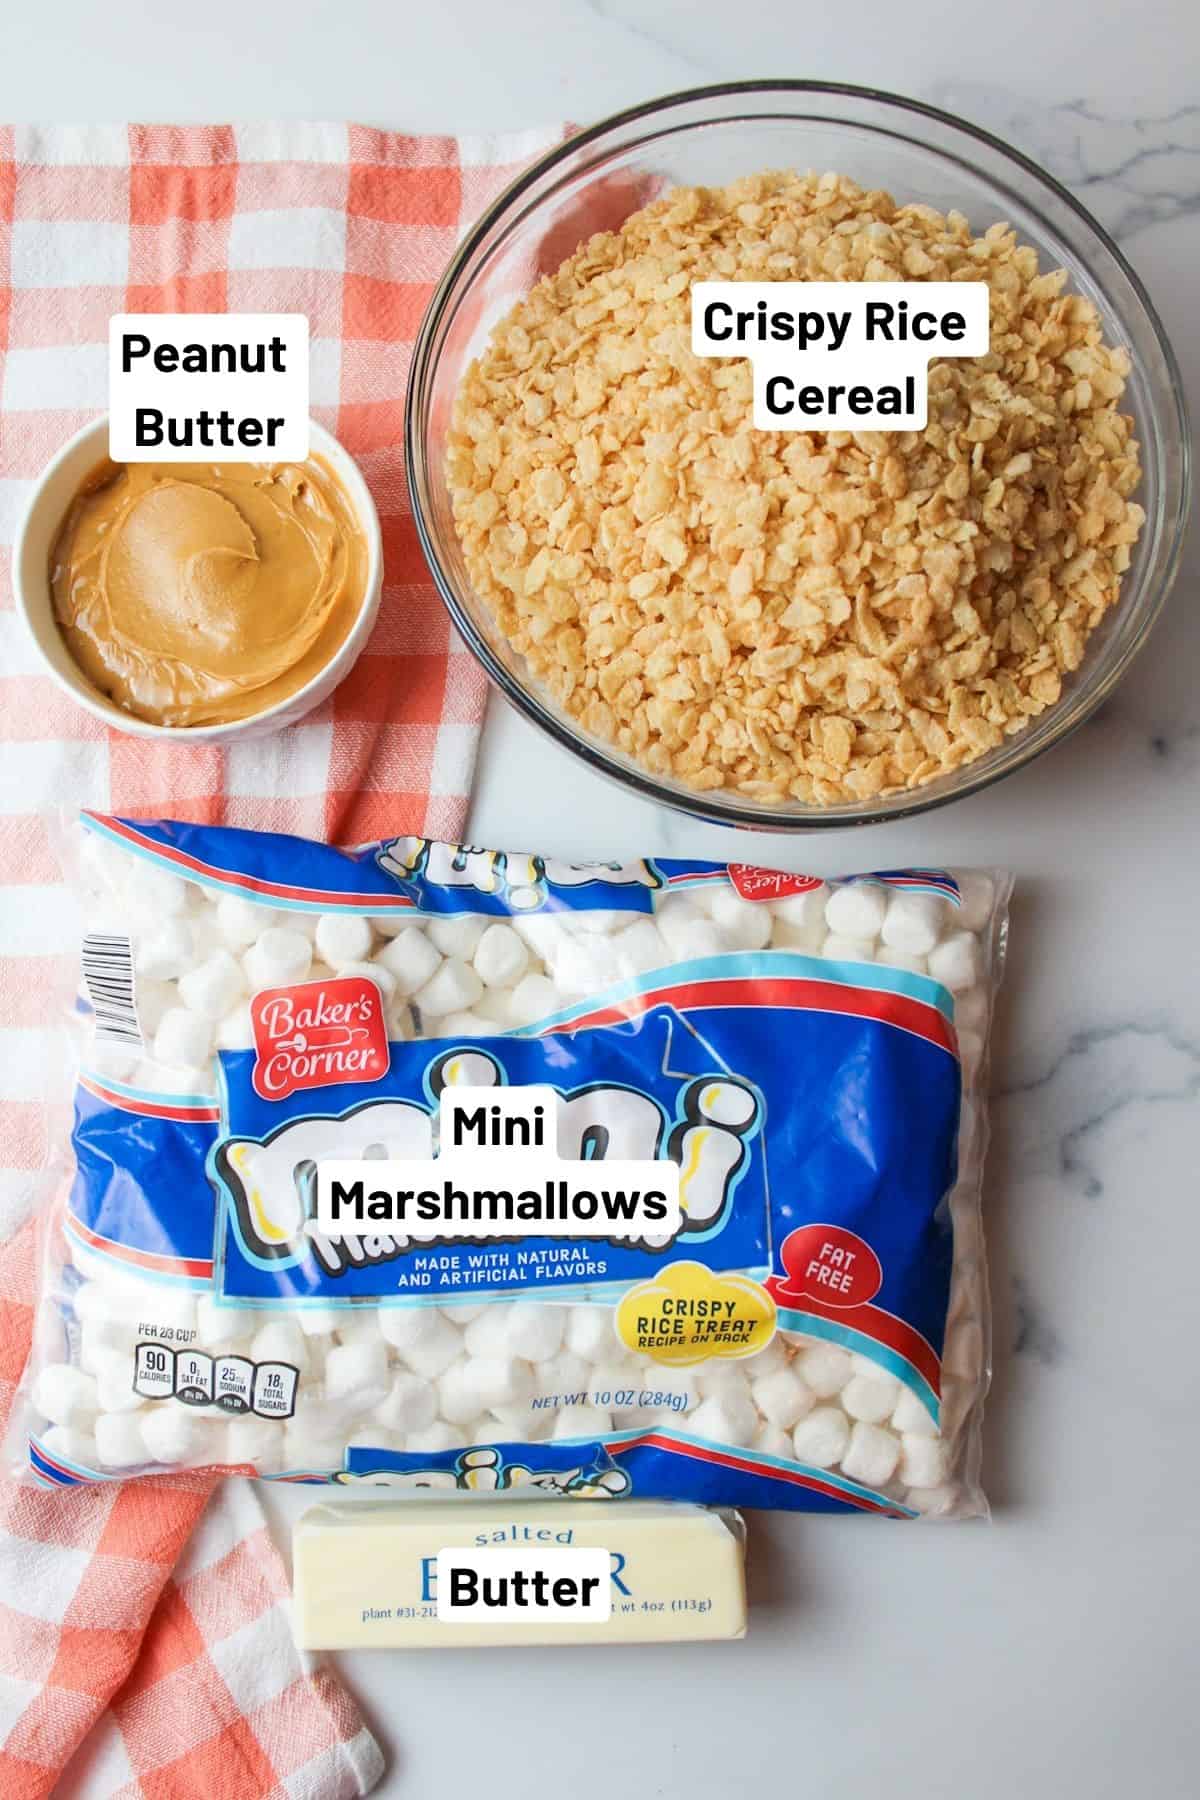
Ingredient Notes:
Rice crispy cereal- This cereal is the base of the recipe, but you can feel free to use other brands of similar cereal. (I like the crispy rice cereal from Aldi).
Peanut butter- You will need some creamy peanut butter. I recommend not using a natural peanut butter because those tend to have more oil in the mix.
Mini marshmallows- Use mini marshmallows for that gooey texture and chewy consistency.
For specific ingredients and measurements, please see the recipe card below.
📖 Variations
You can creamy or chunky peanut butter for these peanut butter crispies! Personally, I like the creamy peanut butter because it's what we have on hand, but if you want a little extra grit then chunky peanut butter works great.
Adding chocolate to the top-
Take a bag of chocolate chips and place them in a microwave safe bowl with 3 tablespoons of coconut oil or heavy cream. Heat for 30 seconds, stir, and then another 30 seconds, repeating until they're completely melted.
Pour over the top of the crispy bars in the baking dish and let the top harden. You can speed this process up by placing them in the freezer for a few minutes.
🔪 Instructions for Peanut Butter Rice Krispie Treats
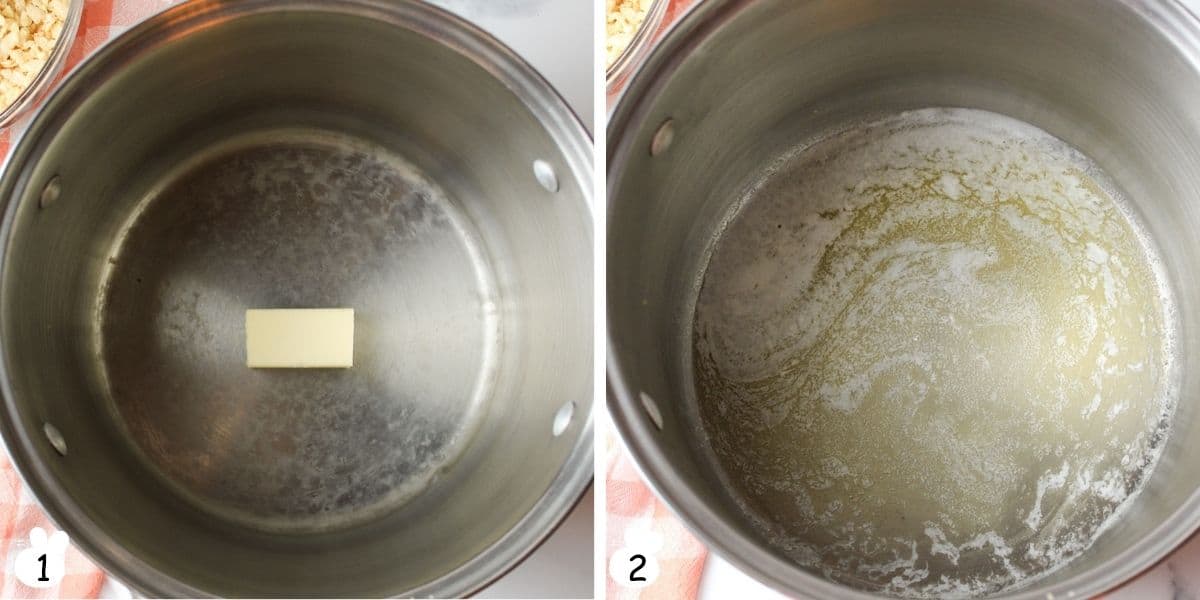
Step 1: Add your butter to a large pot over low heat (Image 1).
Step 2: Let the butter melt fully (Image 2).
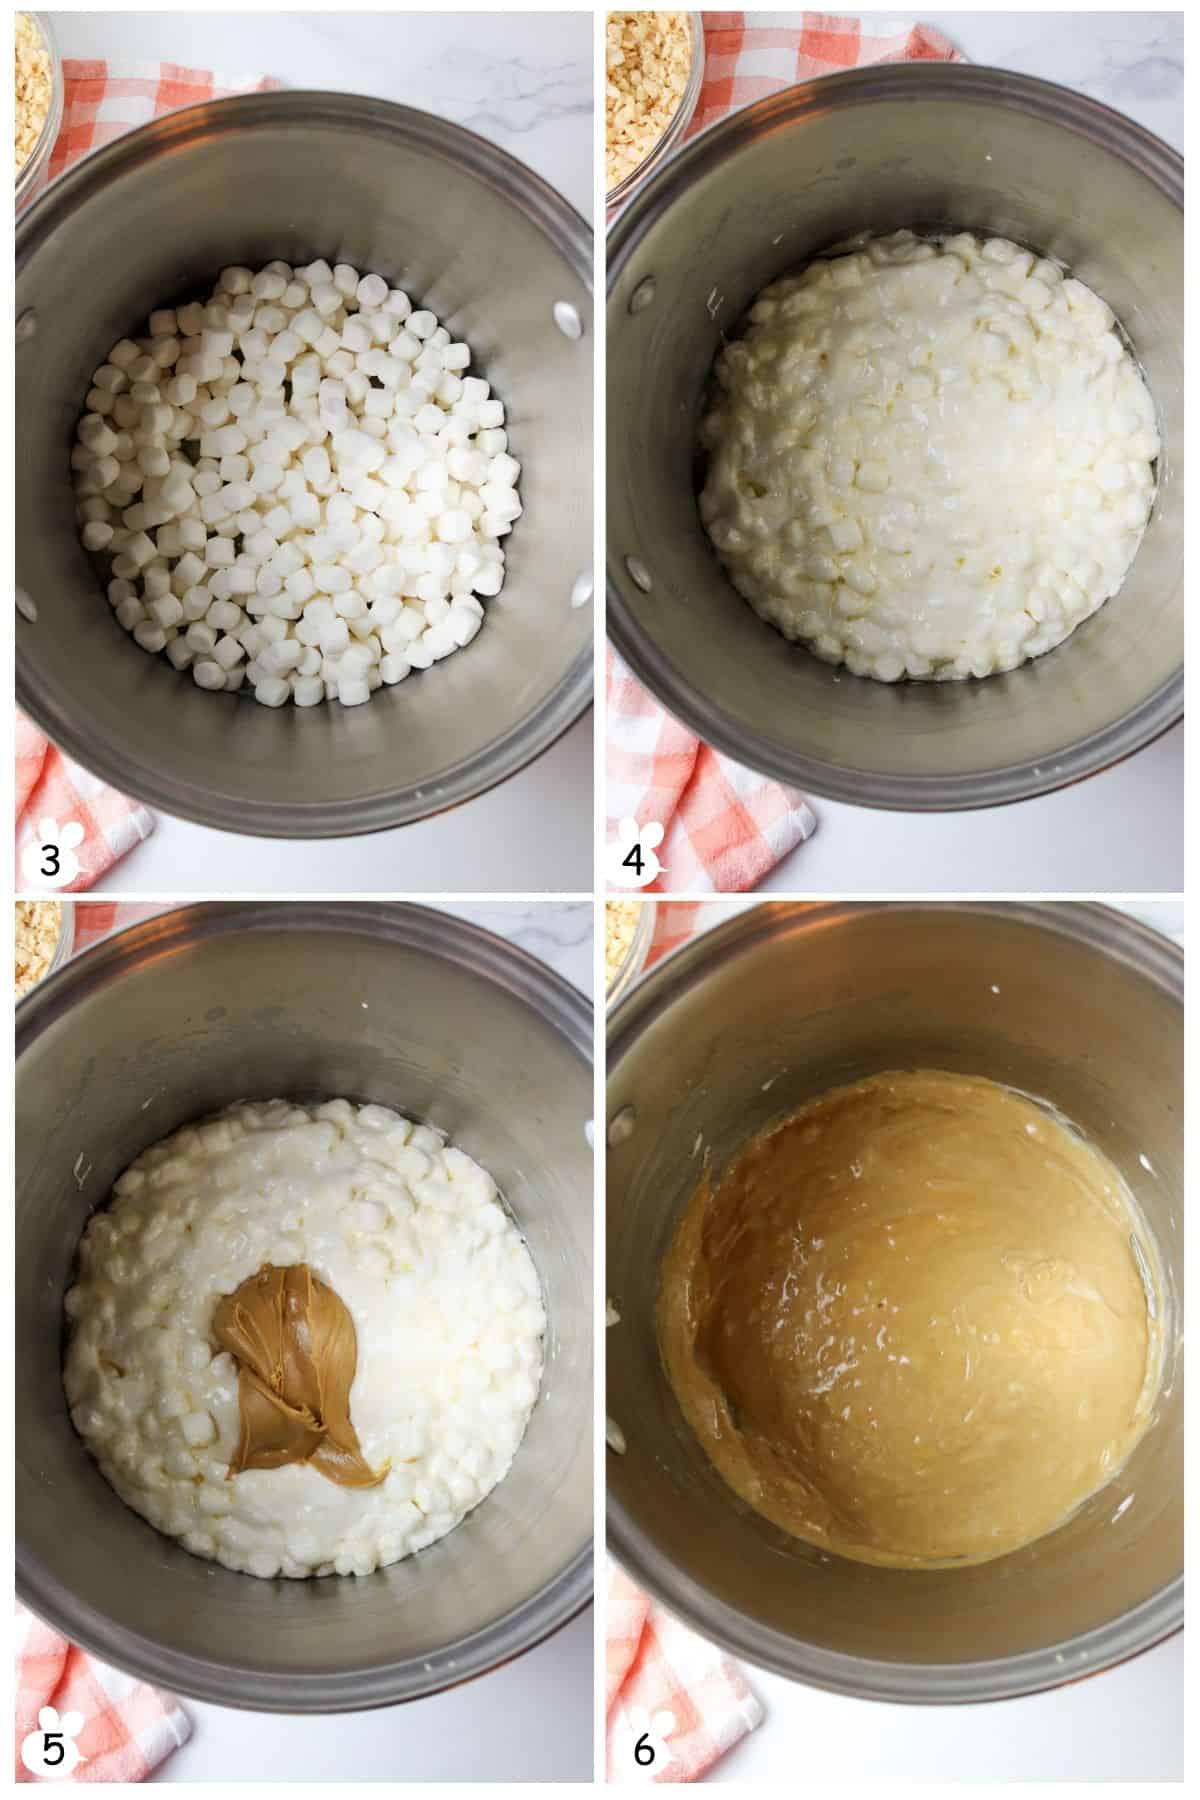
Step 3: Add in the marshmallows (Image 3).
Step 4: Stir occasionally to prevent burning (Image 4).
Step 5: Once the marshmallows have almost completely melted, add in the peanut butter (Image 5).
Step 6: Stir until the marshmallows are completely melted and the peanut butter is well incorporated (Image 6).
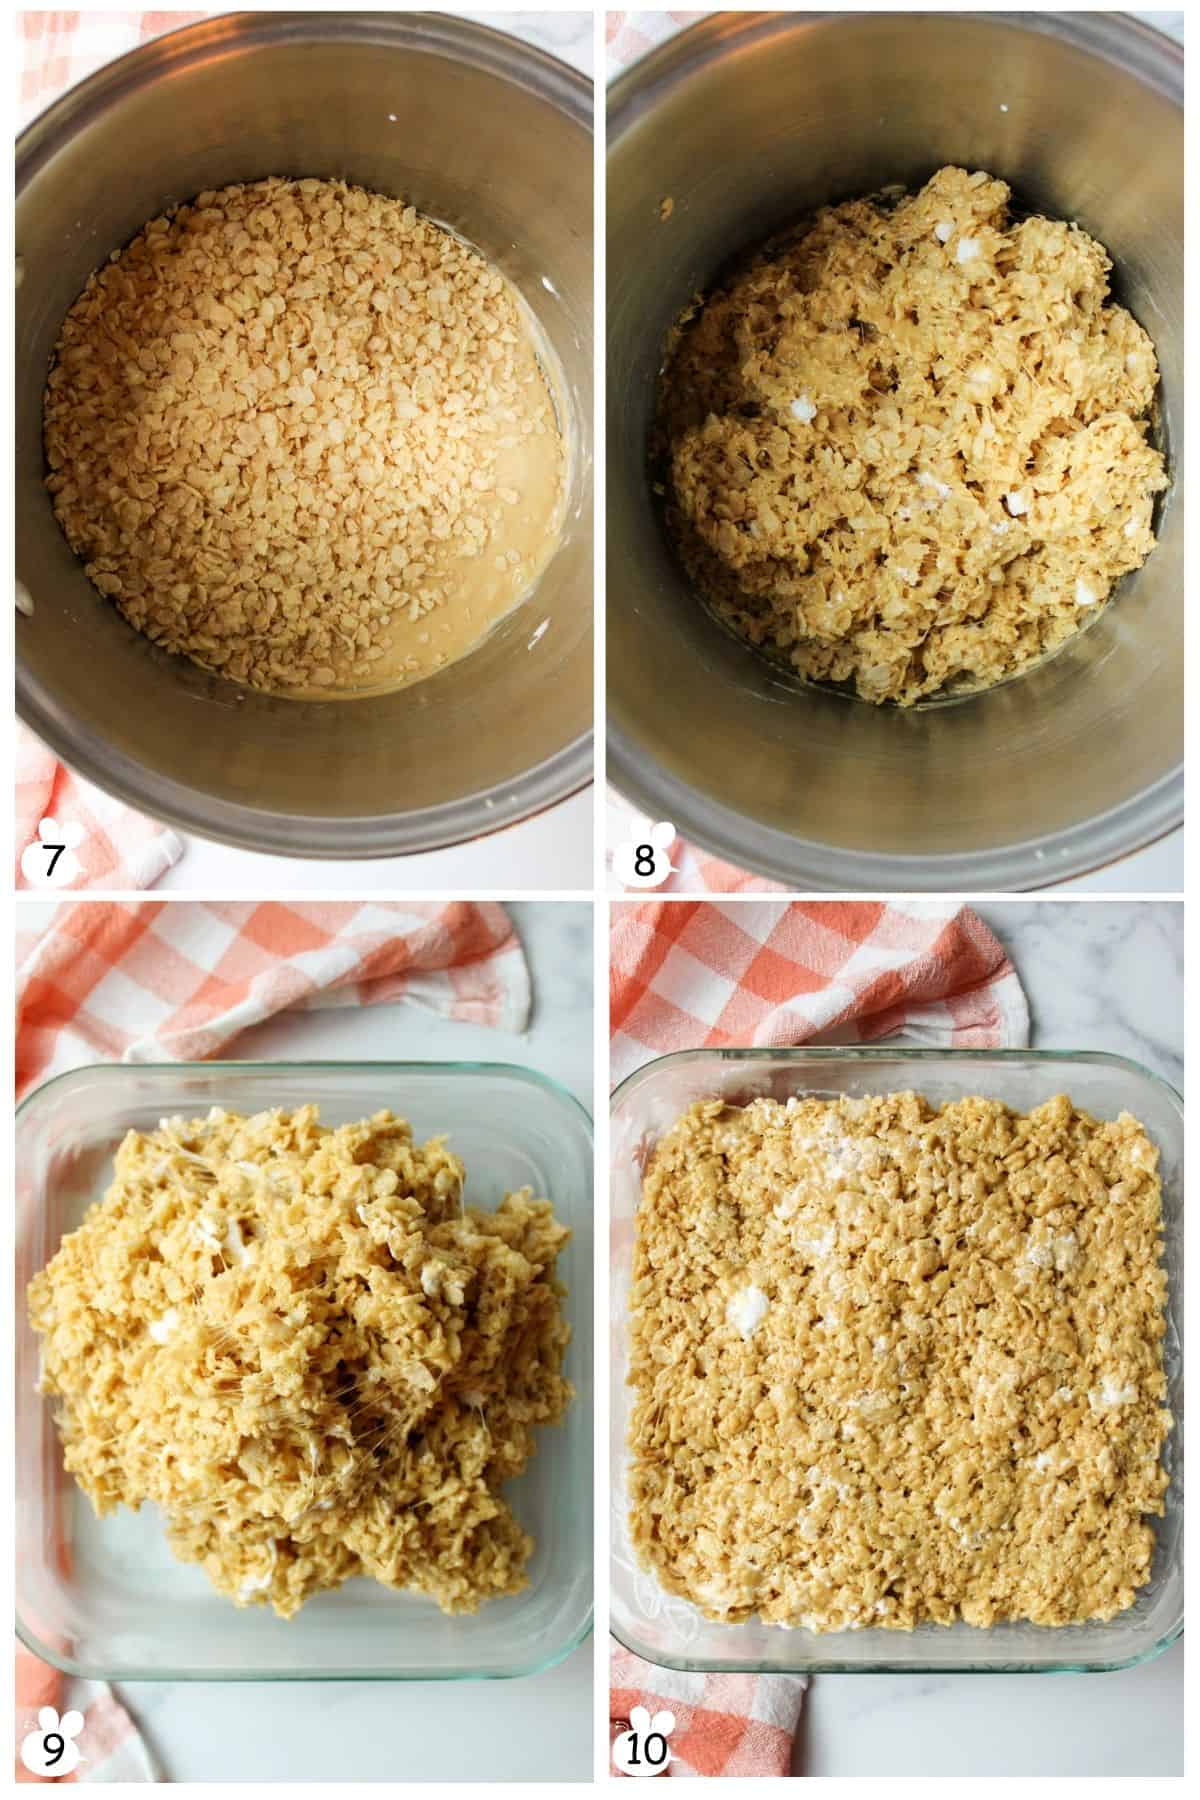
Step 7: Remove the pot from the heat. Add in the cereal (Image 7).
Step 8: Stir to combine (Image 8).
Step 9: Pour the cereal into a greased 9x13 baking dish or an 8x8 baking dish if you want them thicker (Image 9).
Step 10: Press into the pan until they're an even layer (Image 10).
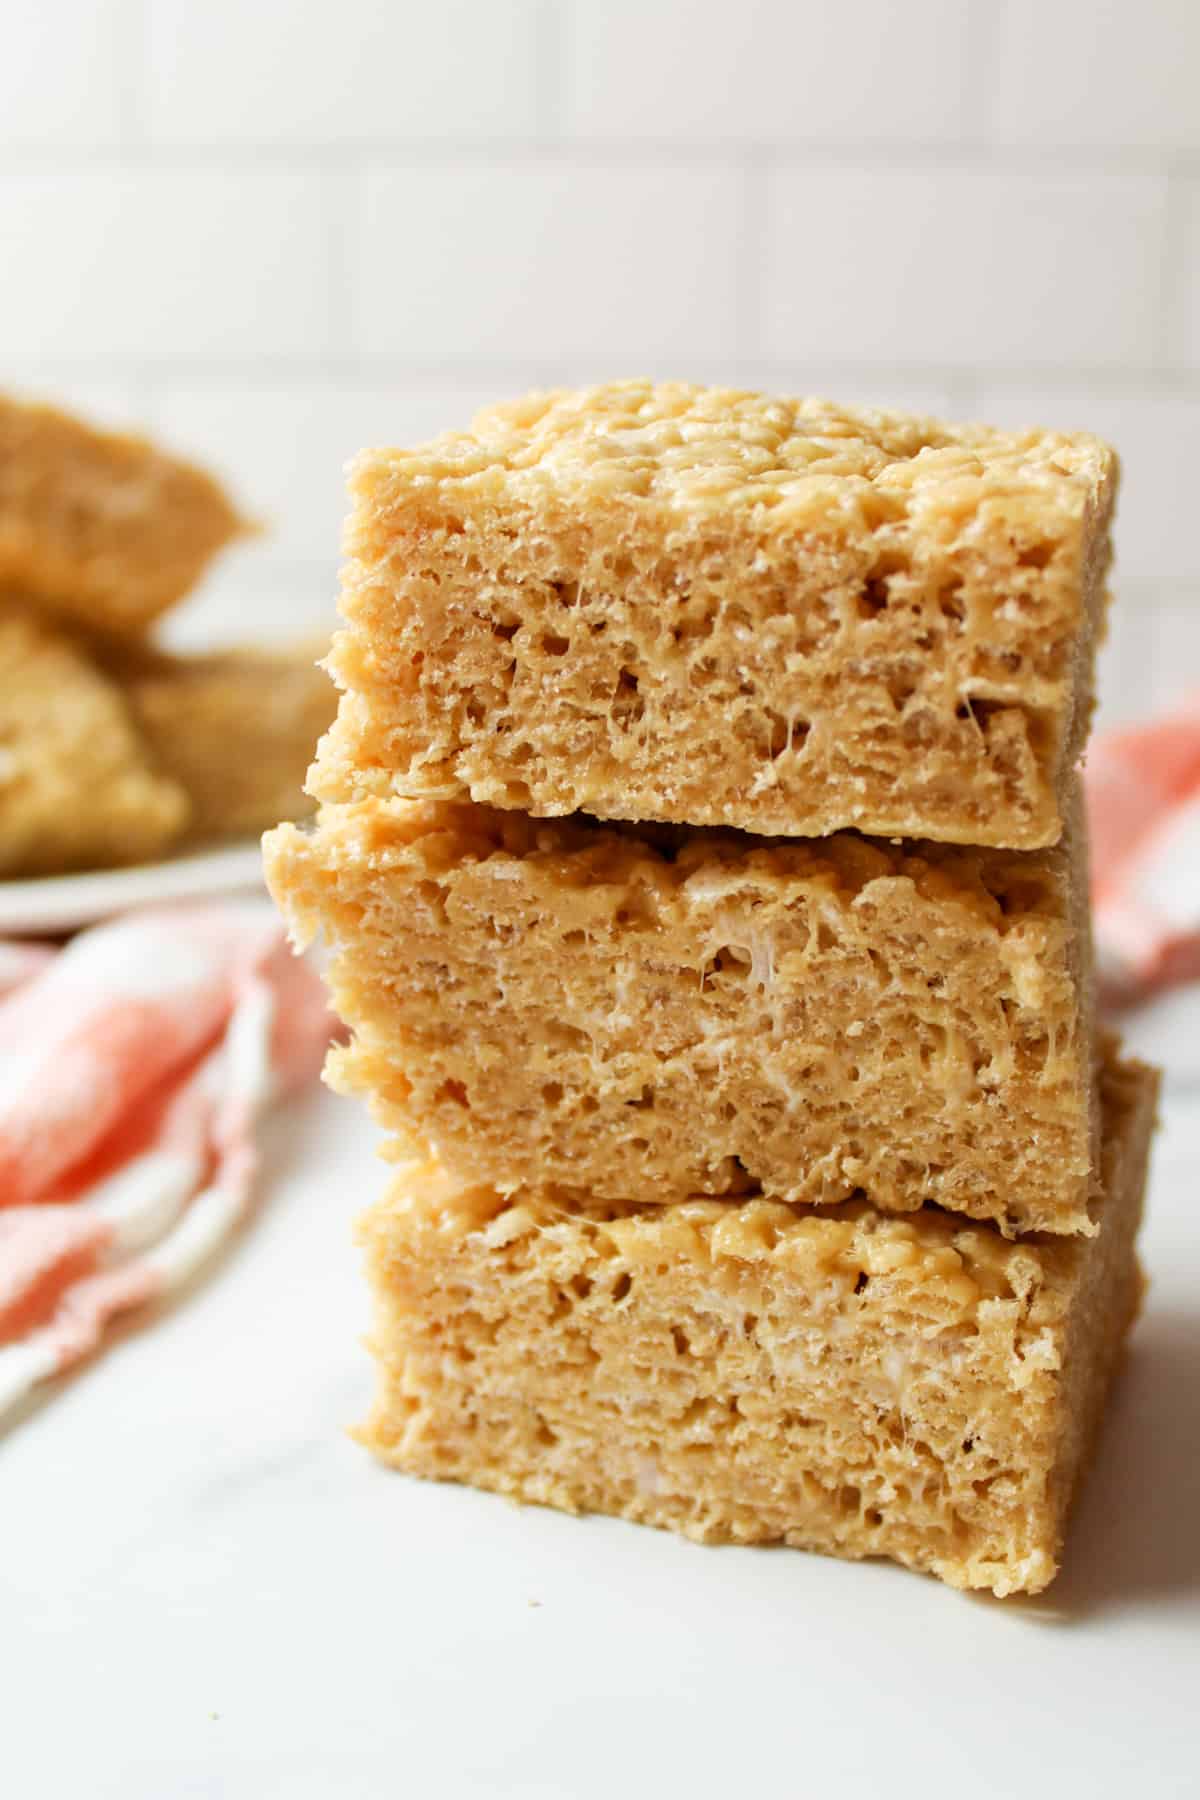
Step 11: Let them cool for about an hour to set before slicing into them.
Serve and enjoy.
🍴 Recipe Tips
- Greasing the Pan: Use butter or nonstick cooking spray to grease your pan before adding the mixture.
- Greasing Your Hands: Grease your hands with softened butter or cooking spray before pressing the Krispies into the pan to prevent sticking.
- Melting Marshmallows: Melt the marshmallows over low heat, stirring as little as possible to avoid overworking them. Stirring constantly isn't necessary, except when melting in the peanut butter and adding the cereal.
- Dairy-Free Option: You can make these treats dairy-free by using plant-based butter. Double-check the ingredients list to ensure it meets your dietary preferences.
💭 Recipe FAQs
If you melt your marshmallows over too high of a heat you're cooking them too much and that will result in a much harder square when you're done. If you leave it on low, it might take a few extra minutes, but it's so much more worth it for the perfect tender treat we want.
While the two are very similar, they aren't exactly the same. Pescotcheroo bars have butterscotch chips melted into the peanut butter cereal bars for a unique flavor and there's melted chocolate on top. You can see for yourself with my Scotcheroos Recipe.
Absolutely! Just grab a large mixing bowl (microwave safe) and heat your butter and peanut butter for about 30 seconds until melted. Add in the marshmallows and heat for about 2 minutes, stirring at the 1 minute mark. Add in the cereal and combine. Pour into a baking dish and let set.
❤️ More Delicious Treats Recipes
If you tried these Peanut Butter Krispie Treats, please leave a ⭐️ star rating and share your feedback in the 📝 comments section below. I would truly appreciate it!
📖 Recipe
Peanut Butter Rice Krispie Treats
Equipment
- 9x13 Baking Dish or an 8x8 baking dish
Ingredients
- 4 Tablespoons butter ($0.50)
- 1 bag (10oz) mini marshmallows ($1.12)
- ½ cup creamy peanut butter ($0.40)
- 5 ½ cups Rice Krispie cereal ($0.88)
Instructions
- Melt the butter in a large pot over low heat.
- Add in the marshmallows and stir occasionally to prevent burning.
- Once the marshmallows look mostly melted, add in the peanut butter and stir until the marshmallows have completely melted and the peanut butter is well mixed.
- Add in the cereal and stir to combine.
- Pour the cereal into a greased 9x13 baking dish or an 8x8 if you want them thicker. Press them down and try to get them flat and condensed.
- Let cool for about an hour before cutting to make sure that they set.




Comments
No Comments