
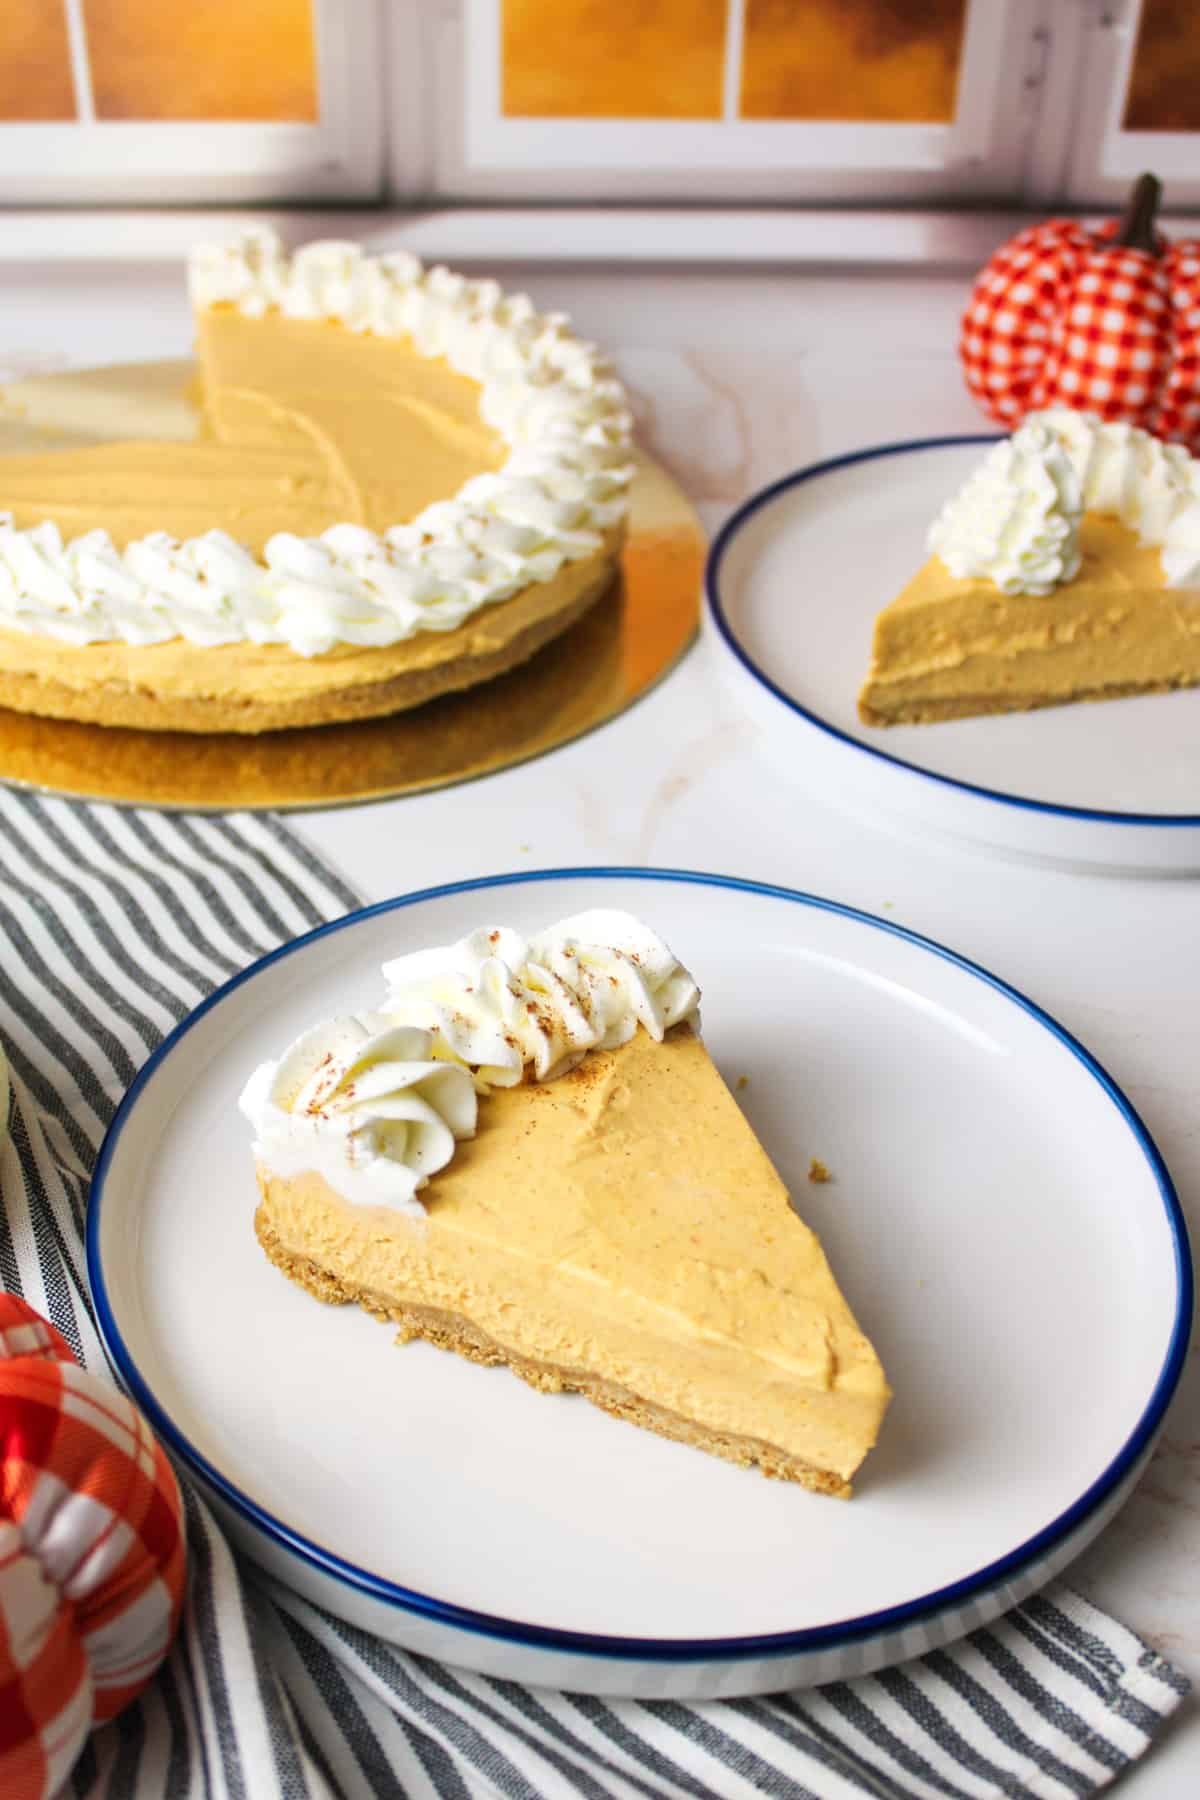
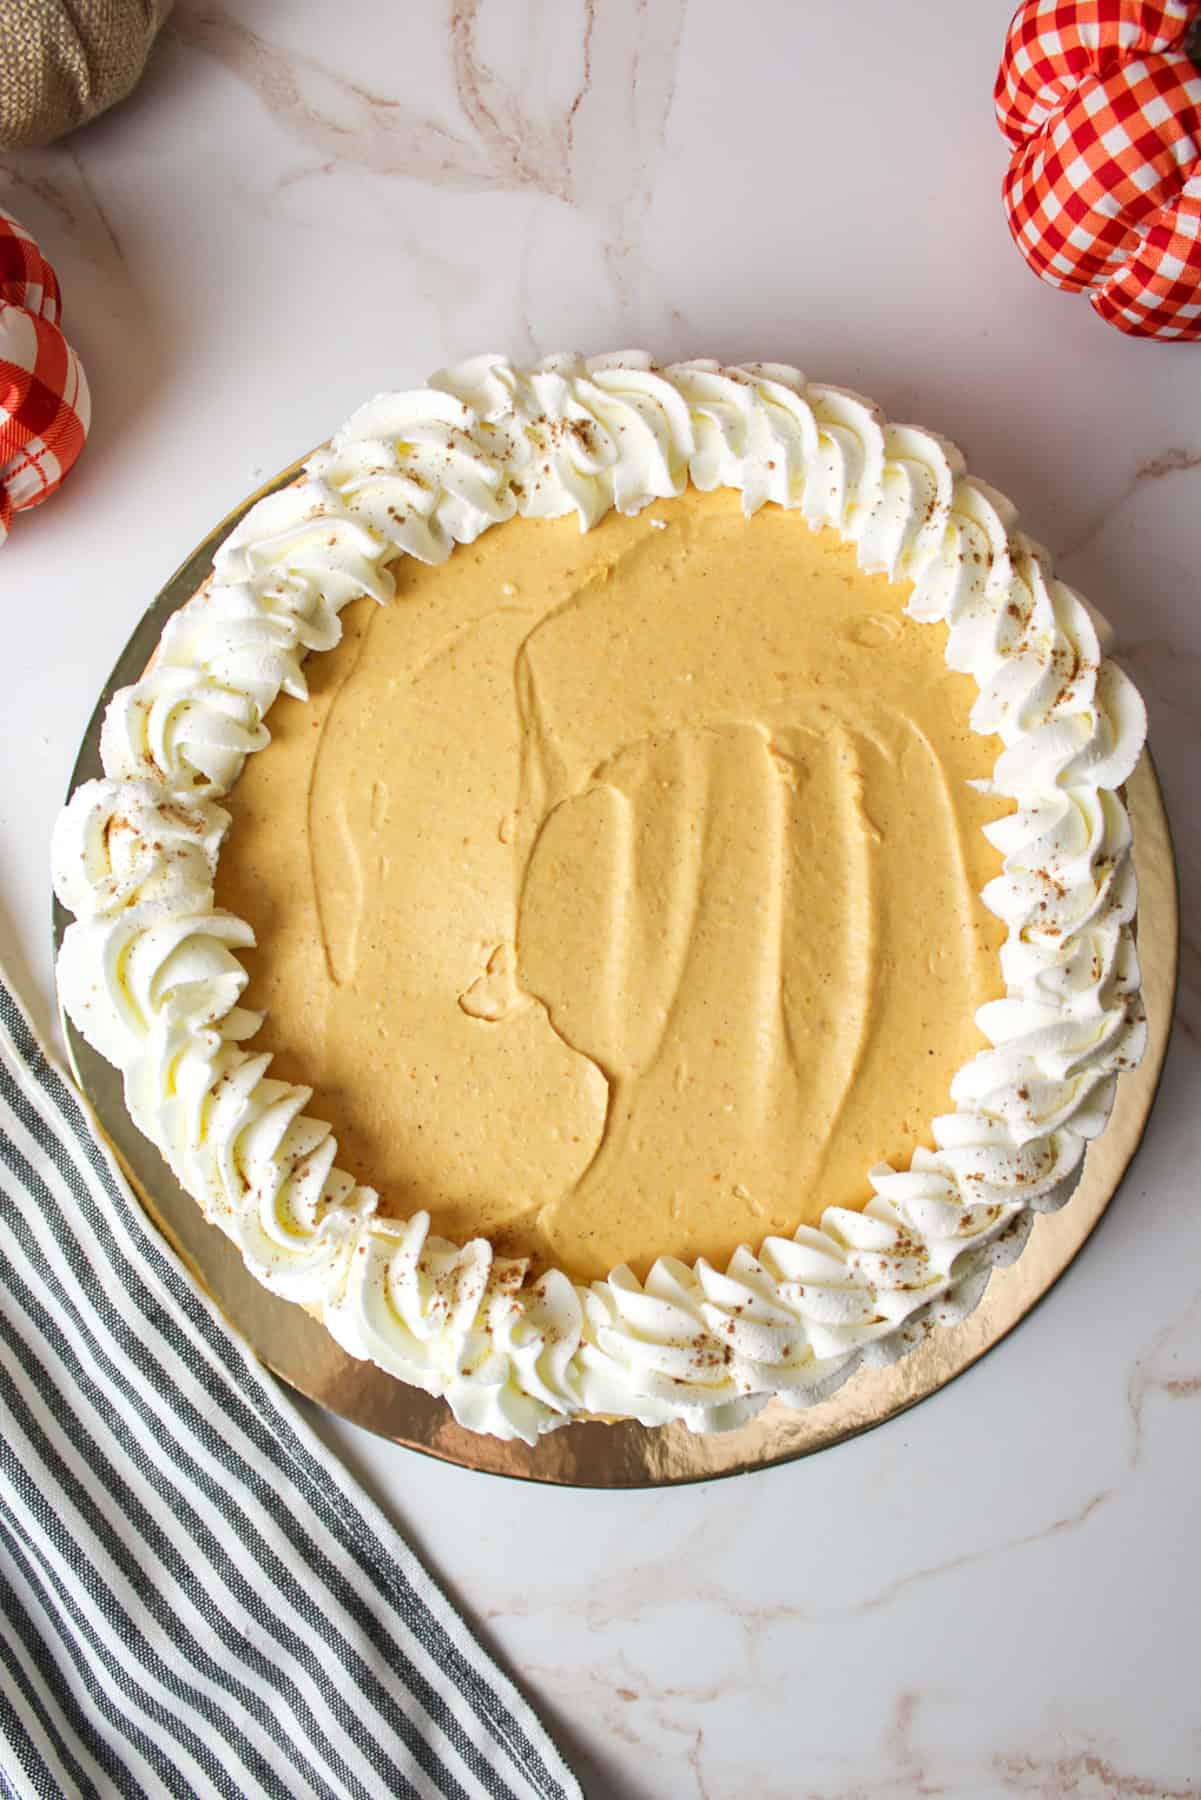
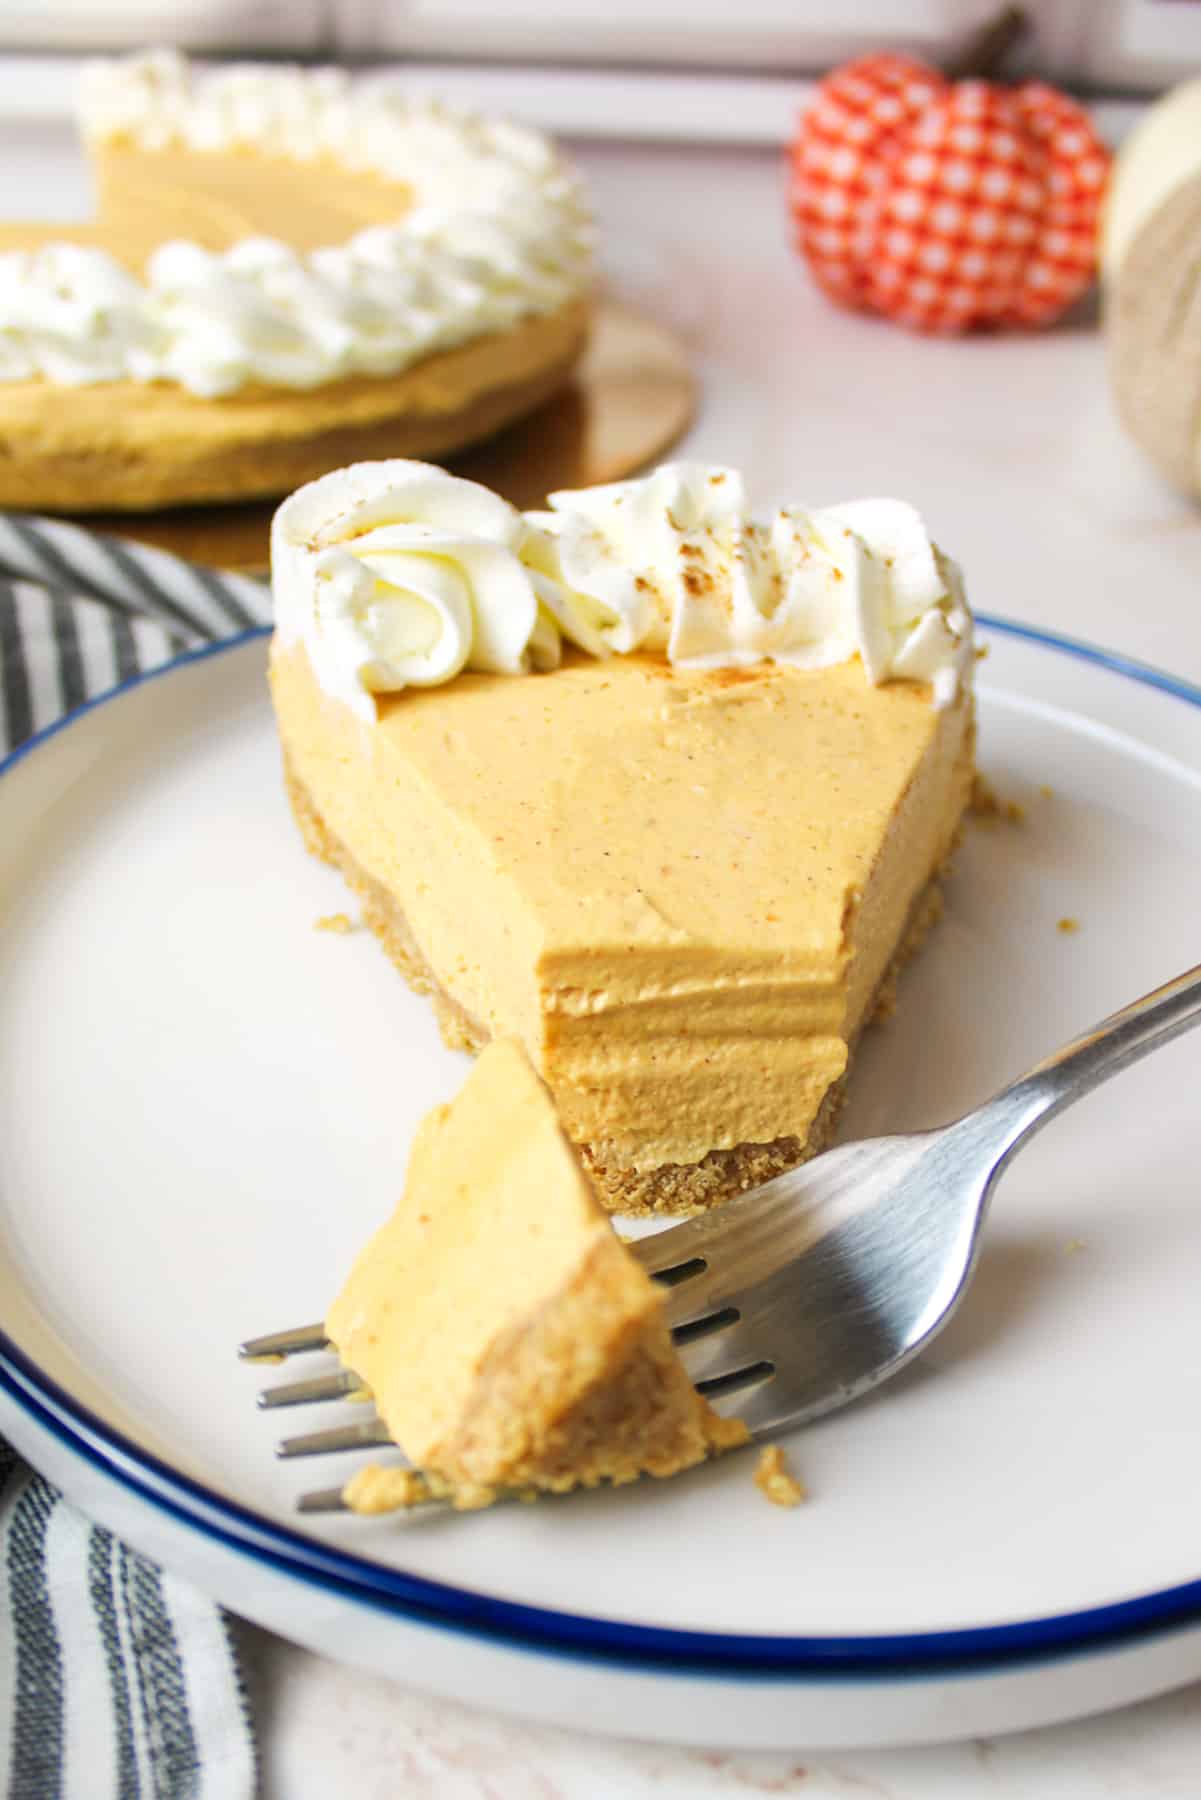
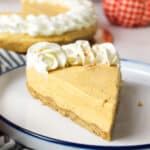
This no bake pumpkin cheesecake is one of the BEST no bake desserts to walk out of this kitchen. Made with whipped topping, pumpkin puree, and cream cheese, this cheesecake is light, fluffy, and perfect for the season.
Save This Recipe to Your Inbox
By signing up, you’ll join our email list and can unsubscribe anytime.
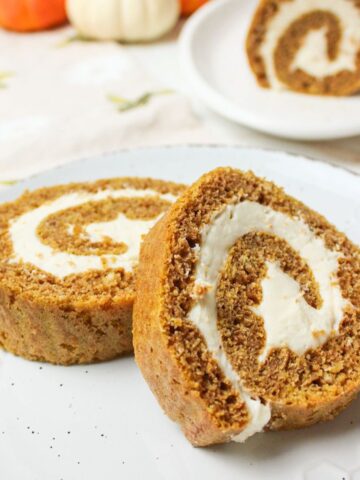
My husband loved this cheesecake so much that he said he wants to eat it for Thanksgiving every year. He then quickly followed it up by saying, "or every week." Haha, this man LOVES pumpkin recipes, especially my Sourdough Pumpkin Roll.
This pumpkin pie dessert lasted less than 24 hours in my home the last time it was made. Everyone kept going back for another slice! I highly recommend bringing it to your holiday parties for similar results.
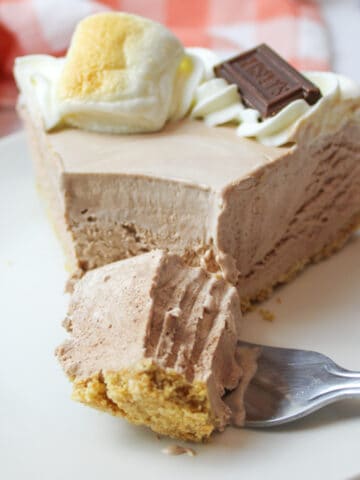
No bake pies like this and our Smores Ice Cream Pie, No Bake Kool Aid Pie, and No Bake Cool Whip Cheesecake are easy to make and always more fun to eat.
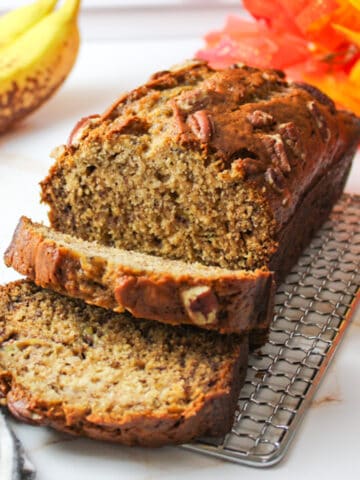
For some more pumpkin recipes that your family is sure to love, be sure to check out my Pumpkin Banana Bread, Pumpkin Spice Snickerdoodles, and Pumpkin Hand Pies.
Jump to:
💛 Why You'll Love This Recipe
- Minimal ingredients. With only 7 ingredients, we don't need much to make this tasty dessert, so any grocery shopping needed won't take long or cost too much.
- No oven is needed. When I say "no bake" I truly mean it. We melt down some butter for the crust, but everything else is mixed and pressed together. Easy peasy! If you can make a No Bake Graham Cracker Crust, the rest of the steps are even easier.
- It's easy enough to have the kids help. My 4 year old son really enjoyed breaking the graham crackers for the food processor and pressing the crust into the pan. There are plenty of steps you can have the kiddos lend a hand with.
🛒 Ingredients
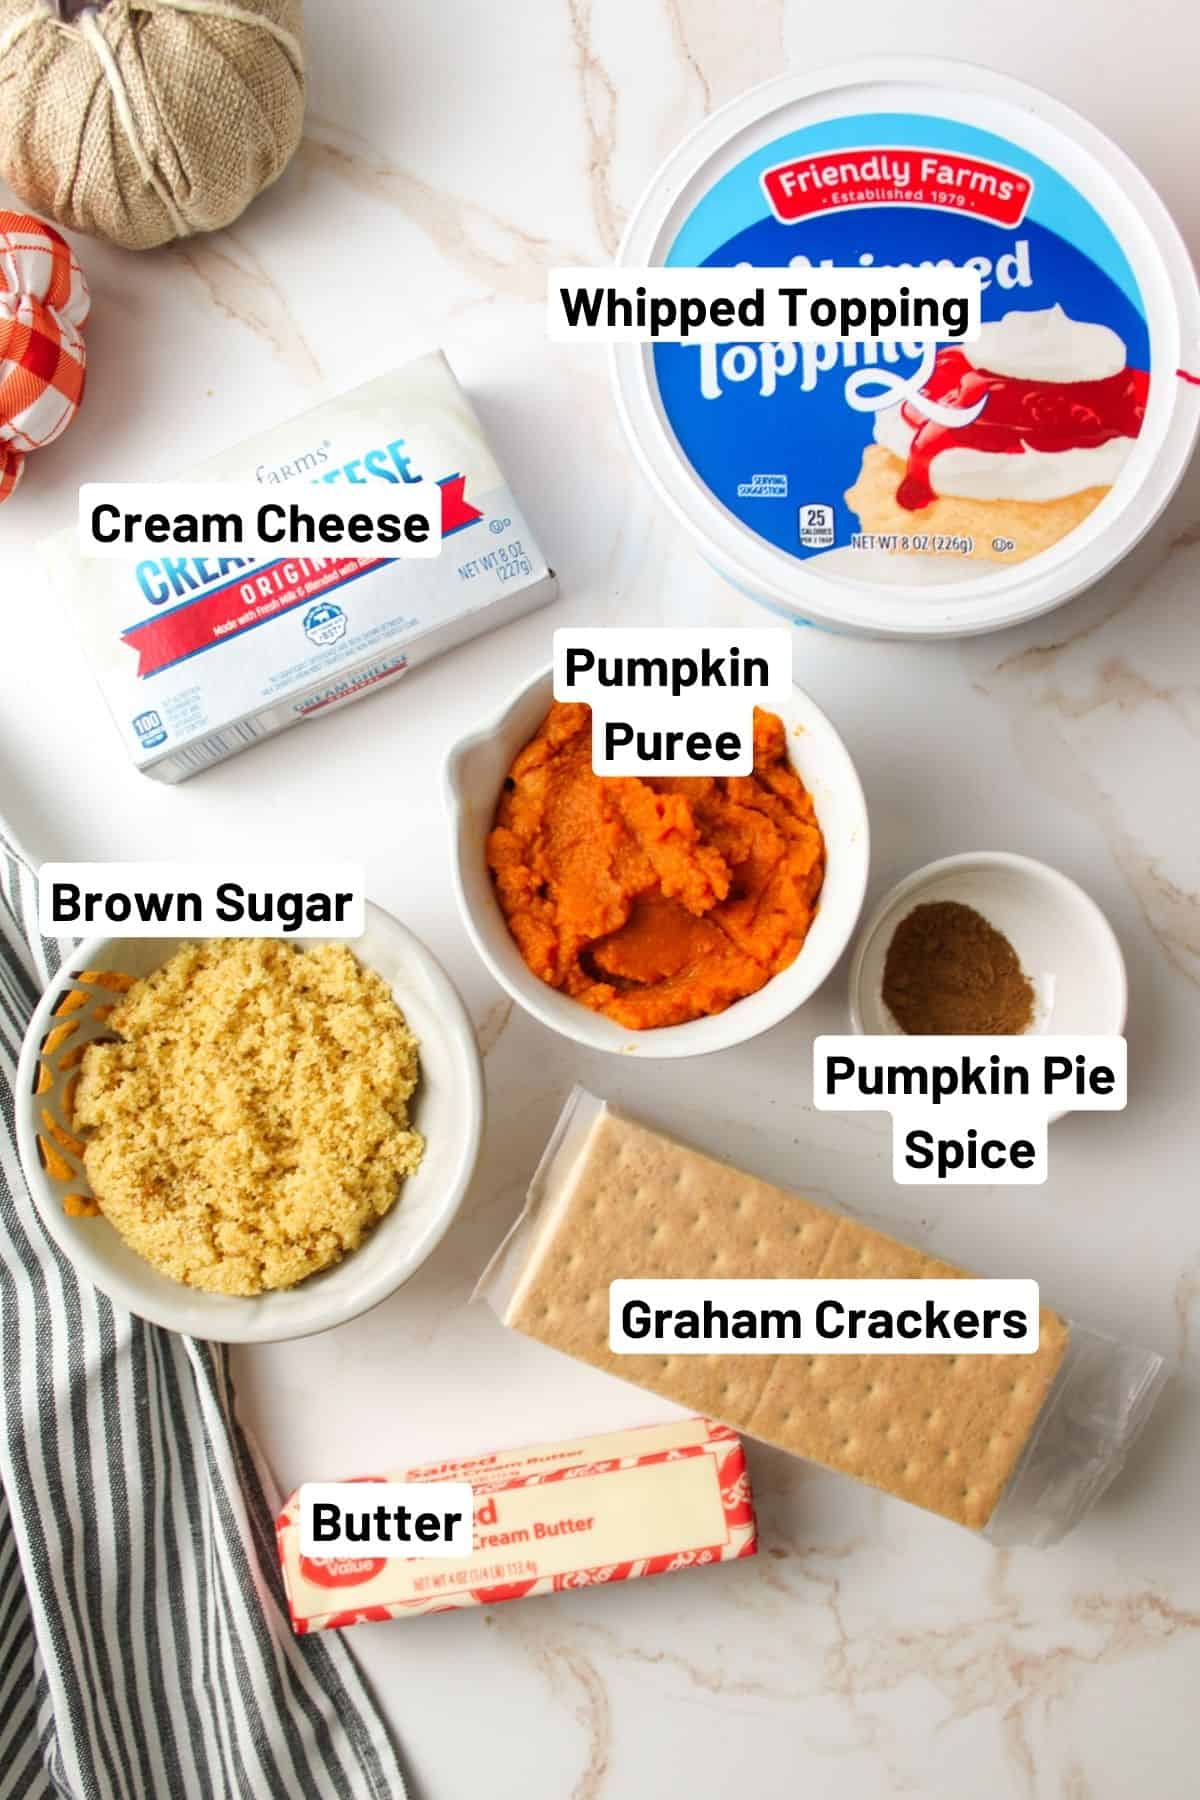
Graham crackers- Use graham cracker crumbs for the crust. You can pulverize the crackers in a food processor, in a baggie with a rolling pin, or buy them as crumbs from your local grocery store's baking aisle.
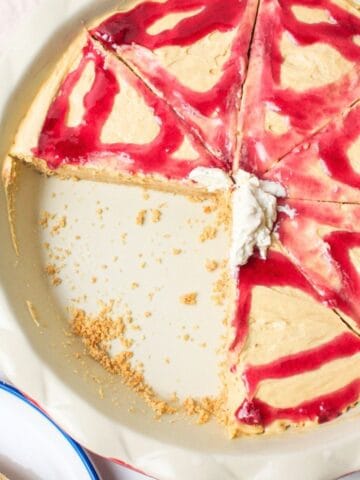
Pumpkin puree- Use pumpkin puree (not canned pumpkin) for orange color and fresh pumpkin taste. We also use pumpkin puree in our Edible No Cook Pumpkin Playdough, Pumpkin Swirl Cheesecake, and Homemade Pumpkin Spice Creamer so if you have some leftovers, make sure to check them out!
Whipped topping- This will be used to make the cheesecake nice and fluffy, but you can use more whipped topping as a garnish if desired.
See the recipe card below for full ingredients and instructions.
🔀 Substitutions & Variations
Whipping cream: Swap the whipped topping for homemade whipped cream by beating 1½ cups heavy cream, 1 teaspoon vanilla, and 3 tablespoons powdered sugar until stiff peaks form.
Pumpkin pie spice: Make your own by mixing 5 teaspoons cinnamon, 1 teaspoon nutmeg, 1 teaspoon ginger, and ¼ teaspoon cloves or allspice. Use as needed and store leftovers for up to 3 months.
💰 Budget-Friendly Tips
Use leftover pumpkin puree. Many recipes only use part of a can of pumpkin. This cheesecake is a perfect way to finish what's left, so nothing goes to waste.
Skip the name brands. Off-brand cream cheese, graham crackers, and whipped topping are usually significantly cheaper and taste identical once mixed into a cheesecake.
Watch seasonal sales. Pumpkin puree, cream cheese, and whipped topping all go on sale throughout the fall and early winter, making this dessert even more affordable during the holidays.
🥄 Instructions for No Bake Pumpkin Cheesecake
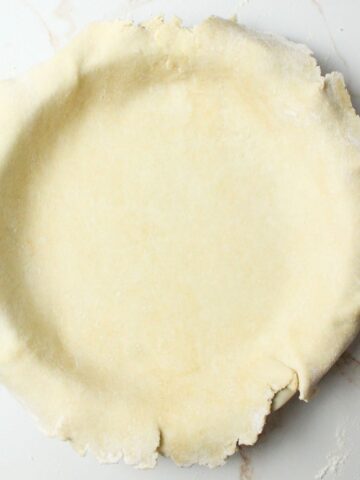
Step 1: Cut a piece of parchment paper and place it at the bottom of a springform pan. An 8 inch or 9 inch pan would work well. If the paper doesn't want to lay flat, spray cooking spray inside of the pan to "adhere" the paper to the base of the pan. Set aside.
Step 2: In a small bowl, melt your butter in the microwave for about 30 seconds until fully melted.
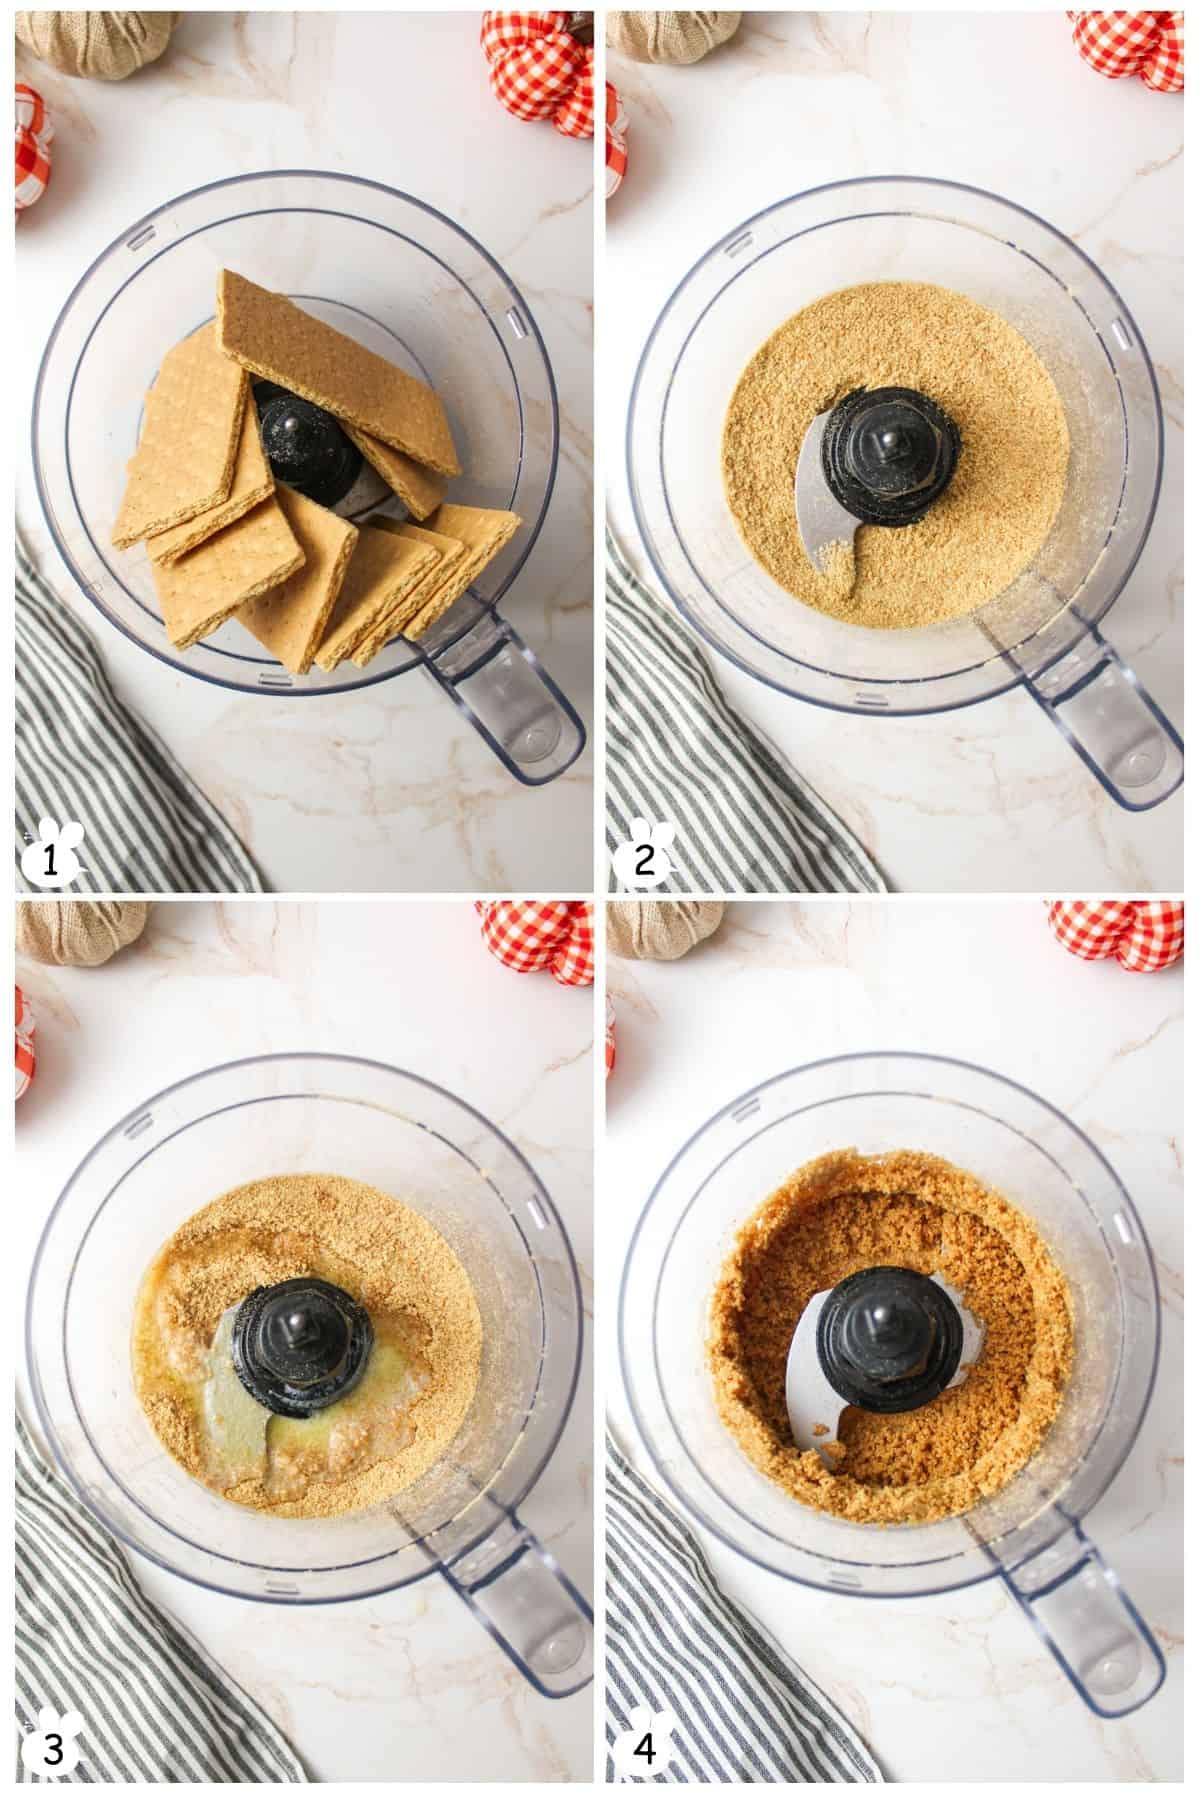
Step 3: Add your graham crackers to a food processor (Image 1).
Step 4: Process until crumbs (Image 2).
Step 5: Add in the melted butter (Image 3).
Step 6: Process again until well mixed and combined (Image 4).
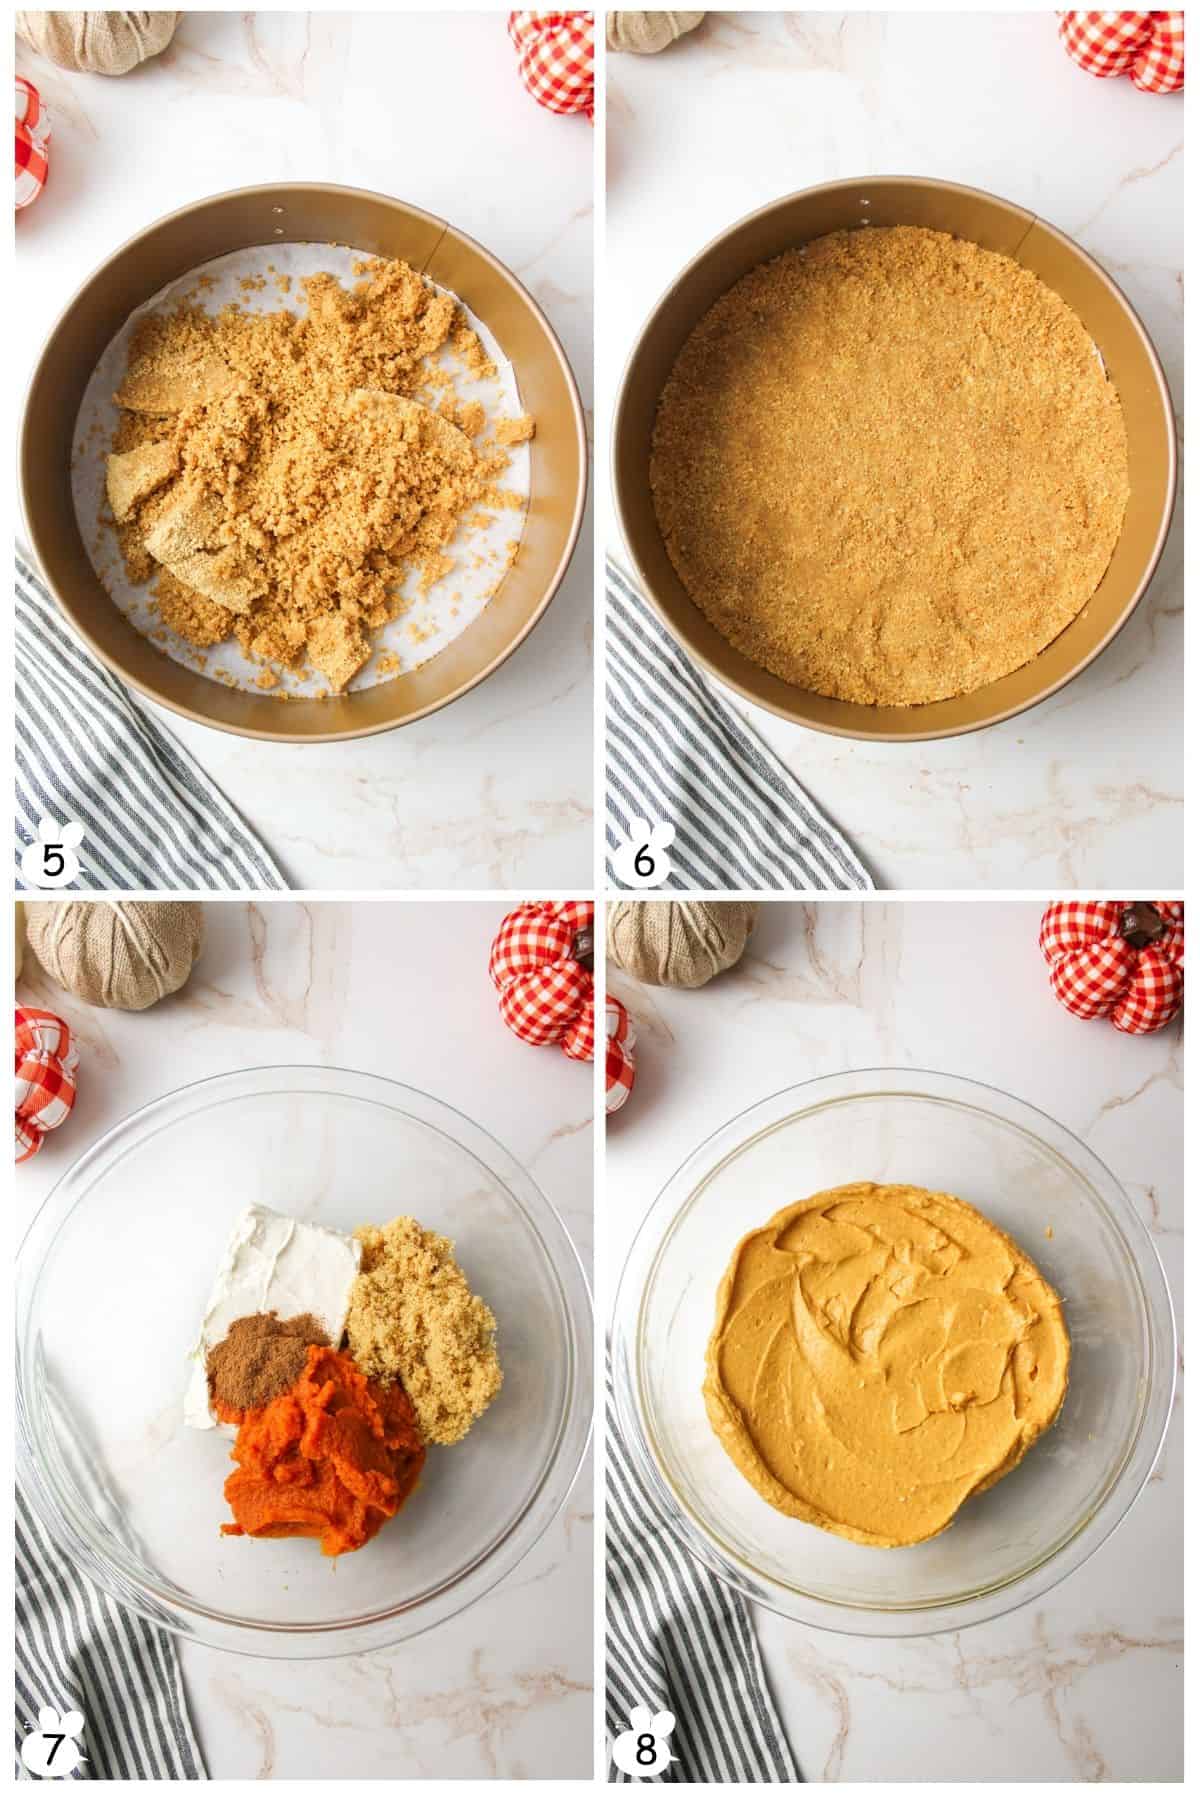
Step 7: Press the graham cracker mixture into the bottom of the pan and slightly up the sides (Image 5).
Step 8: Place the pan into the freezer and let it sit there until the filling is ready (Image 6).
Step 9: Add the cream cheese, pumpkin, sugar, and pumpkin spice in a large mixing bowl (Image 7).
Step 10: Beat with an electric mixer on medium speed until well combined (Image 8).
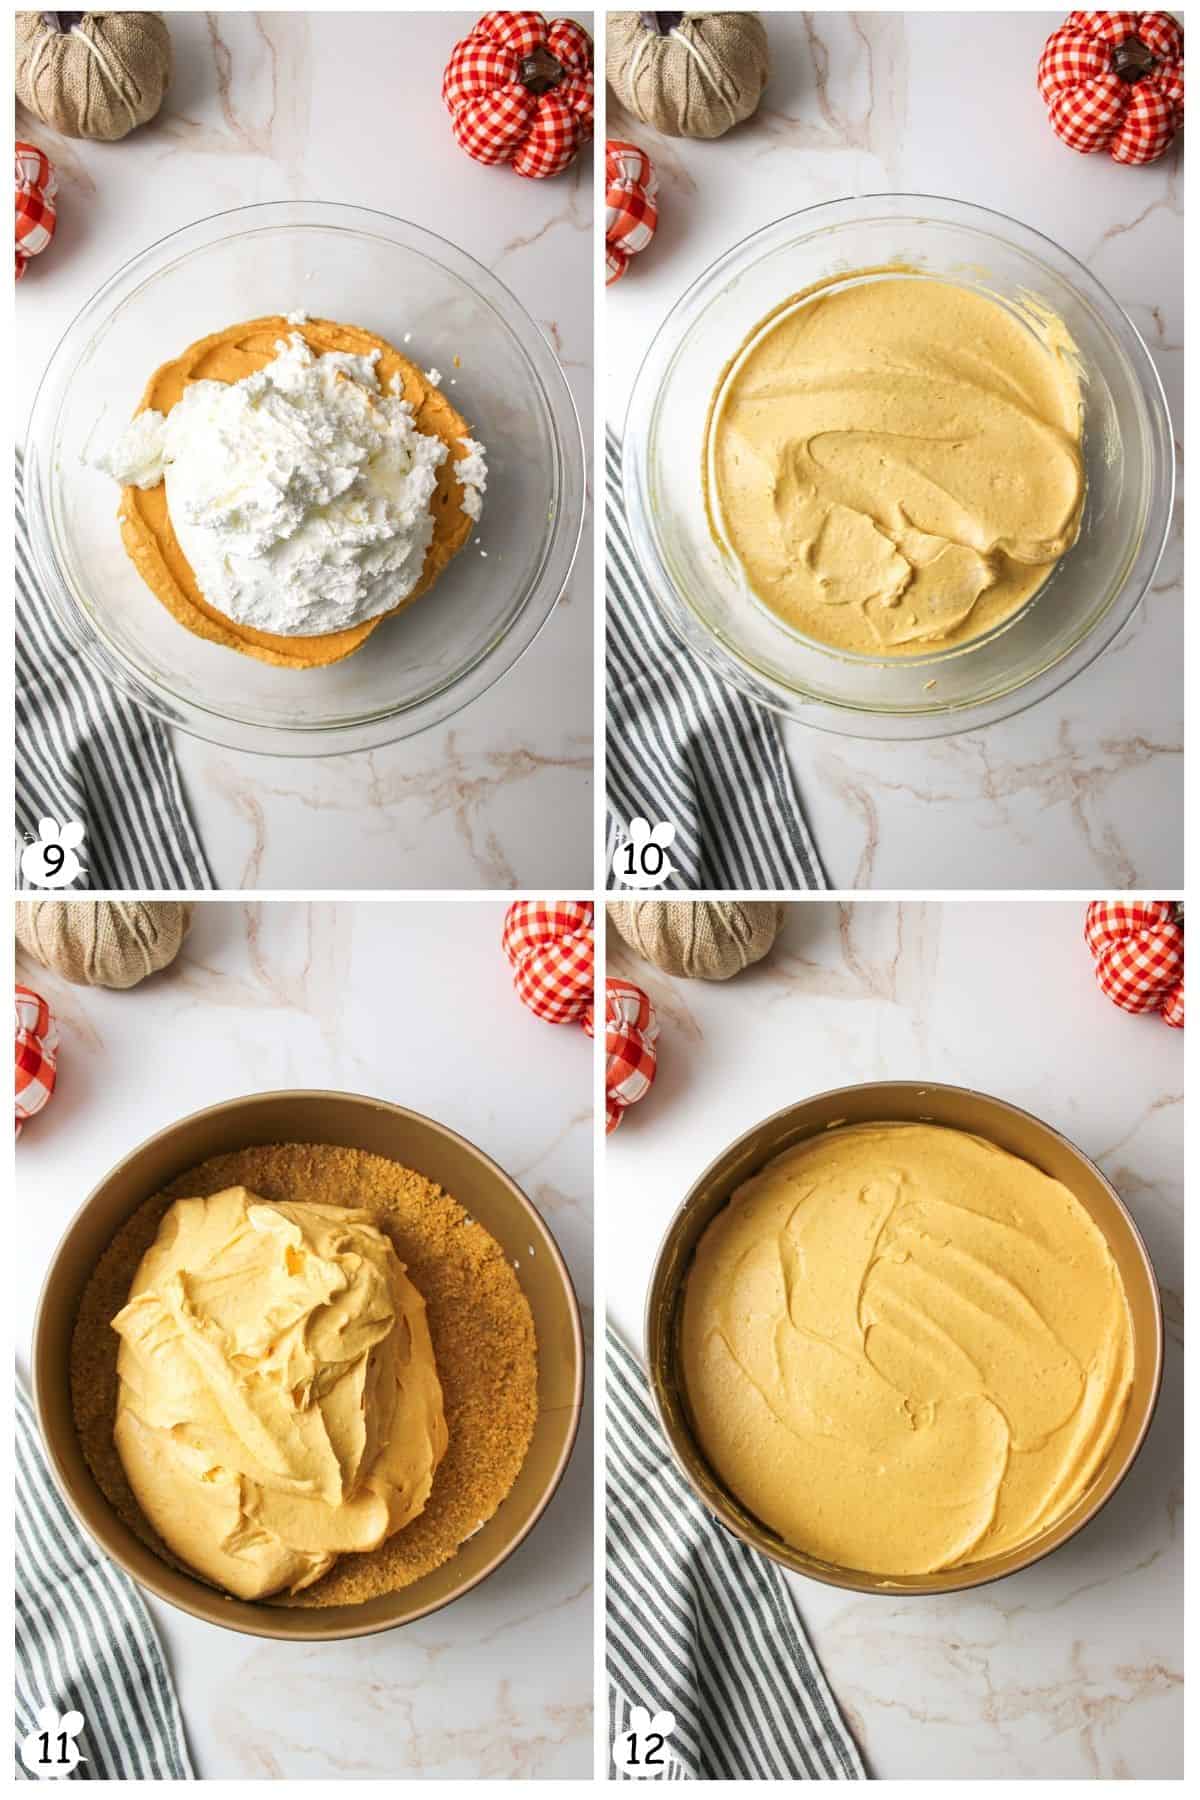
Step 11: Add the whipped topping (Image 9).
Step 12: Fold together until combined (Image 10).
Step 13: Pour the cheesecake filling into the frozen crust (Image 11).
Step 14: Spread it out until it's even (Image 12).
Step 15: Place into the fridge and allow to chill for 2-3 hours until set.
Top with more whipped cream if desired. Serve and enjoy!
👩🏻🍳 Expert Tips
- Chill for Best Results. For optimal results, allow the pie to rest and chill in the fridge longer. This will enhance the setting of the pie, resulting in neater slices. However, expect a softer texture due to the added moisture from the pumpkin.
- Thaw Cream Cheese. Before use, ensure the cream cheese has been thawed at room temperature for at least 30 minutes to an hour. This step is crucial for smooth and homogenous filling.
- Room temperature cream cheese ensures a smoother texture, avoiding the presence of little white balls of cream cheese scattered throughout the filling, which can affect both the appearance and taste.
❄️ Storage, Freezer & Make Ahead
Storage: Keep your no bake pumpkin cheesecake covered and stored in the refrigerator for up to 3 days. It stays soft, creamy, and delicious, but it's definitely best within the first 48 hours.
Freezer: This cheesecake freezes well. Wrap the chilled cheesecake tightly in plastic wrap, then place it in an airtight container. Freeze for up to 3 months. Thaw in the fridge overnight or on the counter for 20-30 minutes before slicing.
Make Ahead: This dessert is perfect for making ahead. Prepare it the day before your event, let it chill overnight, and it will slice even cleaner the next day.
🥗 Side Dishes or Pairing Ideas
Serve No Bake Pumpkin Cheesecake with coffee, hot chocolate, spiced tea, or a pumpkin cream cold brew. Fresh fruit, cinnamon-dusted whipped cream, or a drizzle of caramel also pair beautifully alongside a slice.
- Sourdough Pumpkin RollRecipe $3.78 / Serving $0.38
- Peanut Butter and Jelly PieRecipe $5.43 / Serving $0.68
- 10 Minute Salted Caramel SauceRecipe $2.02 / Serving $0.25
- Smores Ice Cream PieRecipe $6.89 / Serving $0.86

❓ Recipe FAQs
Yes! Go ahead and spoon the crust into the bottom of 12 muffin cups and press to make the bottom. Divide the filling over the top and let set for several hours in the fridge. Gently remove from the cups and serve. I find that foil or parchment muffin liners work well for this.
Yes! You can use a prebought crust to make this cheesecake, but note that there may be leftover filling as a result. Storebought pie crusts aren't as deep as the ones made at home in a springform pan. Leftover filling can be used as a dip with cookies.
Your cheesecake is assembled using thawed/room temperature ingredients and will be soft once made. To get it to set up properly you will need to let it chill in the fridge for several hours. I recommend letting it chill for 4-8 hours in the fridge for the best results.
🍽️ More Recipes You'll Love
- Pumpkin Spice Banana BreadRecipe $1.94 / Serving $0.20
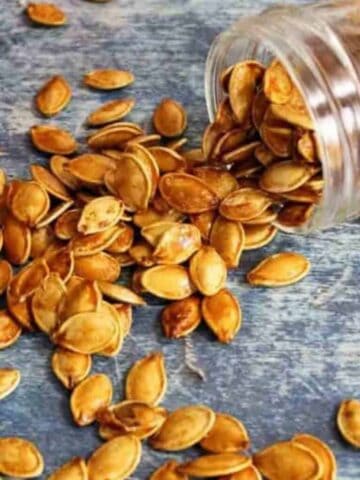
- Honey Roasted Pumpkin SeedsRecipe $0.77 / Serving $0.19
- Pumpkin White Chocolate Chip CookiesRecipe $3.64 / Serving $0.20
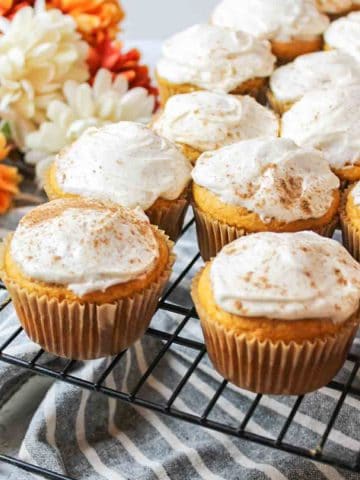
- Easy Pumpkin CupcakesRecipe $7.68 / Serving $0.32

🐝 If you tried this No Bake Pumpkin Cheesecake, please leave a ⭐️ star rating and share your buzz in the 💬 comments below. I'd truly appreciate it!
📖 Recipe
No Bake Pumpkin Cheesecake
Equipment
- Food Processor (optional but recommended)
- 8 inch springform pan (or pie plate)
Ingredients
Crust
- 6 tablespoons unsalted butter, melted - ($0.74)
- 1 ½ cups graham cracker crumbs, about 1 sleeve - ($0.71)
Filling
- 1 block (8 ounces) cream cheese, softened - ($1.86)
- 1 cup pumpkin puree - ($0.88)
- ½ cup brown sugar - ($0.22)
- ½ teaspoon pumpkin pie spice - ($0.04)
- 1 tub (8 ounces) whipped topping, thawed - ($1.07)
Instructions
- Prep Pan. Line the bottom of an 8 inch or 9 inch springform pan with parchment paper. Lightly spray the pan if needed to help the parchment adhere.
- Make Crust. In a bowl, combine the melted butter and graham cracker crumbs until evenly moistened. Press firmly into the bottom of the prepared pan and slightly up the sides. Place in the freezer while preparing the filling.
- Make Filling. In a large bowl, beat the cream cheese, pumpkin puree, brown sugar, and pumpkin pie spice until smooth.
- Fold. Gently fold in the whipped topping until fully combined.
- Assemble. Spread the filling evenly over the chilled crust.
- Chill. Refrigerate for 2 to 3 hours, or until set.
- Serve. Slice and serve. Top with additional whipped cream if desired.
Notes
- Texture. Let the cheesecake chill fully for the best structure and clean slices.
- Cream Cheese. Room temperature cream cheese blends more smoothly into the filling.
- Storage. Refrigerate for up to 3 days or freeze for up to 3 months. Thaw in the refrigerator or at room temperature before serving.
Nutritional Information
Save This Recipe to Your Inbox
By signing up, you'll join our email list and can unsubscribe anytime.


Comments
No Comments