

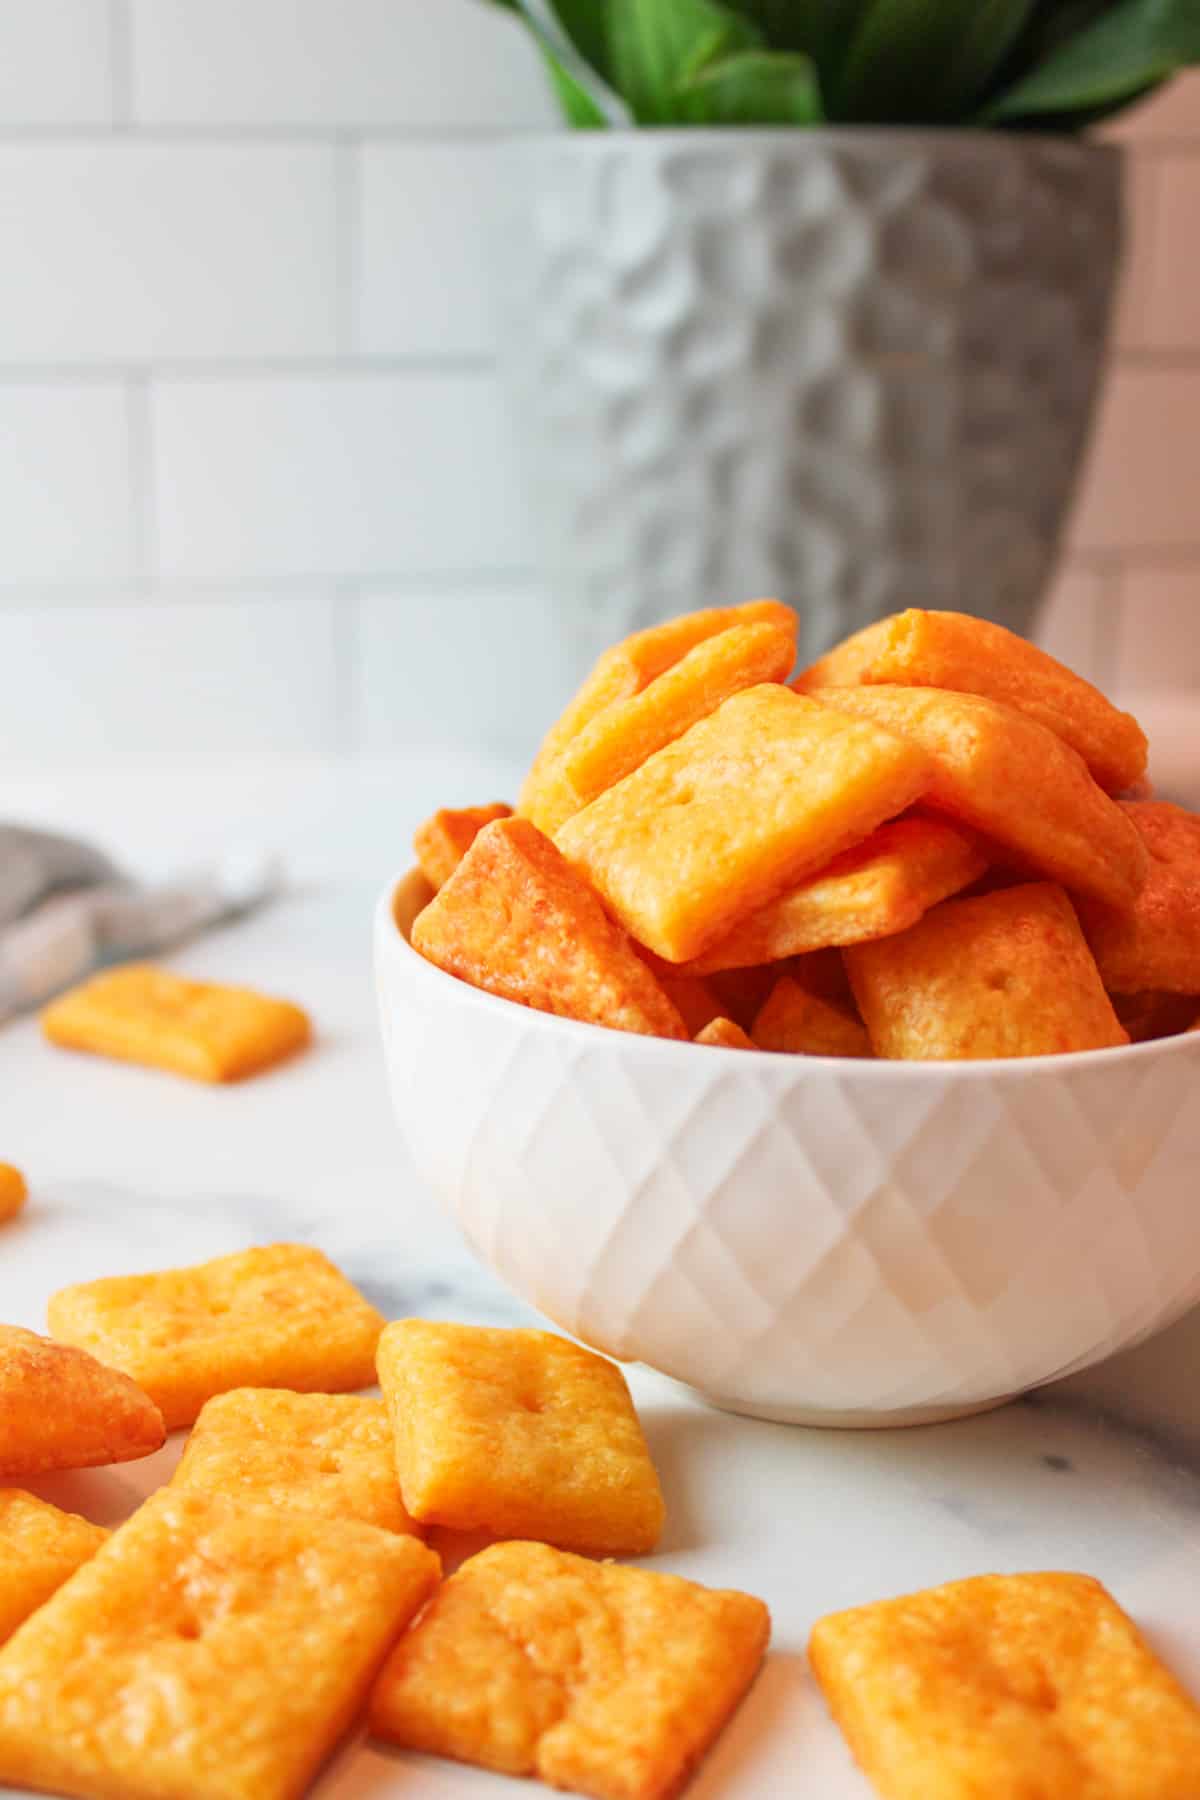
Make your own delicious homemade cheese crackers with only 6 simple ingredients. These crispy, cheesy snacks are a quick delight, and the recipe is easy to follow.
Save This Recipe to Your Inbox
By signing up, you’ll join our email list and can unsubscribe anytime.
In under an hour, whip up these copycat Cheez-Its, a perfect weekend activity for kids, with or without a food processor. Pair them with Frozen Peanut Butter and Jelly Sandwiches and Sour Patch Grapes for lunch.
We're all about snacks, especially my kids! This homemade baked cheese crackers recipe is a household favorite because it's quick, easy, and yields crispy snacks with amazing flavor.
If you love goldfish or Cheez-Its, these Homemade Cheese Crackers will hit the spot. With just one batch, you'll have plenty to share!
For more kid-friendly snacks, try Rolo Stuffed Ritz Crackers and Ice Cream Cone Brownies. For fun activities, check out my No Cook Pumpkin Playdough, Banana Playdough, and Coffee Playdough Recipe.
Jump to:
- 💛 Why You'll Love This Recipe
- 🛒 Ingredients
- 🔀 Substitutions & Variations
- 🧀 Without Food Processor
- 💰 Budget-Friendly Tips
- 🥄 Instructions for Homemade Cheese Crackers
- 👩🏻🍳 Expert Tips
- ❄️ Storage and Make Ahead
- 🥗 Side Dishes or Pairing Ideas
- ❓ Homemade Cheese Crackers FAQs
- 🍽️ More Recipes You'll Love
- 📖 Recipe
- 💬 Comments
💛 Why You'll Love This Recipe
- You can control the thickness. Rolling the cheddar dough thin will give you cracker-like crispy results, but making them a little thicker (like pie dough) will give you puffed crackers which are just as incredible. We still haven't decided which version we prefer.
- There's plenty to share. One batch, depending on how thick you make them, can give you about what you'd find in a standard sized box of cheese crackers. Meaning there are plenty of servings to share with everybody.
- They really are easy to make. Just add a few simple ingredients to a food processor and pulse to combine. Then chill for a few minutes before rolling out the dough and cutting it into shapes. There's no hard kneading, hand mixing, or complicated steps involved.
🛒 Ingredients

Cheddar cheese- I recommend buying a block of cheese that you shred yourself as it works best. Sharp cheddar cheese or medium cheddar cheese will give a stronger taste. This tip is also true in recipes where we want the cheese to melt, (like this 5 Ingredient Mac and Cheese).
Mustard- You can use ground mustard if you have it on hand or swap it out for some yellow mustard instead.
See the recipe card below for full ingredients and instructions.
🔀 Substitutions & Variations
Flour: You can use gluten-free flour instead of all-purpose flour for this recipe. Just make sure it's a 1:1 baking blend for the best texture.
Cheese: Any solid cheese works great! Try cheddar, Swiss, pepper jack, or even Parmesan for a sharper flavor. Mixing different cheeses can also add depth without extra cost.
Butter: If you only have salted butter, go ahead and use it, just omit the added salt in the recipe.
Fun Shapes for Kids: Make these crackers extra appealing for toddlers by using small cookie cutters to create exciting shapes!
Adding fun, whimsical designs before baking makes snack time more enjoyable, and it's an easy way to get kids involved in the kitchen.
If you have access to a 3D printer, you can even make your own cookie cutters to match your favorite store-bought characters.
🧀 Without Food Processor
Food processors are great for speeding up the process, especially with easy recipes like these Homemade Cheese Crackers and my No Bake Graham Cracker Crust, but they aren't always needed.
No food processor? No problem! Use a large mixing bowl and an electric hand mixer (or stand mixer). It might take a bit longer to get that crumbly cheese texture, but as long as everything is evenly mixed, you'll get the same tasty results.
💰 Budget-Friendly Tips
Use block cheese instead of pre-shredded. Buying cheese in blocks and shredding it yourself is cheaper and melts better since it doesn't have anti-caking powder.
Re-roll the dough scraps. Don't toss out leftover bits after cutting shapes! Gather and re-roll them to make a few extra crackers and reduce waste.
Make mini crackers. Smaller shapes mean more pieces per batch, which helps stretch your ingredients while still giving kids fun, snack-sized bites.
🥄 Instructions for Homemade Cheese Crackers
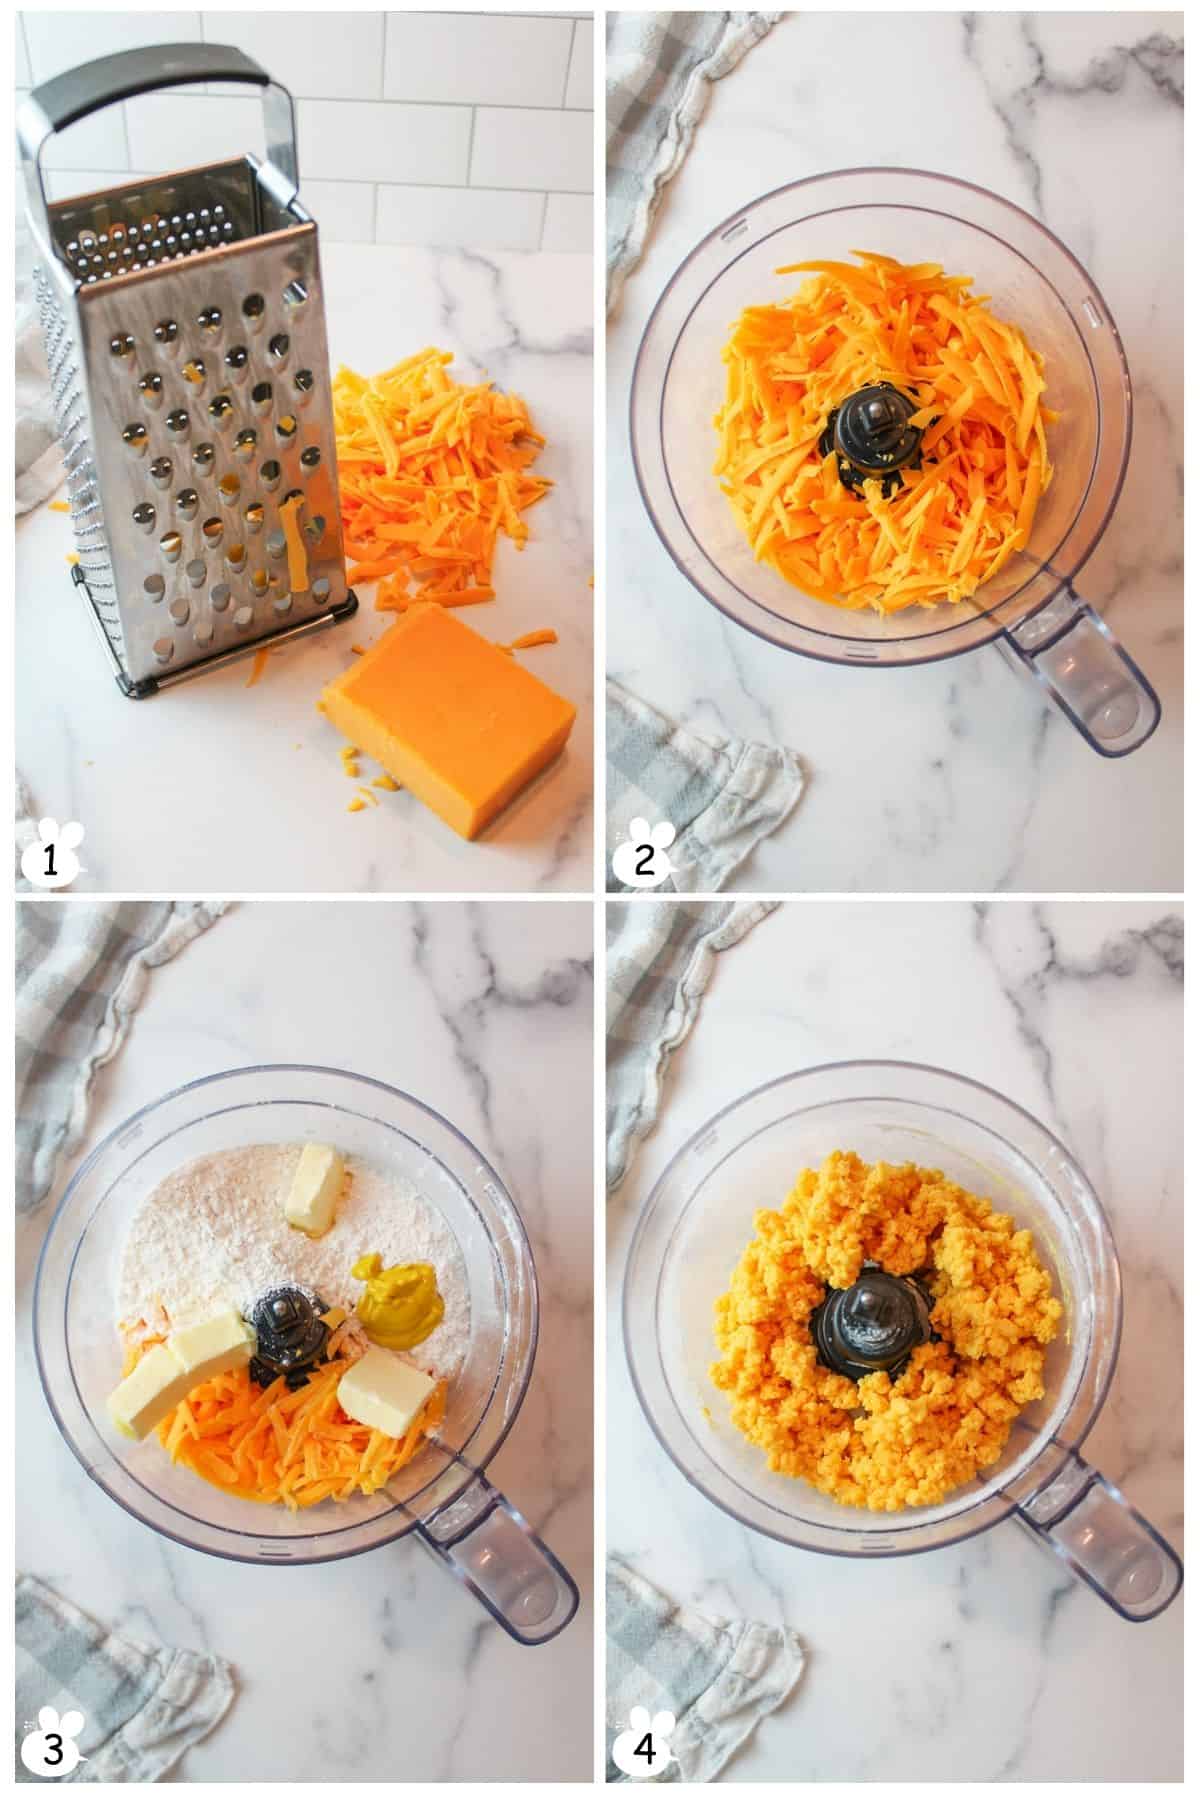
Step 1: Shred the cheese (Image 1).
Step 2: Place shredded cheese into a food processor (Image 2).
Step 3: Add in the flour, butter, mustard, and salt (Image 3).
Step 4: Pulse to combine until it looks like coarse crumbs. While pulsing, add in water 1 tablespoon at a time (Image 4).

Step 5: Pour the cheese mixture onto a piece of plastic wrap (Image 5).
Step 6: Shape the mixture into a ball by pressing the crumbs together with your clean hands (Image 6).
Step 7: Wrap and twist the plastic wrap around the ball to cover it completely. Place in the fridge to chill for 20 minutes (Image 7).
Step 8: When ready to use, preheat the oven to 350 degrees F. Remove the dough from the plastic wrap and place onto a clean surface.
Step 9: Roll the dough out into a thin rectangle. For crispy crackers, you want it thinner than a pie crust (Image 8). For pillowy crackers, a pie dough thickness is best.
Step 10: Use a pizza cutter to cut the dough into thin 1 inch strips.
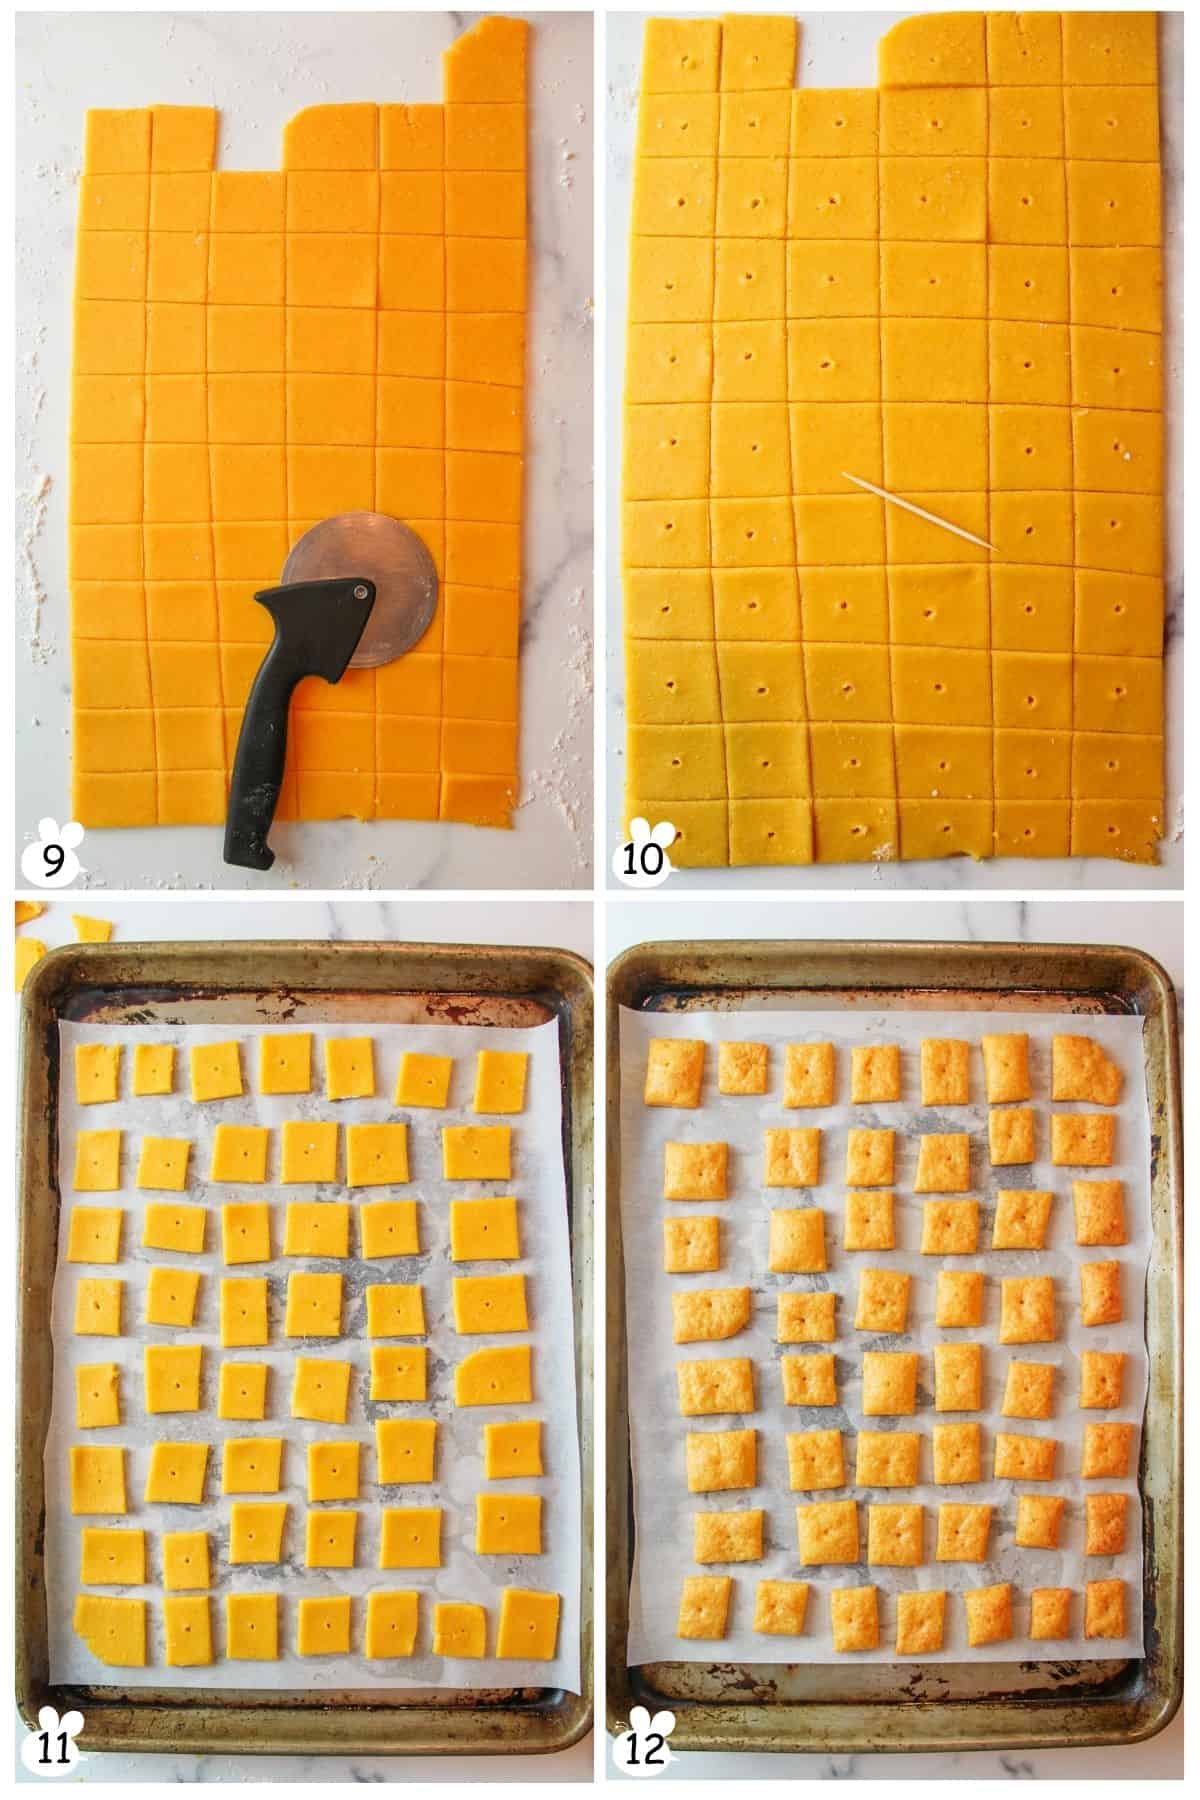
Step 11: Now cut lines going across in the opposite direction, creating a lot of 1 inch sized squares (Image 9).
Step 12: Use a toothpick or the end point of a sharp knife to create holes in the centers. If using a toothpick, swirl it around in tiny circles to make a slightly larger hole (Image 10).
Step 13: Line a baking sheet with parchment paper and place the crackers on top. They won't spread much as they bake, so you can place them fairly close to one another (Image 11).
Step 14: Bake in the oven at 350 degrees F for 13-15 minutes or until crispy (Image 12).
Step 15: Let them cool completely before storing them in an airtight container, or they may end up chewy from condensation in the container.
Serve and enjoy!
👩🏻🍳 Expert Tips
- This recipe can be doubled or halved as needed. So feel free to make more or less of these Homemade Cheese Crackers- just adjust the ingredients accordingly.
- You can use a different pan liner. If you have a silicone baking mat handy, you can use that instead of parchment paper; it'll give you that extra crispiness at the bottom, but either way works just fine. Your choice!
❄️ Storage and Make Ahead
Storage: Store Homemade Cheese Crackers in an airtight container at room temperature for up to 1 week. They may soften slightly over time, but you can re-crisp them in the oven if desired.
Make Ahead: Prepare the dough ahead of time and refrigerate for up to 2 days before rolling and baking, or freeze the dough for up to 3 months in a tightly wrapped, airtight container. Thaw overnight in the fridge before using.
🥗 Side Dishes or Pairing Ideas
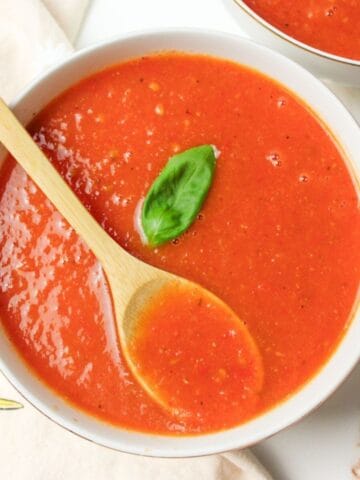
Homemade cheese crackers pair well with soups like tomato or broccoli cheddar, or with sliced fruit, veggies, and dip. They're great on a charcuterie board with cheese and meats or served alongside chili, sandwiches, or mac and cheese for extra crunch.
- 5 Ingredient Instant Pot ChiliRecipe $11.26 / Serving $1.88
- Roasted Tomato and Garlic SoupRecipe $3.36 / Serving $0.84
- Tuna Cabbage SaladRecipe $5.08 / Serving $2.54
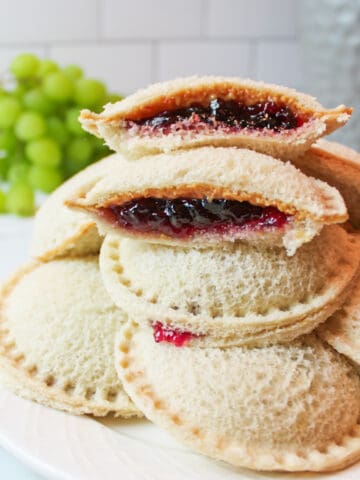
- Frozen Peanut Butter and Jelly SandwichesRecipe $0.96 / Serving $0.32


❓ Homemade Cheese Crackers FAQs
Compared to the stuff you can buy at the store, this is a better alternative. With zero preservatives and whole foods being used, you can stay in the know and in control of what is going into your foods.
No. Please don't. Storebought pre-shredded cheese will contain added anti-caking ingredients, which cause this recipe to fail miserably. I HIGHLY recommend buying a block of cheese and shredding it yourself. If using a food processor, you can get a cheese grating attachment to make it even easier.
Yes! You can freeze these crackers if desired. To do this, first, make sure the crackers have cooled completely. Then place into an airtight container or freezer bag and freeze for up to 2 months. Let thaw on the counter before eating. If desired, you can flash freeze the crackers before freezing by placing them in a single layer on a baking sheet and freezing until solid before transferring to a container.

🍽️ More Recipes You'll Love
- Smoked Trout DipRecipe $6.46 / Serving $0.81
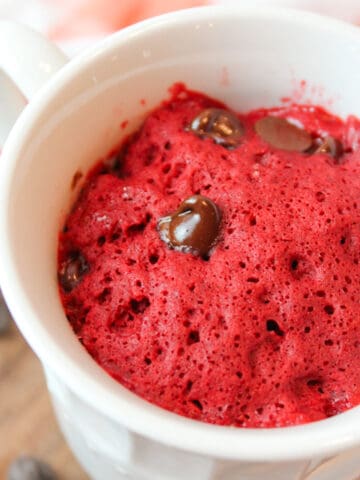
- Cake Mix Mug CakesRecipe $0.16
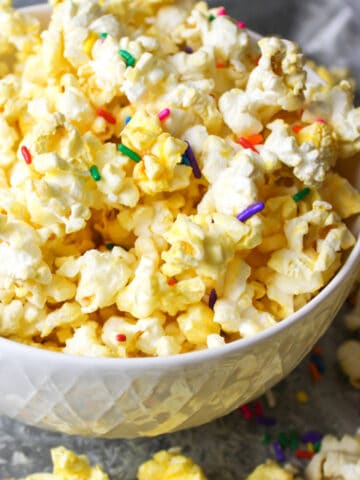
- Almond Bark PopcornRecipe $0.80 / Serving $0.20
- Apple Pie Crescent RollsRecipe $3.55 / Serving $0.44


🐝 If you tried these homemade cheese crackers, please leave a ⭐️ star rating and share your buzz in the 💬 comments below. I'd truly appreciate it!
📖 Recipe

Homemade Cheese Crackers
Equipment
Ingredients
- 8 ounces cheddar cheese, shredded - ($2.00)
- 1 cup all-purpose flour - ($0.13)
- 4 tablespoons unsalted butter, cold and cubed - ($0.50)
- ½ teaspoon ground mustard, or 2 teaspoons yellow mustard - ($0.04)
- ¾ teaspoon salt - ($0.01)
- 2 tablespoons cold water - ($0.00)
Instructions
- Prep dough. Add shredded cheese, flour, butter, mustard, and salt to a food processor. Pulse until the mixture resembles coarse crumbs, adding cold water 1 tablespoon at a time while pulsing.
- Chill. Turn mixture onto plastic wrap and press together into a ball. Wrap tightly and refrigerate for 20 minutes.
- Roll. Preheat oven to 350°F. Unwrap dough and roll on a clean surface into a thin rectangle, about ⅛ inch thick for crisp crackers.
- Cut. Use a pizza cutter to cut dough into 1-inch strips, then cut crosswise to form squares. Poke a hole in the center of each cracker using a toothpick or knife tip.
- Bake. Transfer crackers to a parchment-lined baking sheet, spacing close together. Bake 13 to 15 minutes, until crisp.
- Cool. Let crackers cool completely before storing to prevent condensation.
- Serve. Enjoy as-is or with dips.
Notes
- Substitutions. Gluten-free baking flour works well. Swap Cheddar for Swiss, pepper Jack, or Parmesan. If using salted butter, omit added salt.
- Shaping Tips. Small cookie cutters can be used for fun shapes. A silicone baking mat may produce crispier bottoms.
- Make Ahead. Refrigerate dough up to 2 days or freeze up to 3 months.
- Storage. Store crackers in an airtight container at room temperature for up to 1 week. Texture may soften over time.
Nutritional Information
Save This Recipe to Your Inbox
By signing up, you'll join our email list and can unsubscribe anytime.


Comments
No Comments