

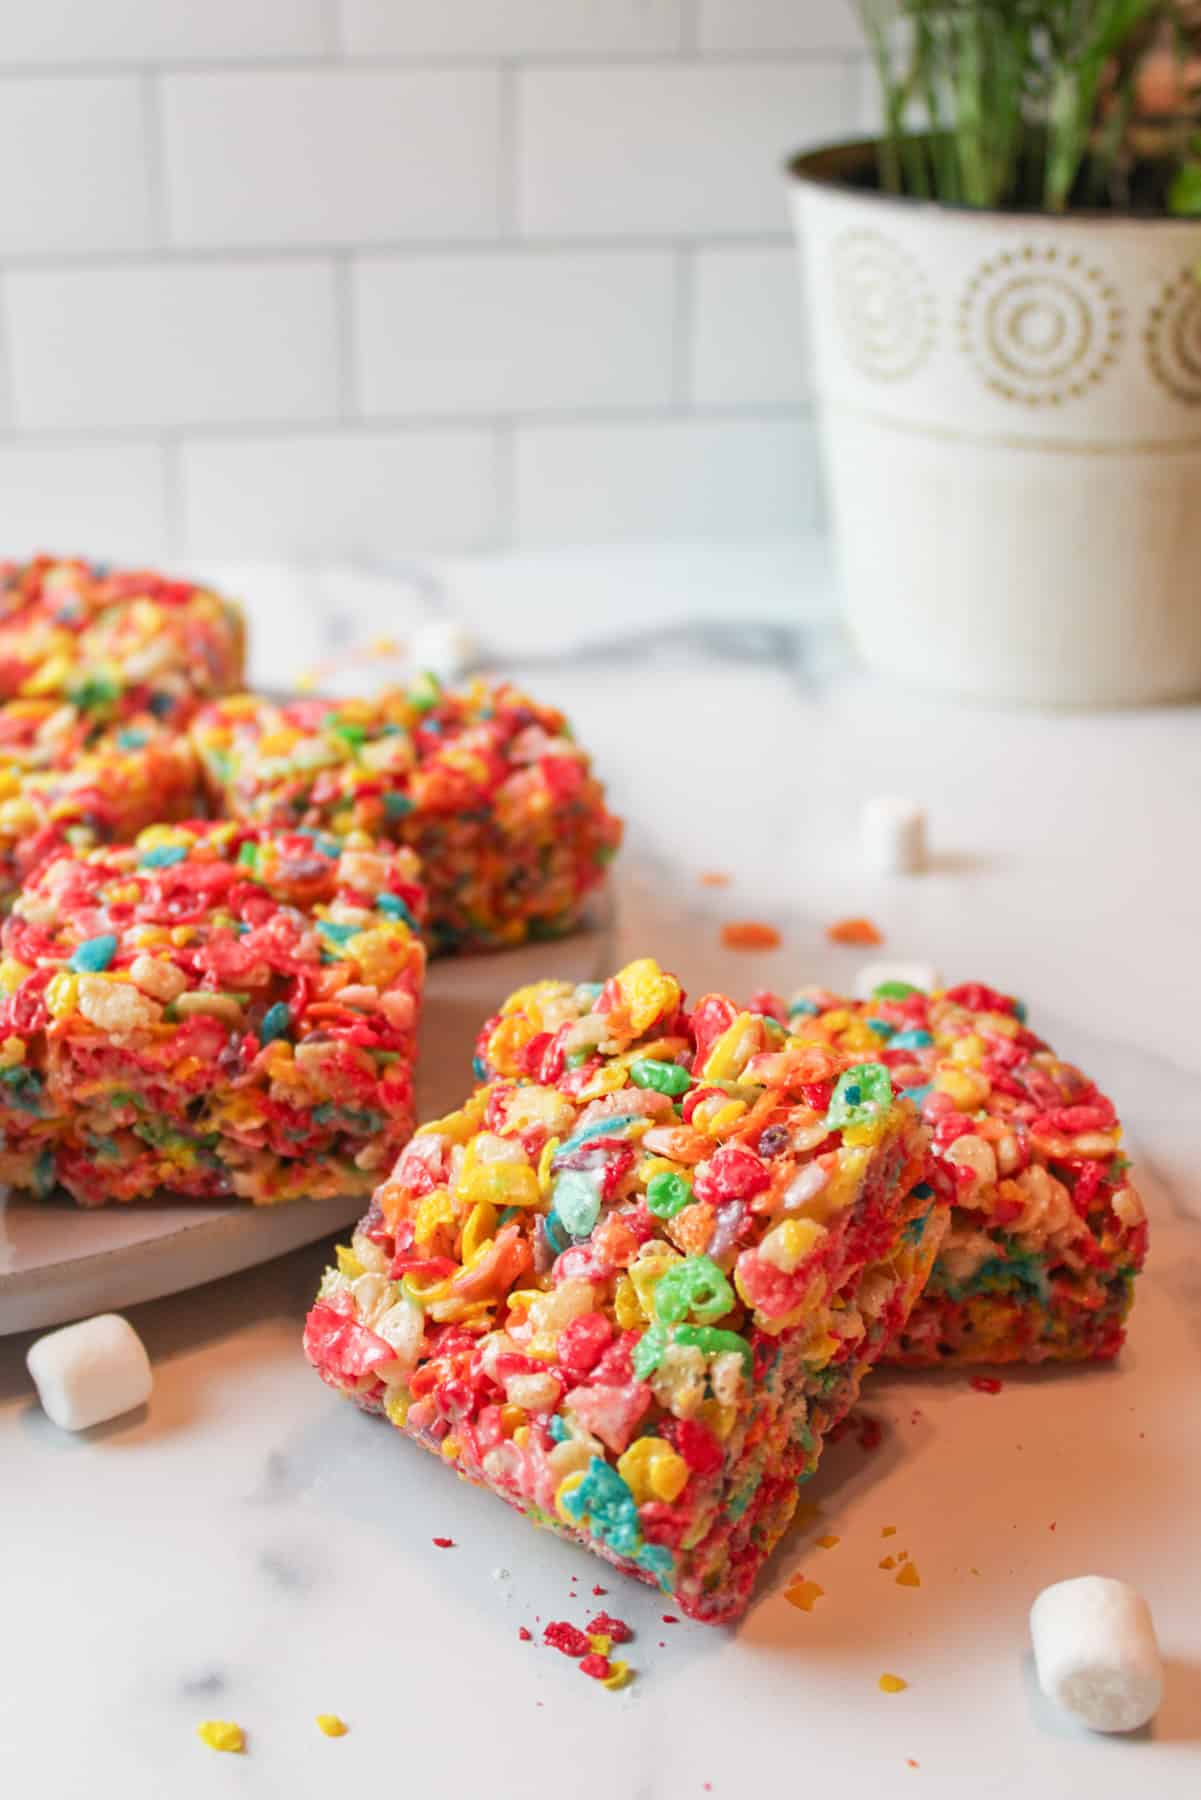
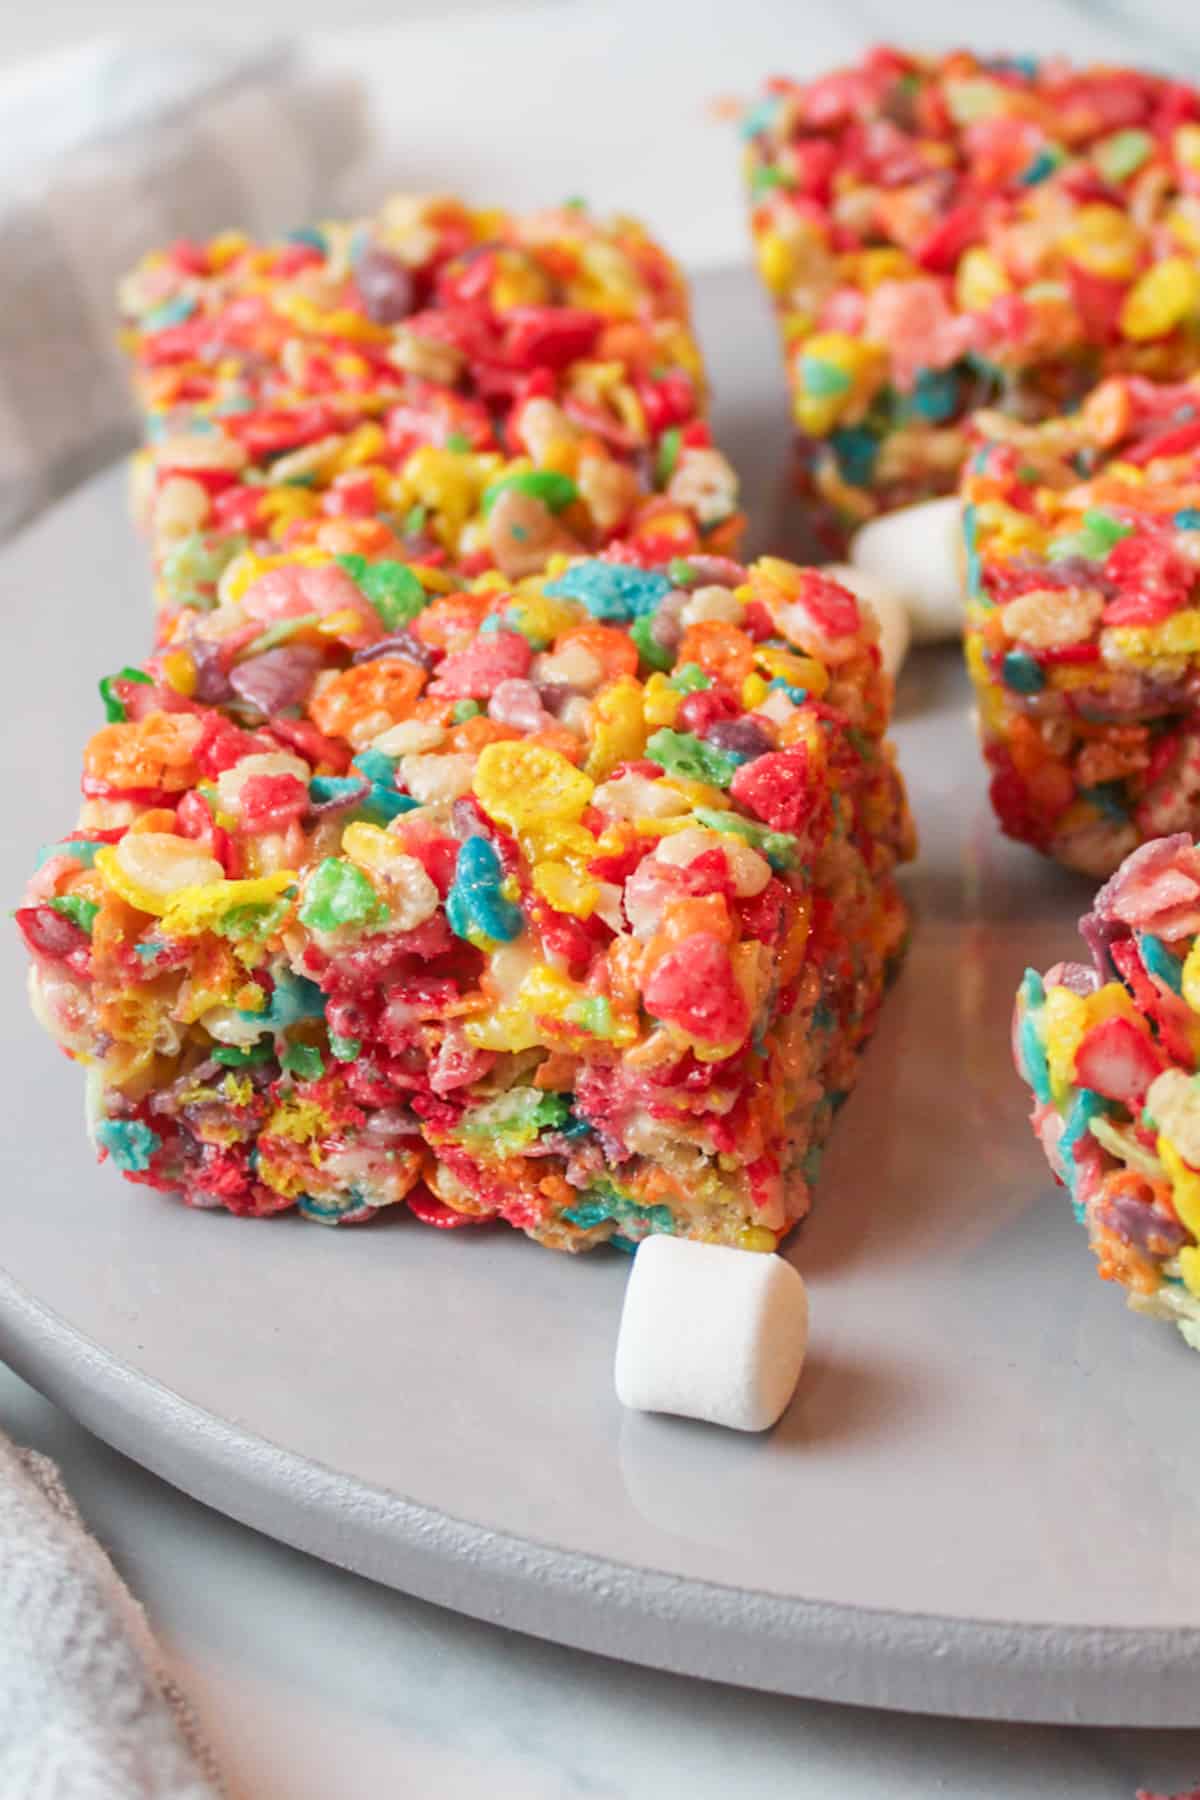
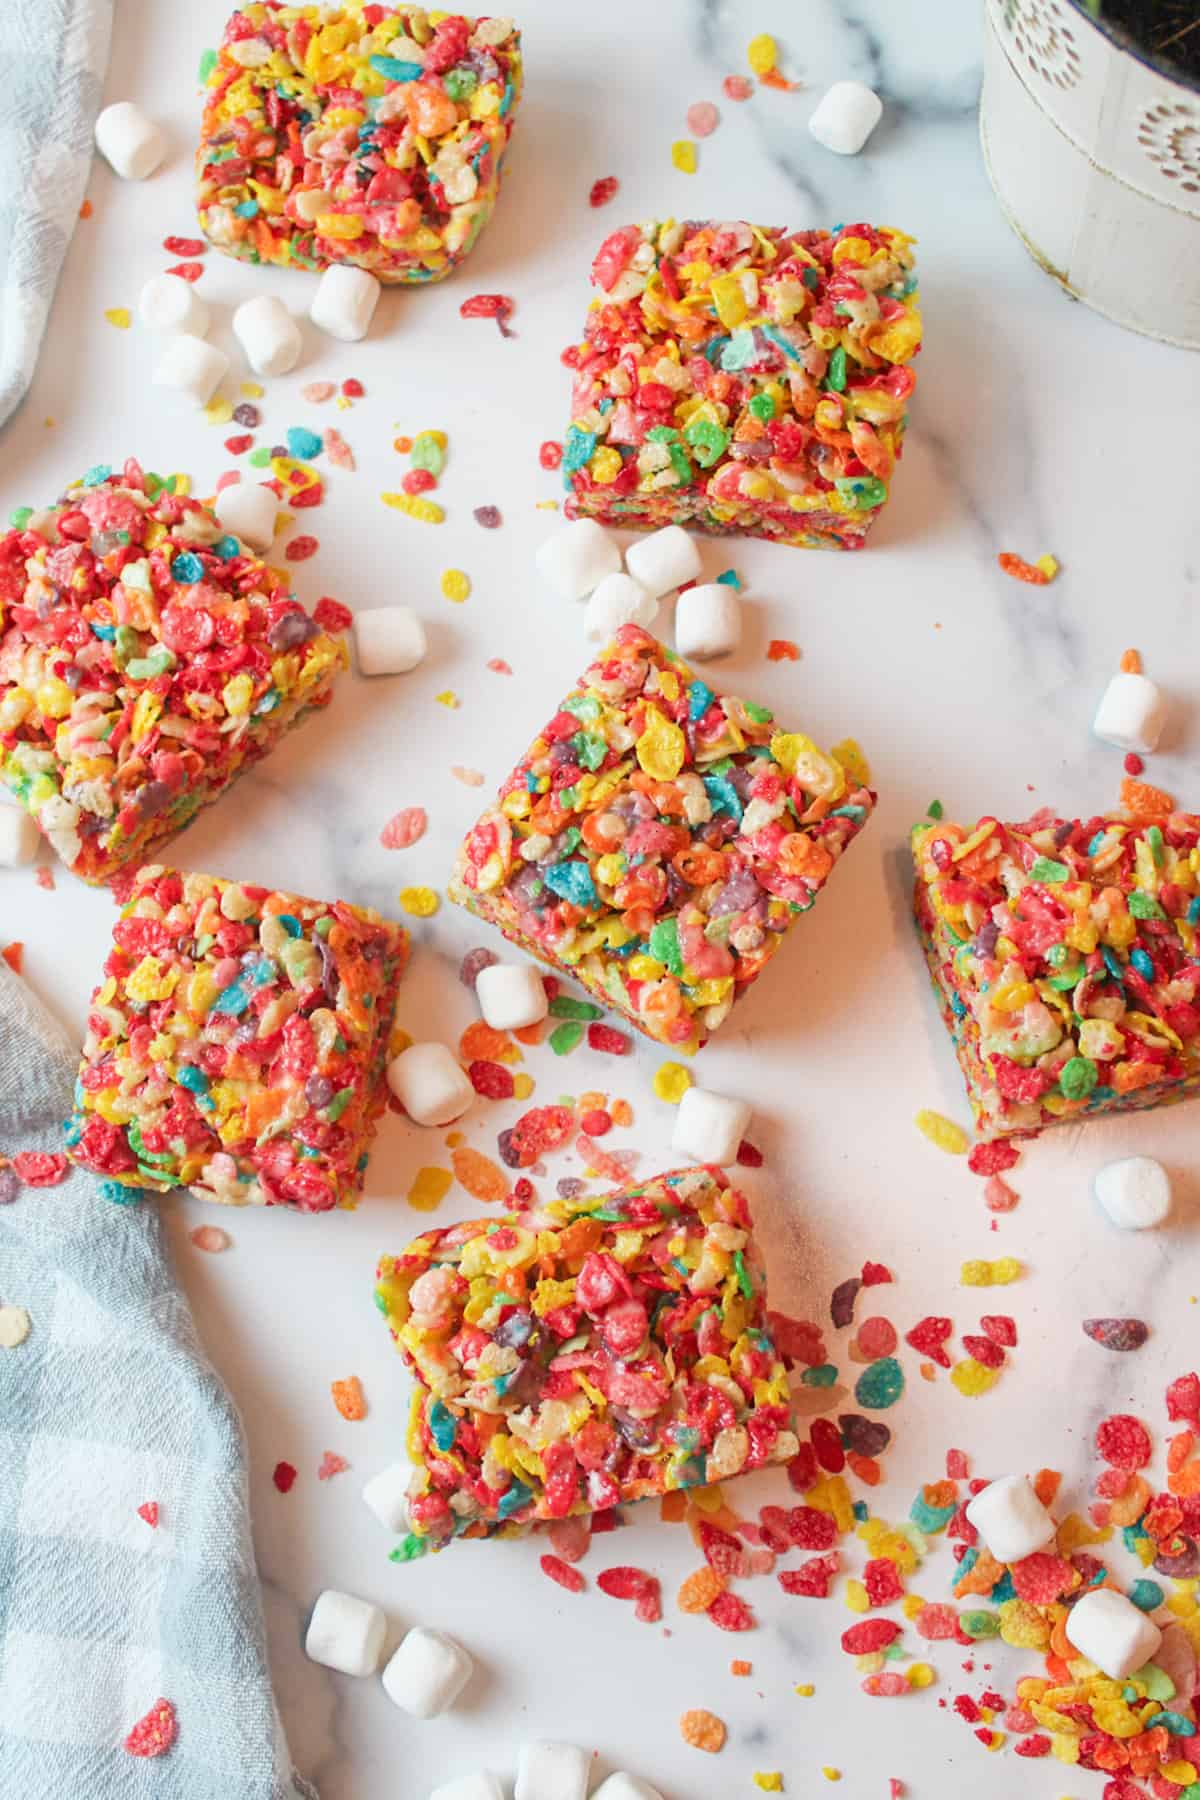
Cereal treats take a fun spin with fruity pebbles cereal. Making fruity pebbles treats is easy and delicious. You'll love snacking on these colorful squares.
Save This Recipe to Your Inbox
By signing up, you’ll join our email list and can unsubscribe anytime.
We're big fans of cereal treats around here, especially when they involve fruity pebbles, a colorful and flavorful twist on ordinary cereal bars.
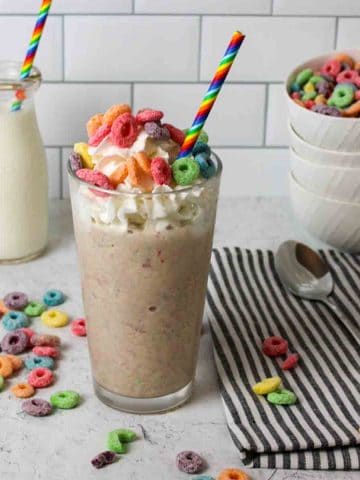
These fruity pebble rice crispy treats hold a special place in our hearts, right alongside our Fruity Pebbles Milkshake and Fruity Pebbles Banana Bread.
With just a few minutes and simple ingredients, you can whip up a batch of these fruity pebbles rice krispies. Once you try making rice crispy treats with fruity pebbles, you may never go back to "normal" again.
These sweet and chewy squares are not only incredibly easy to make but also offer a burst of fruity flavor in every bite. They're perfect for any occasion and provide a nostalgic and delightful snack for adults wanting to indulge in some childhood memories.
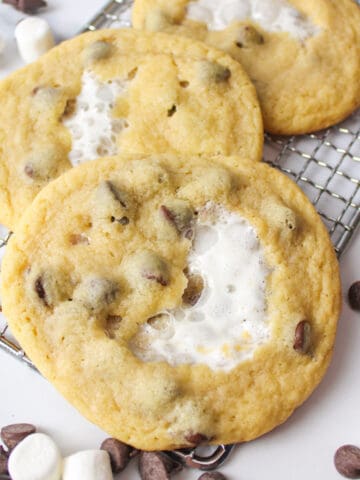
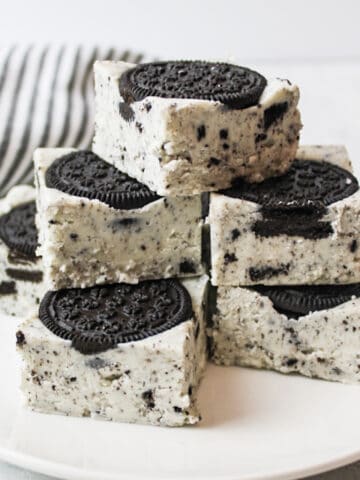
For more rice krispie recipes, check out my Oreo Rice Krispie Treats and Chocolate Peanut Butter Rice Krispie Treats.
Jump to:
💛 Why You'll Love This Recipe
- It's simple. This recipe is no different than making traditional rice krispie treats, which means it's pretty basic. We just swapped out one cereal for another.
- Minimal ingredients. One of the best reasons to love rice krispie recipes is that you don't need much to make them happen. Just some cereal, butter, and marshmallows.
- They're delicious. These fruity pebble bars are soft, gooey, chewy, and fruity. The perfect combination of flavors and textures in every bite.
🛒 Ingredients
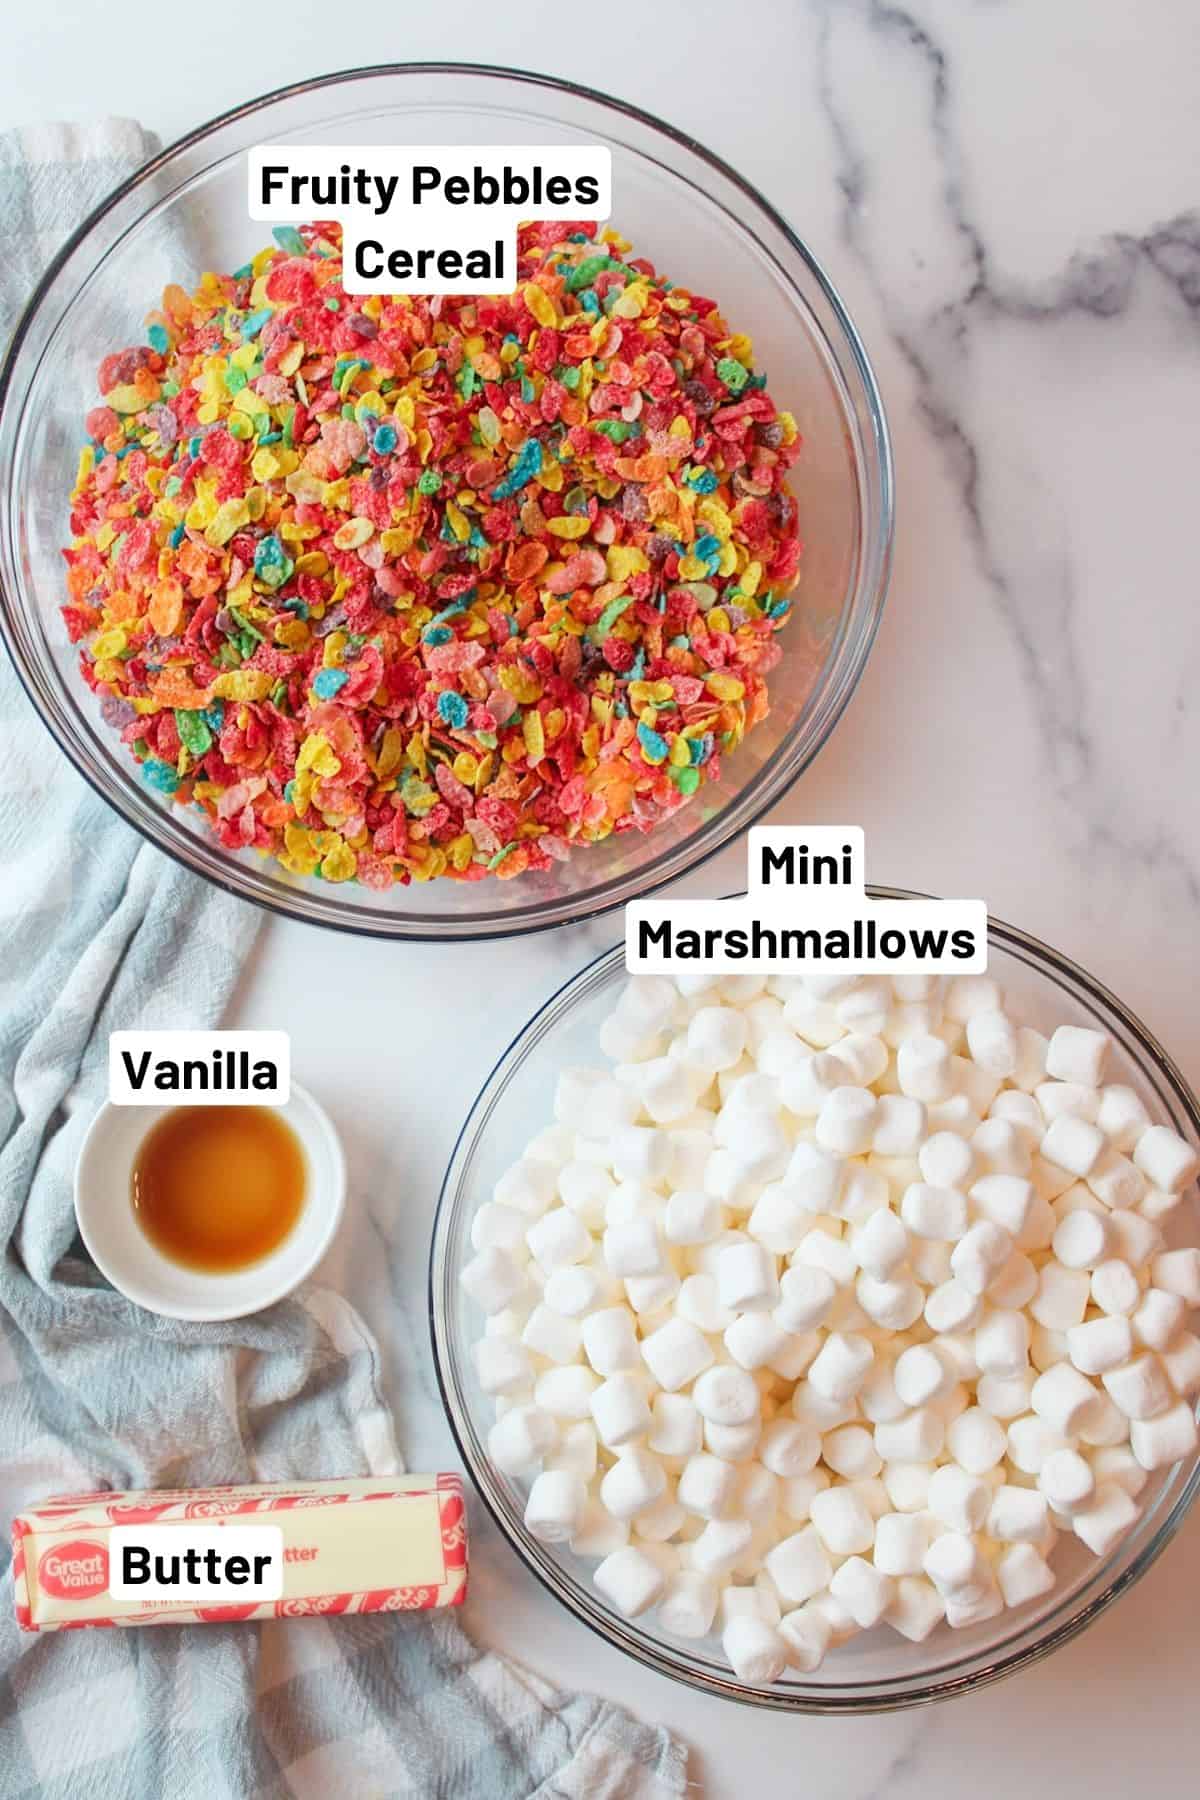
Butter- You will need some butter to help melt the marshmallows and to give the bars some rich flavor.
Mini Marshmallows- Using mini marshmallows is preferred because they melt a lot more easily and quickly.
Fruity Pebbles cereal- We are using this cereal as the base of the recipe to give it a unique fruity flavor and colors.
See the recipe card below for full ingredients and instructions.
💰 Budget-Friendly Tips
Buy cereal on sale: Fruity Pebbles often go on sale or are cheaper in family-size boxes, which lowers the cost per cup.
Use store-brand marshmallows: Generic mini marshmallows melt just as well and help keep this recipe affordable.
🥄 Instructions for Fruity Pebbles Treats

Step 1: Add your butter to a large pan over medium-low heat (Image 1).
Step 2: Cook for a minute or two until just melted (Image 2).

Step 3: Add in the mini marshmallows (Image 3).
Step 4: Cook until almost completely melted, stirring minimally (Image 4).
Step 5: Remove the pot from the heat and add the vanilla (Image 5).
Step 6: Stir well to combine (Image 6).

Step 7: Add in the cereal (Image 7).
Step 8: Stir together until well coated (Image 8).
Step 9: Pour the cereal into a greased 8x8x baking dish (Image 9).
Step 10: Press it down with greased hands to compact it into the pan (Image 10).
Step 11: Let cool completely before slicing and serving.
👩🏻🍳 Expert Tips
- Cool Before Pressing: If the Fruity Pebbles Treats feel too sticky to compact, let them cool for 1 to 2 minutes before pressing. Slightly cooled cereal binds better and stays in place.
- Do Not Over Stir Marshmallows: Melt marshmallows over low heat and stir gently. Over stirring makes them firm and leads to hard bars instead of soft, chewy treats.
- Handle Gently for Soft Texture: Treat melted marshmallows like stretchy taffy. Too much heat or mixing can make them stiff. Gentle melting and light stirring keep the bars soft and tender.
❄️ Storage and Make Ahead
Storage. Keep Fruity Pebbles treats in an airtight container at room temperature for up to 2 days. They can also be frozen for longer storage.
Freezing. Wrap each treat in plastic wrap, place in an airtight container, and freeze for a few weeks. Thaw at room temperature for about 15 minutes before serving.
Make ahead. These treats can be made 1 to 2 days in advance and kept covered until ready to serve, making them great for parties or busy mornings.
🥗 Side Dishes or Pairing Ideas
Serve Fruity Pebbles Treats alongside fresh fruit, yogurt, or a glass of milk. These treats also pair well with other no-bake desserts and simple treats for parties or snack trays.
- Cinnamon Streusel Dessert PizzaRecipe $2.53 / Serving $0.32
- Zucchini Bread Mini LoavesRecipe $4.34 / Serving $0.87
- Valentine Cream PuffsRecipe $14.45 / Serving $0.72
- Chocolate Chip Marshmallow CookiesRecipe $5.04 / Serving $0.21


❓ Recipe FAQs
Making sure to use a well-buttered or greased pan is key. Spraying the pan with nonstick cooking grease or rubbing it down with butter will help to get your treats out of the pan every time. In the worst-case scenarios adding a sling of wax paper to the pan could also help to pull up the treats when ready to slice.
If you heat your marshmallows under too high of a heat or over-stir the mixture, you can create hard and brittle marshmallow fluff that results in hard and stale Krispie treats.
Yes, you could use salted butter or unsalted depending on your preference. While unsalted butter may keep the flavors true, a little salt from salted butter could really make the flavors pop and add a nice contrast.
🍽️ More Recipes You'll Love
- S'mores Snack MixRecipe $2.84 / Serving $0.47
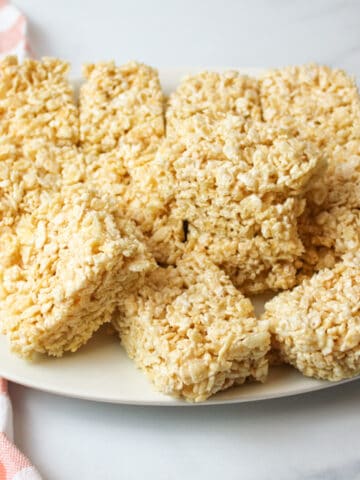
- Rice Krispie Treats with Marshmallow FluffRecipe $2.87 / Serving $0.32
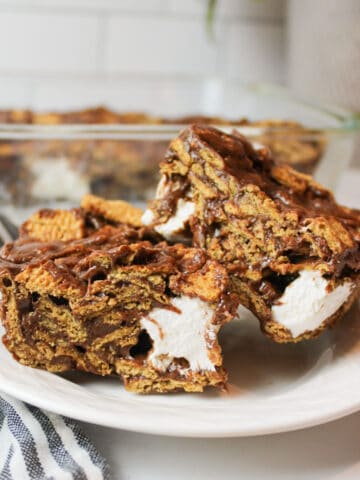
- Golden Graham Smores BarsRecipe $4.64 / Serving $0.39
- Fruit Loop MilkshakeRecipe $1.30

🐝 If you tried this Fruity Pebbles Treats, please leave a ⭐️ star rating and share your buzz in the 💬 comments below. I'd truly appreciate it!
📖 Recipe

Fruity Pebbles Treats
Ingredients
- 6 tablespoons unsalted butter - ($0.74)
- 10 ounces mini marshmallows - ($1.12)
- 1 teaspoon vanilla extract - ($0.03)
- 6 cups Fruity Pebbles cereal - ($2.34)
Instructions
- Melt butter. Melt the butter in a large pot over medium-low heat.
- Melt marshmallows. Add the marshmallows and cook until almost completely melted, stirring gently and minimally.
- Add vanilla. Remove the pot from the heat and stir in the vanilla extract until combined.
- Add cereal. Stir in the cereal until evenly coated with the marshmallow mixture.
- Press into pan. Transfer the mixture to a well-greased 8x8-inch or 9x9-inch baking dish. Press gently into an even layer using greased hands or a spatula.
- Cool and slice. Let cool completely before slicing and serving.
Notes
- Butter choice. Use salted or unsalted butter based on your flavor preference.
- Stirring. Stir only as needed. Over-stirring can make the treats firm and brittle.
- Pan prep. Grease the pan well with butter, nonstick spray, or line with parchment to prevent sticking.
- Texture. Avoid overheating the marshmallows to keep the treats soft and chewy.
- Storage. Store in an airtight container at room temperature for up to 2 days. Freeze for a few weeks and thaw at room temperature for about 15 minutes before serving.
Nutritional Information
Save This Recipe to Your Inbox
By signing up, you'll join our email list and can unsubscribe anytime.


Comments
No Comments