

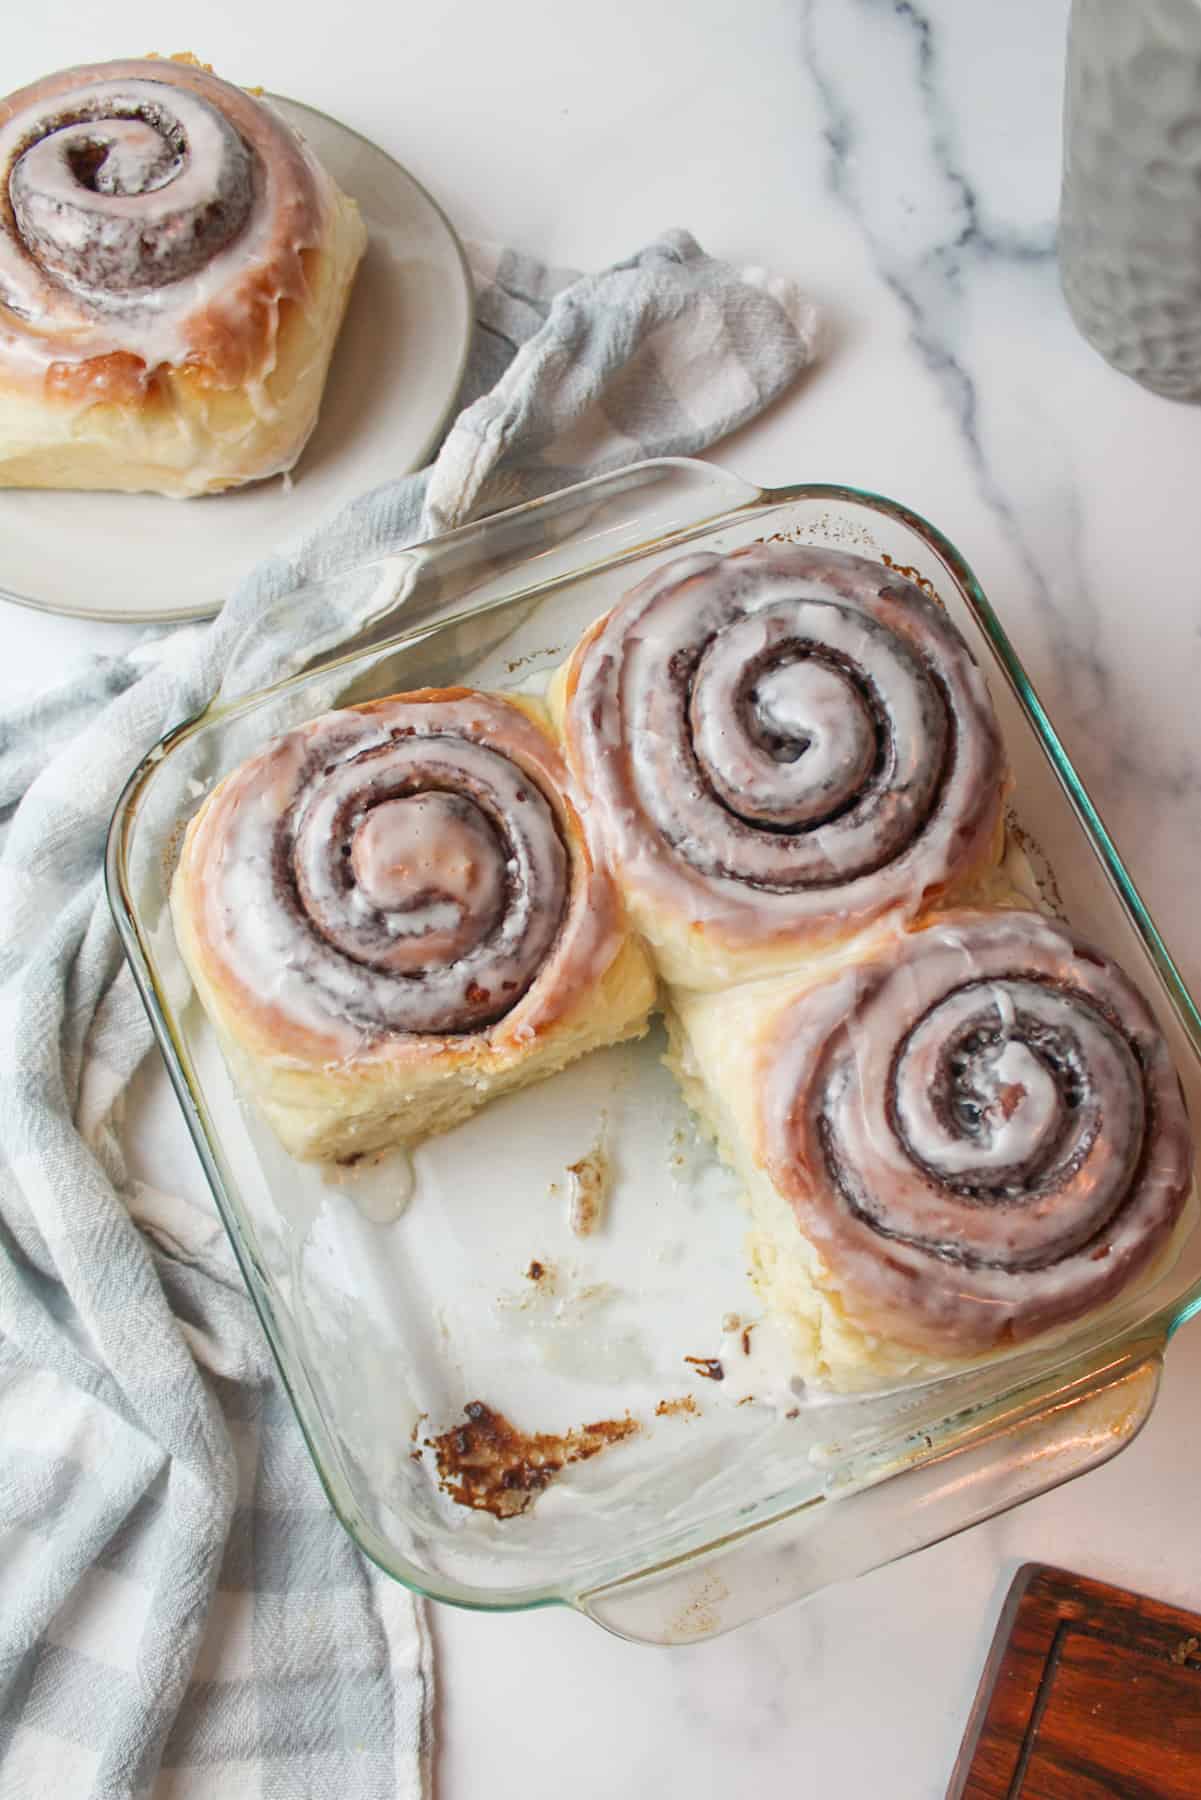
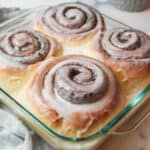
This small batch cinnamon rolls recipe is perfect for a family or pair of individuals, as it makes about 4 large rolls.

Save This Recipe to Your Inbox
By signing up, you’ll join our email list and can unsubscribe anytime.
We have been craving more of these cinnamon rolls lately. They're packed with cinnamon flavor, gooey in the center, and fluffy. The icing is simple and a delicious complement to the flavors we have going on in every roll.
We love cinnamon rolls around here, and homemade cinnamon roll recipes like this one are perfect for when we don't want too many rolls sitting around the house (because portion control and resisting sweets are skills we lack).
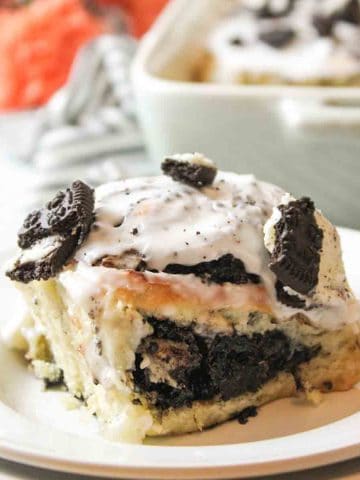
For more cinnamon roll recipes, make sure to check out my Cinnamon Roll Apple Cobbler, Oreo Cinnamon Rolls, and Cinnamon Roll Monkey Bread.
Jump to:
⭐⭐⭐⭐⭐ The Buzz From Readers
"I have been so hungry for homemade cinnamon rolls, but didn't want to make a big batch. I came across your recipe on Pinterest and decided to give it a try. The recipe was so easy! ...They were absolutely delicious! Soft dough and full of cinnamon flavor! I will be making them again. Thank you!"
- Tina
💛 Why You'll Love This Recipe
- Big cinnamon flavor: The filling is the same one used in my Cinnabon Clone Cinnamon Rolls, but the dough is easier to make and handle.
- Allergen-friendly: There are no eggs, and dairy can be swapped for plant-based alternatives, making these rolls easy to adapt without sacrificing flavor.
- Perfect for any occasion: Ideal for holidays like a Christmas Breakfast Idea, easy weekend treats, or fun themed bakes like Cinnamon Roll Intestines. There's never a wrong time for a small batch of cinnamon rolls.
🛒 Ingredients
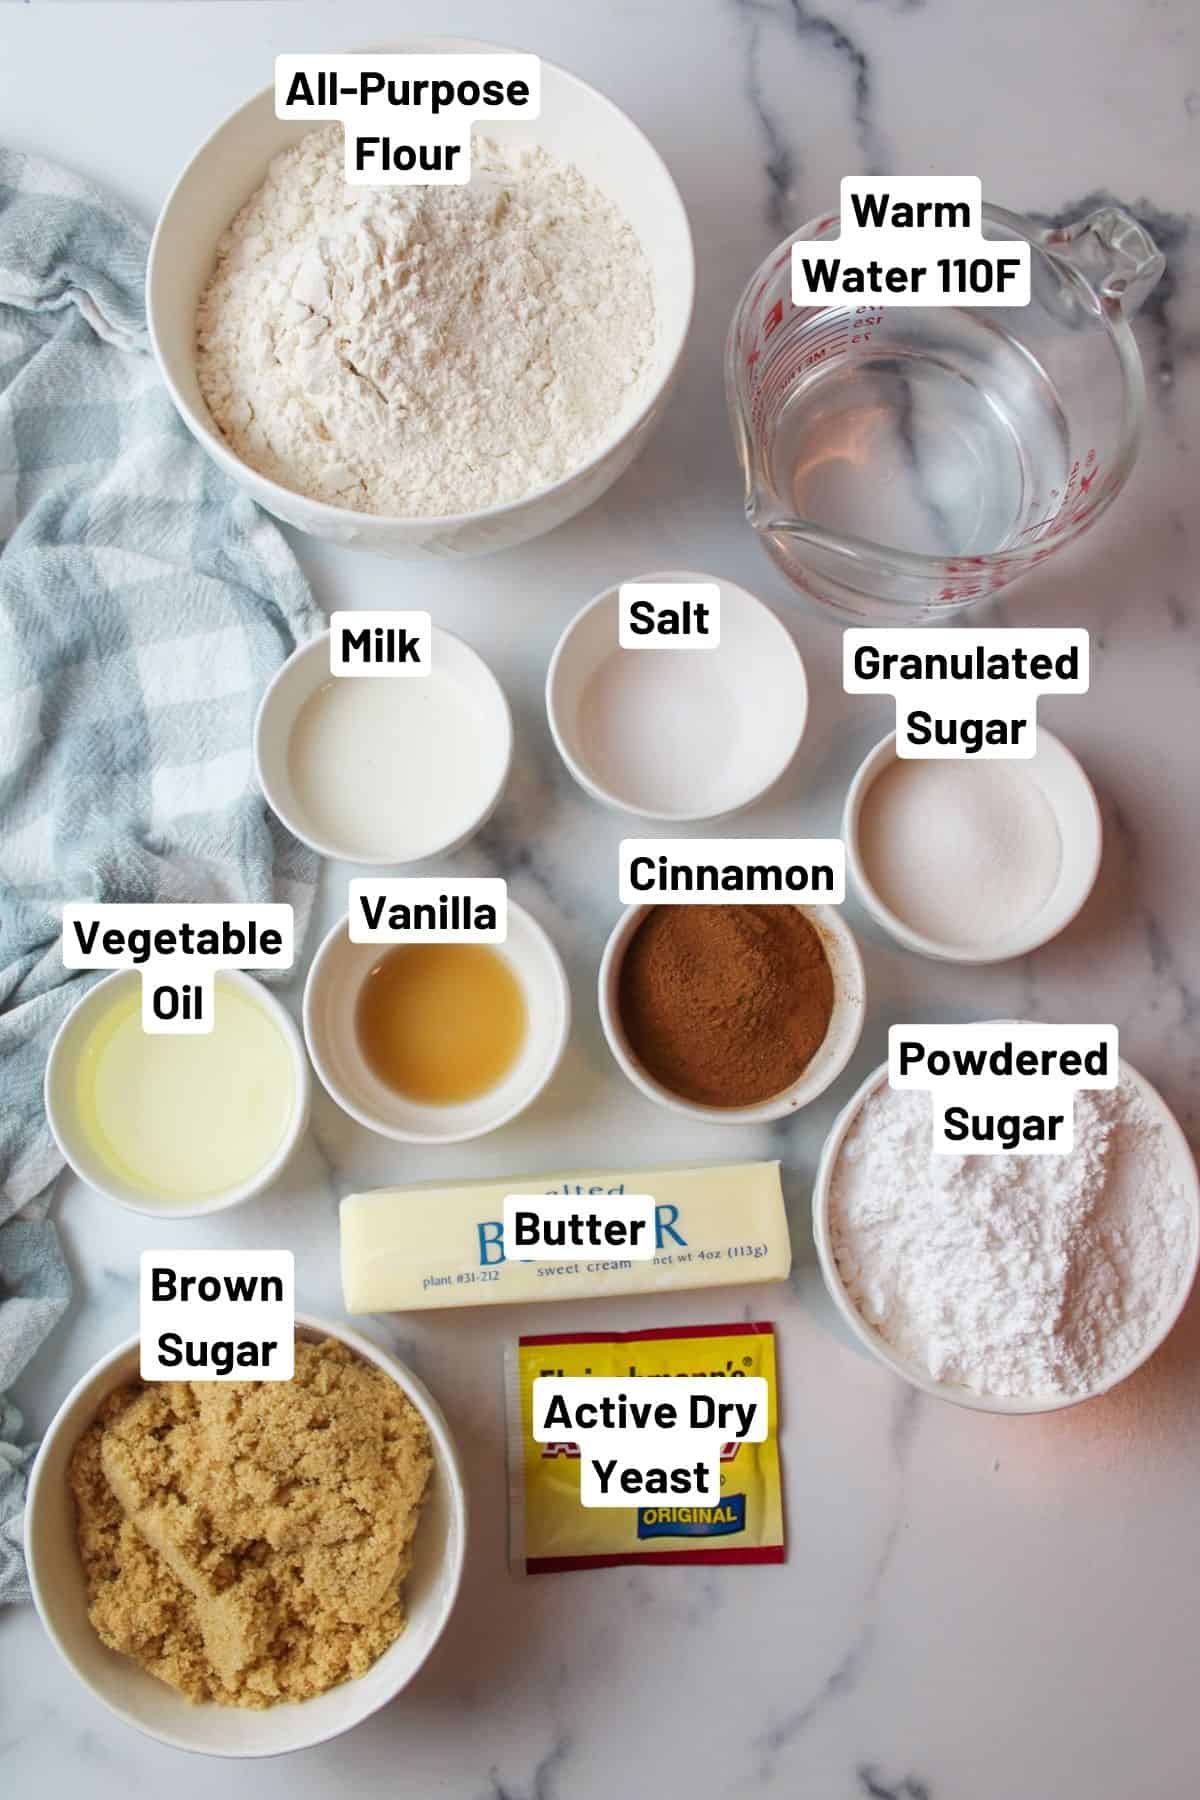
Flour: All-purpose or bread flour both work. Bread flour can give a softer texture but may need a little extra water.
Active dry yeast: Helps the dough rise properly. Be sure it's fresh and not expired.
Warm water: About 110°F to activate the yeast. Water that's too hot can kill it, and water that's too cool won't activate it.
Butter or margarine: Salted or unsalted butter works, as does margarine. Plant-based margarine melts more slowly, helping keep the filling in place while baking.
Icing: Made with powdered sugar, vanilla, and milk for a simple finish.
See the recipe card below for full ingredients and instructions.
🔀 Substitutions & Variations
Dairy-free option: Use dairy-free margarine and plant-based milk for an allergen-friendly version with great results.
Homemade brown sugar: Mix 1 cup granulated sugar with ½ to 2 tablespoons molasses, 1 tablespoon honey or agave, 1 tablespoon maple syrup, or a few drops of rum extract until combined.
💰 Budget-Friendly Tips
Swap margarine if needed: Margarine works just as well as butter in the filling and icing and is often cheaper.
Make once, enjoy twice: These rolls store and freeze well, making them a budget-friendly bake-ahead option.
🥄 Instructions for Small Batch Cinnamon Rolls
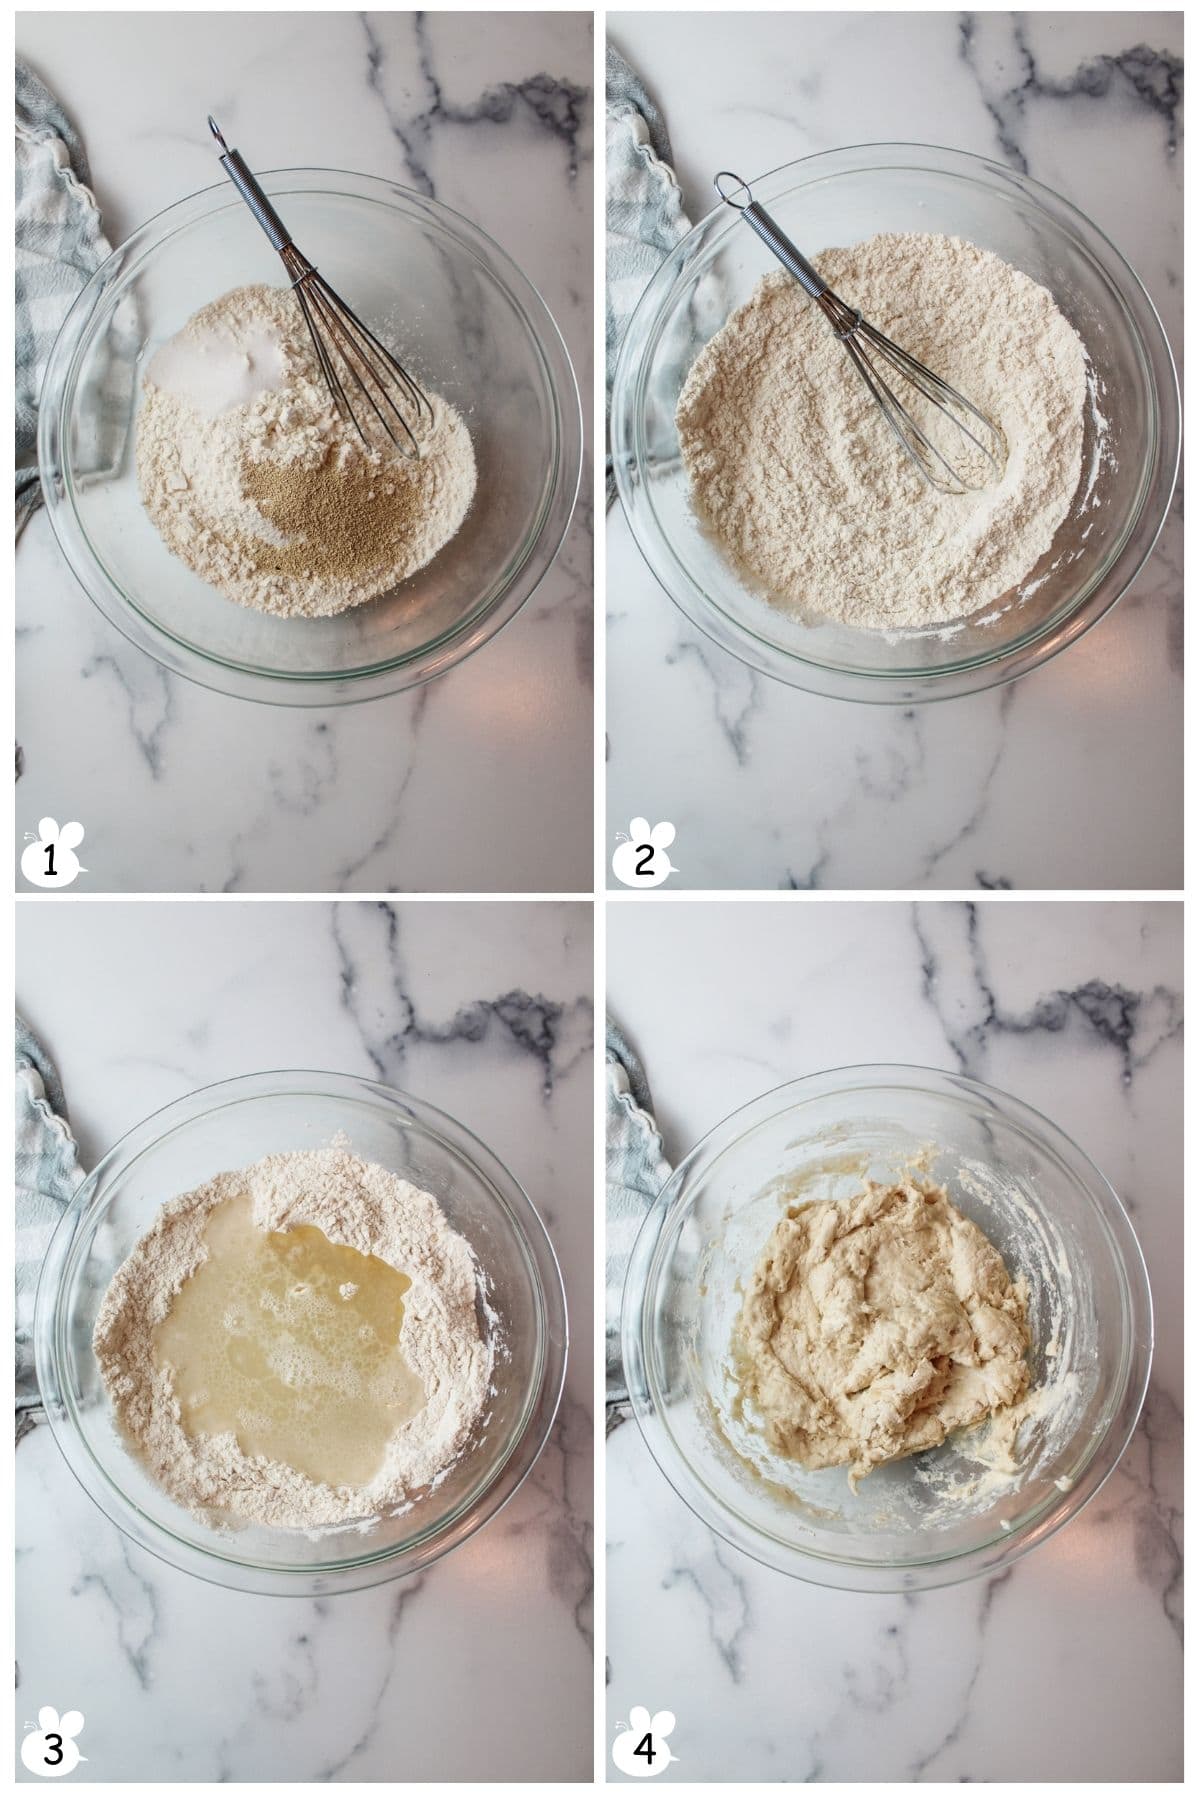
Step 1: Add your flour, sugar yeast, and salt to a mixing bowl (Image 1).
Step 2: Whisk together to combine (Image 2).
Step 4: Make a well in the center and add to it the vegetable oil and water (Image 3).
Step 5: Stir to combine (Image 4).
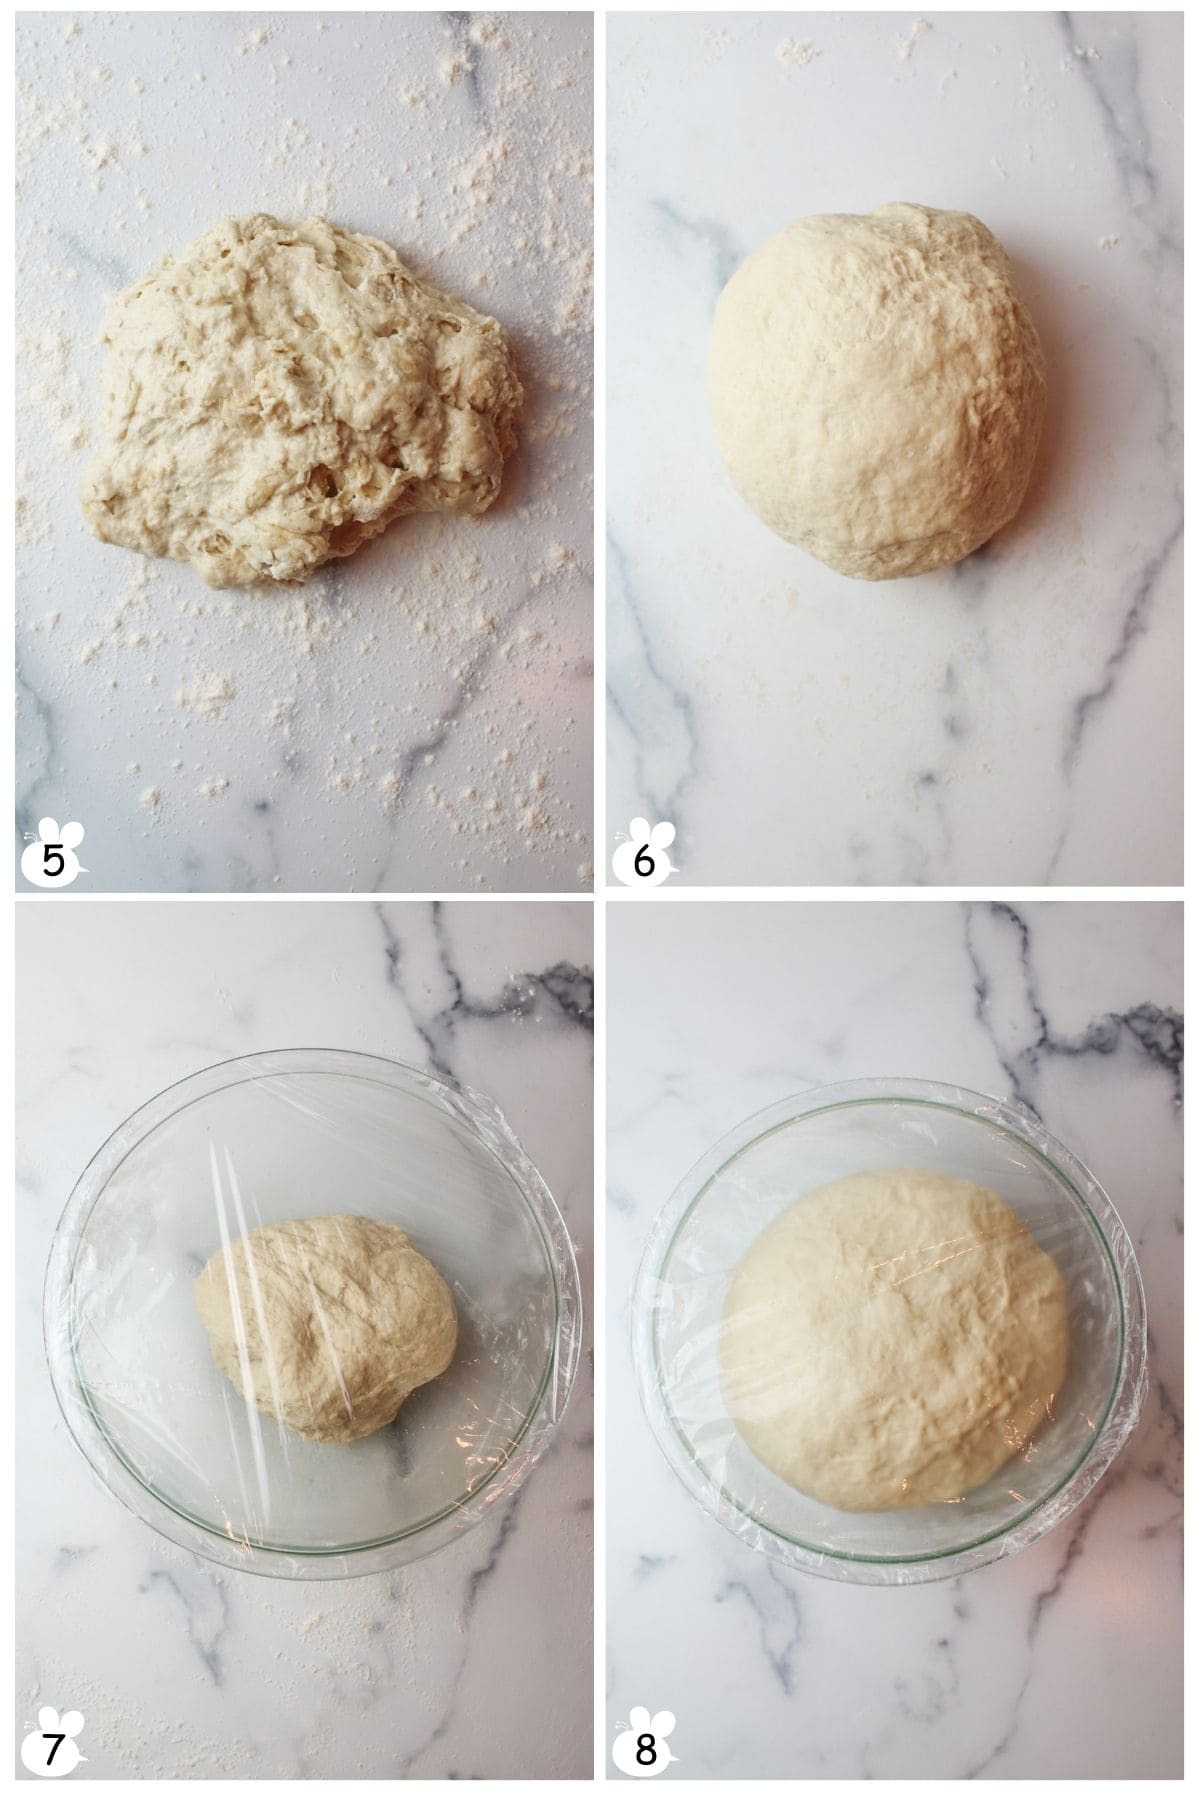
Step 6: Knead the dough on a floured surface for about 10 minutes until smooth and elastic (Image 5). Feed it more flour as needed to get it no longer sticky. You may need about 1 more cup of flour (Image 6).
Step 7: Place in a bowl and cover (Image 7).
Step 8: Let rise until doubled, about 1 hour in a warm place (Image 8).
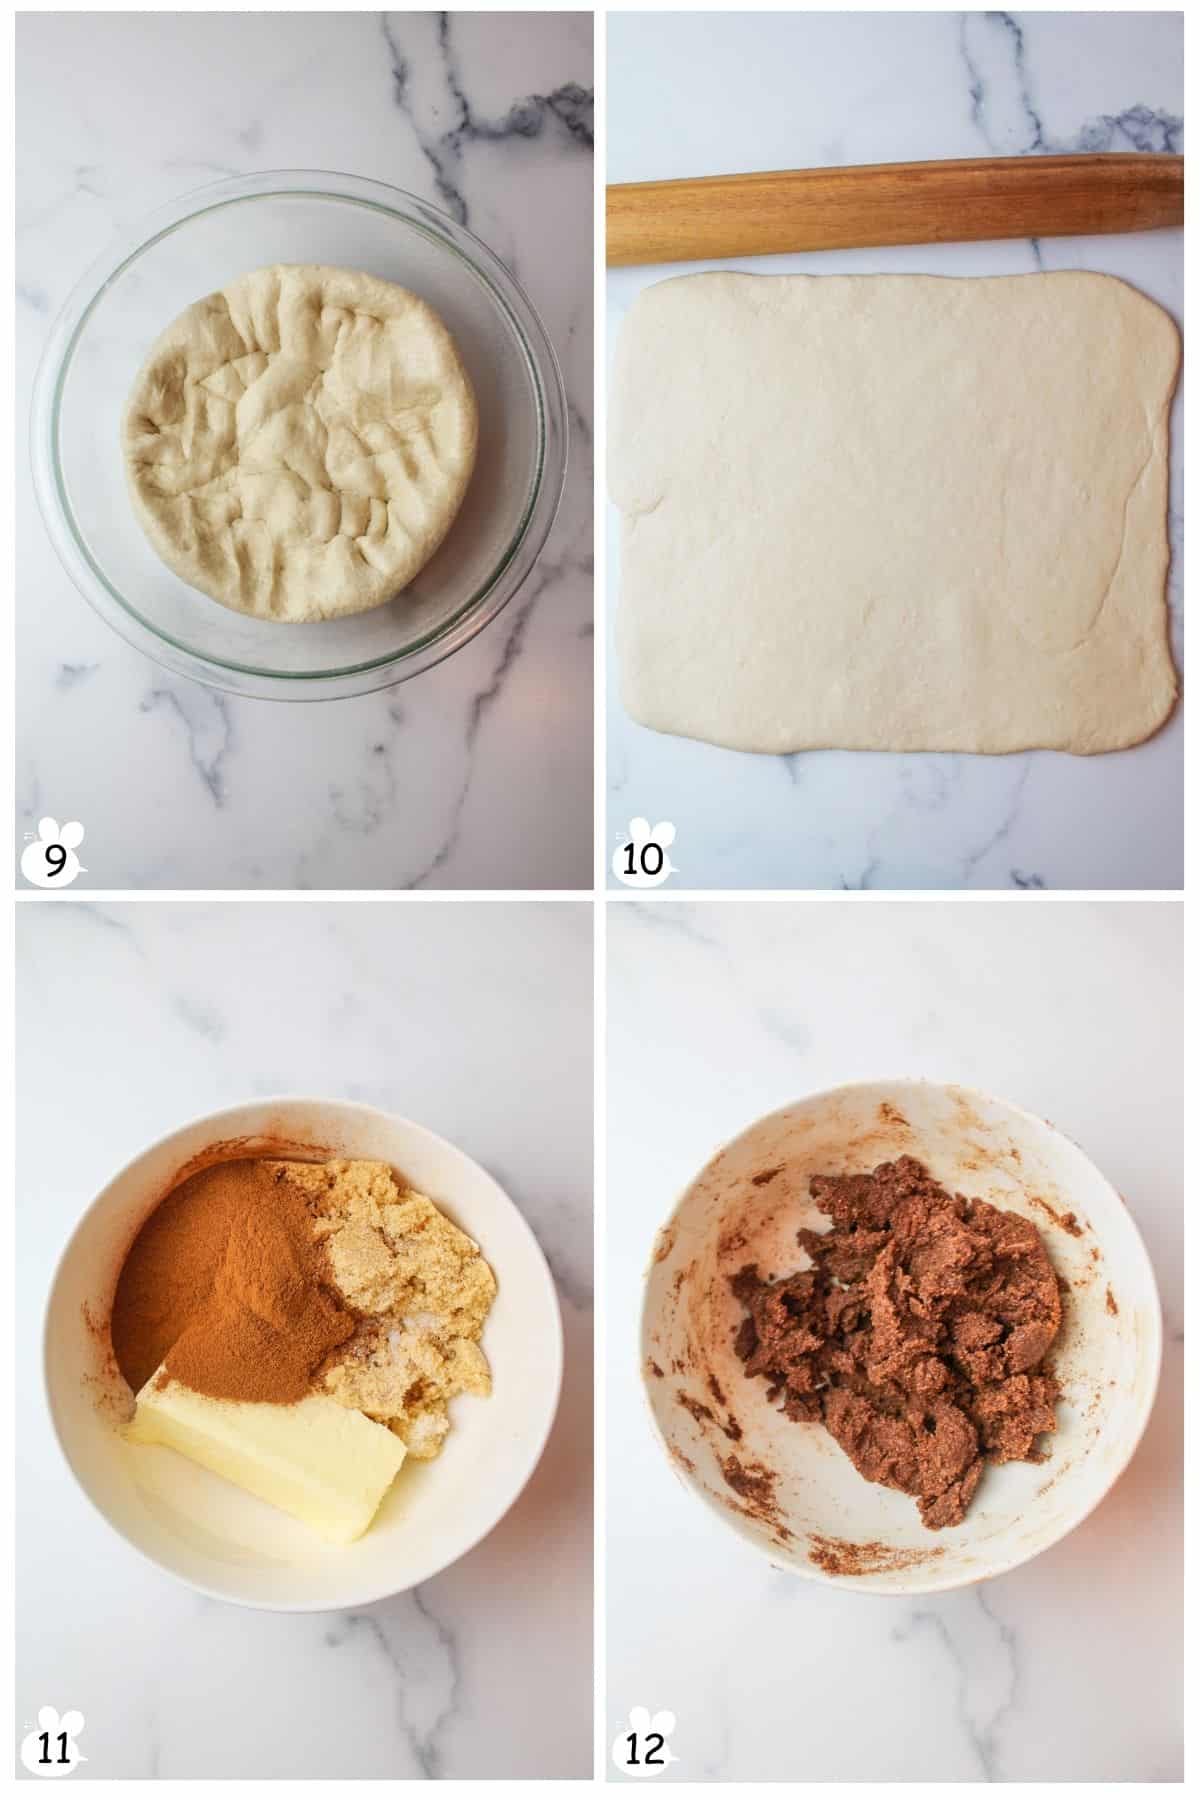
Step 9: Punch down the dough and transfer to a clean countertop (Image 9).
Step 10: Roll the dough out into a large rectangle that is about ¼ of an inch thick (Image 10).
Step 11: Add the butter, brown sugar, salt, and cinnamon needed for the filling to a small bowl (Image 11).
Step 12: Mix well to combine into a paste (Image 12).
Step 13: Use a butter knife or the back of a spoon to spread the filling over the cinnamon rolls. It sticks better when using a cold metal object than it does with your hands. Rub the filling out to within an inch of the border of the dough.
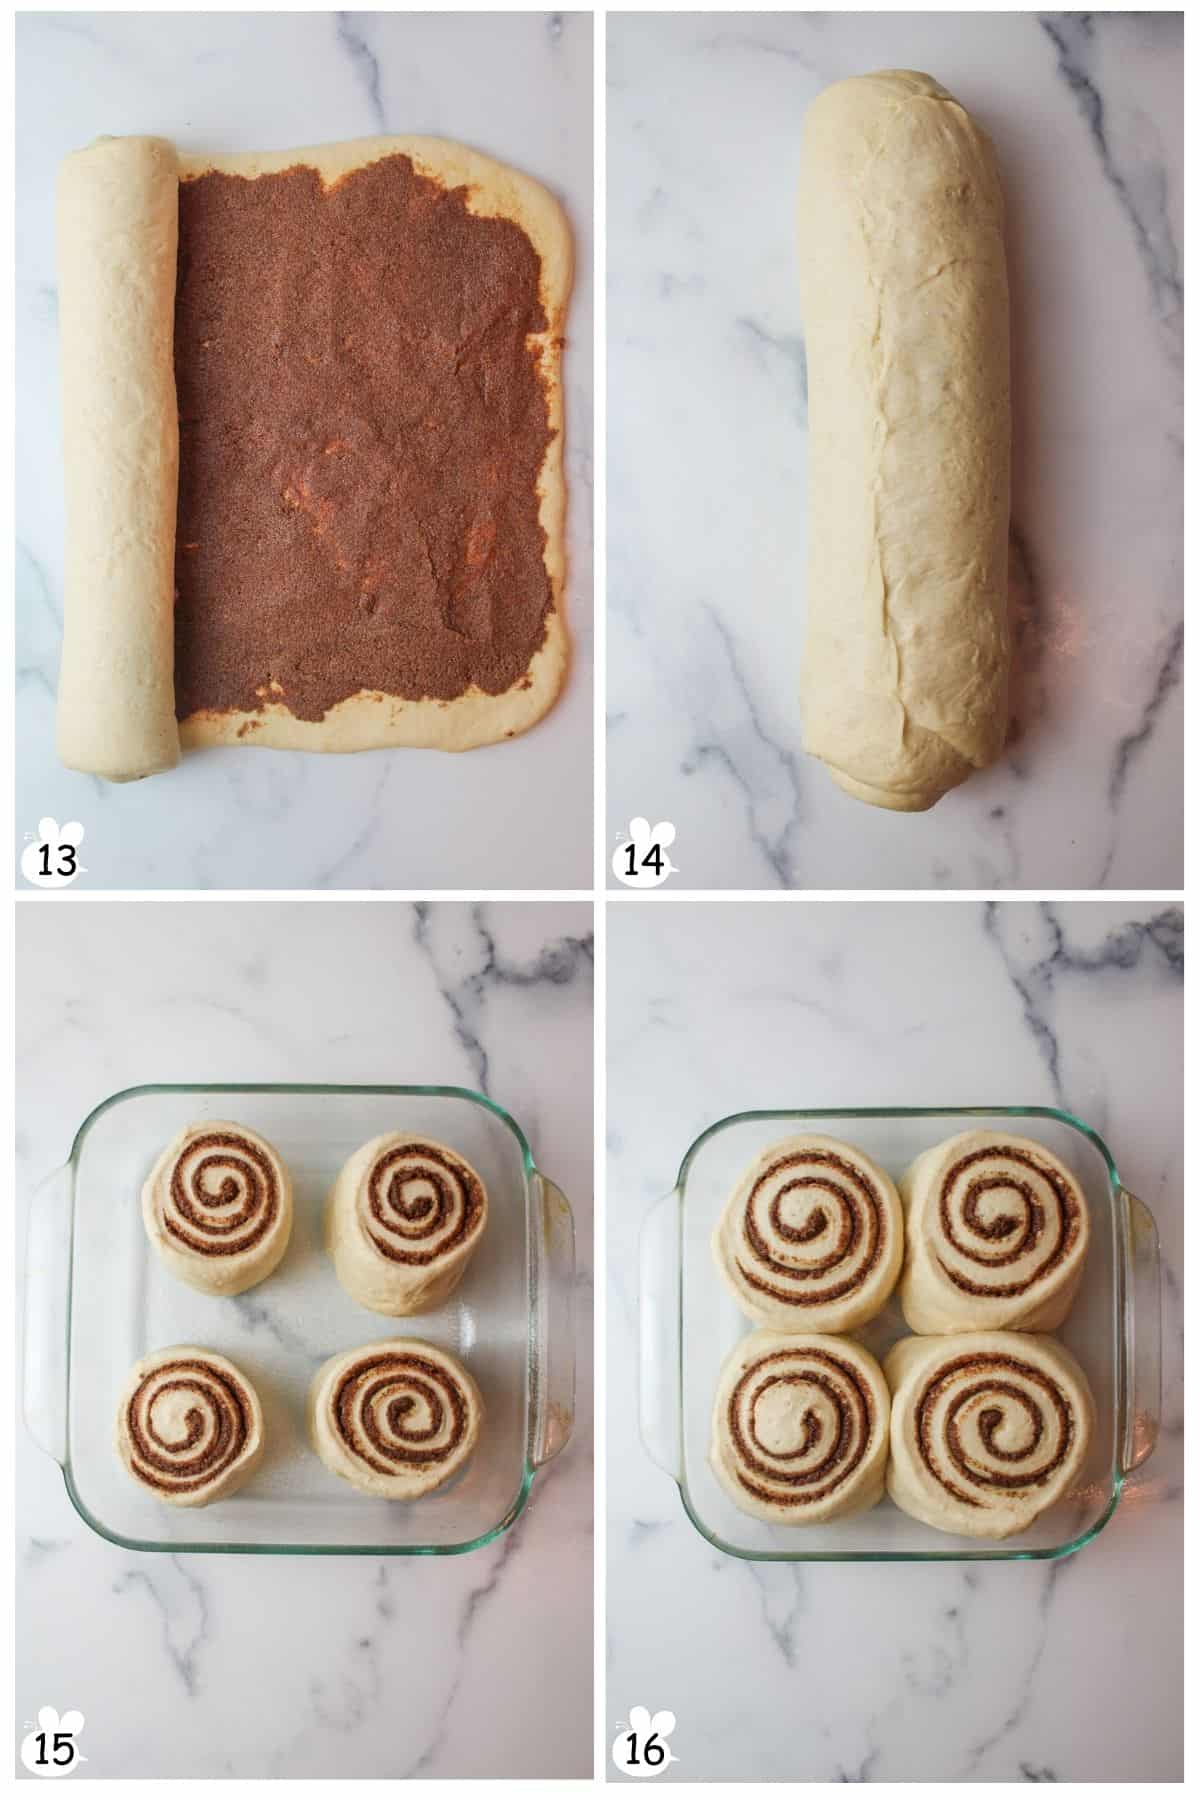
Step 14: Starting from one long end of the rectangle to the other, roll the cinnamon roll dough into a tight log (Image 13).
Step 15: Pinch the end seams to hold it together (Image 14).
Step 16: Slice the ends off and discard them, as these will have very little filling. Slice the remaining log into 4 equal-sized pieces and place them into a greased baking dish. An 8x8 or 2 qt baking dish will work fine (Image 15).
Step 17: Cover the dish and allow the rolls to rest until doubled in size (Image 16). Preheat the oven to 400 degrees F.
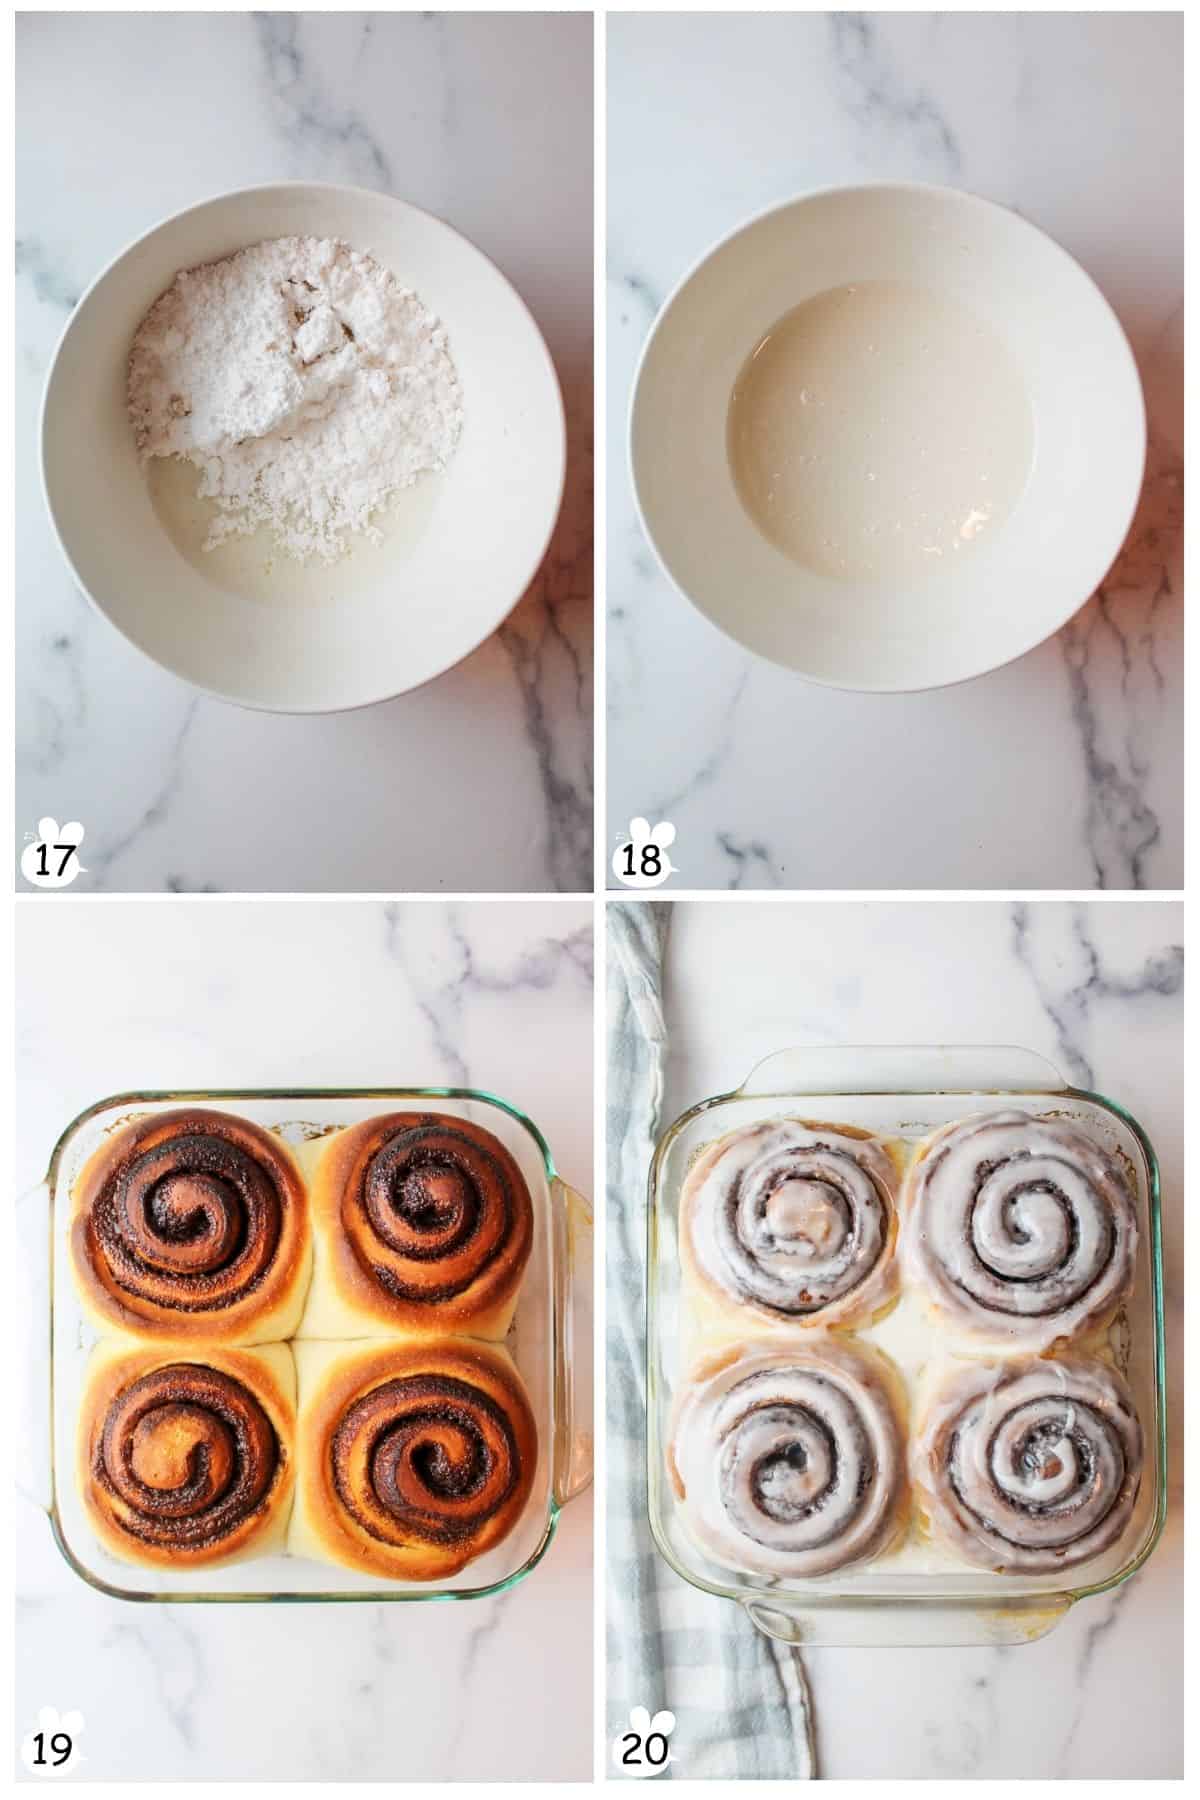
Step 18: Add the icing ingredients to a small bowl (Image 17).
Step 19: Whisk together the icing until smooth (Image 18). Set aside until needed.
Step 20: Bake for 15 minutes or until golden on top. Remove from oven and allow to cool for 5-10 minutes (Image 19).
Step 21: Drizzle and spread the icing over the top of the cinnamon rolls (Image 20).
Serve warm, and enjoy.

👩🏻🍳 Expert Tips
- Mixing & flavor: Mix until a soft, smooth dough forms. A slightly wet cinnamon filling spreads easily, stays in place, and delivers strong cinnamon flavor in every bite.
- Kneading: Knead on a floured surface for 8 to 10 minutes until smooth and elastic. The dough should stretch without tearing and spring back when gently poked.
- Proofing: Rise time depends on warmth and yeast activity, usually 1 to 3 hours. The dough is ready when doubled in size, not by the clock. Cover and place in a warm spot like an oven with the light on or a closed microwave.
❄️ Storage, Reheating & Make Ahead
Storage: Store baked cinnamon rolls covered in the refrigerator for 3 to 4 days.
Reheating: Warm in the microwave for 15 to 25 seconds or in a 300°F oven until soft. Cover loosely with foil to protect the tops.
Make Ahead: Prepare rolls up to the second rise, then refrigerate overnight or freeze for longer storage.
Overnight or Frozen Rolls: Refrigerate for up to 8 hours or freeze for up to 3 months. Before baking, let rolls sit at room temperature for 30 to 60 minutes. If using a glass dish, always let it warm on the counter before baking to prevent temperature shock.
🥗 Side Dishes or Pairing Ideas
Serve Small Batch Cinnamon Rolls with fresh fruit, yogurt, or scrambled eggs for a simple breakfast. They also pair perfectly with coffee, tea, or a glass of cold milk for a cozy treat.
- Smoked Salmon and Spinach QuicheRecipe $9.90 / Serving $1.24
- Strawberry Blueberry Fruit SaladRecipe $3.35 / Serving $0.84
- Puff Pastry Egg TartsRecipe $4.98 / Serving $0.83
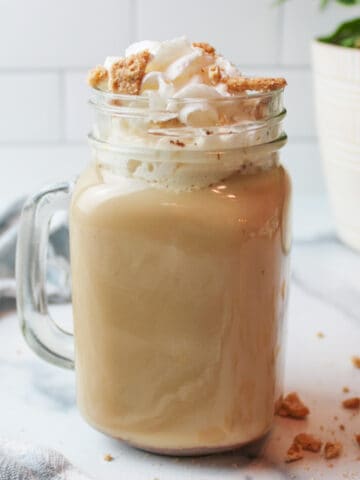
- Cinnamon Toast Crunch LatteRecipe $0.44


❓ Small Batch Cinnamon Rolls FAQs
These cinnamon rolls are good for about 3 or 4 days if stored in an airtight container at room temperature. I do not recommend storing them in the fridge after being baked (you could), but the fridge's cold air will cause the cinnamon rolls to dry out.
Yes, you can freeze the dough just before the second rise (right after cutting and placing it in the baking dish). If freezing raw cinnamon rolls, cover well with plastic wrap and foil and place in the freezer for 3 or 4 months.
To thaw and bake, just place them in the fridge overnight and allow them to come to room temperature on the counter the next day (about 30 minutes) while the oven preheats. Then bake as directed.
🍽️ More Recipes You'll Love
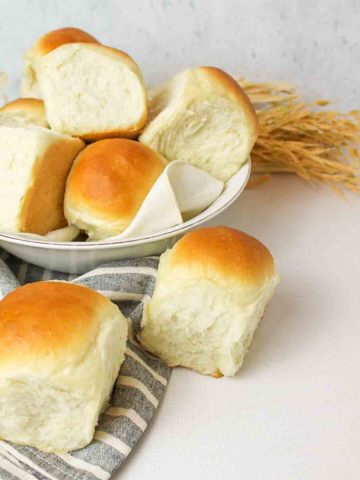
- 5 Ingredient White Bread RecipeRecipe $0.96
- Easy Yeast Rolls for BeginnersRecipe $1.06 / Serving $0.12
- Oreo Cinnamon RollsRecipe $6.44 / Serving $0.54
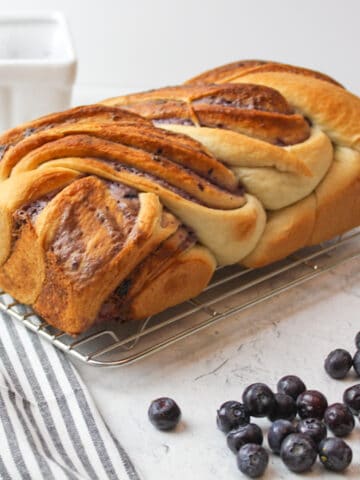
- Blueberry Cream Cheese BabkaRecipe $2.32 / Serving $0.23

🐝 If you tried these Small Batch Cinnamon Rolls, please leave a ⭐️ star rating and share your buzz in the 💬 comments below. I'd truly appreciate it!
📖 Recipe
Small Batch Cinnamon Rolls
Ingredients
Dough
- 1 cup warm water, up to 110°F - ($0.00)
- 2 ¼ teaspoon active dry yeast, one packet - ($0.38)
- 2 tablespoons granulated sugar - ($0.05)
- 3 tablespoons vegetable oil - ($0.13)
- 2 ½ cups all purpose flour, or bread flour - ($0.33)
- 1 ½ teaspoon salt - ($0.01)
Cinnamon Filling
- ⅓ cup butter or margarine, softened - ($0.66)
- 1 cup brown sugar - ($0.44)
- 3 tablespoons ground cinnamon - ($0.24)
- ¼ teaspoon salt, only if using unsalted butter or margarine - ($0.01)
Simple Icing
- 1 cup powdered sugar - ($0.36)
- 1 teaspoon vanilla extract - ($0.03)
- 1-2 tablespoons milk - ($0.01)
Instructions
- Make dough. In a large bowl, whisk together the warm water, active dry yeast, and granulated sugar. Let sit for 5 minutes until foamy. Stir in the vegetable oil. Add the all-purpose flour and salt and mix until a dough forms.
- Knead. Turn the dough out onto a lightly floured surface and knead for about 10 minutes, until smooth and elastic, adding flour as needed to prevent sticking.
- First rise. Place the dough in a lightly oiled bowl, cover, and let rise in a warm place for about 1 hour, until doubled in size.
- Prepare filling. In a small bowl, mix together the softened butter, brown sugar, ground cinnamon, and salt, if using, until a thick paste forms.
- Shape rolls. Punch down the dough and roll it into a rectangle about ¼ inch thick. Spread the cinnamon filling evenly over the dough, leaving a 1-inch border. Roll tightly from the long edge into a log and pinch the seam to seal. Trim the ends and slice into 4 equal pieces.
- Second rise. Place the rolls in a greased 8x8-inch or 2-quart baking dish. Cover and let rise until doubled in size. Preheat the oven to 400°F.
- Bake. Bake for about 15 minutes, until golden brown.
- Ice. Let the rolls cool for 5 to 10 minutes. Whisk together the powdered sugar, vanilla extract, and milk until smooth, then drizzle over the warm rolls.
- Serve. Serve warm.
Notes
- Dough texture. Knead until smooth, elastic, and lightly springy to the touch.
- Filling method. Mixing the filling into a paste helps prevent cinnamon from leaking during baking.
- Allergen swaps. Use plant-based butter and milk if needed.
- Overnight option. Refrigerate rolls after shaping and before the second rise for up to 12 hours. Let sit at room temperature for about 30 minutes before baking.
- Storage. Store in an airtight container at room temperature for 3 to 4 days.
- Freezing. Freeze shaped rolls before the second rise for up to 3 to 4 months. Thaw in the refrigerator, then bring to room temperature before baking.
Nutritional Information
Save This Recipe to Your Inbox
By signing up, you'll join our email list and can unsubscribe anytime.


Jeff says
Awesome recipe. These come out great with not a lot of effort. My new favorite baked sweet. Thanks!
Esperanza says
Absolutely amazing recipe. I’ve tried many recipes and this is the winner for sure!!! OMG, want to eat the 6 of them.
I used milk instead of water, for the filling I did 1/2 cup of brown sugar and 1 TABLESPOON of cinnamon.
Used 2 tablespoons of cream cheese for the icing, as I said absolutely DELICIOUS recipe.
Thanks so much!
Nicole Durham says
I'm so glad you liked them! Cream cheese frosting is amazing 😍
Brad Shutter says
Can I substitute milk for water? If yes, do I need more milk?
Nicole Durham says
Yes you can use milk instead of water just make sure it's warm and not straight from the fridge. Aim for about 100f-110f (just like the water)
The measurements will remain the same.
Tina says
I have been so hungry for homemade cinnamon rolls but didn't want to make a big batch. I came across your recipe on pinterest and decided to give it a try. The recipe was so easy! While baking, the filling did come out into the bottom of the dish, but there was still plenty of filling in each heavenly layer! For reasons unknown to me, it made 8 rolls and I lowered the temperature to 375° and baked for 25 minutes. I put my icing on and finally it was time to sample. They were absolutely delicious! Soft dough and full of cinnamon flavor! I will be making them again. Thank you!
Nicole Durham says
I'm so happy you loved them! Great adjustments, and thanks for trying the recipe—hope you make them again soon! 😊🍽️
Marcia says
Unless you are a sugar lover, the filling is not for you. Filling was as much as I would have used for 6-8 rolls. Dough was good, just too much cinnamon and sugar. I didn’t even use the frosting/glaze.
Nicole Durham says
Thanks for your feedback! If you prefer a less sweet filling, you can try reducing the sugar and cinnamon to suit your taste. Glad you enjoyed the dough! 😊
Sam says
They were easy to make and they were gone in a minute.
Delicious
sandy says
These cinnamon rolls are the absolute best I have ever had. I have made them twice. They are even better than bakery cinnamon rolls. Reheated on 18 seconds on power 50 and they are just like they came out of the oven. Thank you so much for introducing me to these cinnamon rolls.
Ginny says
So I made these today and they weren't bad at all. I will prolly make some changes next time. I guess I didn't roll the dough up tight enough because my filling leaked out onto the bottom of my baking dish. Speaking of which, I used a 9x13 dish because I made 6 rolls which were huge. I can only imagine if I would had made 4. They woulda been gigantic so I am glad I made 6. Next time I will try making the filling different and use a cream cheese glaze/icing.