
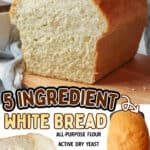
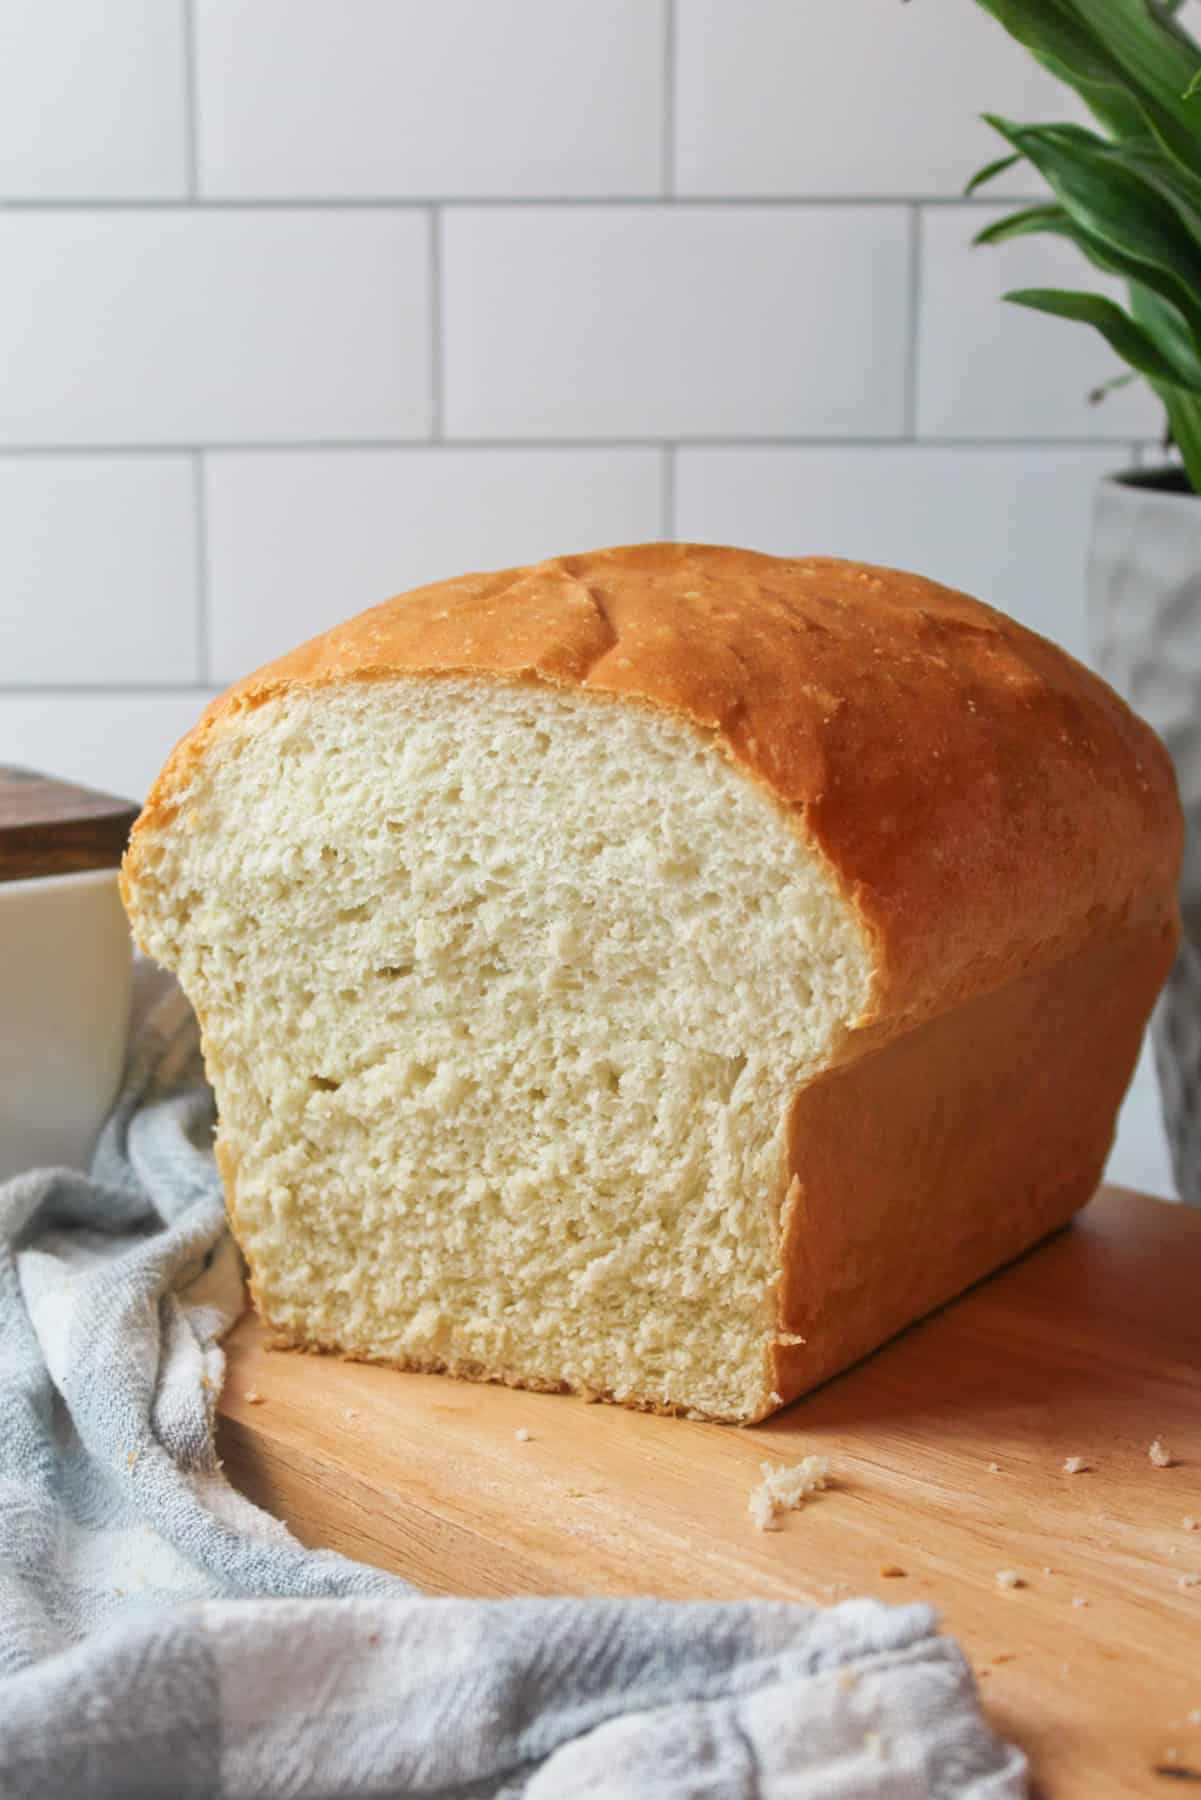
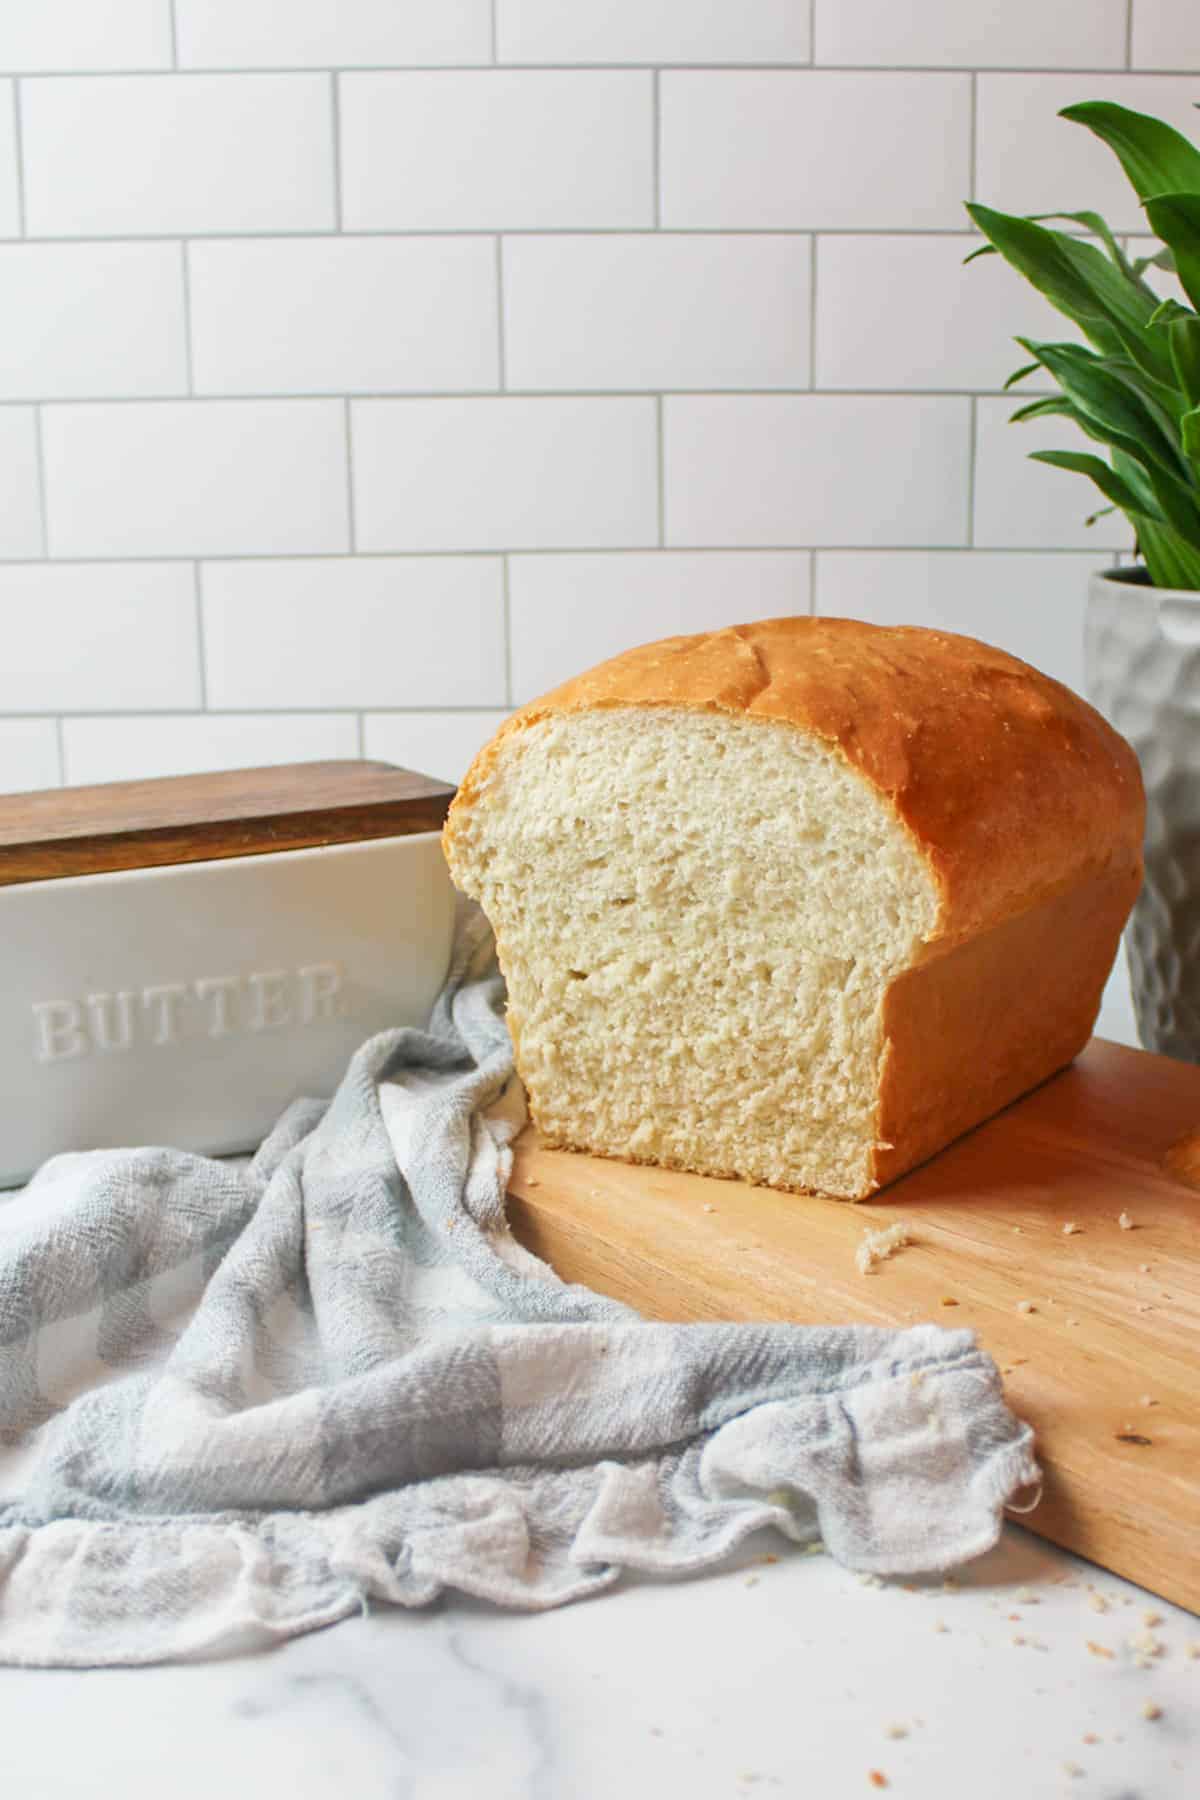
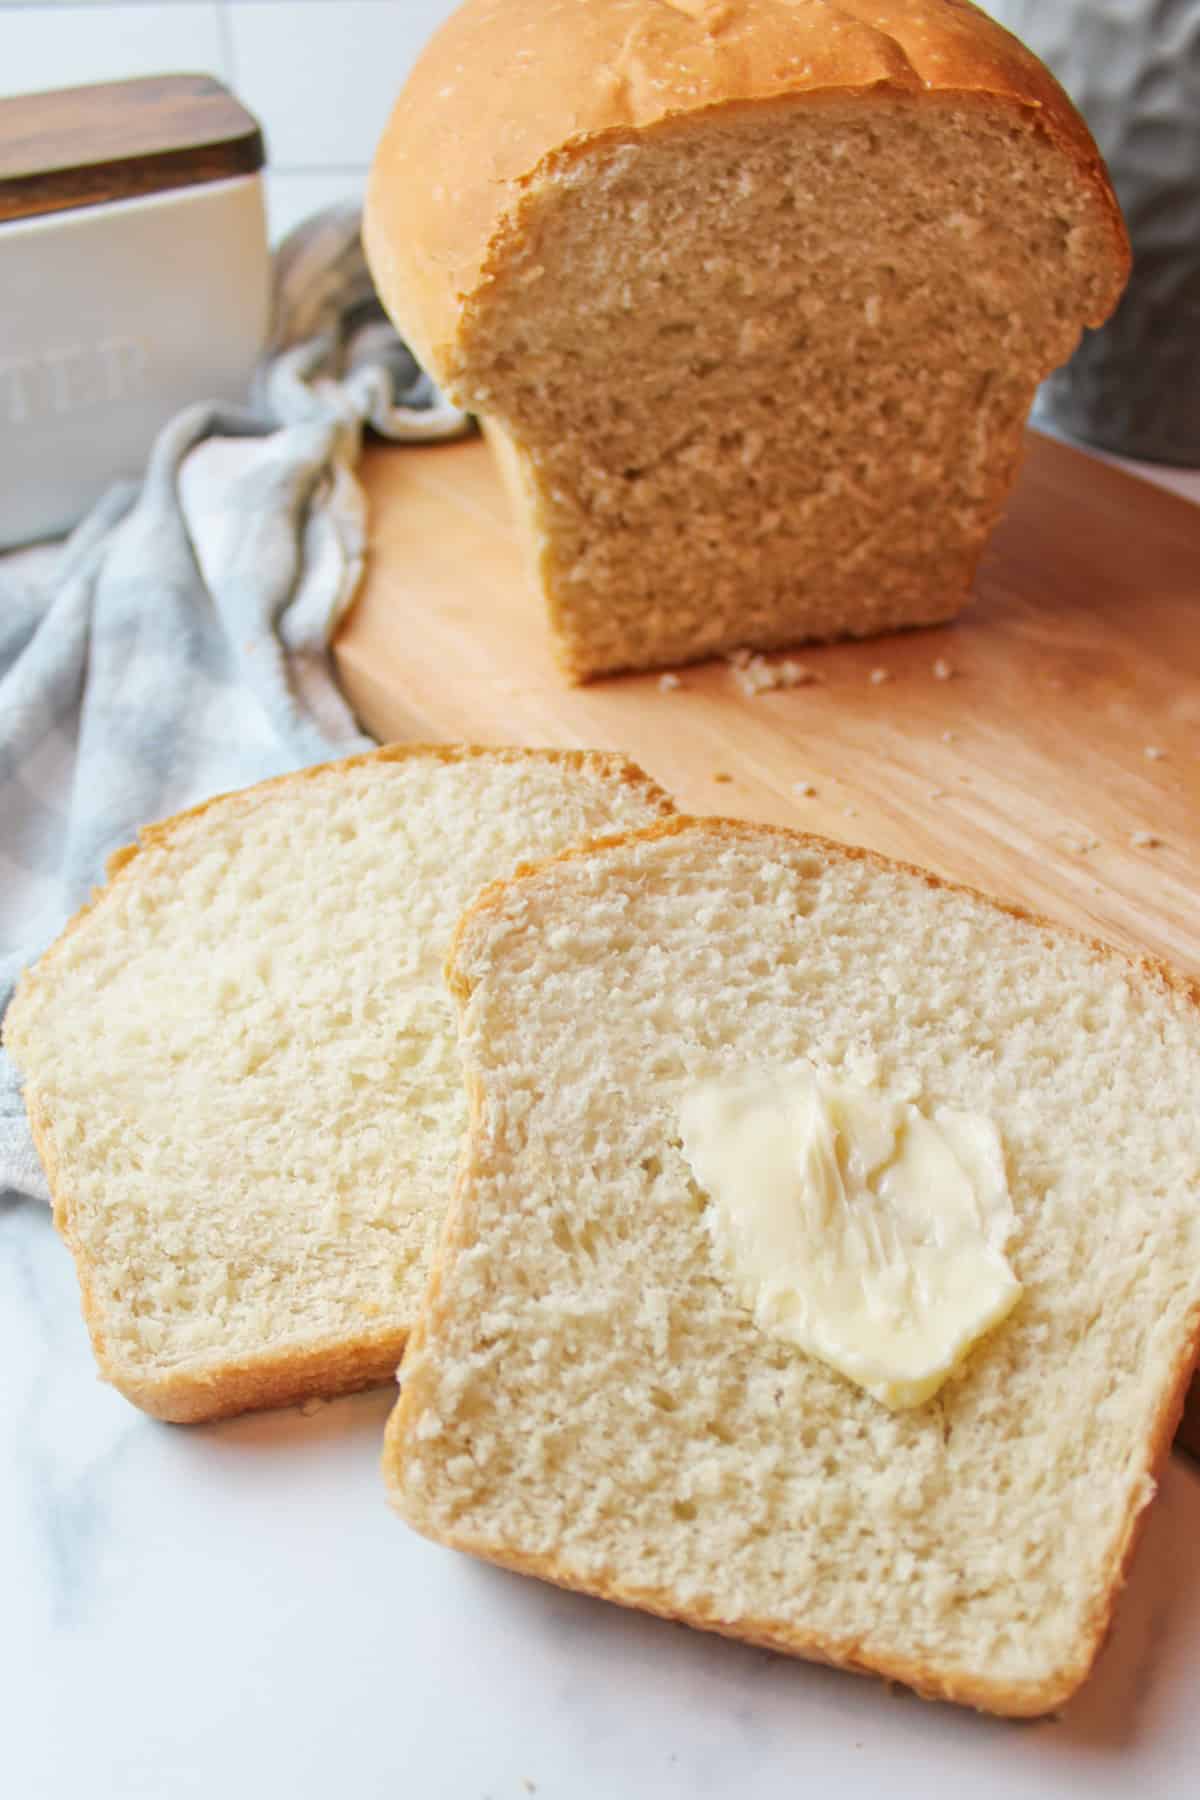
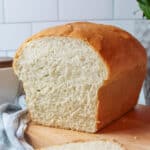
If you're looking for a soft and chewy white bread that's perfect for sandwiches, toast, and snacking- this 5 Ingredient White Bread Recipe is it!
Save This Recipe to Your Inbox
By signing up, you’ll join our email list and can unsubscribe anytime.
I love EVERYTHING about making homemade white bread! The smell of the yeast dough proofing and baking, all the way up to seeing that gorgeous golden top crust and slicing through to reveal the soft fluffy crumb inside.
This dairy free sandwich bread recipe is easy, simple, and PERFECT for beginner bread makers. Speaking of bread makers, I've included steps below and on the recipe card explaining how to make milk free white bread in the bread machine if you don't wish to make it by hand.
Once you've mastered this 5 Ingredient White Bread Recipe you can turn it into pretty much anything. I've adapted it to make Vegan Hamburger Buns, Vegan Slider Buns, Easy Yeast Rolls for Beginners and 2 Hour No Knead White Bread. I've even made Small Batch Cinnamon Rolls with it!
Jump to:
⭐⭐⭐⭐⭐ The Buzz From Readers
"Oh, this recipe is very good! I made this in my bread machine and it came out absolutely perfect and it is so delicious- we ate it up! My husband is vegan so I appreciate the vegan recipe."
- Wendy
💛 Why You'll Love This Recipe
- Super simple. This five ingredient white bread uses basic pantry staples you likely already have on hand.
- Flexible methods. Make it by hand or use a bread machine to save time and effort without sacrificing flavor. I often let the bread machine handle mixing and proofing, then bake it in a loaf pan.
- Beginner friendly. If you've never made bread before, this is a great place to start. With the tips included, you'll have no trouble getting a great loaf.
🛒 Ingredients
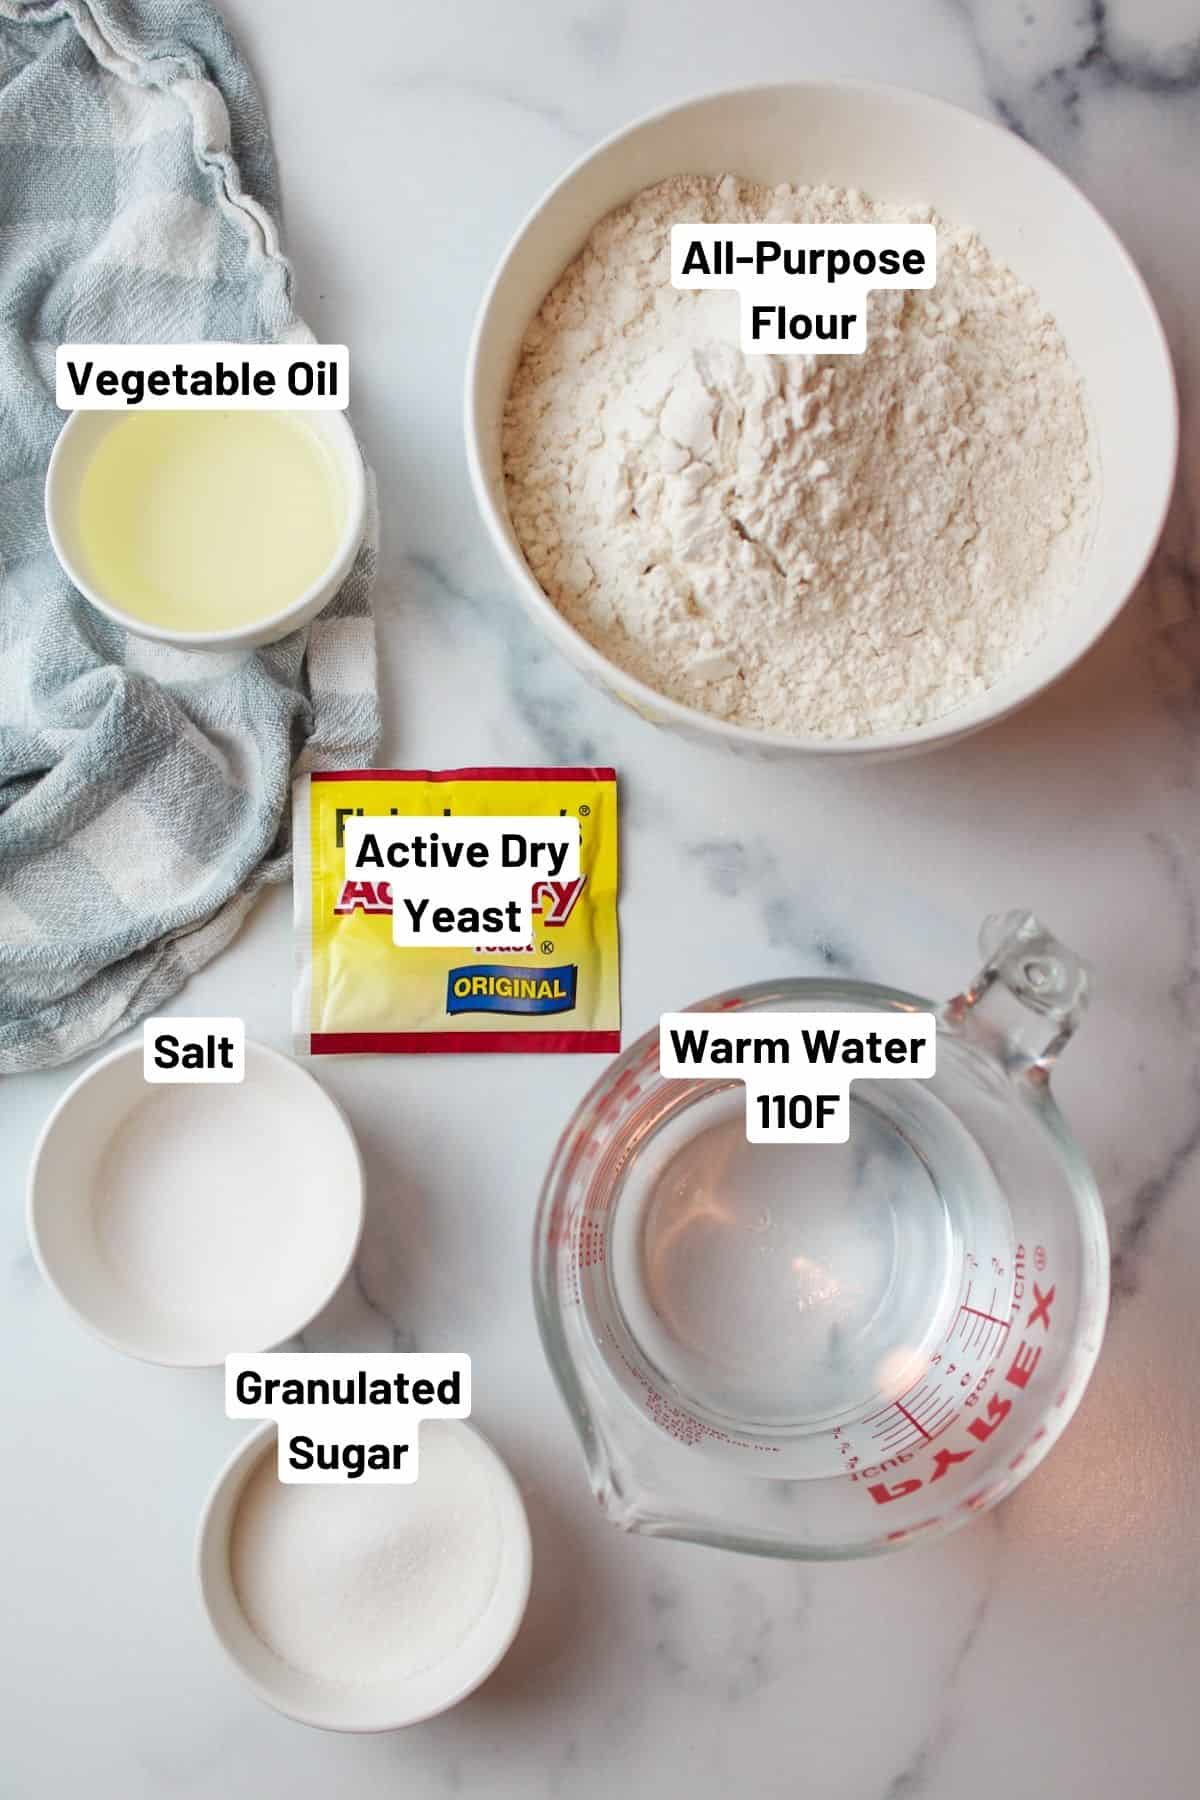
Flour. Use all purpose or bread flour. Bread flour has more protein and gives a slightly chewier texture and stronger bread flavor.
Yeast. Active dry or instant yeast both work. Since the yeast isn't proofed first, be sure it's fresh and not expired.
Sugar. A small amount of granulated sugar feeds the yeast. Honey or agave can be used instead.
Water. Brings the dough together and provides moisture. Room temperature or slightly warm water works best, around 110°F.
See the recipe card below for full ingredients and instructions.
💰 Budget-Friendly Tips
Buy yeast in bulk: A jar of active dry yeast costs less per loaf than individual packets.
Freeze extra loaves: Baking two loaves at once saves energy and time later.
🥄 Instructions for 5 Ingredient White Bread Recipe
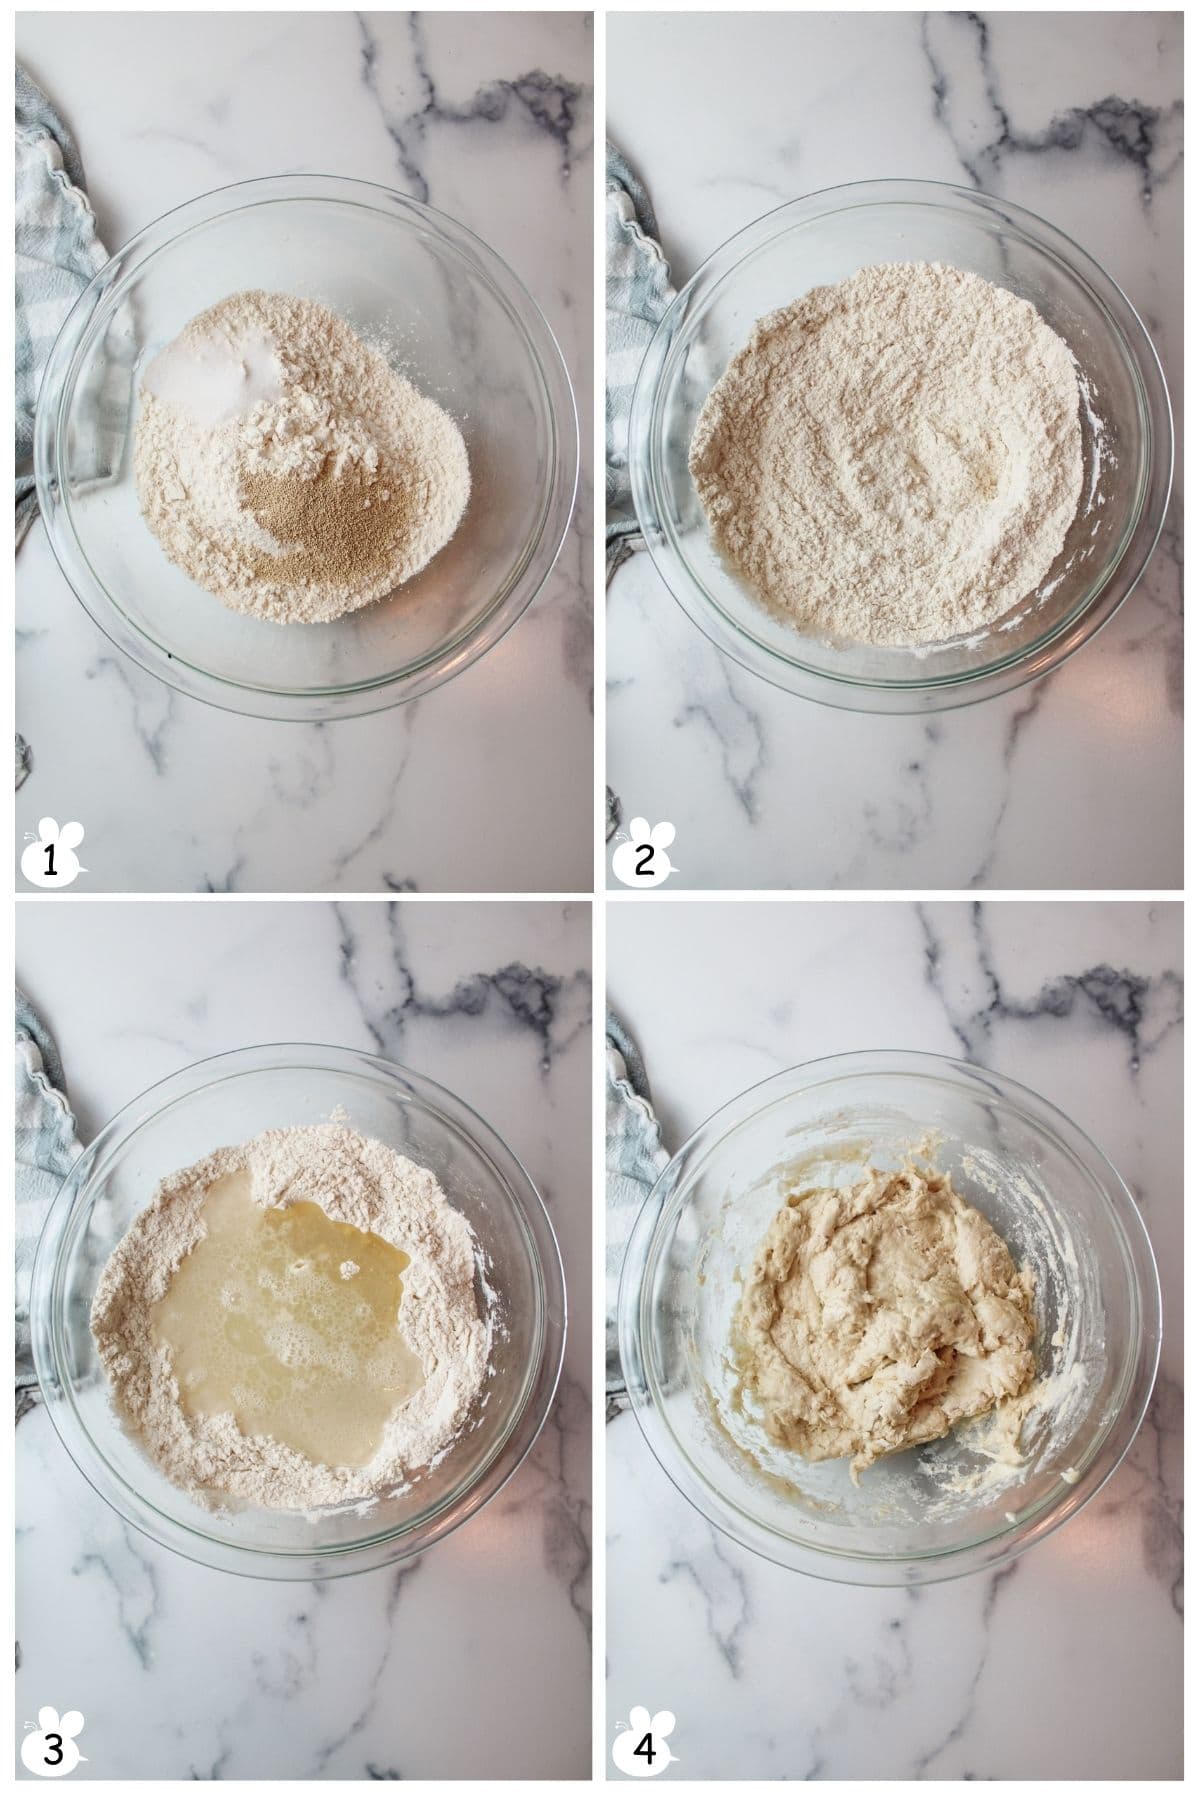
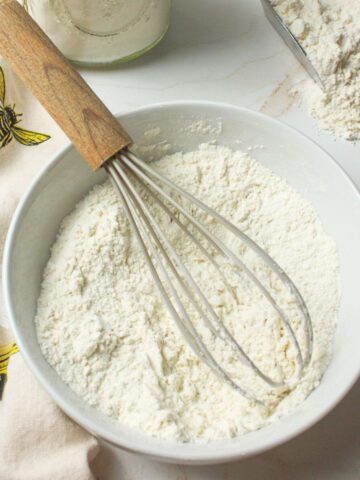
Step 1: Add flour, yeast, and salt to a large mixing bowl (Image 1).
Step 2: Whisk together to combine (Image 2).
Step 3: Make a well in the center and add in the sugar, oil, and water (Image 3).
Step 4: Stir the dough to combine. The dough will appear shaggy (Image 4).
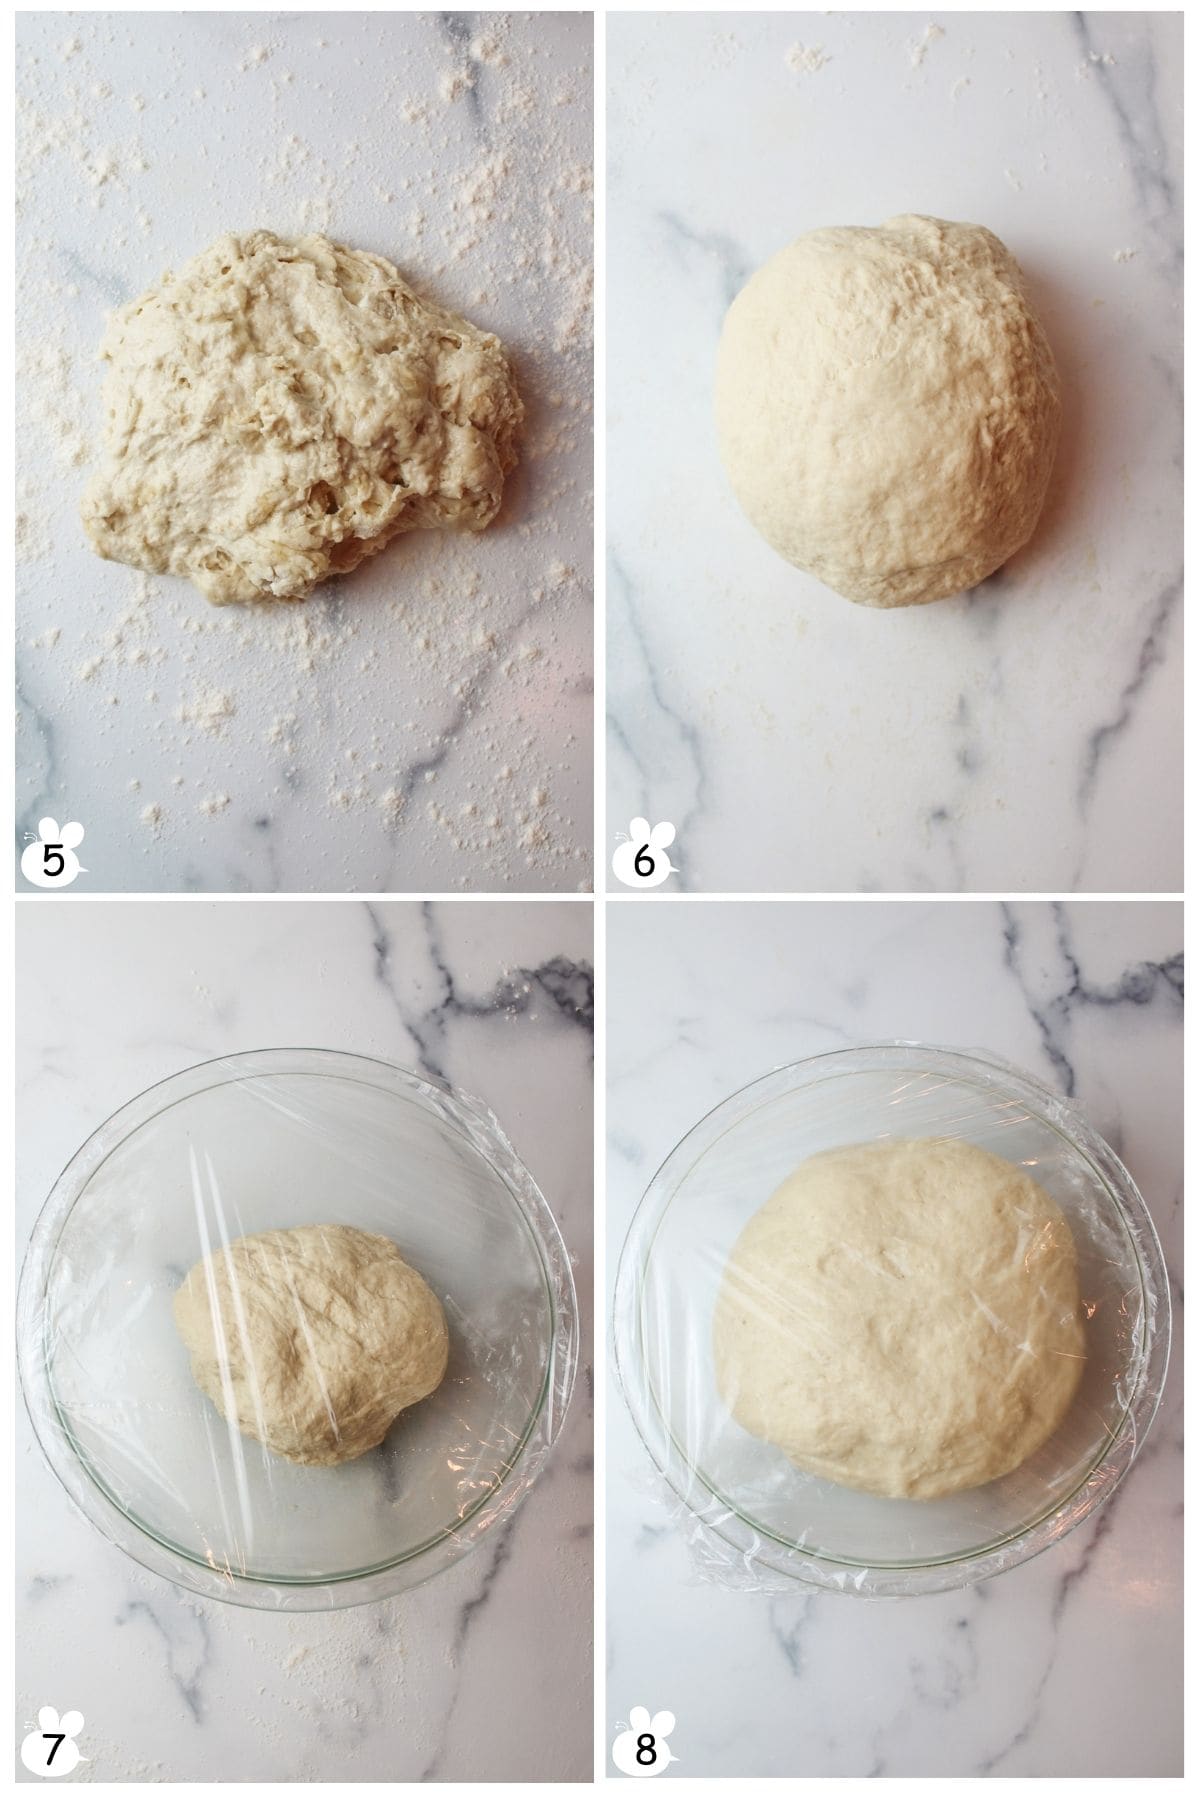
Step 5: Turn the dough onto a floured surface (Image 5). Feed it more flour as needed as you knead for 10 minutes. It shouldn't be sticking to your fingers.
Step 6: Knead for 10 minutes until smooth and elastic (Image 6). If pressed, it should "spring back" to fill in the gap.
Step 7: Place your dough into a clean greased mixing bowl. Top with plastic wrap (Image 7).
Step 8: Let rise 1 hr or until doubled in size (Image 8).
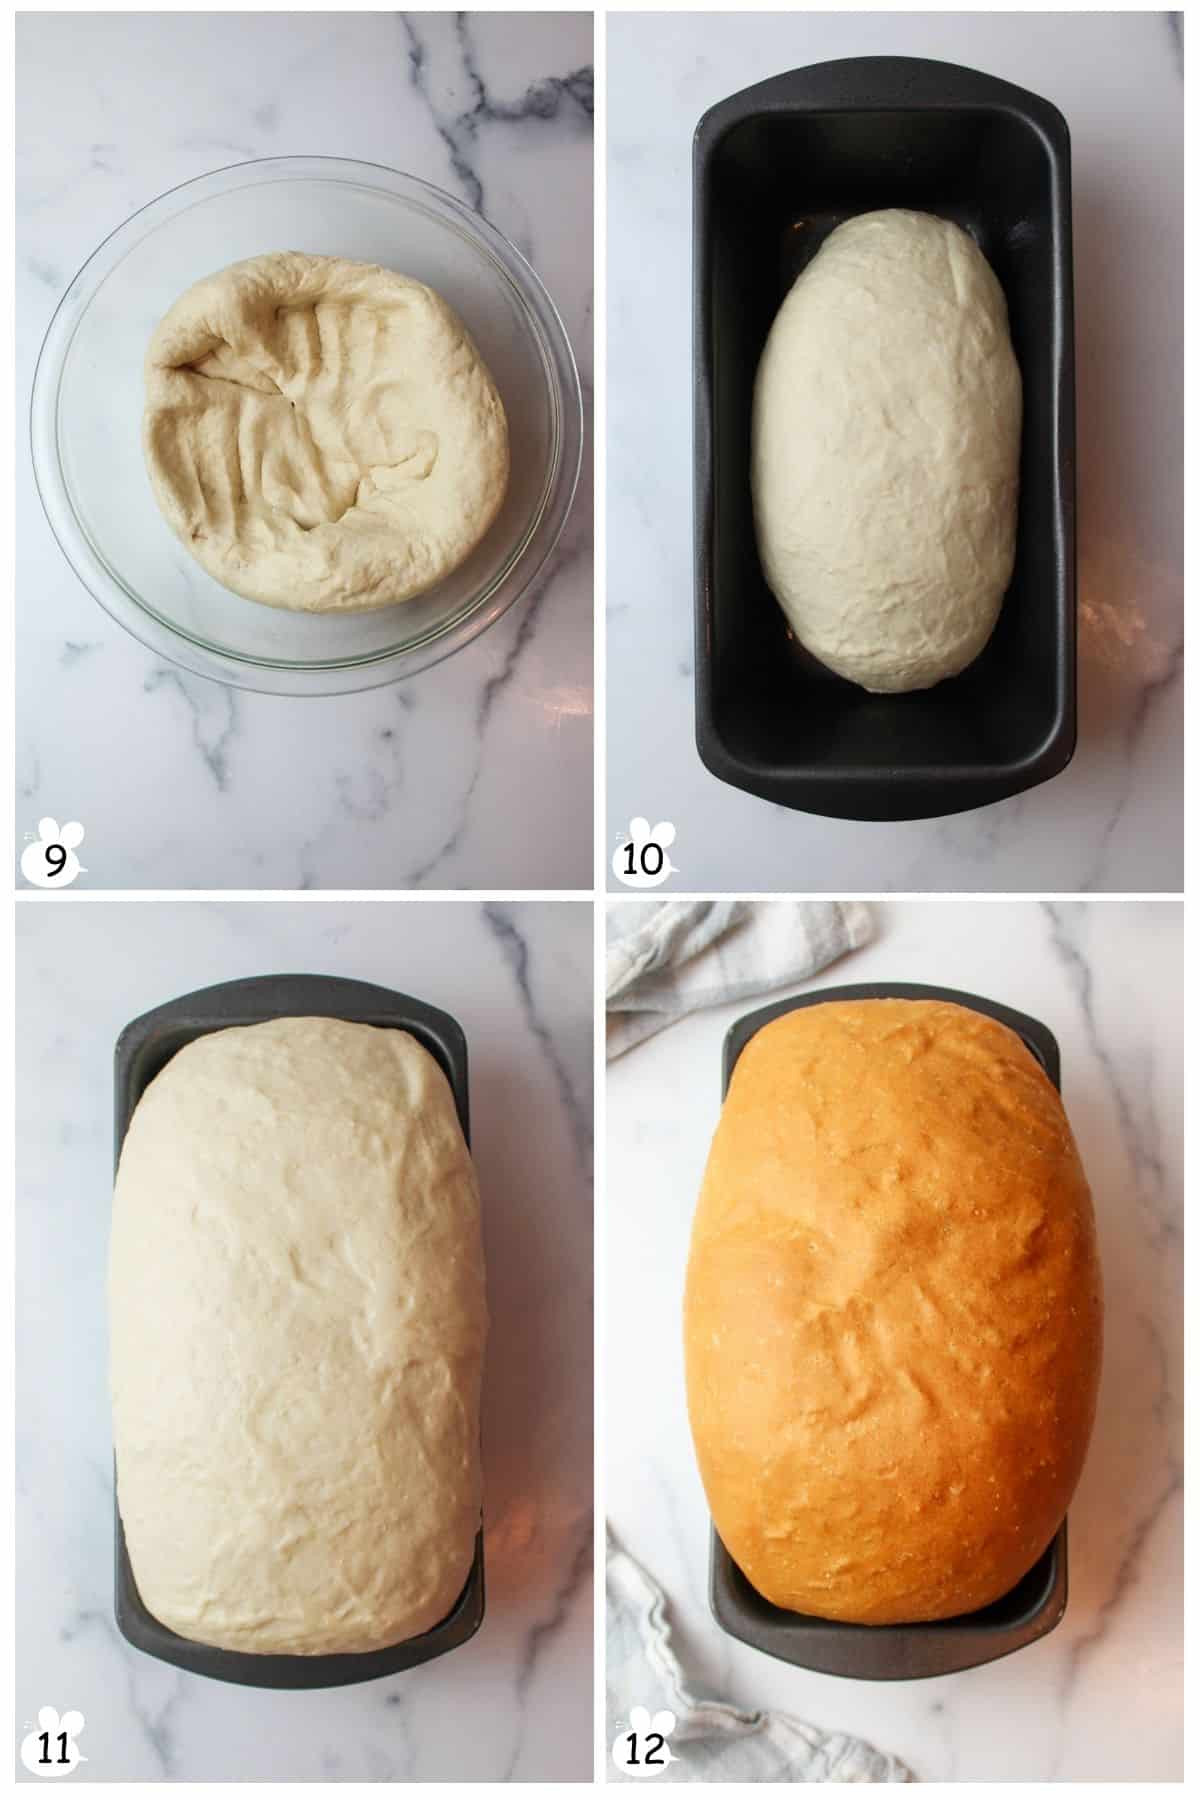
Step 9: Punch down the dough (Image 9).
Step 10: Roll the dough back out onto a floured surface and shape it into a log and place it into your greased bread pan (Image 10).
Step 11: Cover the top of the dough with plastic wrap again and wait about an hour until doubled in size (Image 11).
Step 12: Preheat the oven to 350 degrees F and bake the bread for 30-35 minutes (Image 12).
Step 13: Cool the bread for at least one hour before slicing.
🍞 Bread Machine Option
- Prepare Dough: Add ingredients to bread machine in order specified by manual (usually wet first, yeast last).
- Set Dough Cycle: Close lid, select "dough cycle," and wait for completion.
- Knead and Shape: Transfer dough to floured surface, knead briefly, shape into log.
- Place in Pan: Grease bread pan, place dough in, tucking ends.
- Allow to Rise: Cover pan, let dough rise until doubled, about 1 hour.
- Bake: Preheat oven to 350°F (175°C), bake bread 30-35 minutes until golden.
- Cool and Slice: Let bread cool in pan for 1 hour before slicing.
👩🏻🍳 Expert Tips
- Listen to the loaf. Fresh bread should sound hollow when tapped. As it cools, the crust will soften, which is normal.
- Finish with butter. Brush the hot loaf with butter for shine and added moisture. Small cracks or light spots on the crust are signs of good hydration.
- Score before baking. Lightly score the dough with a sharp knife to help it expand evenly and avoid a lopsided loaf.
- Let it rest. Cool the bread for at least an hour before slicing with a serrated knife. This helps lock in moisture and creates a softer, sandwich style texture.
❄️ Storage, Freezing & Make Ahead
Storage: Store baked 5 Ingredient White Bread covered at room temperature for 2-3 days or refrigerate for up to 5 days.
Make Ahead: After the first rise, cover the dough tightly and refrigerate for 8-10 hours or freeze before the second rise.
Freezing Instructions: Freeze the dough until solid, then transfer to an airtight container. It can be frozen for up to 3 months.
Thawing and Baking: Thaw overnight in the fridge, then let rest at room temperature for about an hour before baking. Preheat the oven and bake as directed.
🥗 Side Dishes or Pairing Ideas
Serve 5 Ingredient White Bread with butter, jam, or honey for a simple option, or pair with soup, stew, or pasta for an easy, filling meal.
- Apple Jelly (for Canning)Recipe $7.13/ Half-Pint $1.46
- Homemade Grape Jelly RecipeRecipe $8.56 / Half-Pint $1.22
- Watermelon JellyRecipe $8.66 / Half Pint $1.73
- Peach Peel JellyRecipe $5.23 / Half Pint $1.31


❓ 5 Ingredient White Bread FAQs
Yes. You can freeze the dough just before the second rise or freeze the loaf after it has completely cooled. For the best result, make sure it's well wrapped and covered so it won't get freezer burnt or lose flavor/dry out.
Once baked, homemade bread should last about 3-5 days if stored in an airtight container at room temperature. It doesn't last as long as storebought loaves due to the lack of preservatives.
Now then, when your bread has finished baking it will sound hollow to the tap, and if you stick a toothpick inside it will come out clean. An instant read thermometer will read the internal temp at being close to 200 degrees F as well. These are all great signs that the bread has finished baking.
🍽️ More Recipes You'll Love
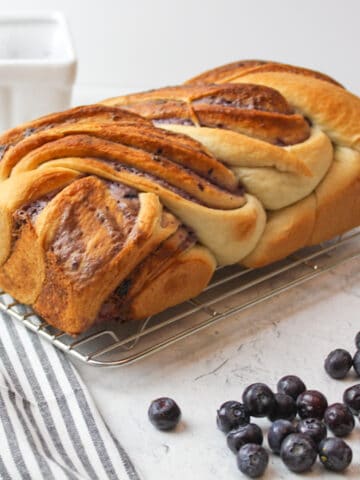
- Blueberry Cream Cheese BabkaRecipe $2.32 / Serving $0.23
- Oreo Cinnamon RollsRecipe $6.44 / Serving $0.54
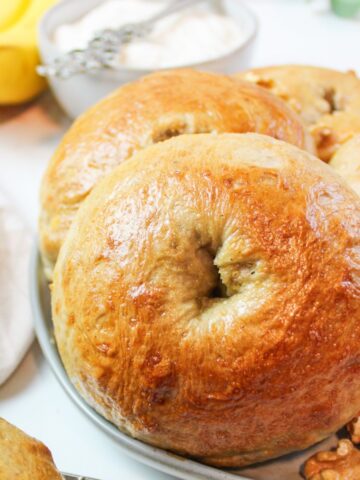
- Banana Nut BagelsRecipe $2.94 / Serving $0.49
- Cinnamon Raisin BagelsRecipe $2.07 / Serving $0.35


🐝 If you tried this 5 Ingredient White Bread Recipe, please leave a ⭐️ star rating and share your buzz in the 💬 comments below. I'd truly appreciate it!
📖 Recipe
5 Ingredient White Bread Recipe
Ingredients
- 3 cups all-purpose flour - ($0.39)
- 2 ¼ teaspoons active dry yeast - ($0.38)
- 1 ½ teaspoons salt - ($0.01)
- 2 tablespoons granulated sugar - ($0.05)
- 3 tablespoons vegetable oil - ($0.13)
- 1 cup warm water, up to 110°F - ($0.00)
Instructions
- Mix the dough. In a large bowl, whisk together the flour, yeast, and salt. Make a well in the center and add the sugar, vegetable oil, and warm water. Stir until a dough forms.
- Knead. Turn the dough out onto a floured surface and knead for about 10 minutes, until smooth and elastic. Add additional flour as needed until the dough is no longer sticky.
- First rise. Place the dough in a greased bowl, cover, and let rise in a warm place for about 1 hour, or until doubled in size.
- Shape the loaf. Turn the dough out onto a lightly floured surface and roll into a log.
- Second rise. Place the dough in a greased loaf pan, tucking the ends underneath. Cover and let rise again until doubled.
- Bake. Bake at 350°F for 30 to 35 minutes, until golden brown.
- Cool and serve. Let the bread cool for at least 1 hour before slicing.
Bread Machine Option
- Mix the dough. Add the ingredients to the bread machine in the order recommended by the manufacturer. Select the dough cycle and start.
- Shape and rise. When the cycle completes, turn the dough out onto a lightly floured surface. Knead briefly, shape into a log, and place in a greased loaf pan. Cover and let rise for about 1 hour, or until doubled.
- Bake. Bake uncovered at 350°F for 35 to 40 minutes, until golden brown.
Notes
- Scoring. Use a sharp knife to score the top of the loaf to guide the rise and prevent uneven expansion.
- Doneness test. The loaf should sound hollow when tapped and reach an internal temperature of about 200°F.
- Finishing touch. Brush hot bread with butter for a softer crust, then cool completely before slicing.
- Make ahead. Dough can be refrigerated or frozen after the first rise. Thaw fully before shaping and baking.
- Storage. Store baked bread at room temperature for 3 to 5 days or freeze for longer storage.
Nutritional Information
Save This Recipe to Your Inbox
By signing up, you'll join our email list and can unsubscribe anytime.


F says
Made this recipe today and just shared the result with my family. Everyone LOVED IT. I’m not experienced at all making bread so I was pleasantly surprised at how delicious and fluffy it turned out!! It took longer than an hour to double in size but it turned out so wonderful. Thank you!!
Nicole Durham says
The time it takes to double in size will vary every time. Sounds like you waited until it was ready to bake and didnt rush the process. Glad you're family enjoyed it!
F says
After baking, should the bread rest in the same baking pan, or outside of it? Or ir doesn’t matter?
Nicole Durham says
I usually allow my bread to rest for about 10minutes in the pan before removing from the pan to cool completely on a wire rack
Wendy says
Oh, this recipe is very good! I made this in my bread machine and it came out absolutely perfect and it is so delicious- we ate it up! My husband is vegan so I appreciate the vegan recipe.
Nicole says
So glad you liked it. This is one of our favorite bread recipes
Shalini says
Wow, this looks so soft and fluffy! I love that the bread is dairy free too!
Gail Montero says
I love homemade bread and this one looks so fluffy and tender! YUM!
Karlie says
We love a dairy-free bread recipe! Often times brioche loaves, etc. have milk and/or butter, so it's tricky to find a good vegan loaf. Thanks for this recipe! Can't wait to toast it up with some avocado.
Julie says
A beautiful white bread that is light and fluffy.
Maria says
Wow this bread looks so perfectly fluffy! It must be great for using for sandwiches!
Michelle says
This bread looks so soft and fluffy! Great for everyday sandwiches 🙂