
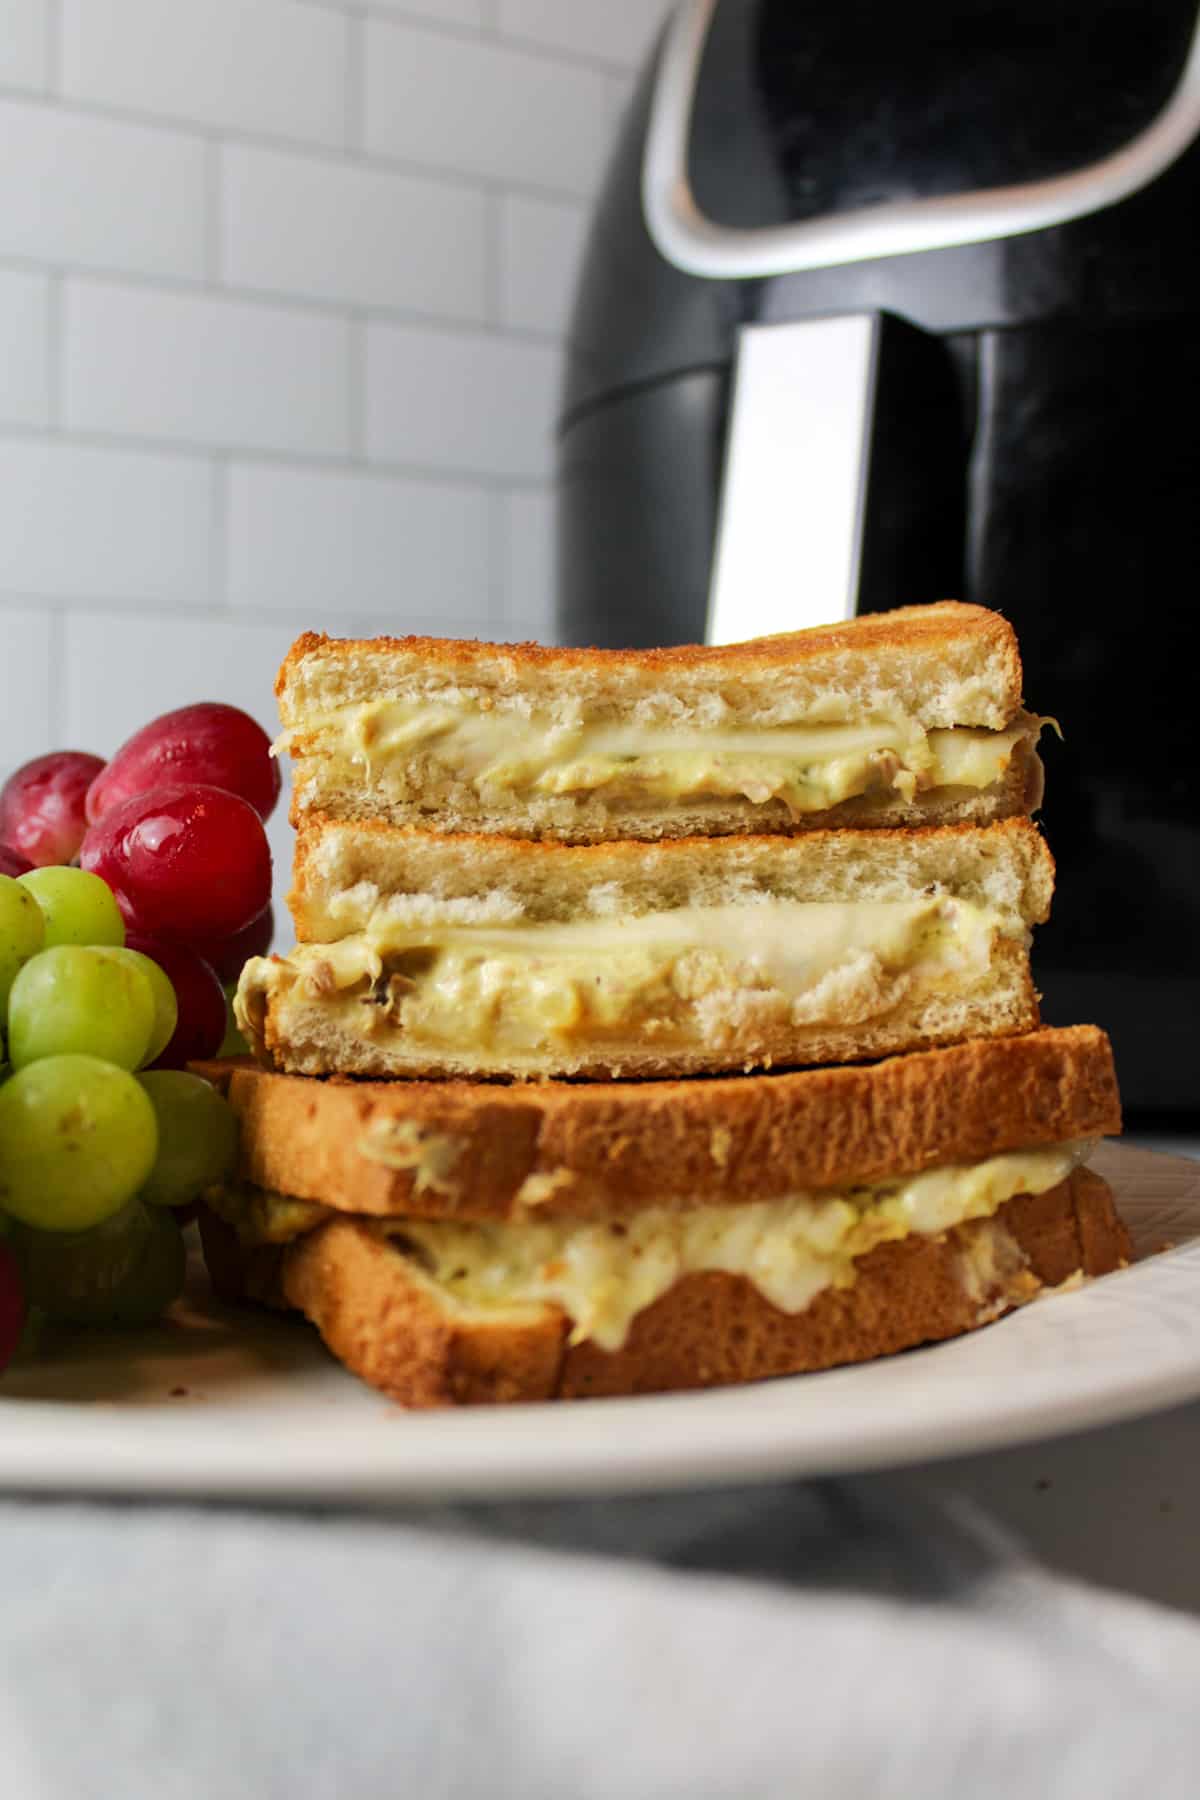
If you're looking for a tasty lunch option, then look no further because these air fryer tuna melts are a fantastic option any day of the week. Made in a few short minutes and with minimal prep, these crispy tuna melts are not too far away.
Save This Recipe to Your Inbox
By signing up, you’ll join our email list and can unsubscribe anytime.
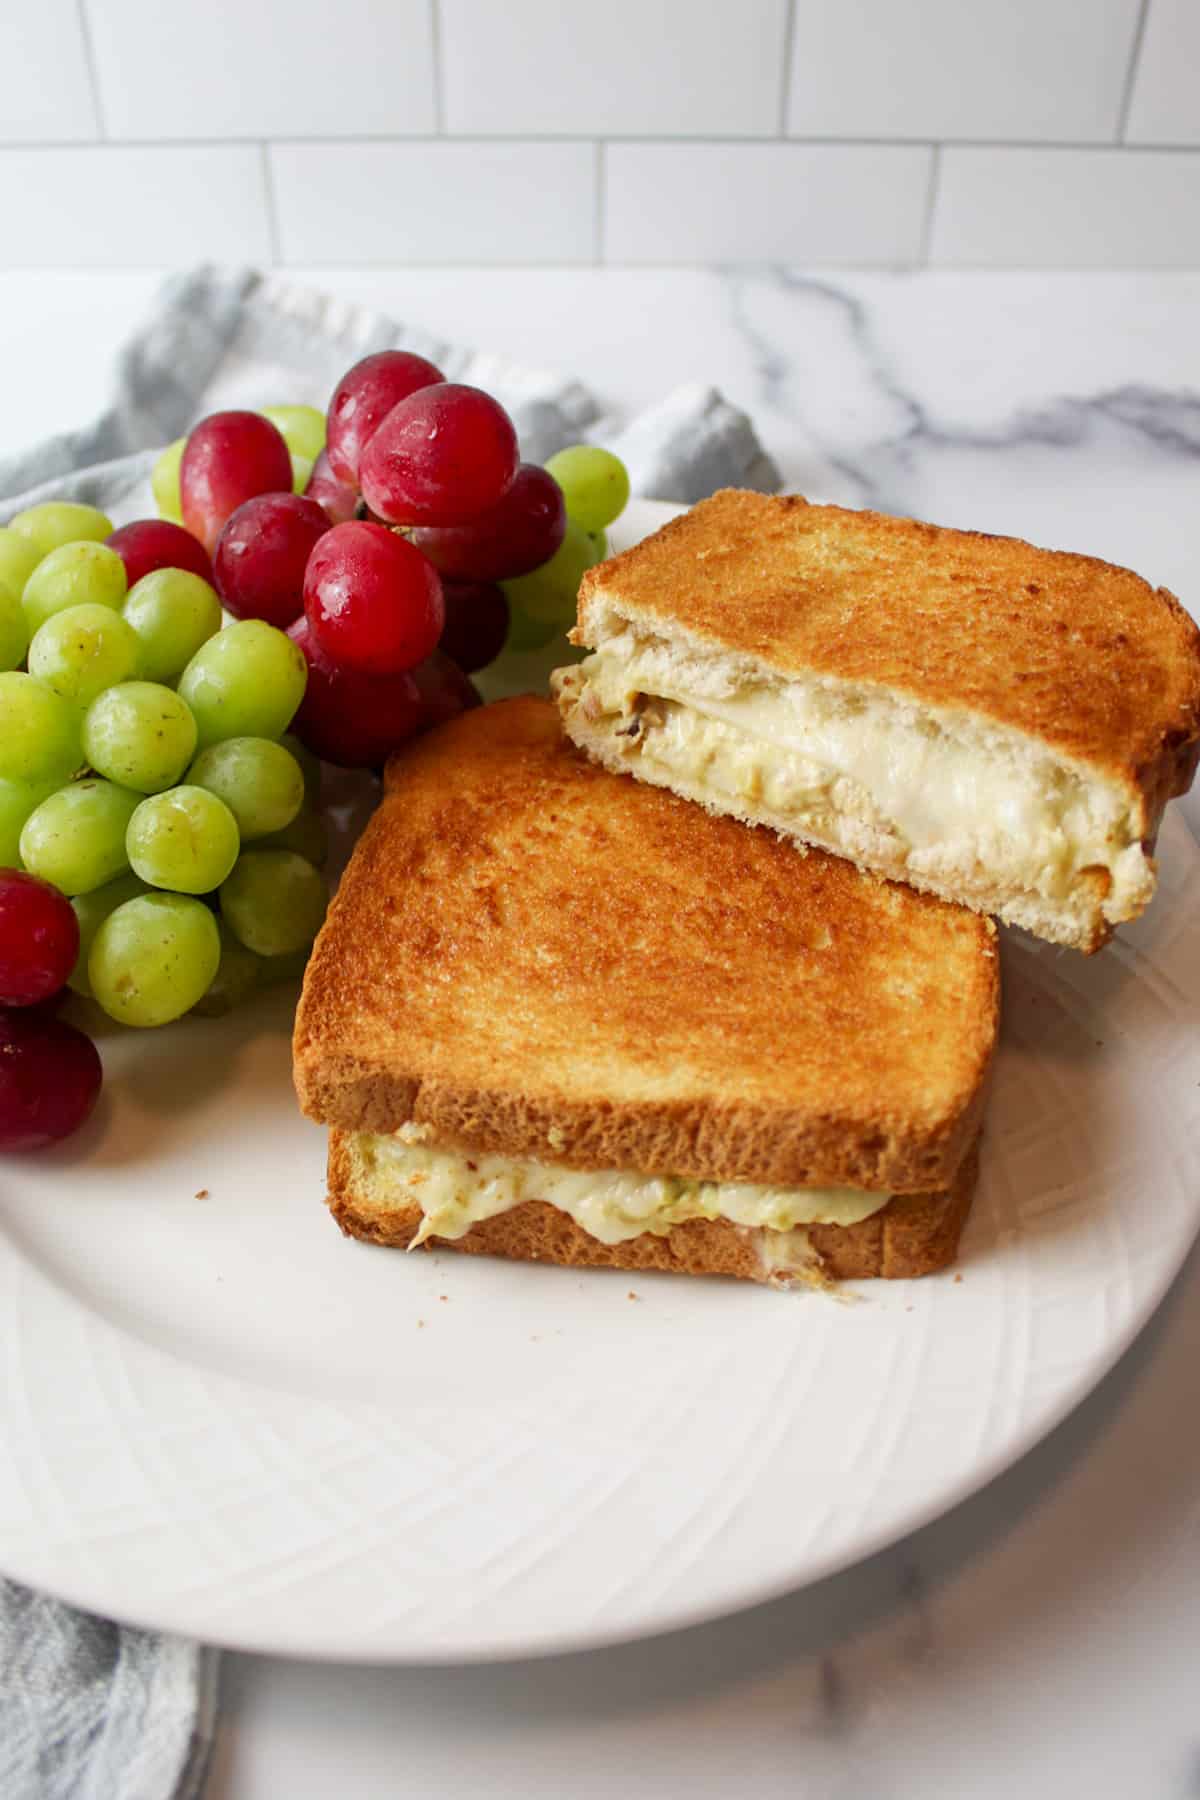
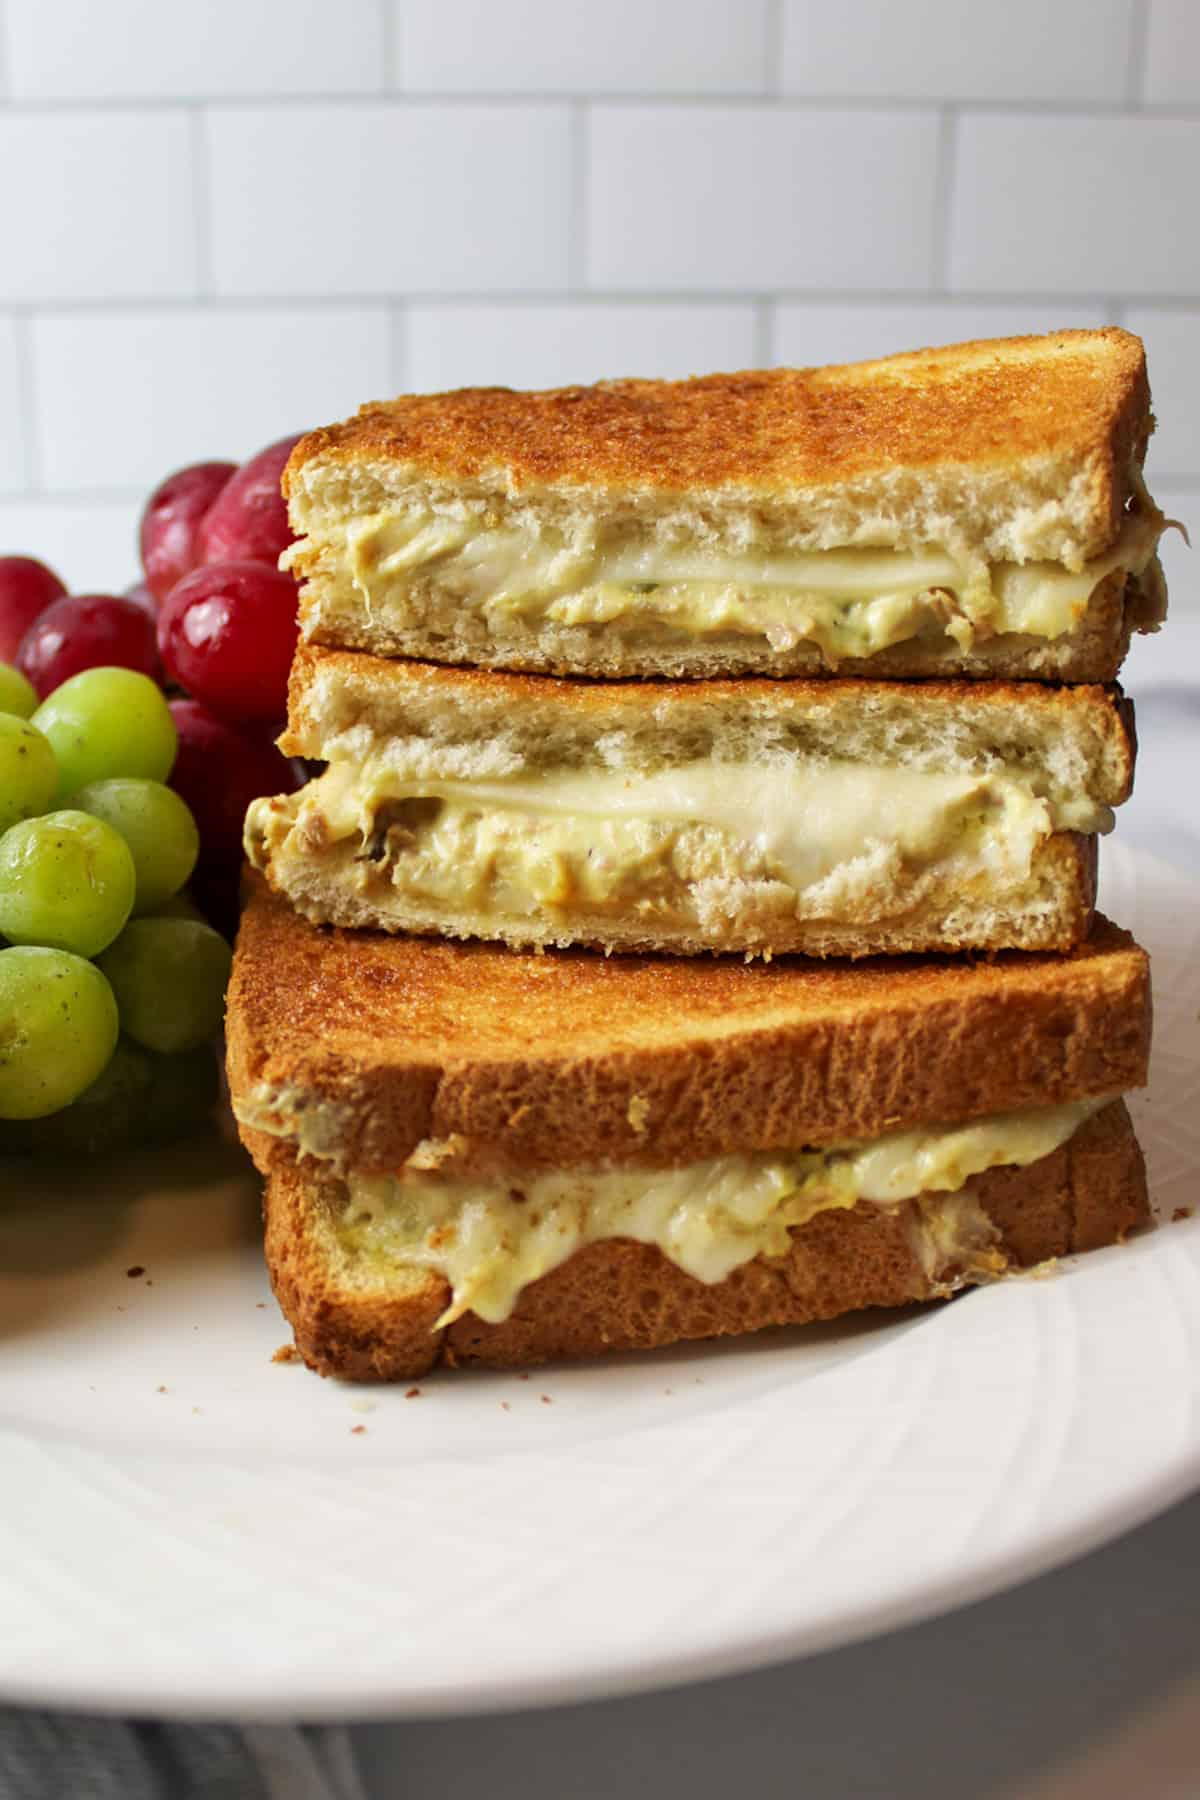
These cheesy tuna melt sandwiches are such a simple yet delicious recipe. We've made them a few times this week (they're too good to resist!) From the crispy buttery bread to the melty gooey cheese and warm tuna filling inside, every bite is worth savoring.
While we love a good sandwich like Spicy Tuna Sandwich and this Southern Egg Salad Recipe, air fryer sandwiches have become one of our fast favorites for so many reasons. Especially since I can make two at once in less time than if I used a skillet.
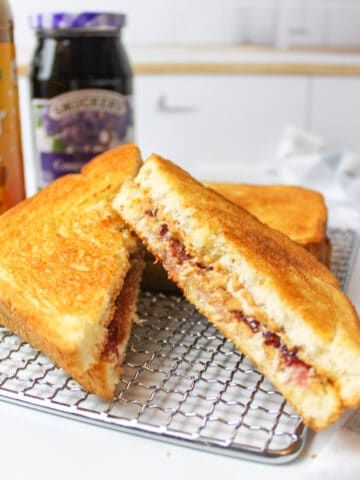
Some of our other air fryer sandwich favorites include this Air Fryer Club Sandwich, Air Fryer Turkey Sandwich, and Air Fryer Peanut Butter and Jelly .
Jump to:
💛 Why You'll Love This Recipe
- It's really fast! From start to finish you can enjoy this Air Fryer Tuna Melt in less than 10 minutes. The hands-on time is roughly 2 to 3 minutes and then there are about 5 minutes of patience required as the air fryer does its thing.
- Easy/minimal prep work. This is exactly like making tuna sandwich, except you're adding some cheese to make it a tuna melt sandwich. If you can make one, you can definitely make the other!
- Evenly toasted bread. Making grilled cheese in the oven, on a griddle, or even a microwaved grilled cheese can result in unevenly toasted bread. The air fryer cooks the bread more evenly than any other method I've ever seen, giving you the most picture-perfect results every time.
🛒 Ingredients
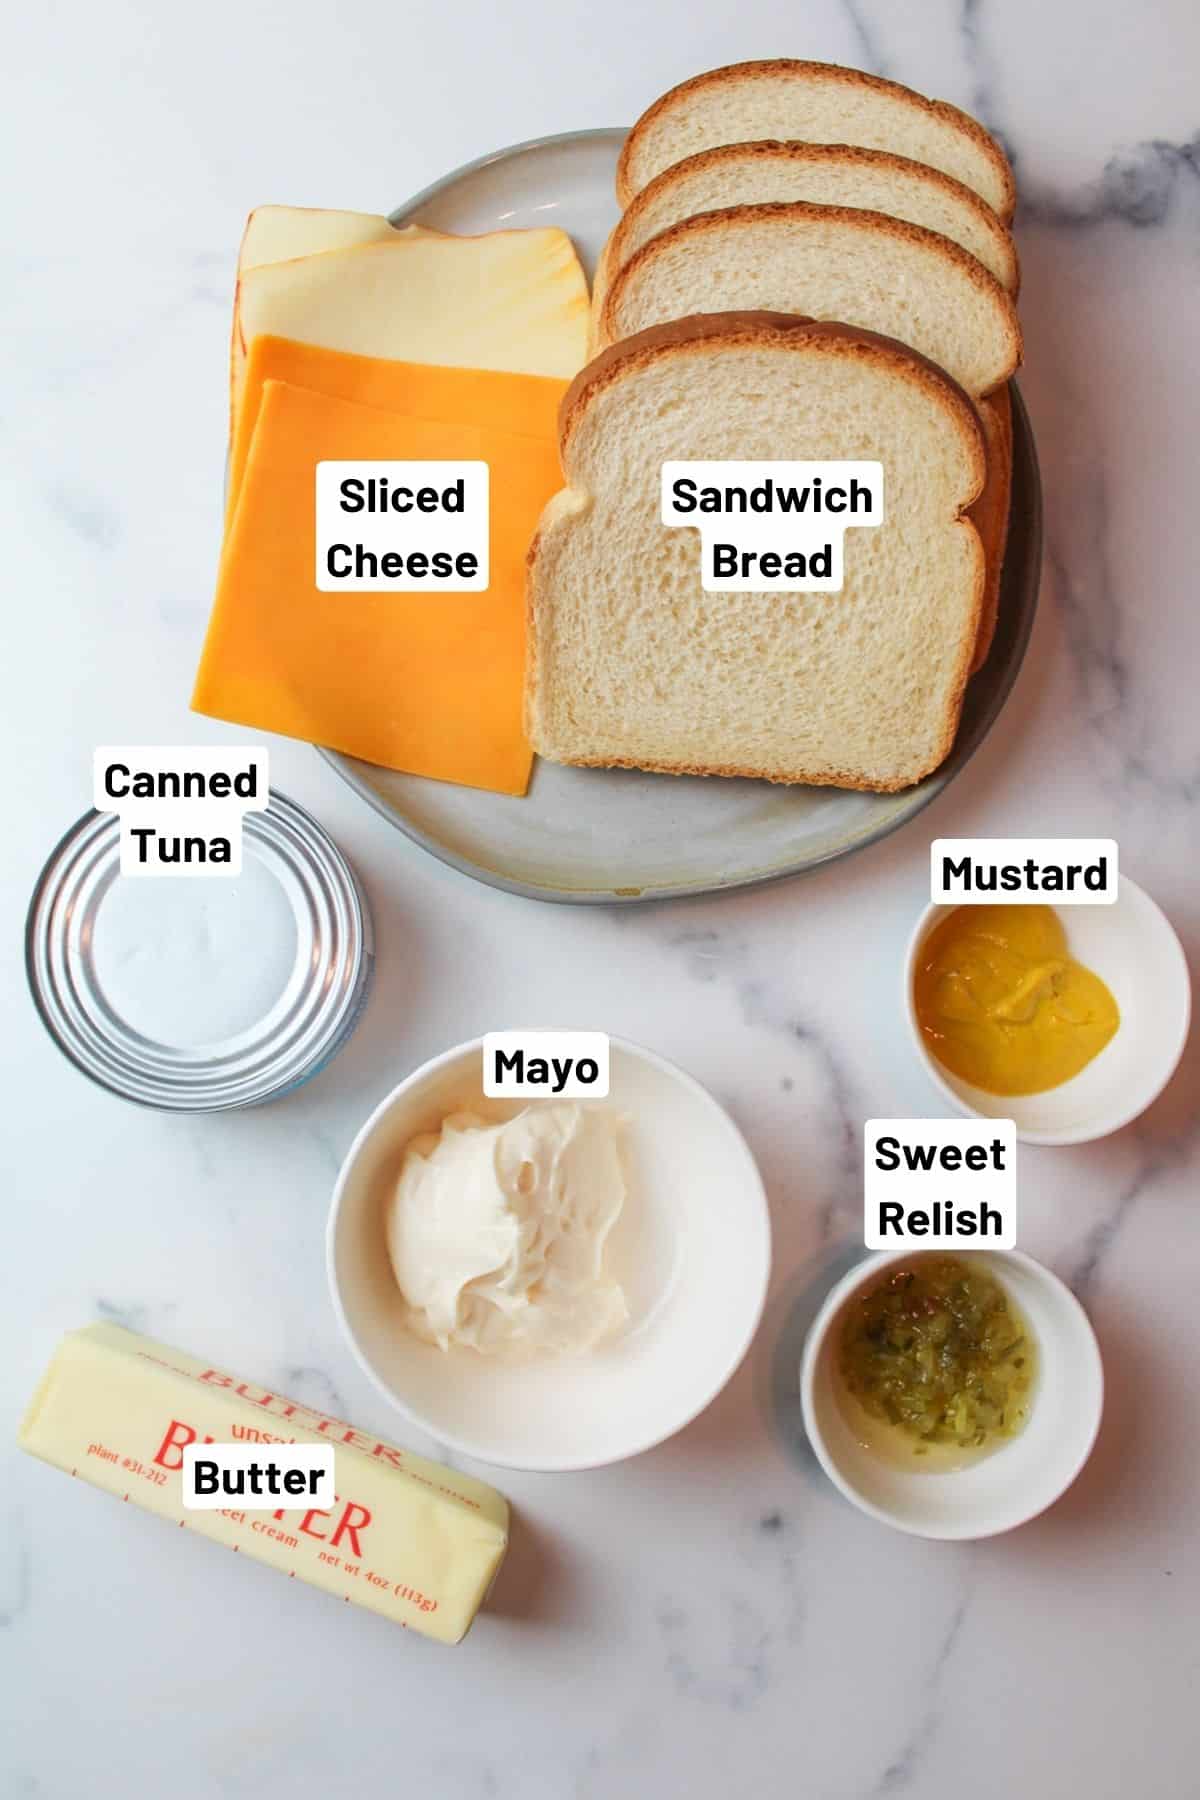
Sandwich Bread- You will want 4 slices of sandwich bread. This will make two sandwiches, But I find that I can usually stretch this recipe into 3 or 4 sandwiches if I try.
Butter- You'll want some softened butter to spread over the bread for that tasty golden color. Alternatively, you can try spraying some olive oil over the bread instead.
Mustard- Use some yellow mustard to help add some acidity and tanginess to the filling. This helps to keep it from feeling too sweet.
Cheese- You'll want 8 slices of cheese (2 per sandwich). This not only makes the sandwich taste great but also helps to hold the bread to the filling while it's cooking.
See the recipe card below for full ingredients and instructions.
🔀 Substitutions & Variations
Bread. My kids are big fans of the cheap sliced sandwich bread but feel free to use any bread you want. Thicker bread slices (like homemade bread) may require a little longer cooking time (about 1-2 minutes)
Cheese. You can use any sliced cheese of your preference. My husband likes Muenster, while I prefer Swiss or Cheddar.
💰 Budget-Friendly Tips
Use store-brand tuna and bread: Both are significantly cheaper and taste the same in melts.
Stretch the filling: Add shredded lettuce, diced pickles, celery, or extra mustard to make more sandwiches without using more tuna.
Choose cheaper cheese: American, Swiss, or store-brand cheddar melt well and cost less than specialty slices.
Swap the butter: Use margarine or spray oil on the bread to reduce cost while keeping great browning.
🥄 Instructions for Air Fryer Tuna Melt
Step 1: Start by draining the canned tuna and breaking it up with a fork. This will help to remove a lot of the chunks and make it easier to incorporate into the filling.
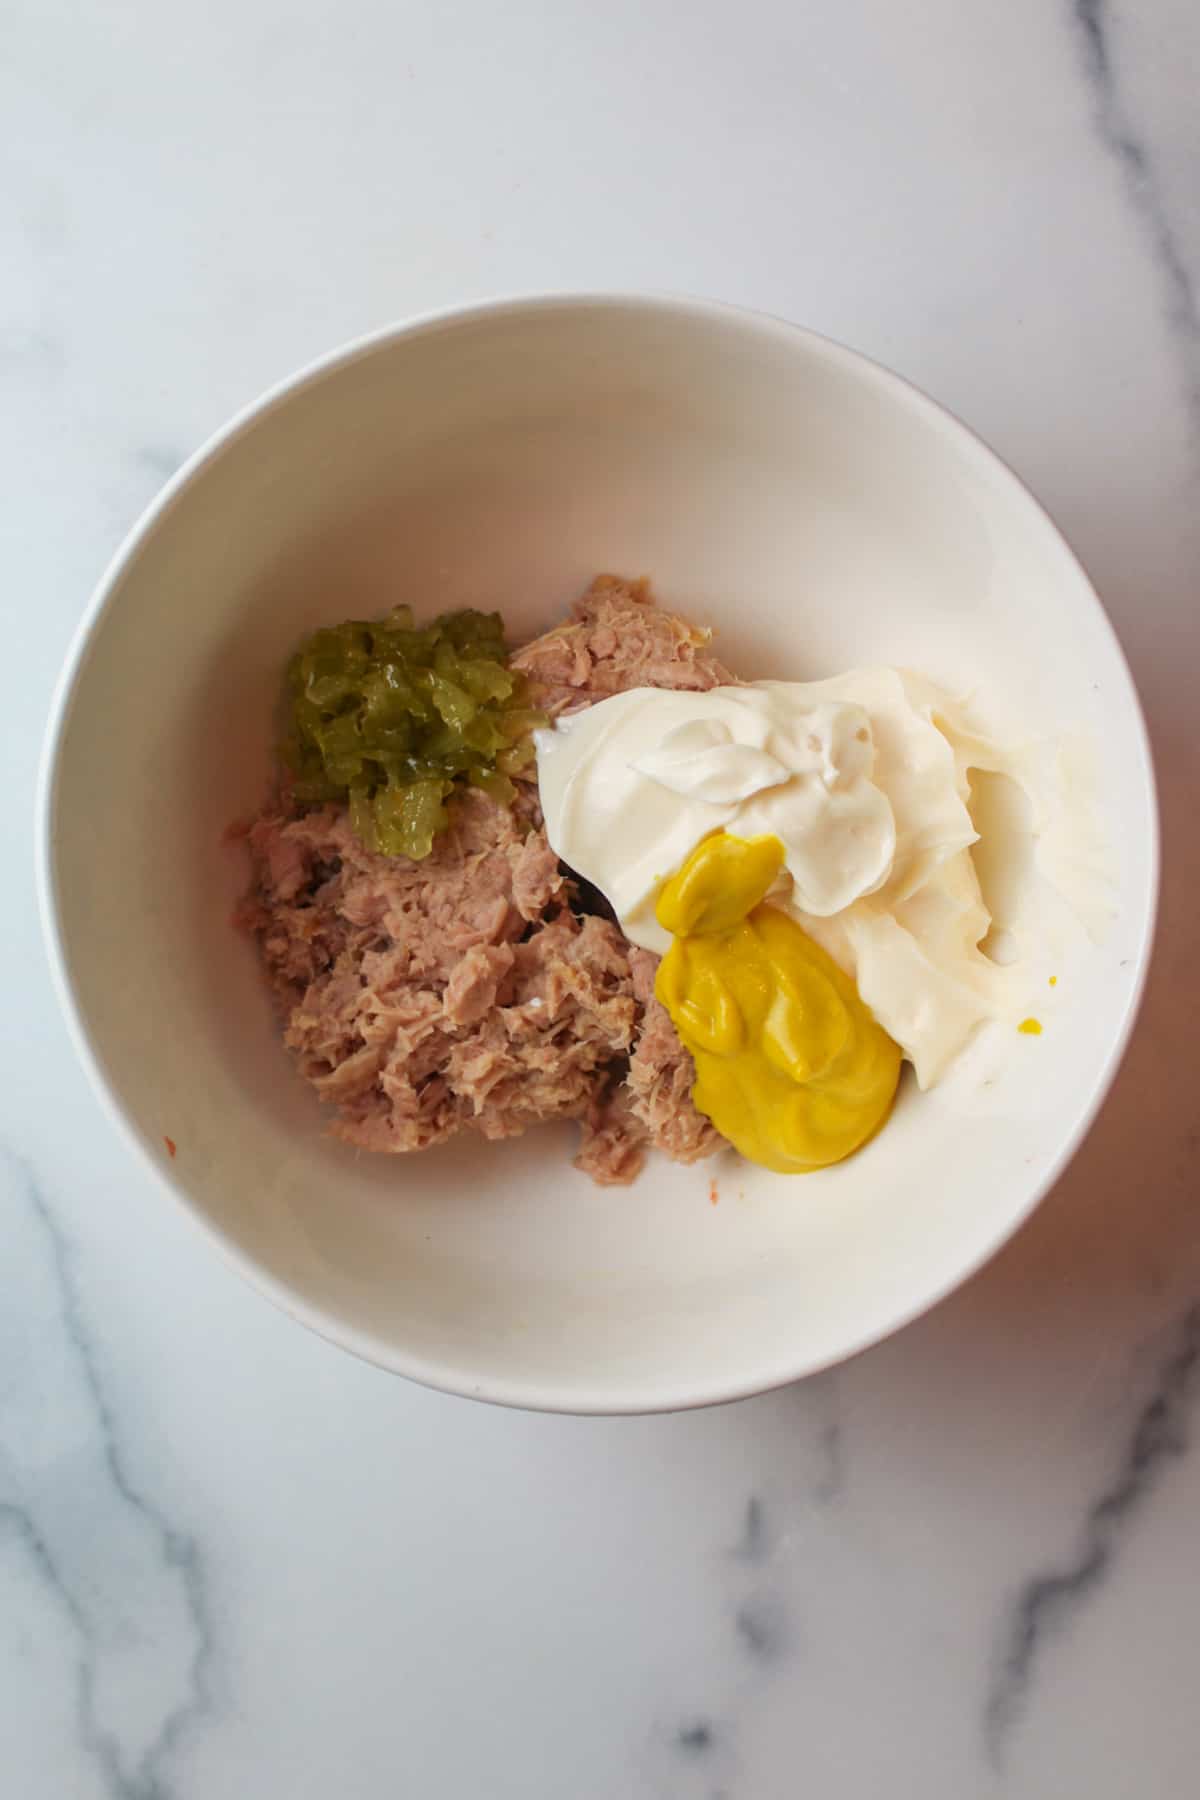
Step 2: Add the tuna, mayo, relish, and mustard to a small bowl.
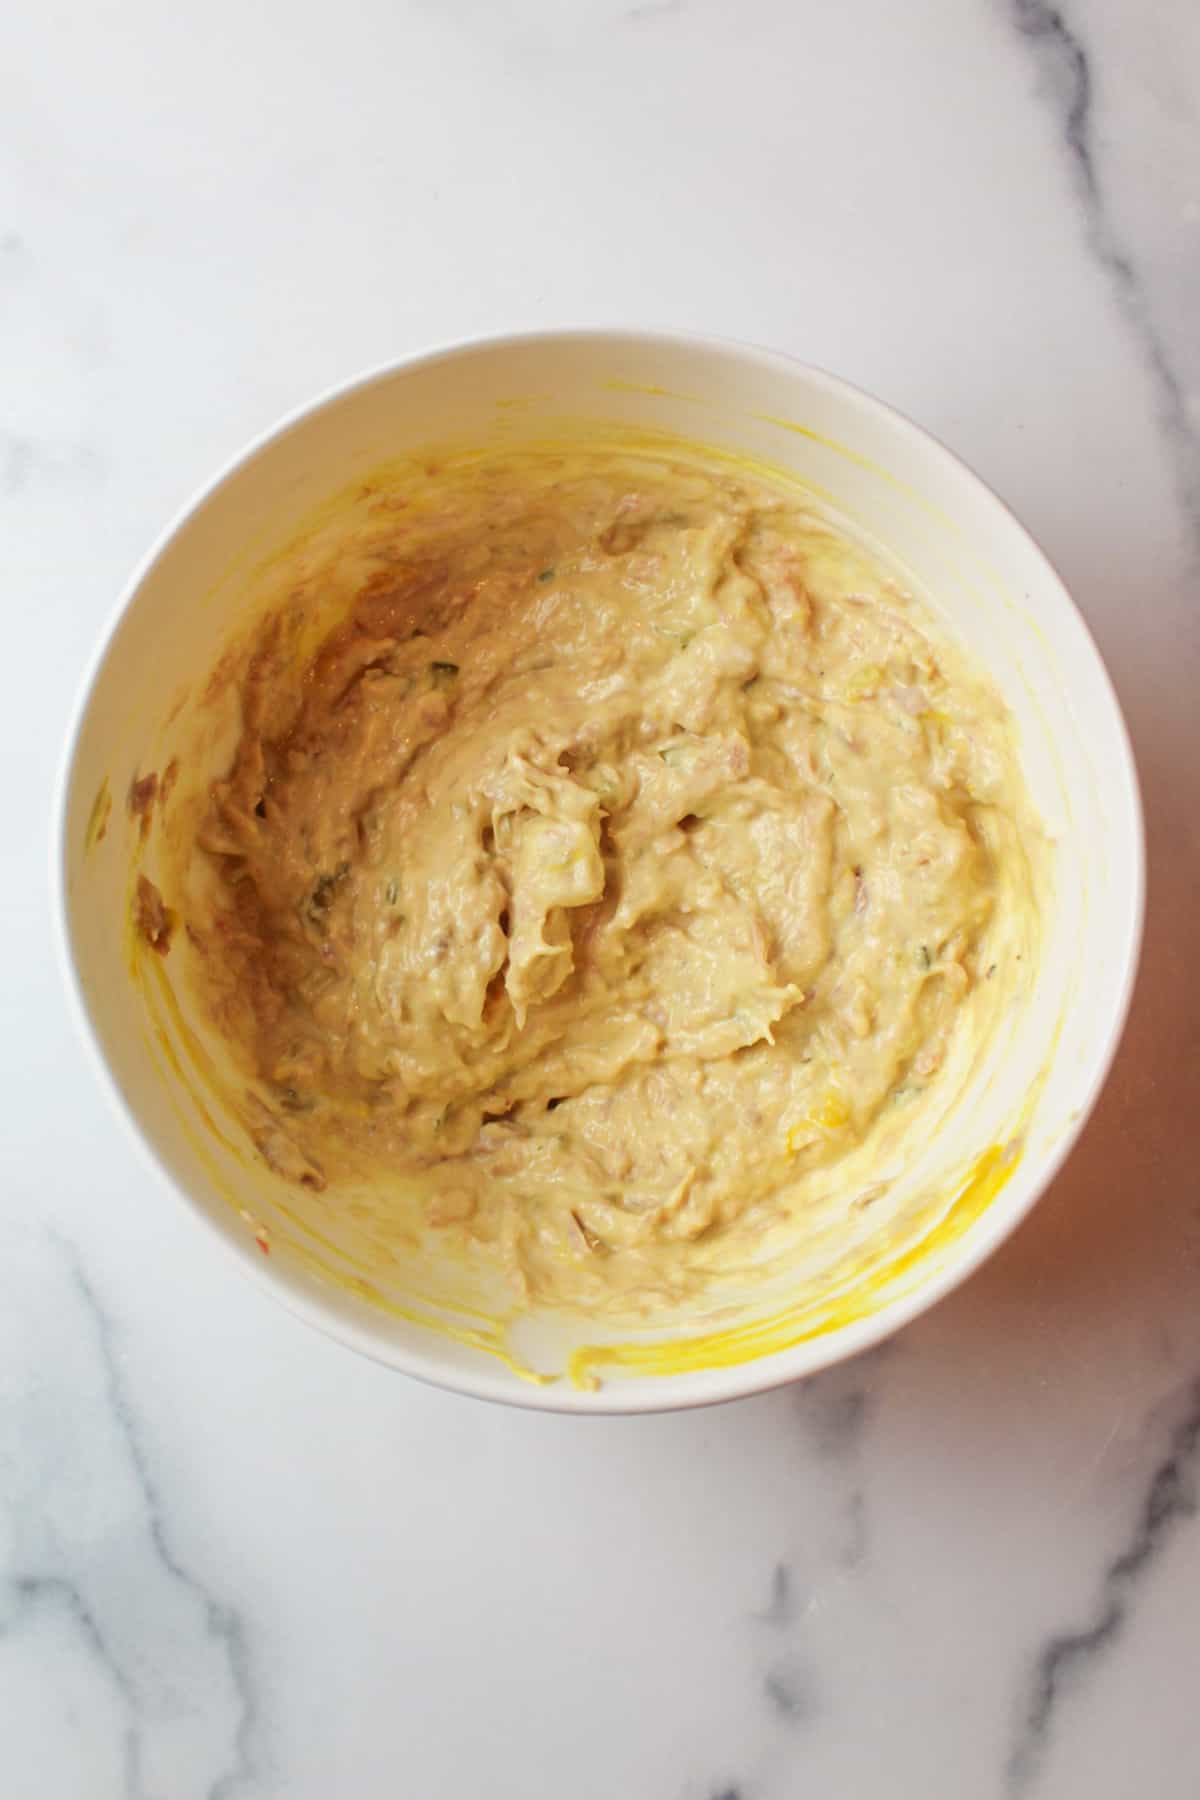
Step 3: Mix together with a fork until well blended.
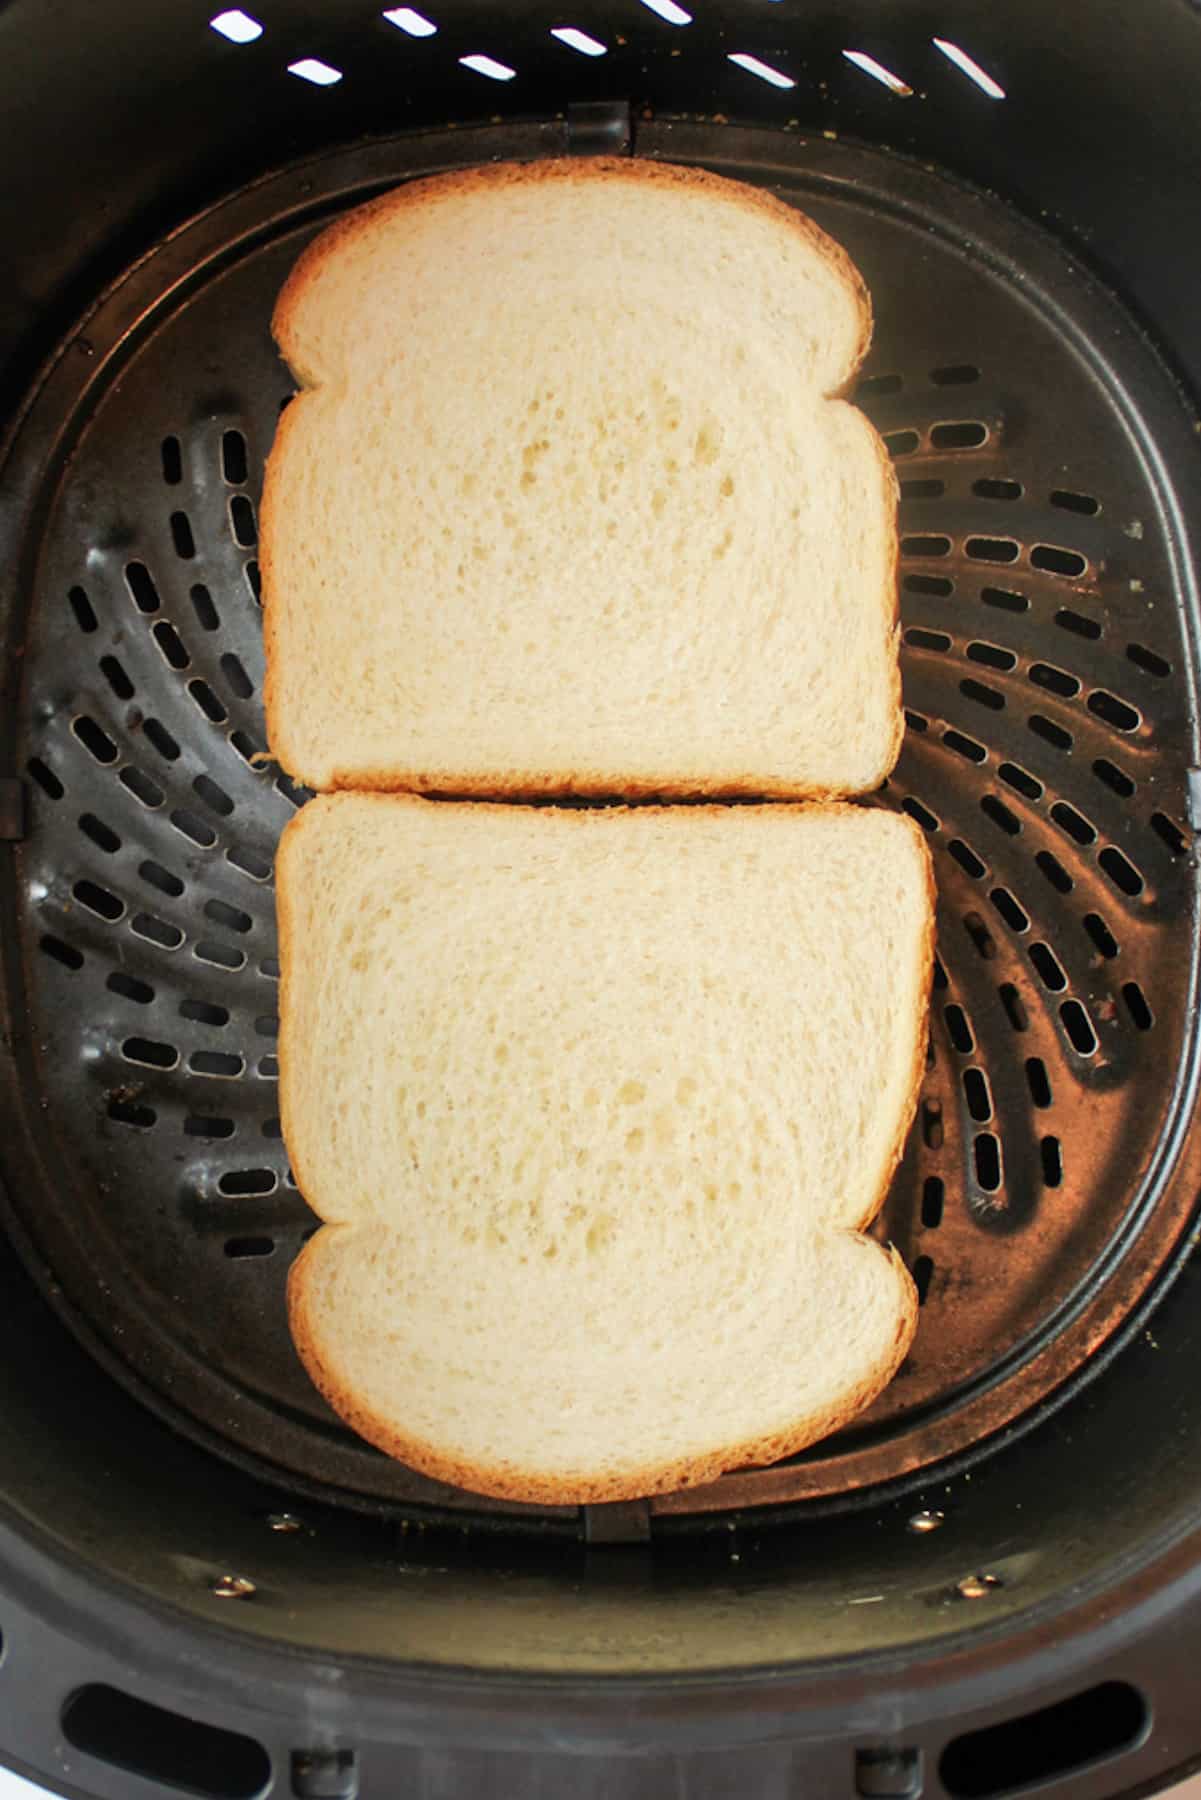
Step 4: Spread about 1 tablespoon of softened butter on one side of each slice of bread. Place two slices, butter side down into the air fryer.
Step 5: Top each slice of bread with one slice of cheese.
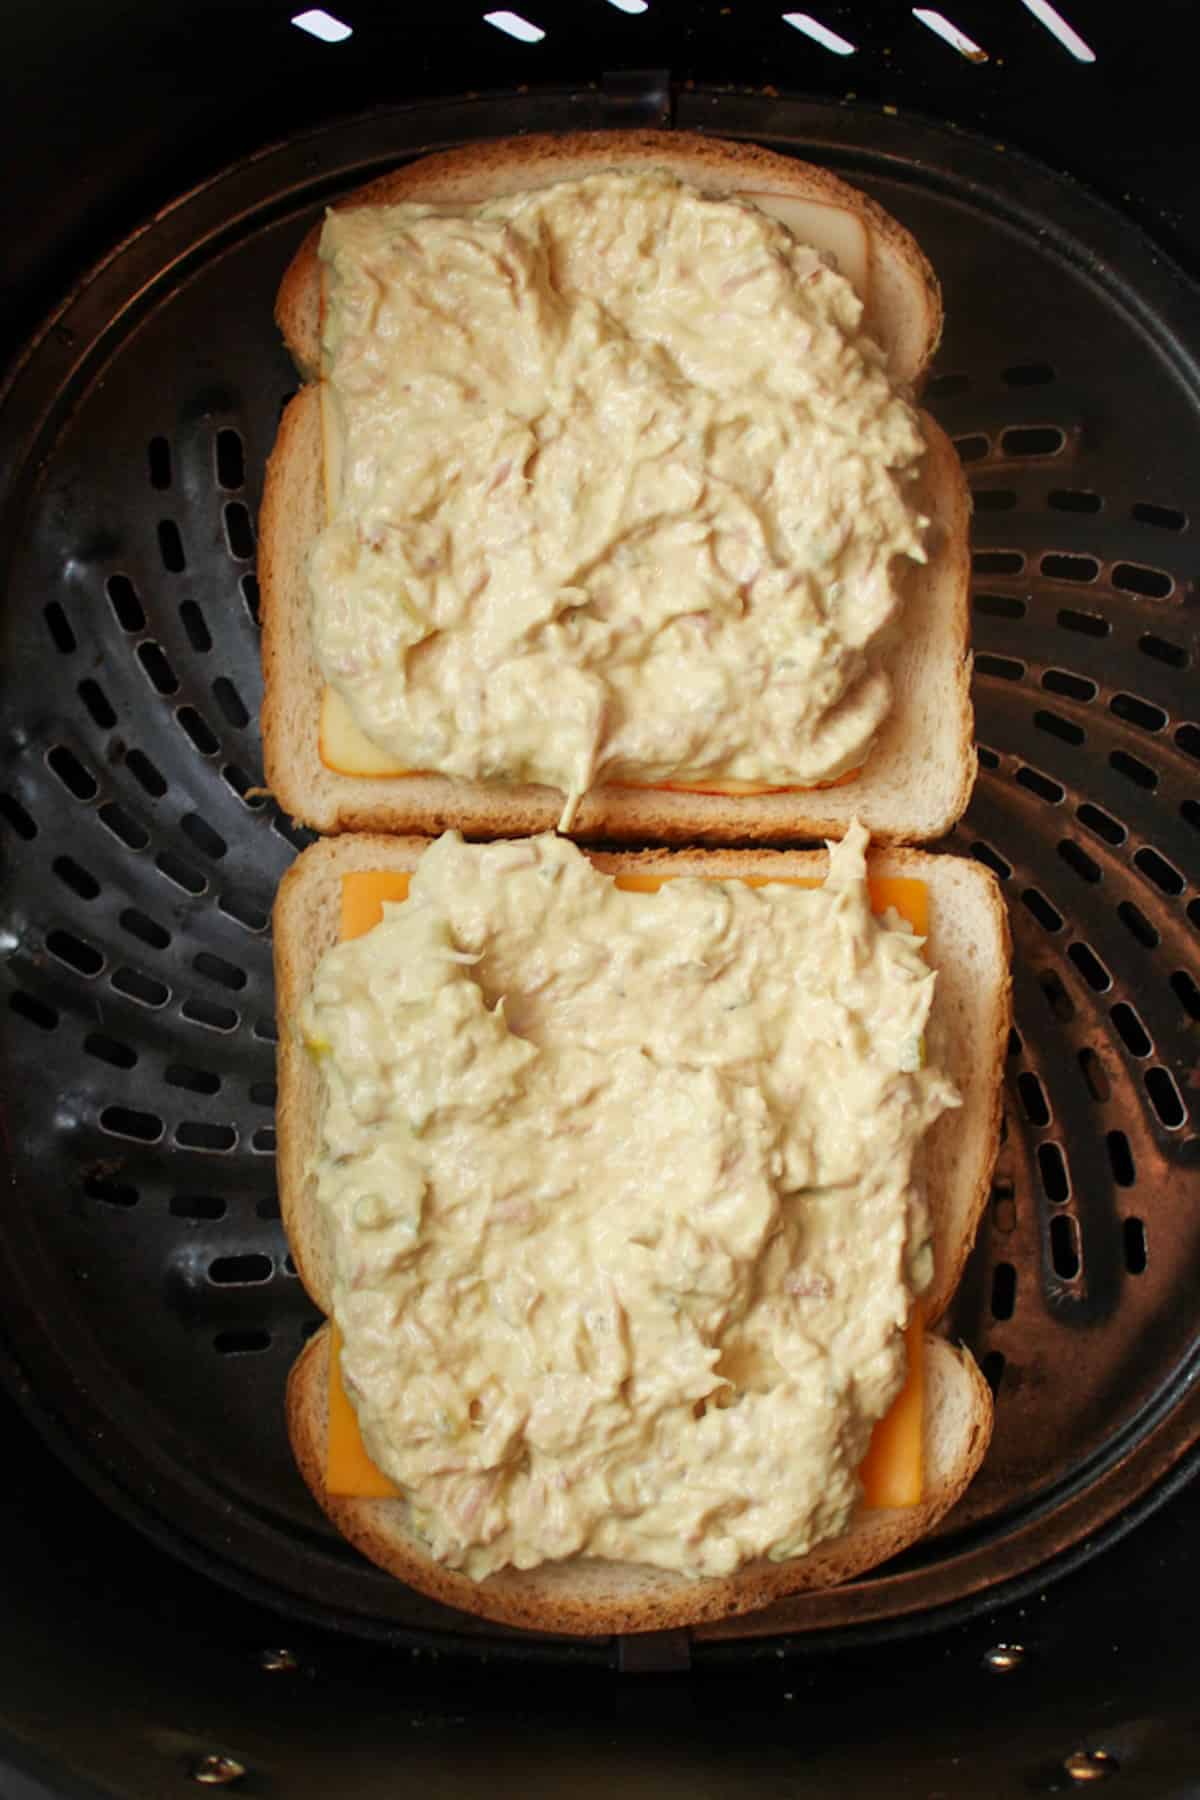
Step 6: Top with about ½ cup of tuna salad.
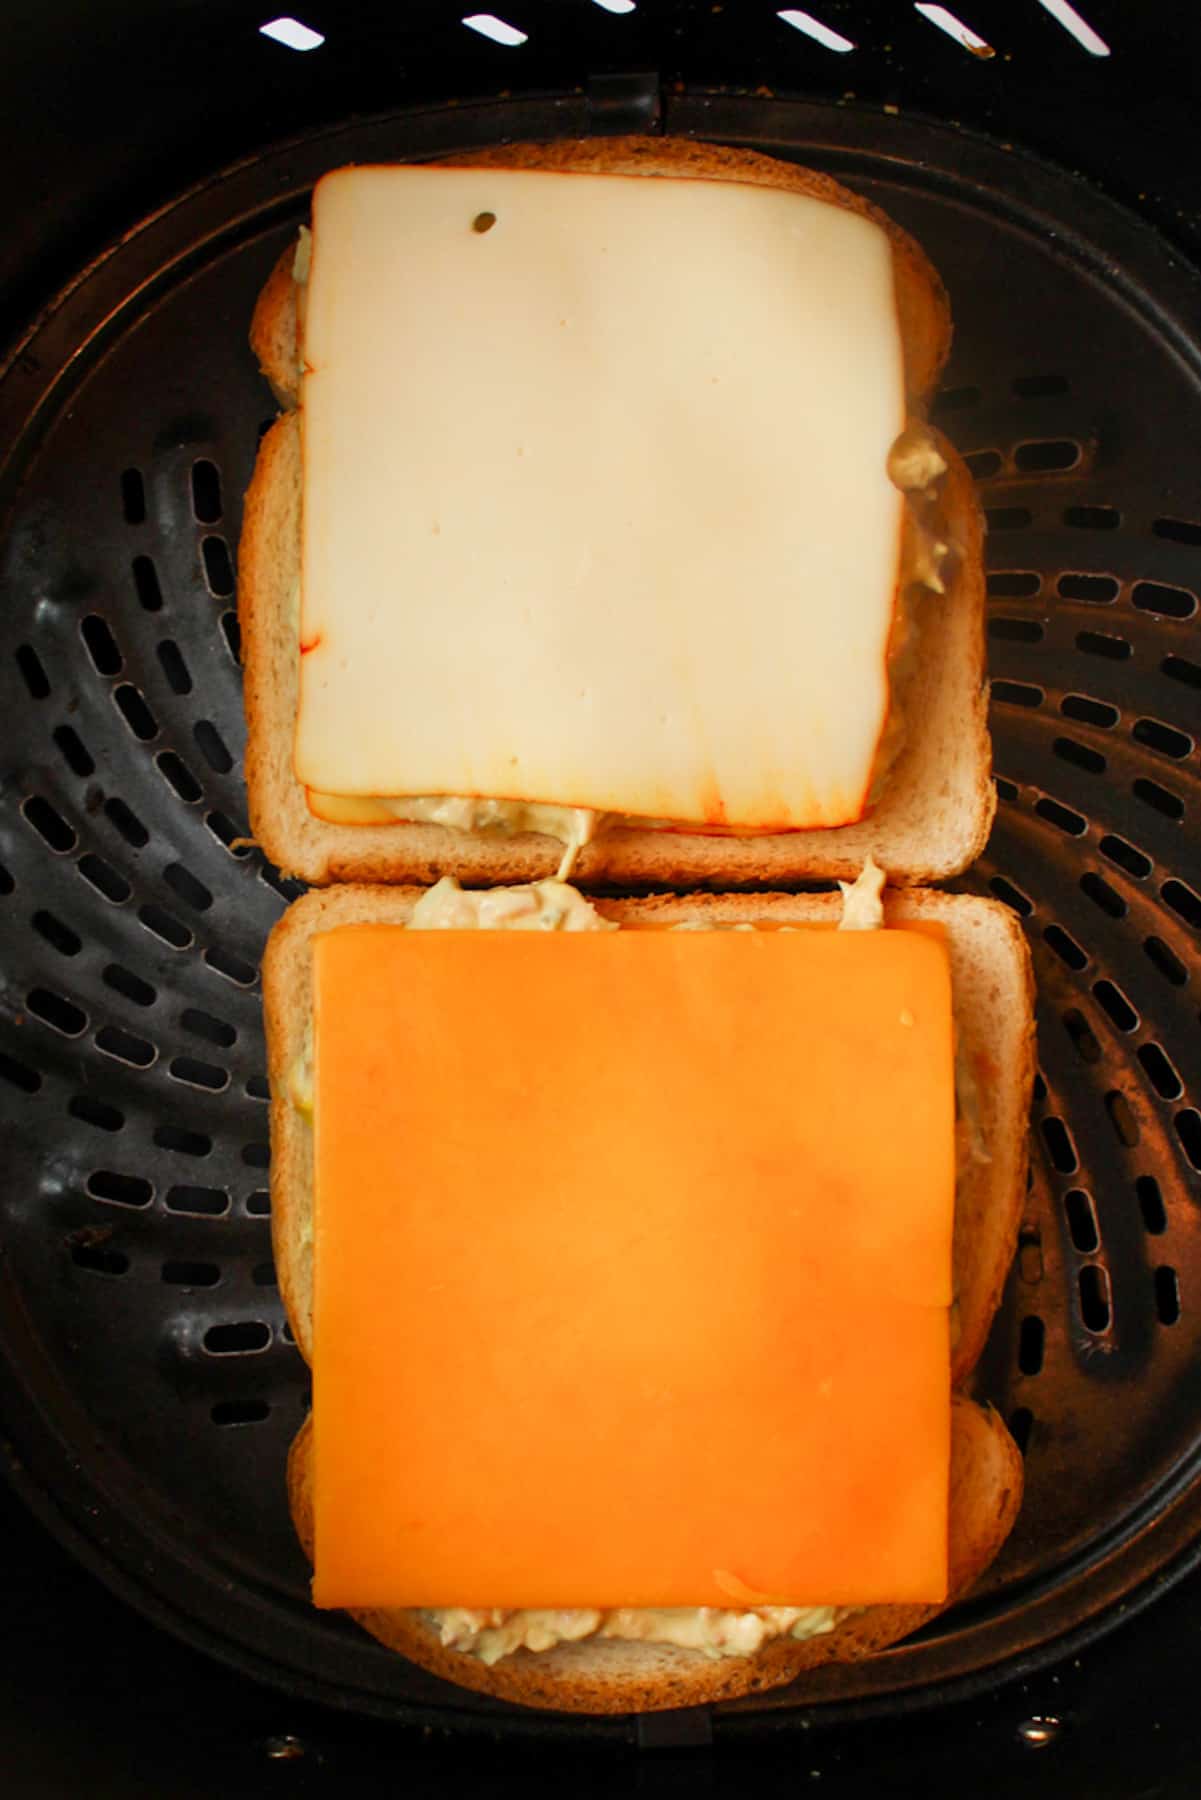
Step 7: Add a second piece of cheese on top of the tuna.
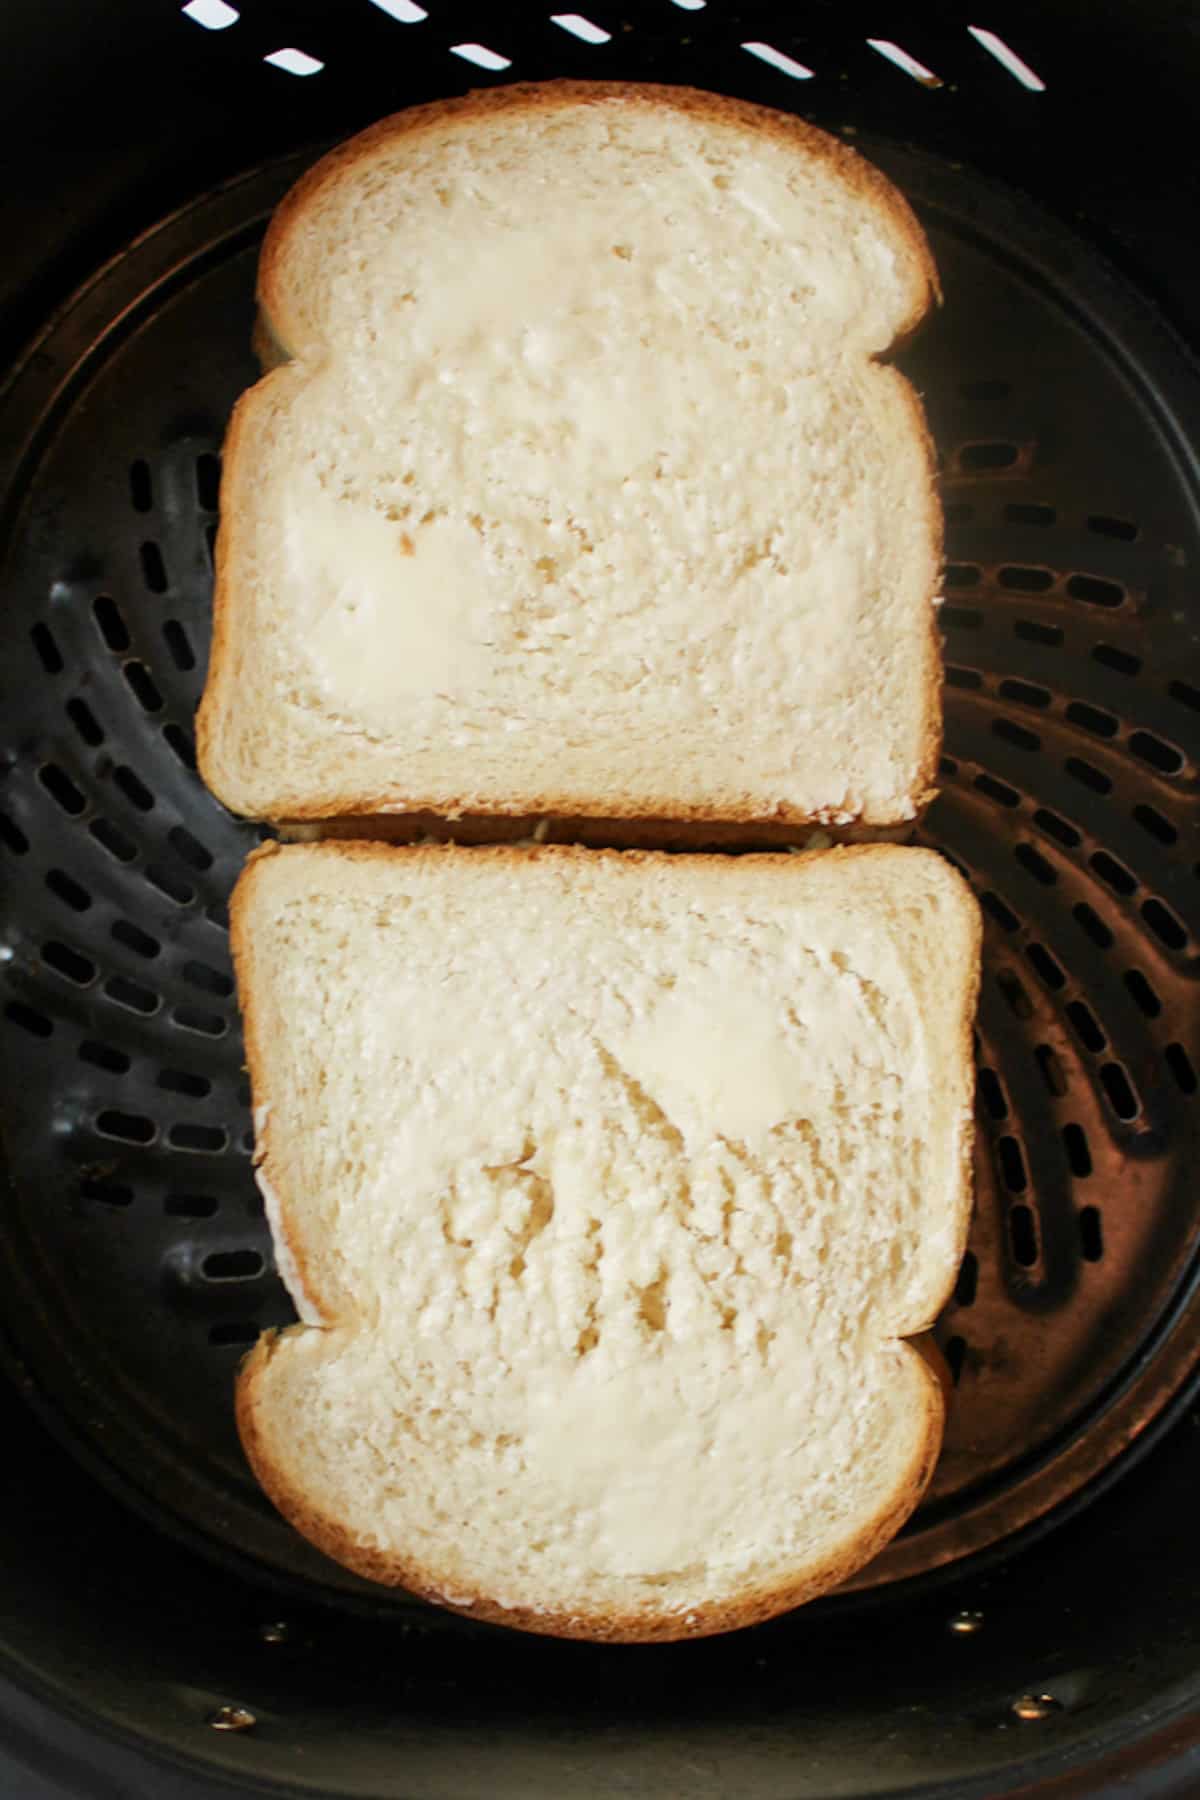
Step 8: Cover the cheese with one slice of bread, butter side facing upward.
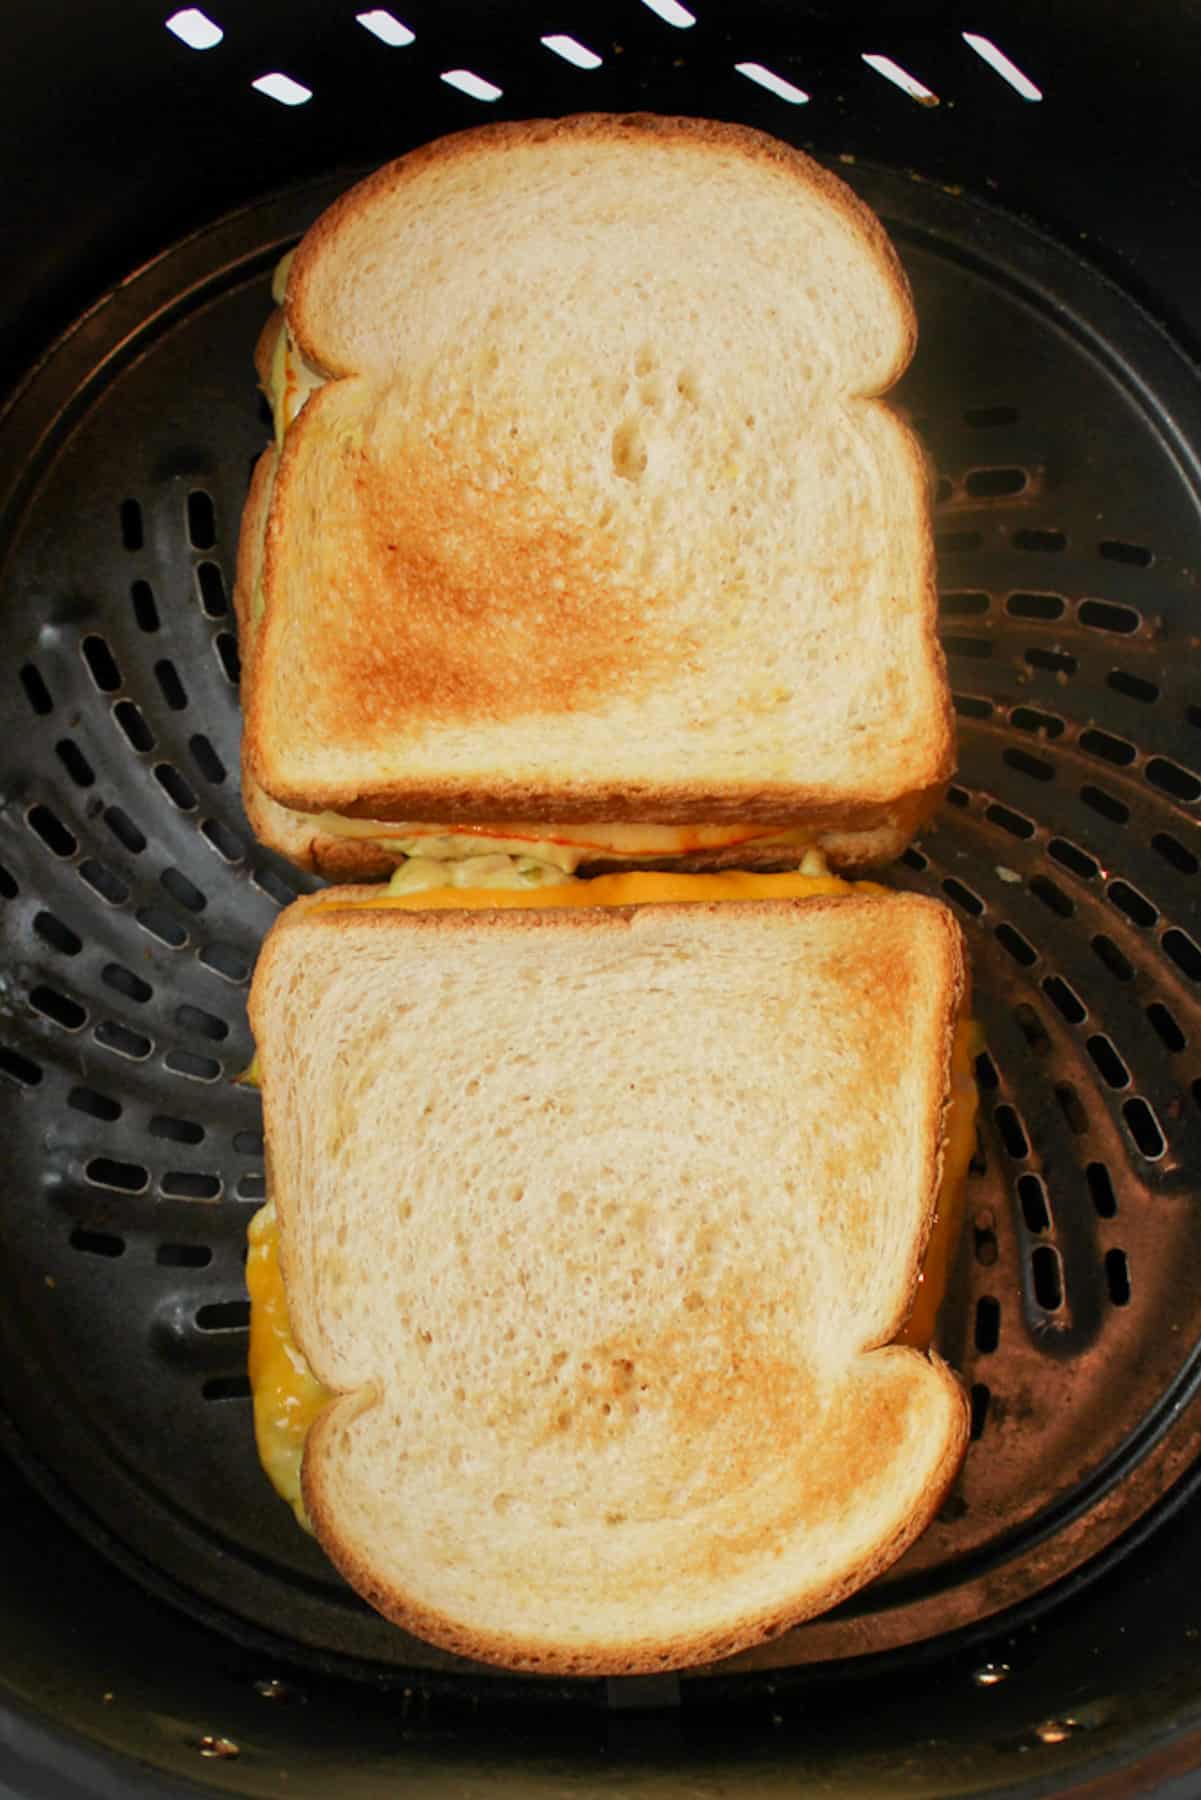
Step 9: Toast for 3 minutes at 400 degrees F.
Step 10: Flip to the other side and cook for about 2 minutes.
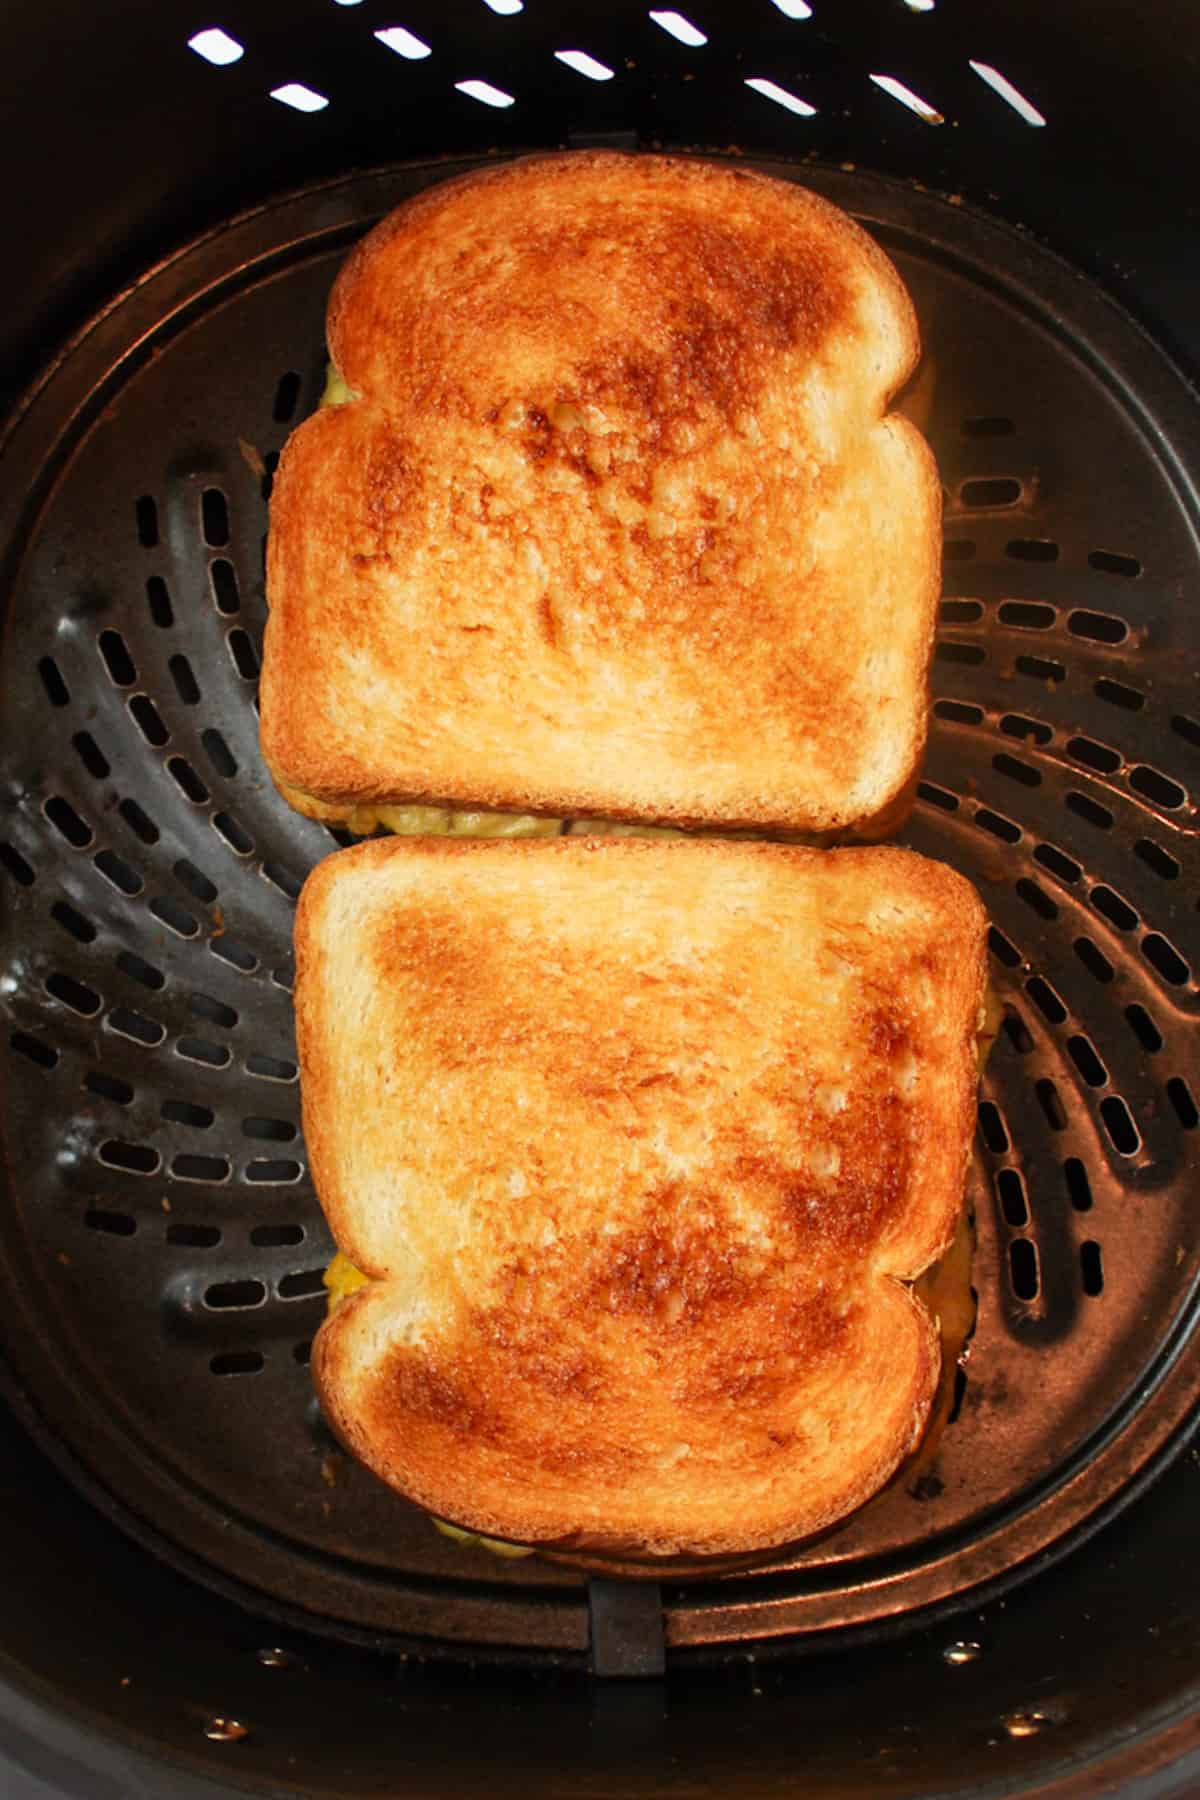
Step 11: When both sides are perfectly golden in color, remove them from the air fryer.
Serve warm and enjoy!
👩🏻🍳 Expert Tips
- Make them 2 at a time. Two sandwiches fit comfortably in an 8-quart air fryer.
- No preheating is required for your air fryer.
- More or less servings. The filling can be divided into 3 smaller sandwiches if desired, as they are very filling.
- Secure bread. Use a small metal trivet to prevent bread from flying around due to circulated air during toasting. You can ensure bread reaches desired toastiness by extending cooking time if it flies around initially.
- Pro Tip. Check the sandwich after a minute or two of cooking to prevent the top bread from sliding off; it will hold better once the cheese melts slightly.
- My Biggest Tip. Use double cheese slices on each side of the filling to secure bread and prevent sliding during cooking.
❄️ Storage, Reheating & Make Ahead
Storage: Store leftover tuna melts in an airtight container in the fridge for up to 2 days. Filling alone lasts up to 3 days refrigerated.
Reheating:
- Air Fryer: 350°F for 3-5 minutes until warm and crisp.
- Oven: 350°F for 5-10 minutes.
- Microwave: 30-60 seconds (softens bread, but still tasty).
Make Ahead: Make the tuna filling up to 3 days in advance and refrigerate. Assemble and air fry sandwiches just before serving for best texture.
🥗 Side Dishes or Pairing Ideas
You can serve your tuna melt with anything, but some of the more popular items to serve alongside a tuna melt include potato chips, french fries, or fresh fruit. Even our Tuna Cabbage Salad would make a delicious pairing!
I like to serve mine up with some Sour Patch Grapes, Homemade Cheese Crackers, or No Bake Apple Donuts.
- Tuna Cabbage SaladRecipe $5.08 / Serving $2.54
- Sour Patch GrapesRecipe $7.85 / Serving $1.31
- No Bake Apple DonutsRecipe $2.66 / Serving $1.33
- Single Serving LemonadeRecipe $0.89


❓ Air Fryer Tuna Melt FAQs
Your sandwich will only take about 5-8 minutes at 360 degrees F, depending on how dark you want it to be. Just make sure to flip the sandwich over about halfway through the cooking process.
You can prepare the filling up to 3 days in advance but I do not recommend adding it to bread until ready to toast and serve. This will prevent the bread from getting soggy.
Absolutely! You can add in your favorite seasonings, toppings, or turn your tuna melt into an open faced sandwich if you want. You can even swap out the bread and cheese for more variations.
🍽️ More Recipes You'll Love
- Air Fryer Peanut Butter and JellyRecipe $0.94 / Serving $0.47
- Air Fryer Garlic Parmesan WingsRecipe $5.83 / Serving $1.47
- Air Fryer Canned Green BeansRecipe $1.79 / Serving $0.45
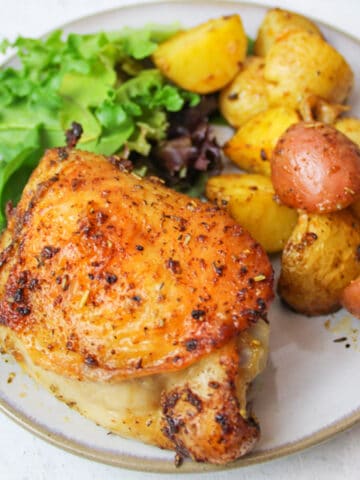
- Air Fryer Chicken Thighs and PotatoesRecipe $7.86 / Serving $1.57


🐝 If you tried this air fryer tuna melt, please leave a ⭐️ star rating and share your buzz in the 💬 comments below. I'd truly appreciate it!
📖 Recipe
Air Fryer Tuna Melt
Ingredients
Tuna Filling
- 1 can (5 ounces) tuna in water, drained - ($0.96)
- ¼ cup mayonnaise - ($0.22)
- 1 tablespoon sweet relish - ($0.08)
- 1 tablespoon yellow mustard - ($0.03)
- salt and ground black pepper, to taste
Sandwiches
- 4 tablespoons unsalted butter, softened - ($0.50)
- 4 slices sandwich bread - ($0.24)
- 8 slices cheese - ($1.48)
Instructions
- Mix tuna. Drain tuna and flake with a fork to break up large pieces. Add tuna, mayonnaise, relish, mustard, salt, and pepper to a small bowl and mix until well combined.
- Butter bread. Spread about 1 tablespoon butter on one side of each slice of bread.
- Assemble base. Place two slices of bread butter-side down in the air fryer basket. Top each with one slice of cheese.
- Add filling. Spoon tuna mixture evenly over the cheese. Add a second slice of cheese on top of the tuna.
- Close sandwiches. Top with remaining bread slices, butter-side facing up.
- Air fry. Cook at 400°F for 3 minutes. Flip and cook an additional 2 minutes, until golden and melty.
- Serve. Remove from air fryer and serve warm.
Notes
- Air Fryer Fit. Two sandwiches fit comfortably in an 8-quart air fryer. No preheating required.
- Assembly Tip. Cheese on both sides of the tuna helps prevent sliding while cooking.
- Portions. Make three smaller sandwiches for lighter servings if preferred.
- Make Ahead. Tuna filling can be prepared up to 3 days in advance and stored airtight in the refrigerator.
Nutritional Information
Save This Recipe to Your Inbox
By signing up, you'll join our email list and can unsubscribe anytime.


Comments
No Comments