
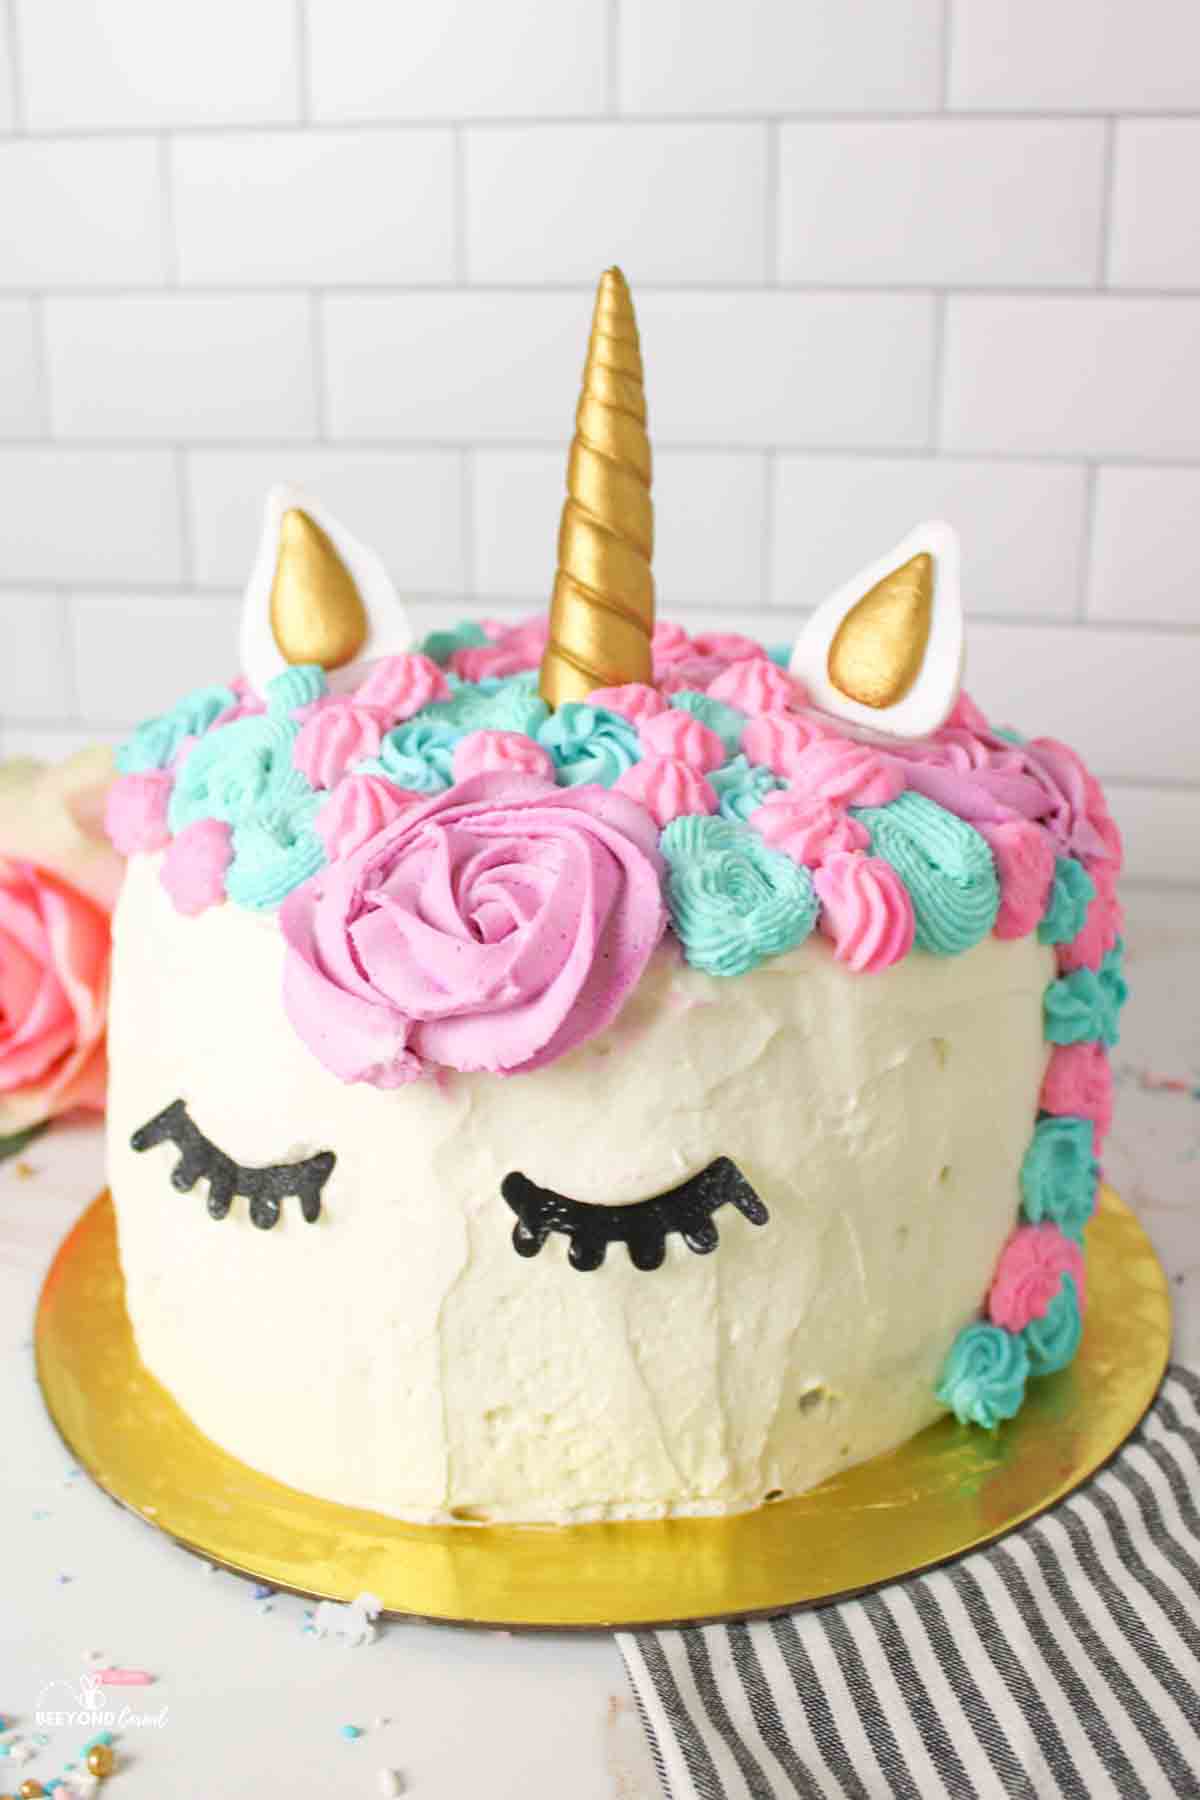
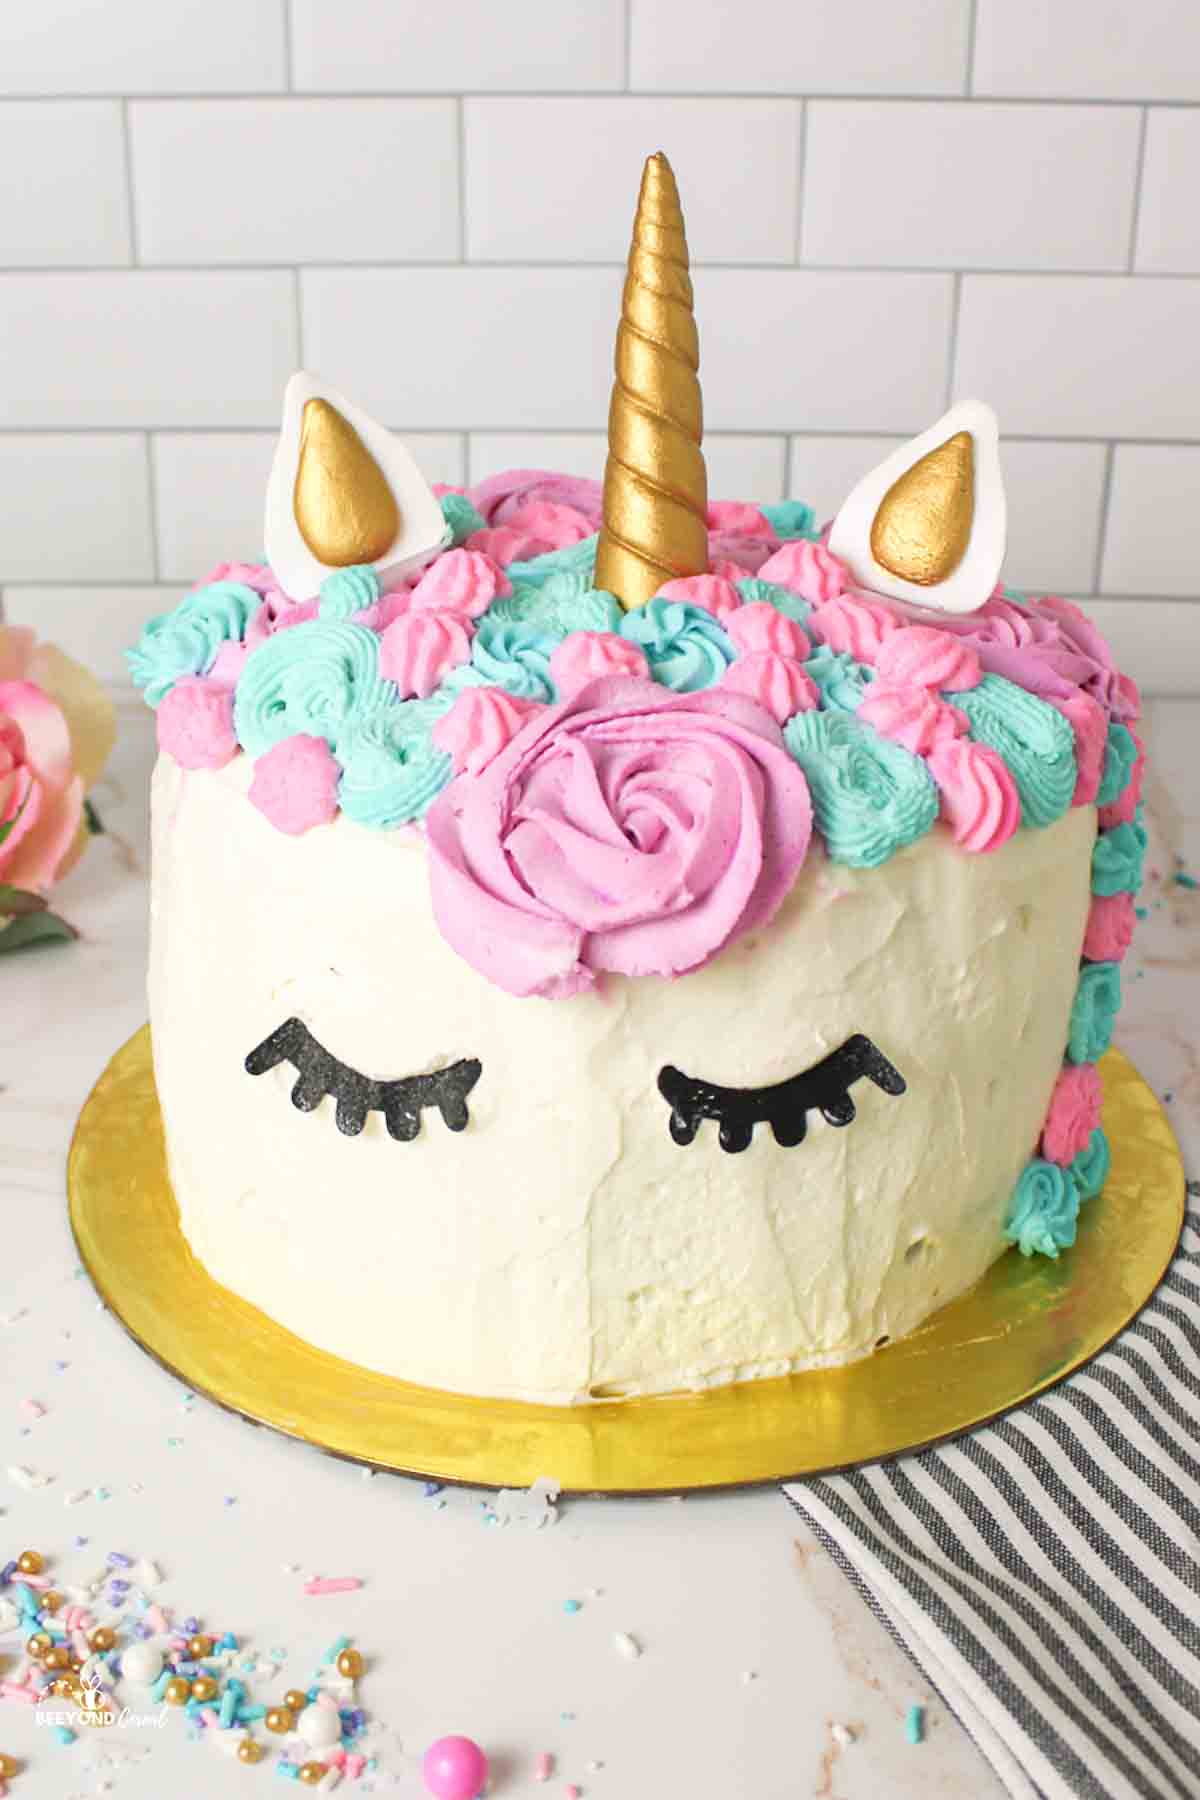
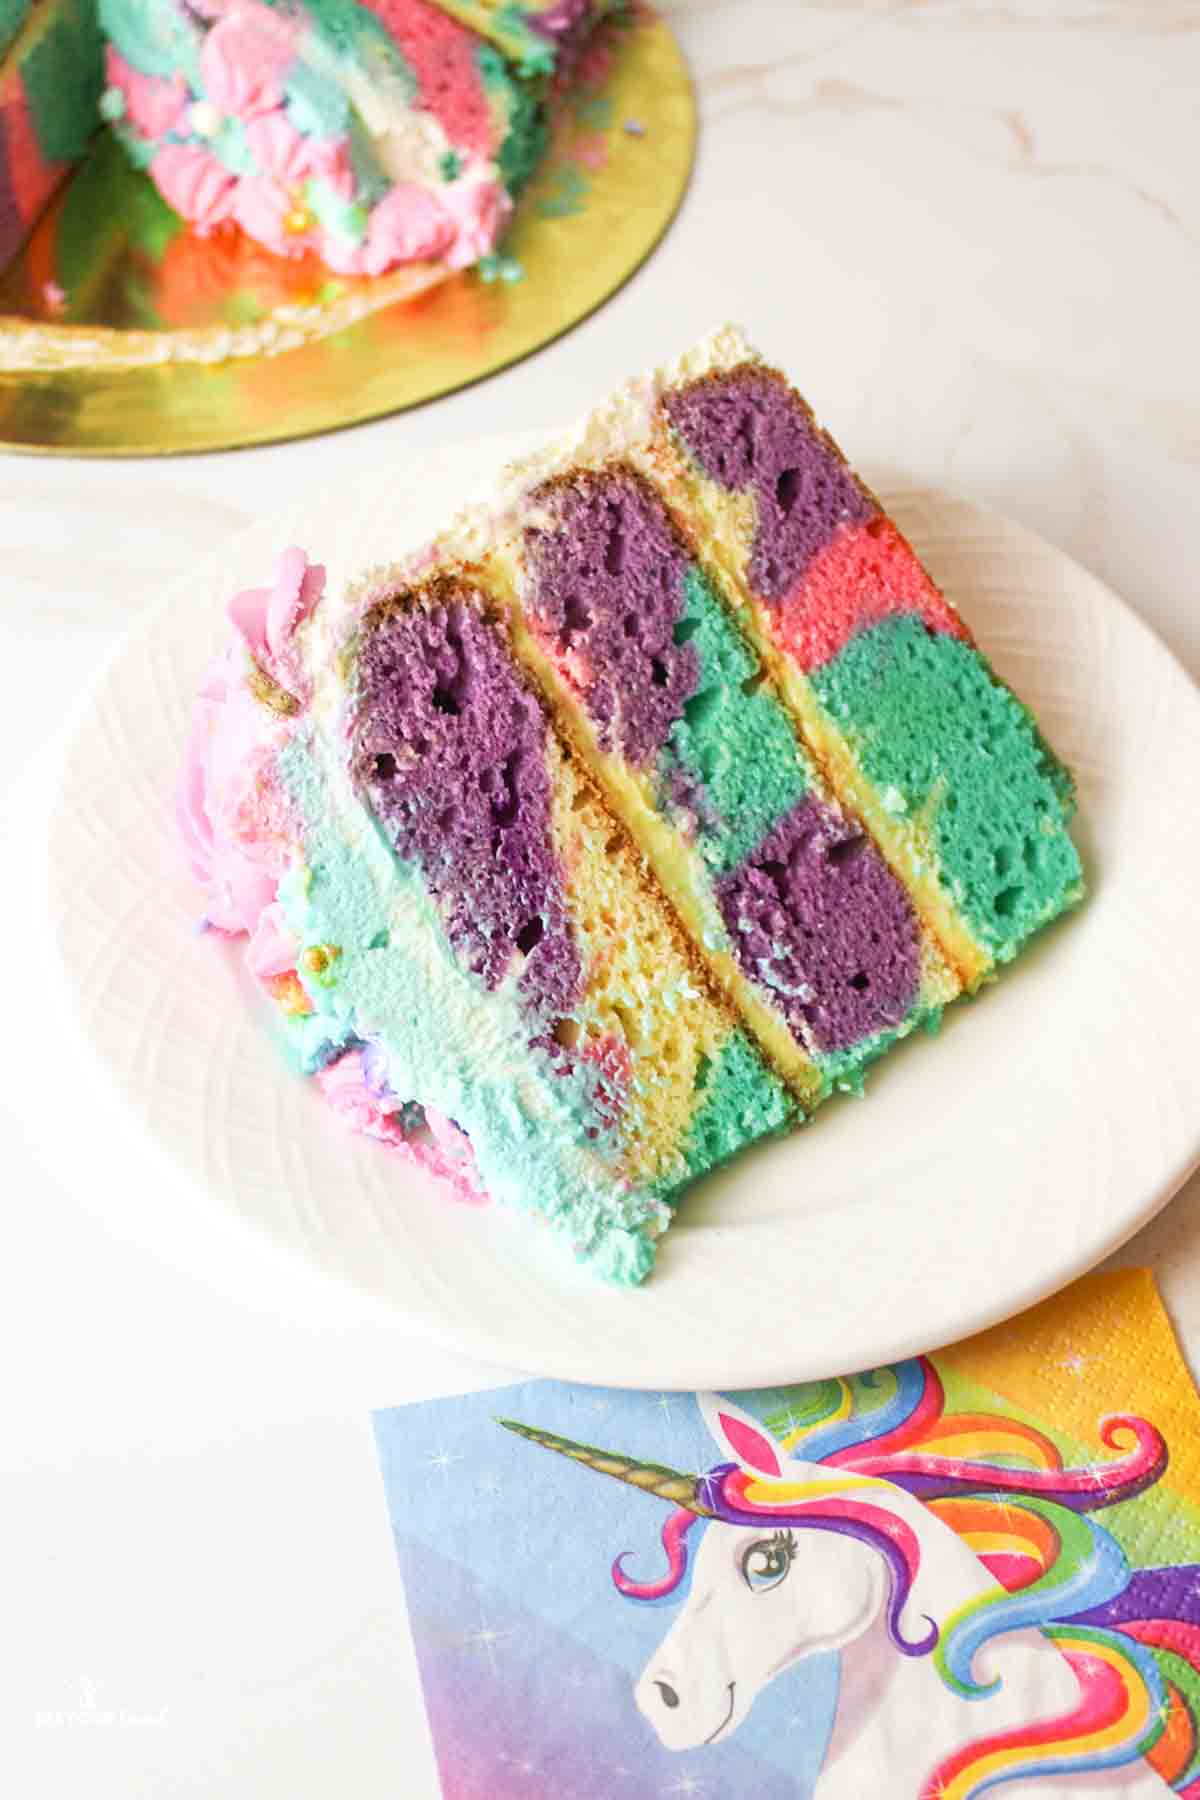
This Easy Rainbow Unicorn Cake is 3 layers of tasty fun and magic. Made with an upgraded boxed cake mix recipe and a whipped cream cheese frosting, this cake is as tasty as it is pretty.
Save This Recipe to Your Inbox
By signing up, you’ll join our email list and can unsubscribe anytime.
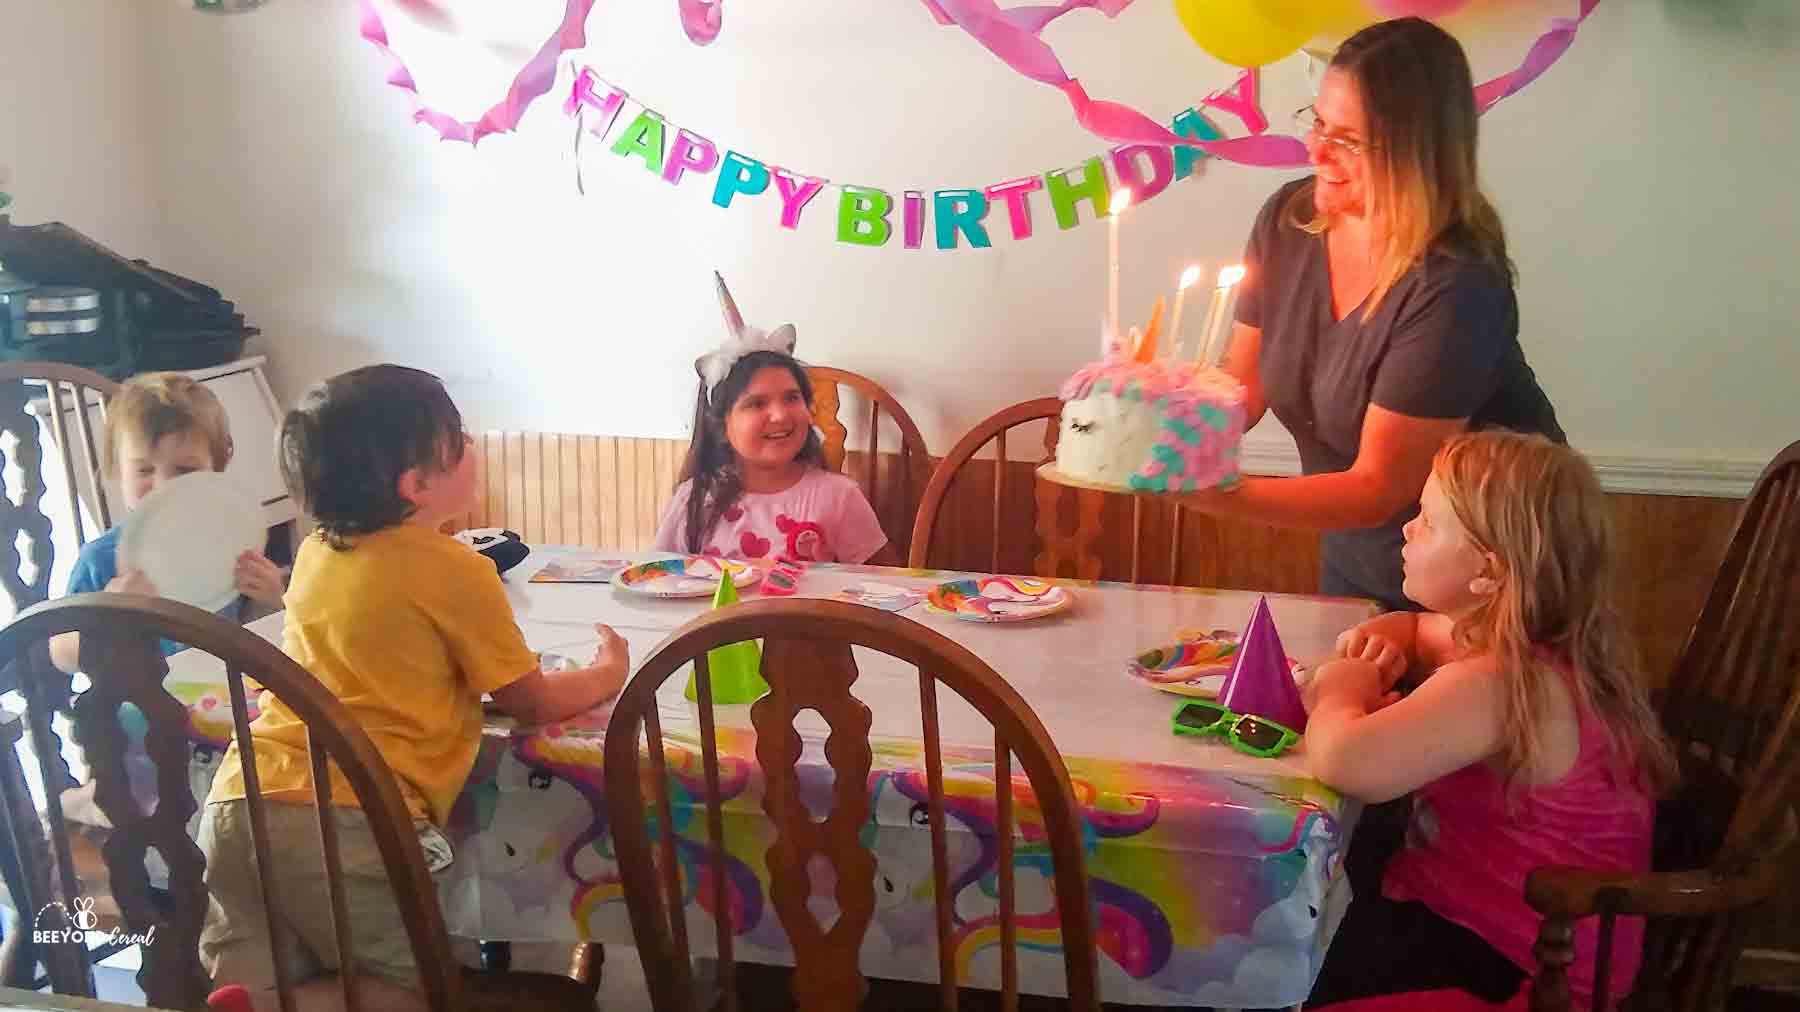
I eagerly took on the task of creating a birthday cake for my unicorn-loving niece, inspired by my desire to craft an Easy Rainbow Unicorn Cake. It was a perfect addition to her unicorn themed party.
To ensure the cake's ideal height, I adapted a cake mix for three 8-inch pans. For the filling, I used prepared vanilla pudding, offering a delicious shortcut akin to homemade pastry cream. This method is a favorite for my birthday cake crepes recipe too.
When combined with the frosting, the cake layers create a visually stunning rainbow unicorn cake that's light, fluffy, and moist, pleasing both the eyes and the taste buds. You're going to love this Easy Rainbow Unicorn Cake Recipe!
For more party ideas, explore these Unicorn Food Ideas To Inspire Your Next Party!
Jump to:
💛 Why You'll Love This Recipe
- It's easy. While there are several time consuming steps, the actual work needed to make this cake is fairly simple. Perfect for an at home baker.
- It's a cheaper alternative. You can buy a cake from a store or professional, or you can make one at home. Making your own cake means keeping a little more money in your wallet and adding more memories and love in every slice.
- You can customize it. Change up the colors or flavors as you want and really make this recipe your own!
🛒 Ingredients
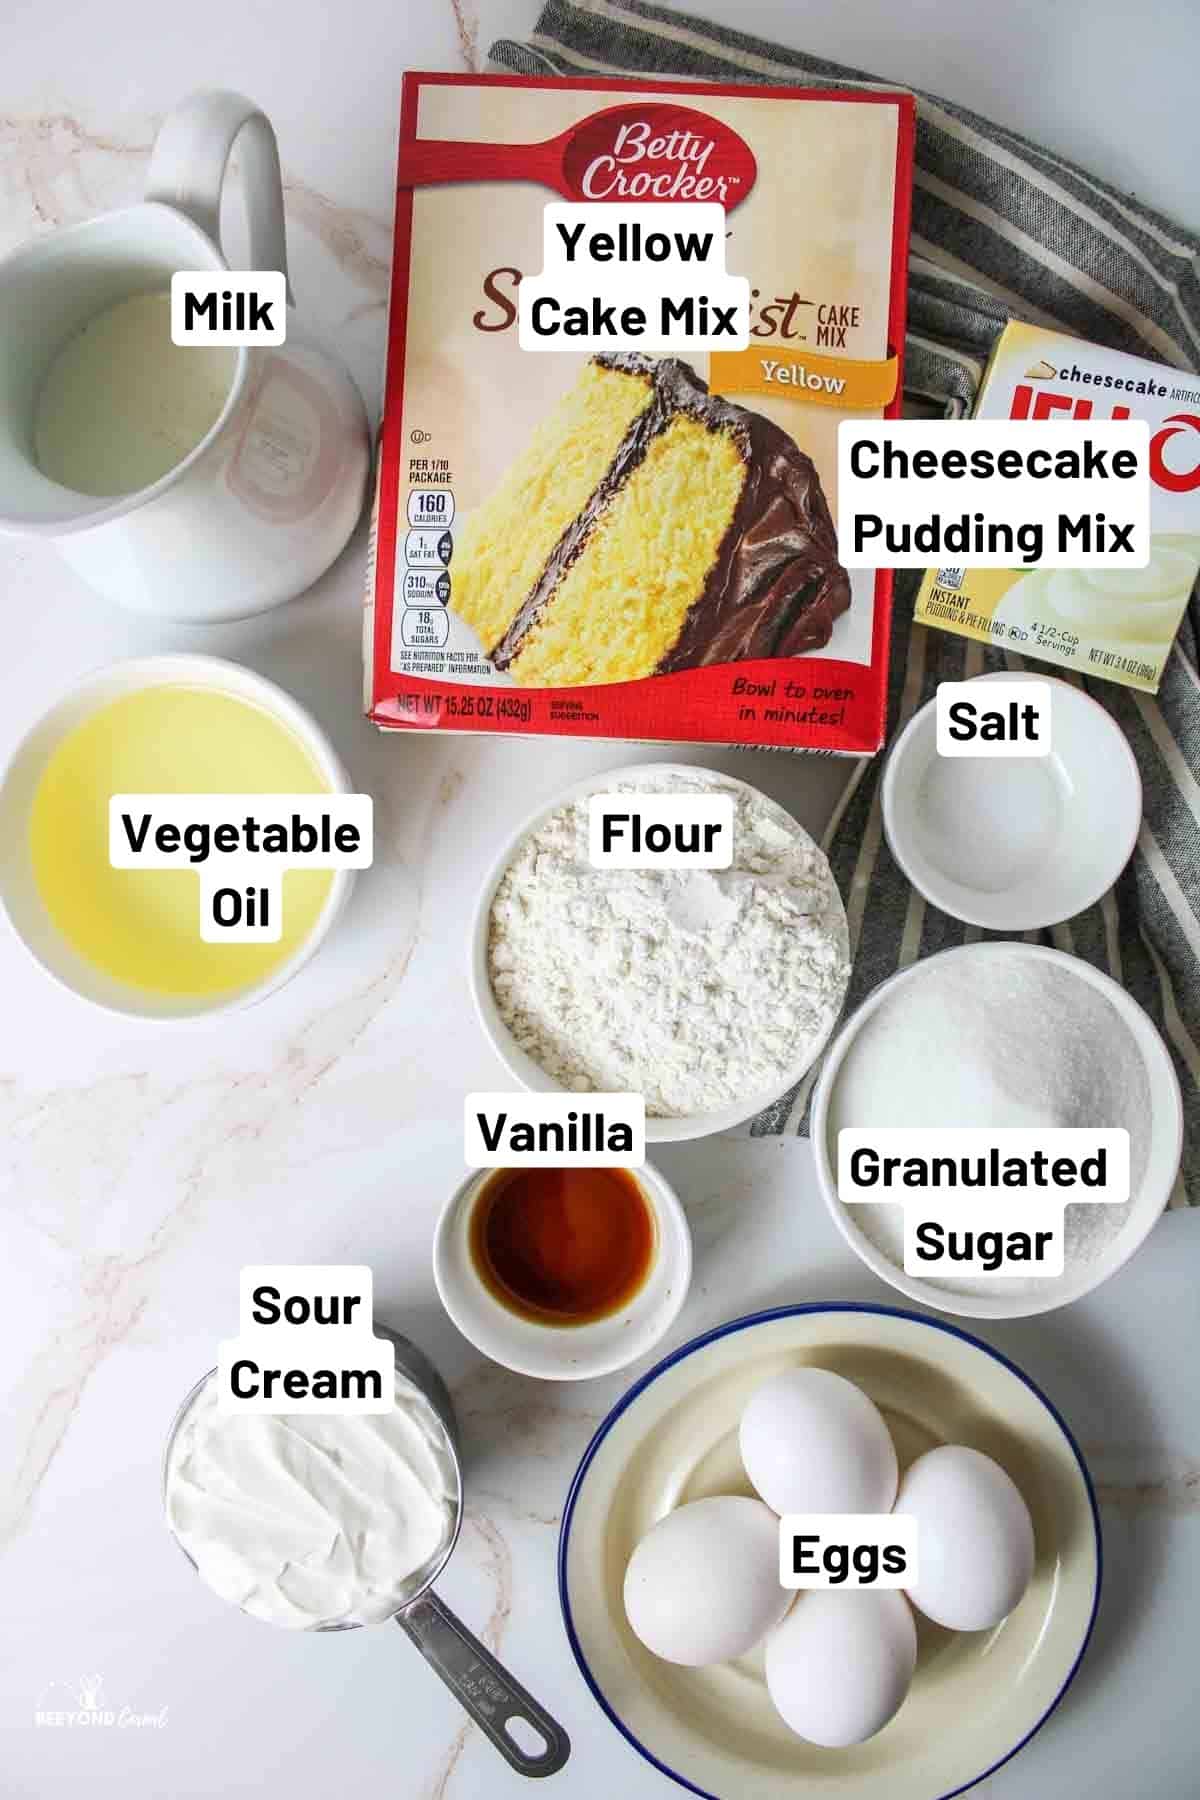
Yellow Cake Mix - The base of the cake, keeping things easy and reliable. Yellow or white cake mix both work. We also use cake mix as the base in our Tres Leches Layered Cake, Southern Banana Pudding Cake, and Easter Confetti Cake.
All-Purpose Flour - Added for extra structure so the cake layers hold up well when stacked.
Instant Pudding Mix - Use the dry mix only. It adds moisture and richness to the cake batter.
Vanilla Cook and Serve Pudding - This creates the creamy filling between the cake layers. Be sure to prepare it with milk and let it cool before using.
Cream Cheese - Essential for a stable, pipeable frosting with a rich flavor that holds decorations well.
See the recipe card below for full ingredients and instructions.
💰 Budget-Friendly Tips
Use store-brand pudding and baking staples. Generic pudding mixes, flour, sugar, and oil are significantly cheaper and make no noticeable difference in taste or texture.
Color strategically. Gel food coloring is more concentrated than liquid, so you'll use less overall and avoid buying multiple bottles.
Skip specialty tools. A zip-top bag works just as well as a piping bag, and a ruler or bench scraper can replace expensive cake smoothing tools.
🥄 Instructions for Easy Rainbow Unicorn Cake
Batter Prepping
Step 1: Preheat oven to 350°F.
Step 2: Line cake pans with parchment circles, spray pans, add parchment, and spray again to secure.
Step 3: Set pans aside.
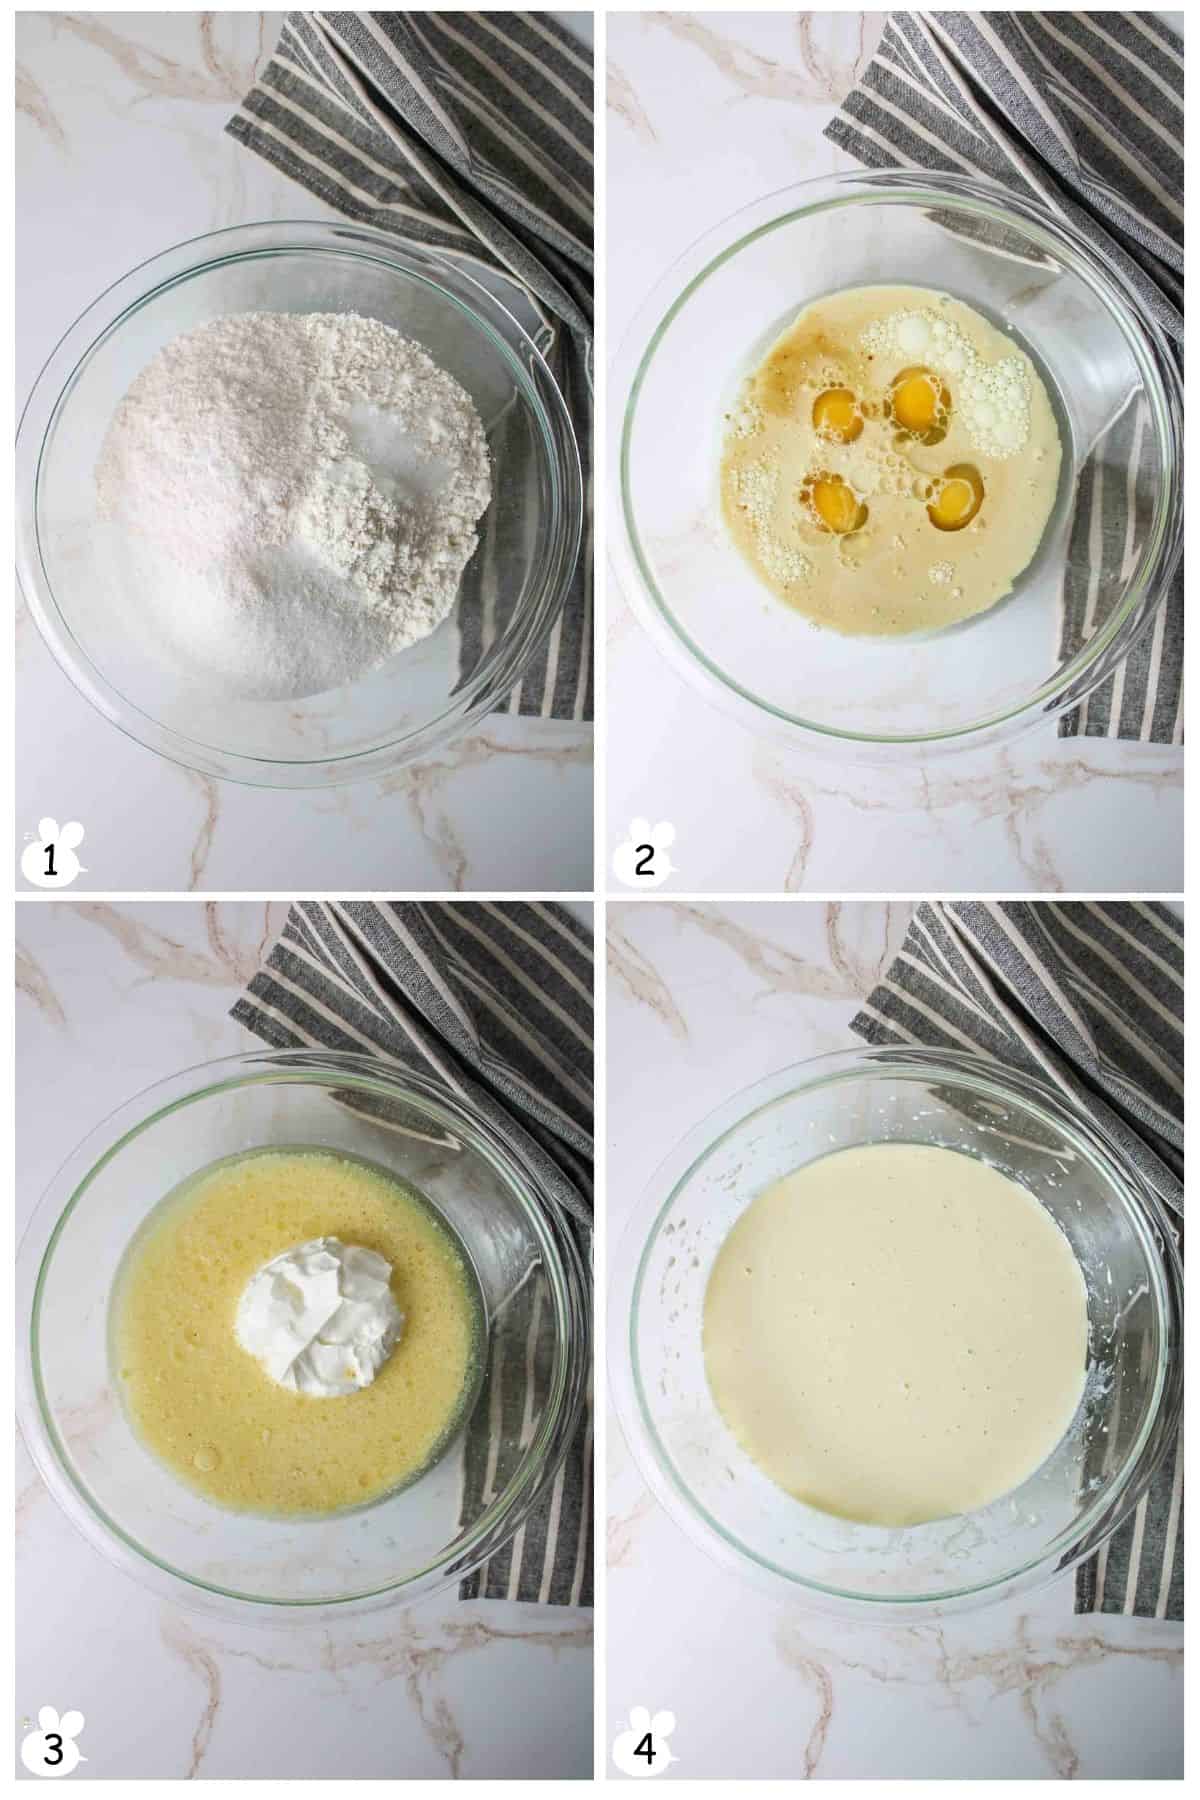
Step 4: Whisk together cake mix, flour, sugar, salt, and pudding mix in a large bowl (Image 1).
Step 5: In another bowl, mix eggs, oil, milk, and vanilla (Image 2).
Step 6: Add sour cream and mix until combined (Images 3 & 4).
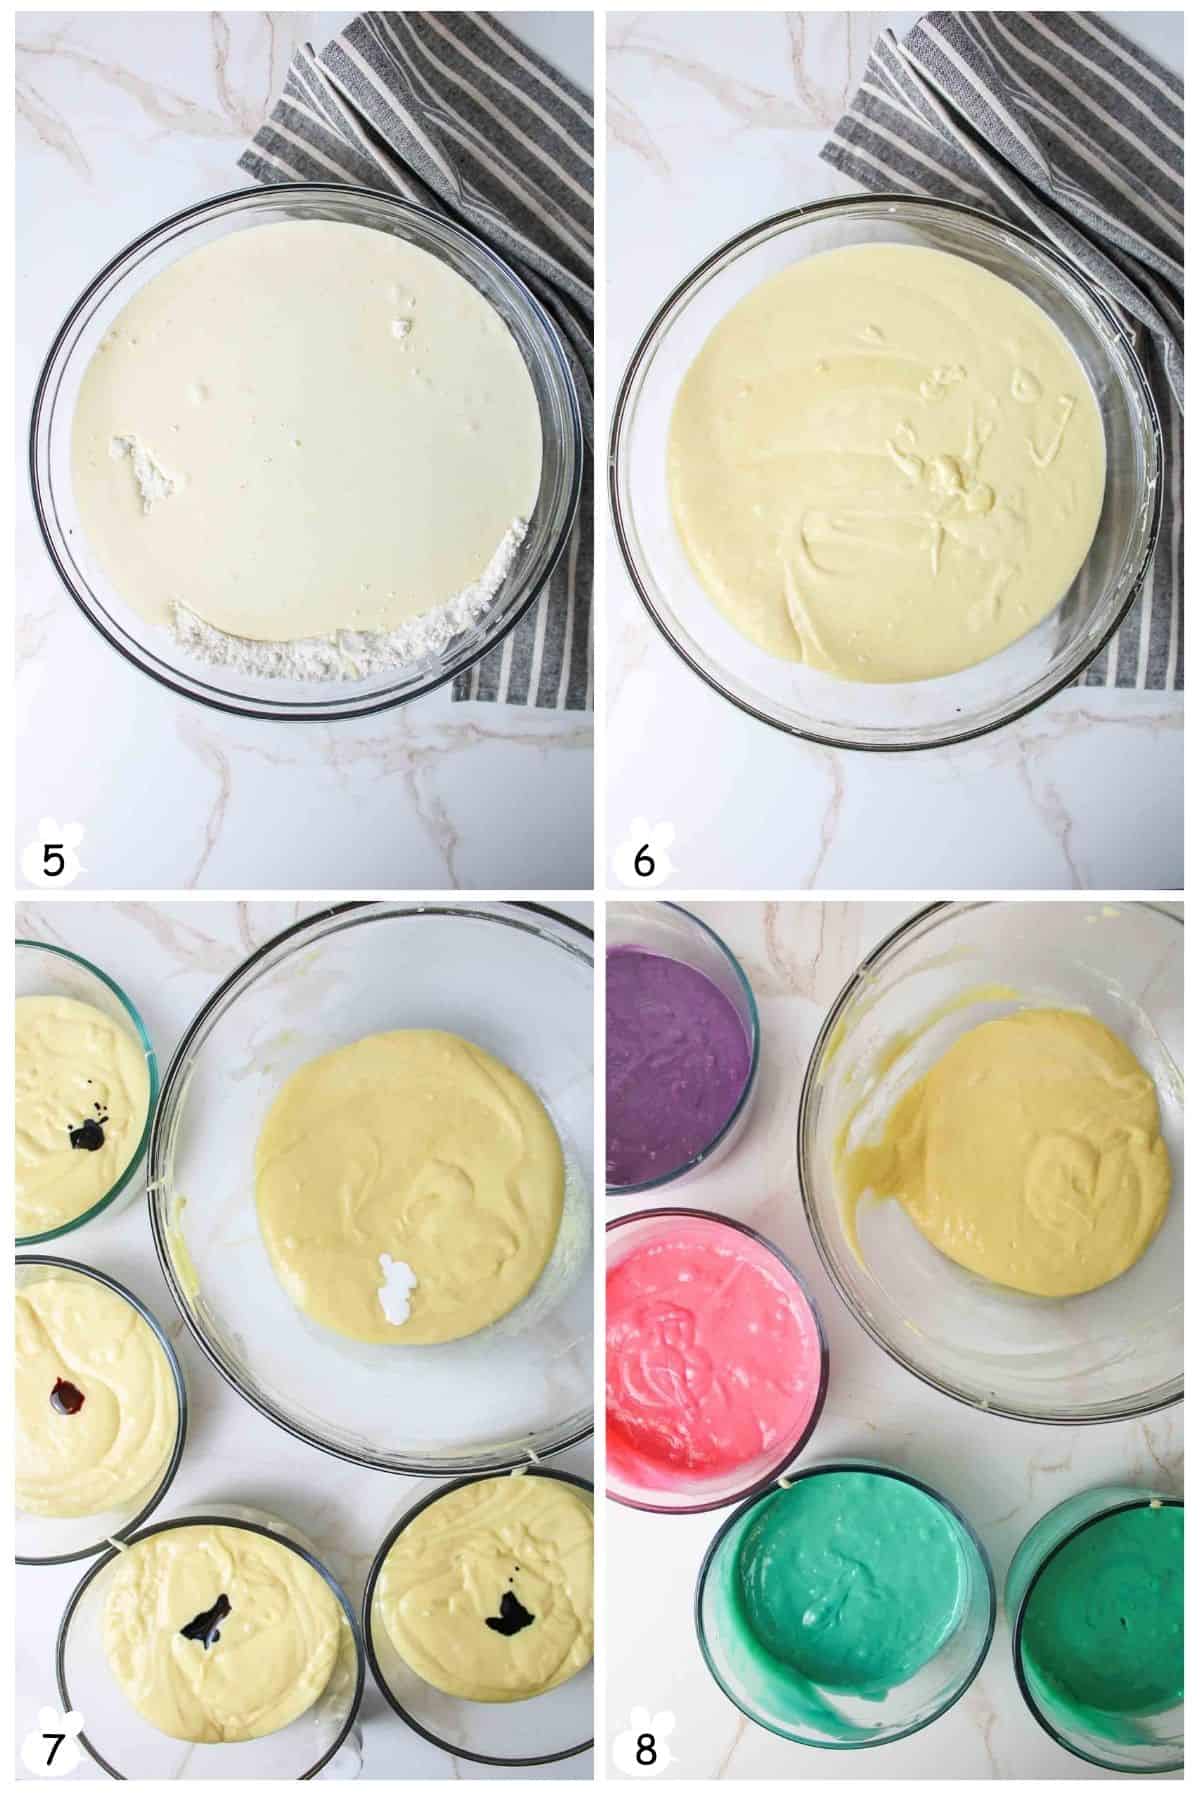
Step 7: Add wet ingredients to dry and whisk until smooth with no flour streaks (Images 5 & 6).
Step 8: Divide batter into bowls, add food coloring, and mix until desired colors form (Images 7 & 8).
Baking and Leveling
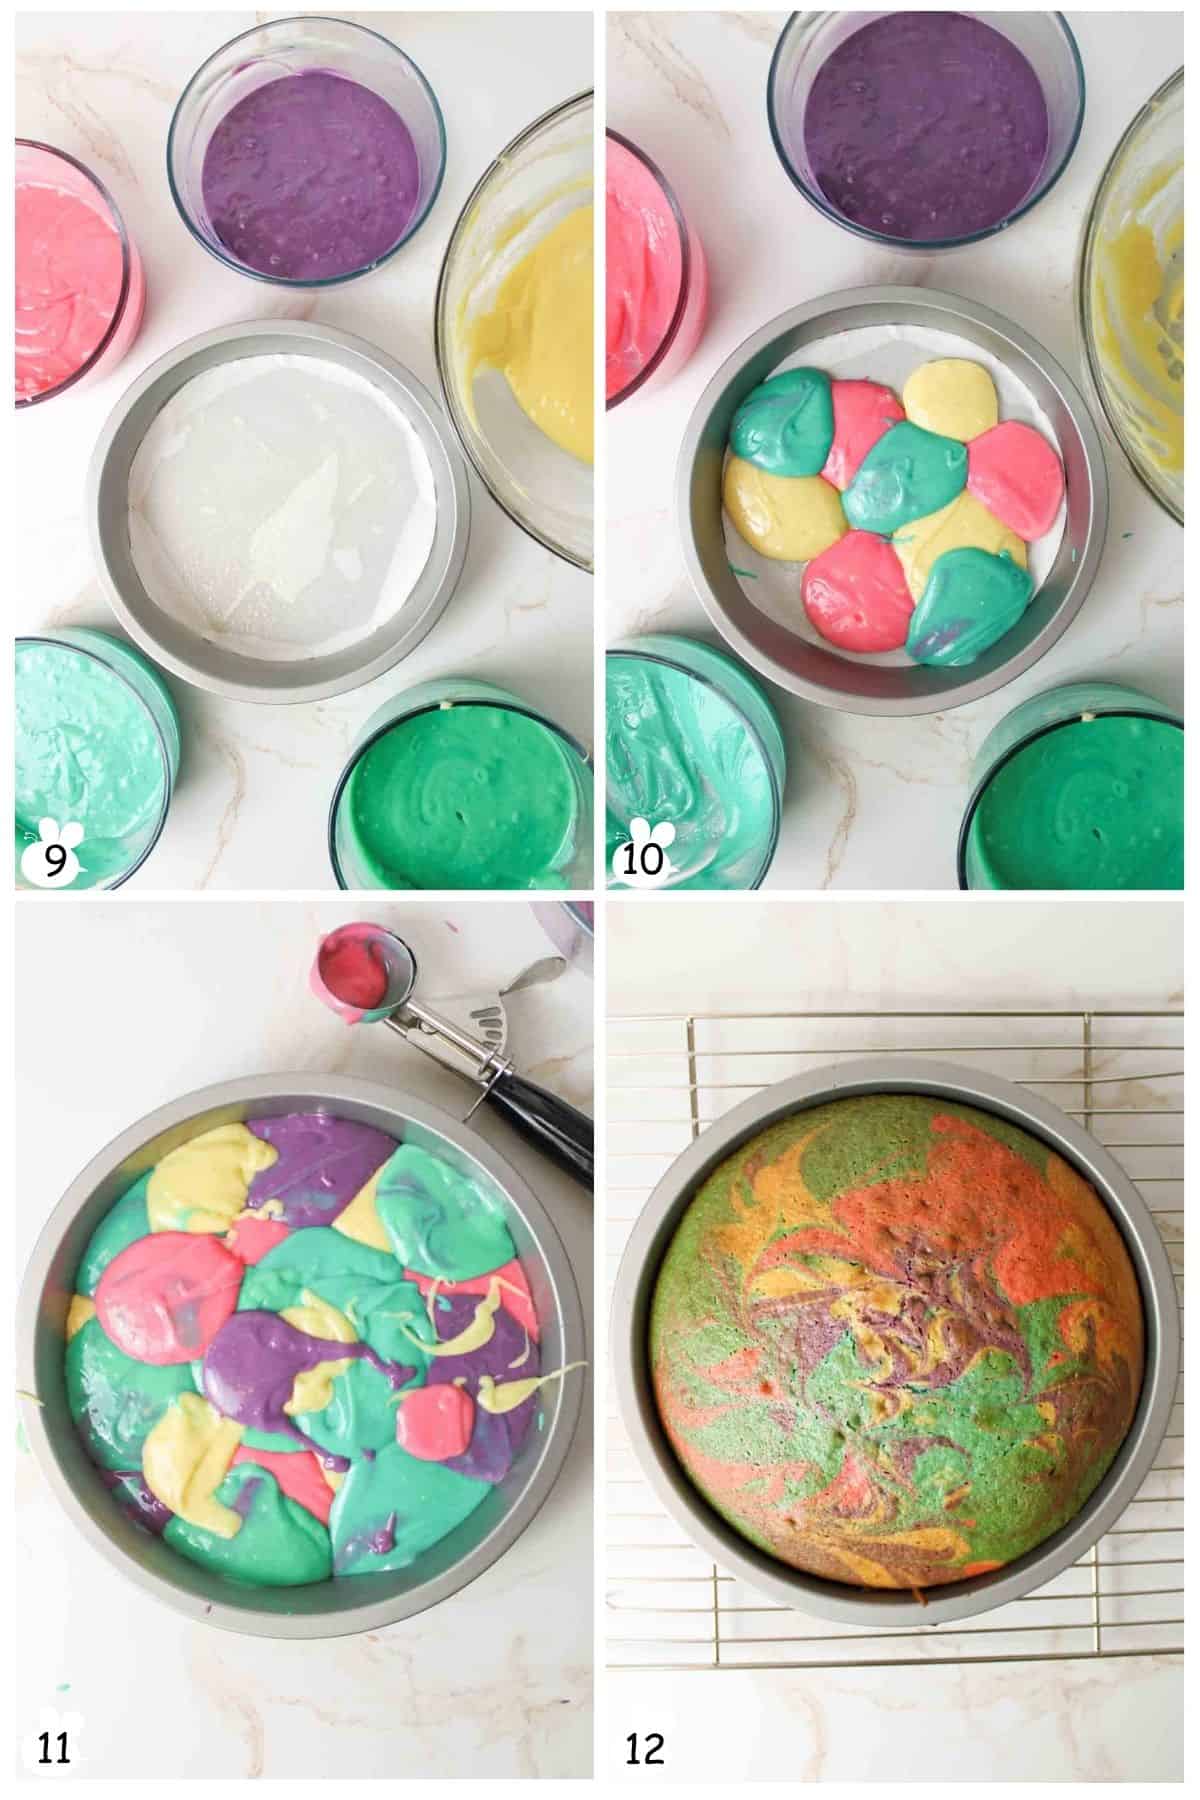
Step 9: Spoon colored batter evenly into pans, layering colors. Swirl with a toothpick if desired (Images 9, 10 & 11).
Step 10: Bake 25-30 minutes, until a toothpick comes out clean (Image 12).
Step 11: While baking, prepare pudding per package directions. Cover surface with plastic wrap while cooling.
Step 12: Cool cakes in pans 10 minutes, then transfer to racks.
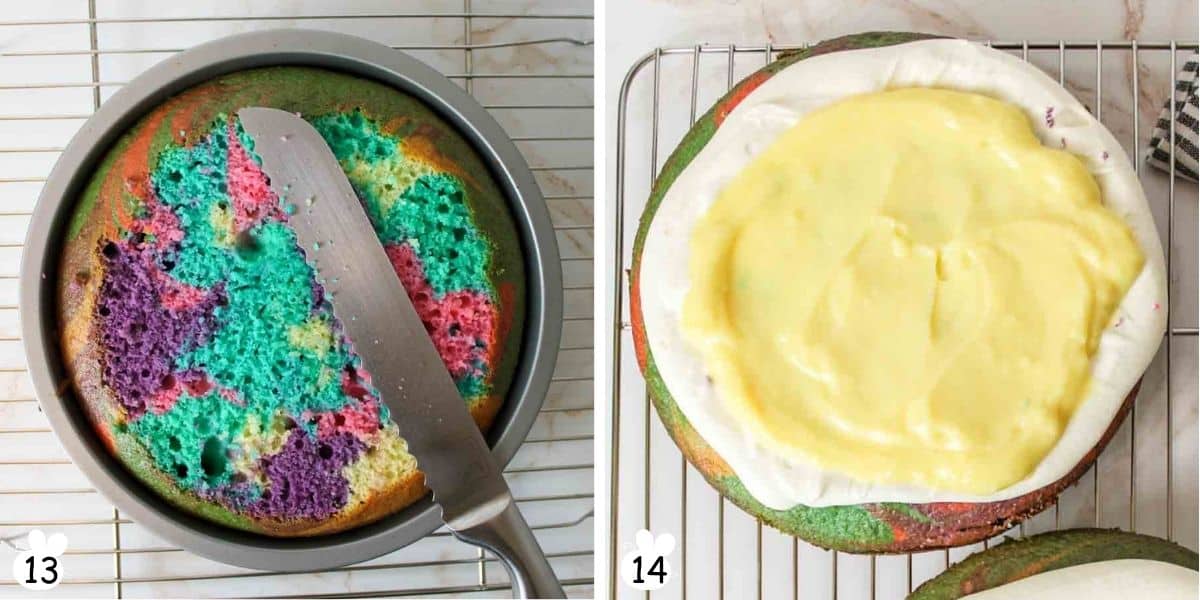
Step 13: Cool completely and level tops with a bread knife (Image 13).
Step 14: Prepare frosting. Chill 2 cups for unicorn hair.
Step 15: Pipe a frosting ring around two cake layers.
Step 16: Spoon pudding inside the rings, spreading evenly without overfilling (Image 14).
Stacking and Decorating
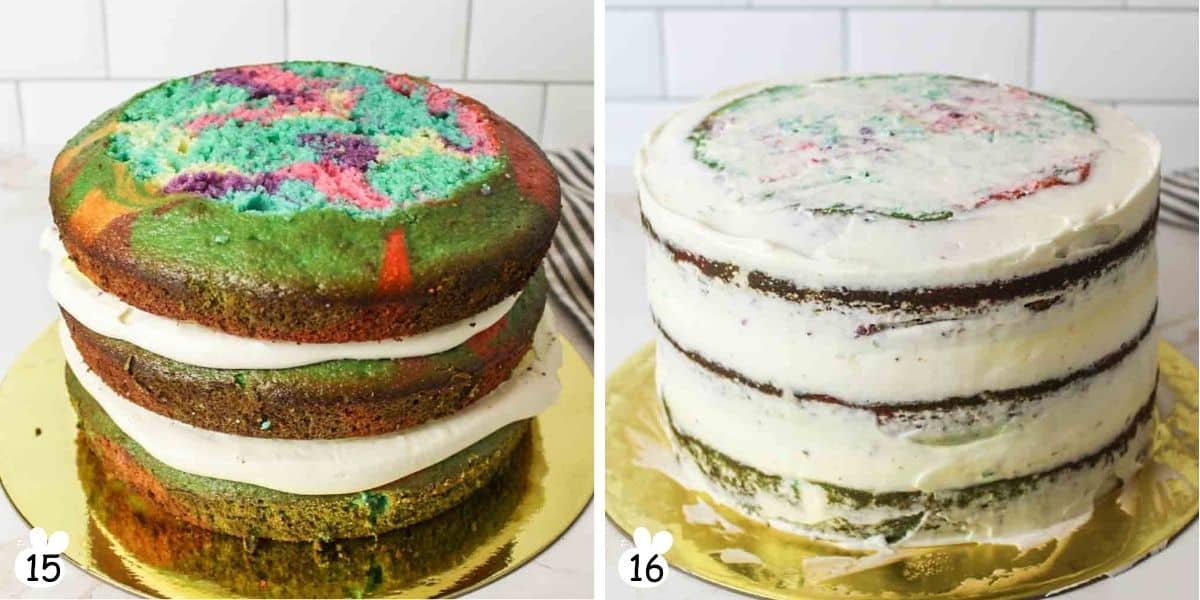
Step 17: Stack the three cake layers with filling between the bottom two and the unfrosted layer on top (Image 15).
Optional: Insert trimmed plastic straws as dowels for stability or freeze briefly before frosting.
Step 18: Pipe white frosting around the sides and top of the cake.
Step 19: Smooth frosting with a flat tool held at a slight angle, pressing frosting into gaps to create a thin crumb coat (Image 16).
Step 20: Chill the cake and remaining frosting. If frozen, you can apply a thicker final coat.
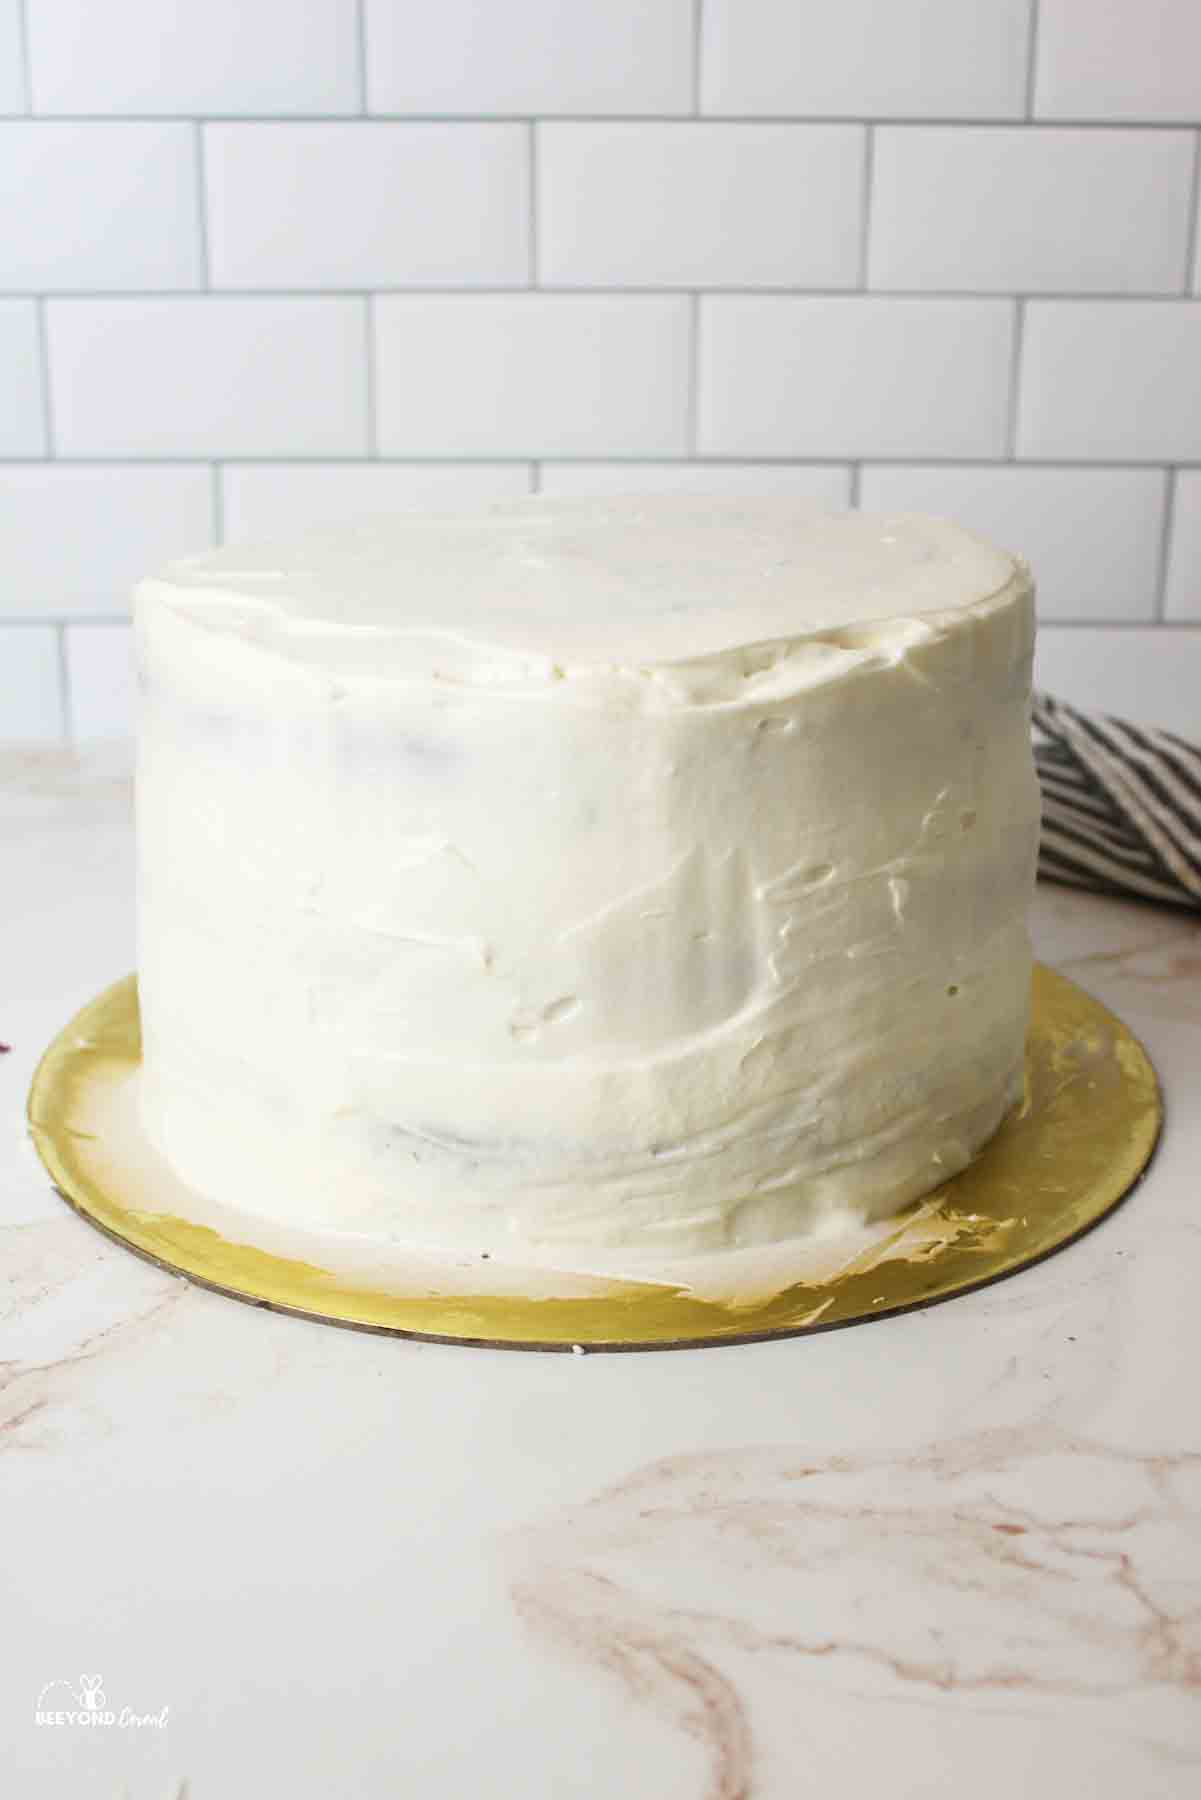
Step 21: Frost sides and top with a smooth layer (about ¼ inch thick). The top can remain crumb-coated since it will be covered.
Step 22: Refrigerate cake while preparing hair colors.
Unicorn Hair
Step 23: Combine chilled reserved frosting with any unused white frosting.
Step 24: Divide frosting into bowls and color as desired.
Step 25: Transfer each color to its own piping bag with a fitted tip.
Step 26: Arrange bags from largest tip to smallest for easy use.
Step 27: Plan the hair layout (full top or cascading strip).
Step 28: Start with the largest tip, piping large swirls from front to back.
Step 29: Use smaller tips to fill gaps with swirls or stars until complete.
Step 30: Add sprinkles if desired.
Step 31: Attach unicorn horn, ears, and eyelashes (kits or melted chocolate).
Slice, Serve, and Enjoy!
~Happy Birthday To You~
👩🏻🍳 Expert Tips
- Big Bowl Needed: Use the largest mixing bowl you own (the one we use for my mom's Dill Pickle Potato Salad). A standard large bowl may overflow.
- Food Coloring: Optional, but it makes the Easy Rainbow Unicorn Cake more fun. Gel food coloring gives brighter color without thinning the batter.
- Prep Ahead: Cook and cool the pudding filling before stacking. Bake layers and chill the filling at the same time, or prep ahead by freezing layers and refrigerating filling.
- Leveling: Trim domes with a bread knife or level in the pan for even layers. A cake leveler works if you want thinner, more precise layers.
- Smooth Frosting: A smoother is best, but a clean ruler or straight edge works in a pinch. Smooth sides make decorating easier
❄️ Storage and Make Ahead
Storage: Store the cake covered in the refrigerator for up to 3-4 days. Let slices sit at room temperature for 15-20 minutes before serving for best texture.
Make Ahead: Cake layers can be baked and frozen (wrapped tightly) for up to 1 month. Frosting and pudding can be prepared 1-2 days ahead and stored in the refrigerator. Assemble and decorate the cake the day of or the day before serving.
🥗 Side Dishes or Pairing Ideas
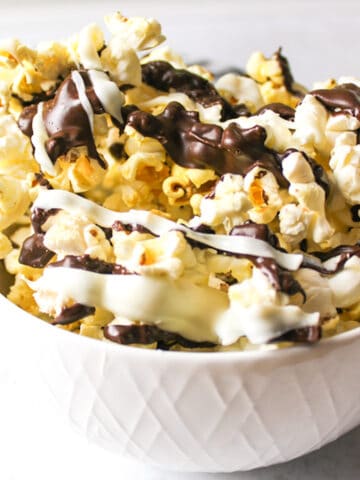
This Easy Rainbow Unicorn Cake Recipe pairs nicely with fresh fruit, vanilla ice cream, or light party snacks like popcorn or chocolate-dipped pretzels to balance the sweetness. For a full party spread, check out my Unicorn Party Food Ideas roundup for more fun, themed pairings.
- Chocolate Drizzled PopcornRecipe $1.59 / Serving $0.40
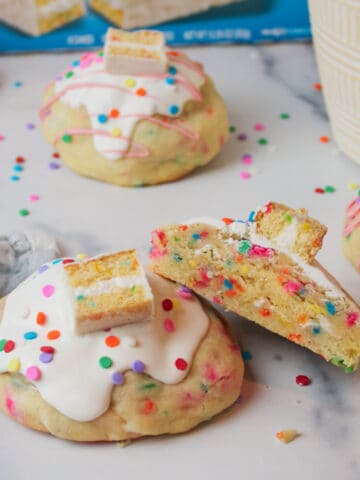
- Birthday Cake Stuffed CookiesRecipe $7.60 / Serving $0.84
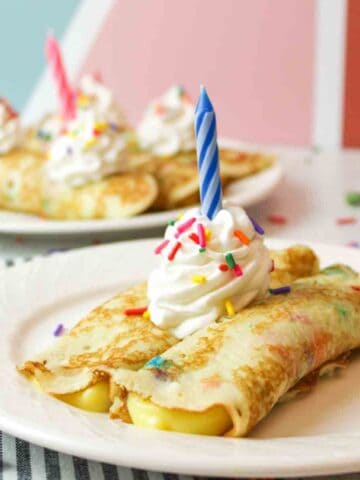
- Birthday Cake CrepesRecipe $5.44 / Serving $0.36
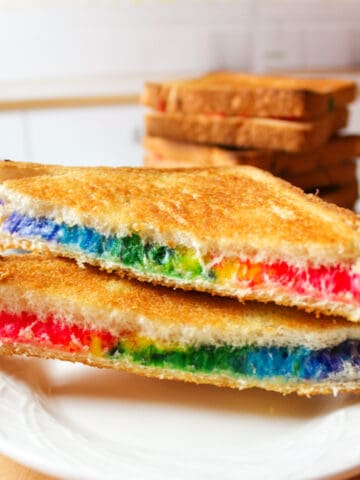
- Rainbow Grilled CheeseRecipe $4.90 / Serving $0.82
❓ Recipe FAQs
Most bakers will agree that a unicorn cake looks best when there is a minimum of 3 layers. This gives you plenty of space for hair and facial designs.
You will need Wilton 1M, 21, & 199. You can use any tips you want to, but these three will give you the best variations in size and shape.
You can use anything from cardboard to fondant. With unicorns becoming so popular, you can even buy kits from Amazon and from Walmart where plastic unicorn horns are included.
🍽️ More Recipes You'll Love
- Sour Cream Banana Pound CakeRecipe $7.57 / Serving $0.63
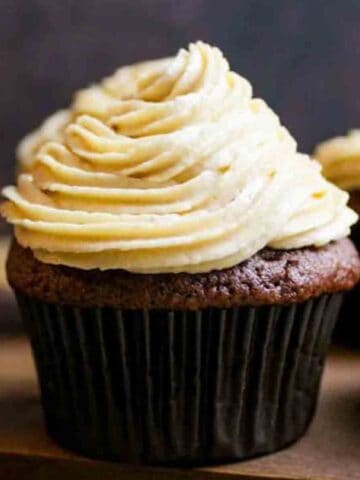
- Peanut Butter Cream Cheese FrostingRecipe $3.11
- Oreo Buttercream FrostingRecipe $5.71
- 2 Ingredient Lemon BarsRecipe $7.02 / Serving $0.59

🐝 If you tried this Rainbow Unicorn Cake, please leave a ⭐️ star rating and share your buzz in the 💬 comments below. I'd truly appreciate it!
📖 Recipe

Easy Rainbow Unicorn Cake
Equipment
- (3) 8 inch cake pans
Ingredients
Cake
- 1 box (15.25 ounces) yellow cake mix - ($1.00)
- 1 cup all-purpose flour - ($0.13)
- 1 cup granulated sugar - ($0.36)
- ¾ teaspoon salt - ($0.01)
- 1 box (3.4 ounces) instant vanilla pudding mix - ($0.98)
- 4 large eggs - ($0.60)
- 1 cup sour cream - ($1.00)
- ½ cup vegetable oil - ($0.35)
- 1 cup milk - ($0.20)
- 1 tablespoon vanilla extract - ($0.09)
- Food coloring, assorted colors
Filling
- 1 box (3 ounces) cook and serve vanilla pudding, prepared - ($1.88)
Frosting
- 8 ounces cream cheese, softened - ($1.86)
- 1 cup powdered sugar - ($0.36)
- 2 ¾ cups heavy whipping cream - ($3.73)
- 1 teaspoon vanilla extract - ($0.03)
Instructions
- Preheat and prep pans. Preheat the oven to 350°F. Line the bottoms of three 8-inch round cake pans with parchment paper and spray well with nonstick spray.
- Mix dry ingredients. In a large mixing bowl, whisk together the cake mix, flour, granulated sugar, salt, and pudding mix until evenly combined.
- Mix wet ingredients. In a separate bowl, whisk together the eggs, sour cream, vegetable oil, milk, and vanilla extract until smooth.
- Make batter. Add the wet ingredients to the dry ingredients and mix just until no flour streaks remain. Do not overmix.
- Color batter. Divide the batter into bowls and add food coloring, stirring until evenly colored.
- Fill pans. Spoon the colored batter into the prepared pans, alternating colors as you go. Gently swirl with a toothpick if desired.
- Bake. Bake for 25 to 30 minutes, or until a toothpick inserted into the center comes out clean.
- Cool cakes. Let the cakes cool in the pans for 10 minutes, then turn out onto wire racks to cool completely. Remove parchment and level the tops if needed.
- Prepare filling. While the cakes bake, prepare the vanilla pudding according to package directions. Press plastic wrap directly onto the surface and let cool completely.
- Make frosting. Beat the cream cheese and powdered sugar together until smooth. In a separate bowl, whip the heavy cream and vanilla to stiff peaks. Gently fold the cream cheese mixture into the whipped cream until smooth and fluffy. Reserve 2 cups of frosting for decorating and refrigerate.
- Assemble cake. Place one cake layer on a serving plate. Pipe a ring of frosting around the edge and spread pudding evenly inside. Add the second layer and repeat. Top with the final layer. Chill for 30 to 60 minutes if the cake feels soft.
- Crumb coat. Spread a thin layer of frosting over the entire cake to trap crumbs. Chill for 20 to 30 minutes.
- Final frosting. Apply a final layer of frosting to the sides and top, smoothing to about ¼-inch thickness.
- Decorate. Color the reserved frosting as desired and transfer to piping bags with various tips. Pipe swirls and designs, then finish with sprinkles and unicorn decorations.
Notes
- Food coloring. Gel food coloring provides vibrant color without thinning the batter.
- Make ahead. Cake layers can be baked and frozen in advance. Pudding filling can be prepared a day ahead and refrigerated.
- Leveling. Level cake layers once fully cooled using a serrated knife or cake leveler.
- Smoothing. Use a cake scraper or straight-edged tool for a smooth frosting finish.
- Storage. Store the assembled cake in the refrigerator due to the pudding filling. Remove 20 to 30 minutes before serving for best texture.
Nutritional Information
Save This Recipe to Your Inbox
By signing up, you'll join our email list and can unsubscribe anytime.


Comments
No Comments