
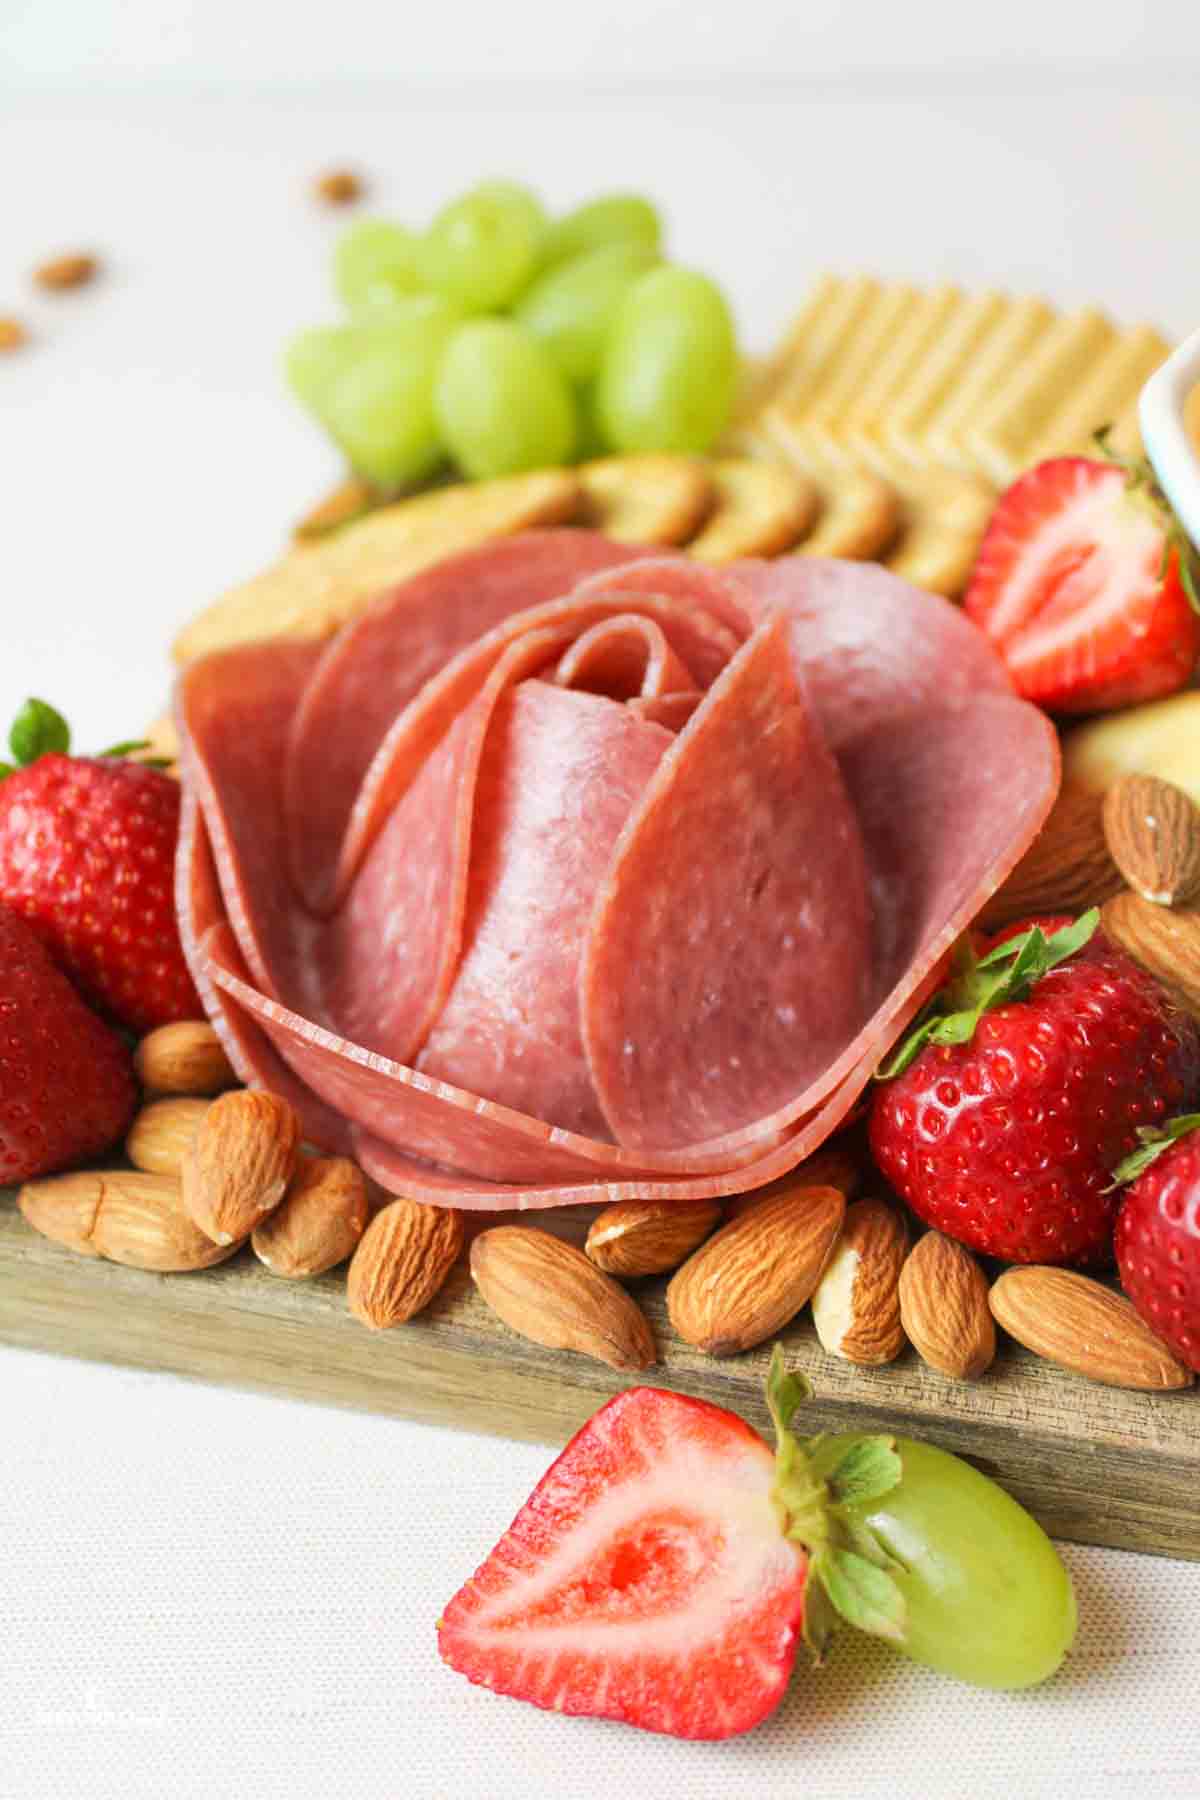
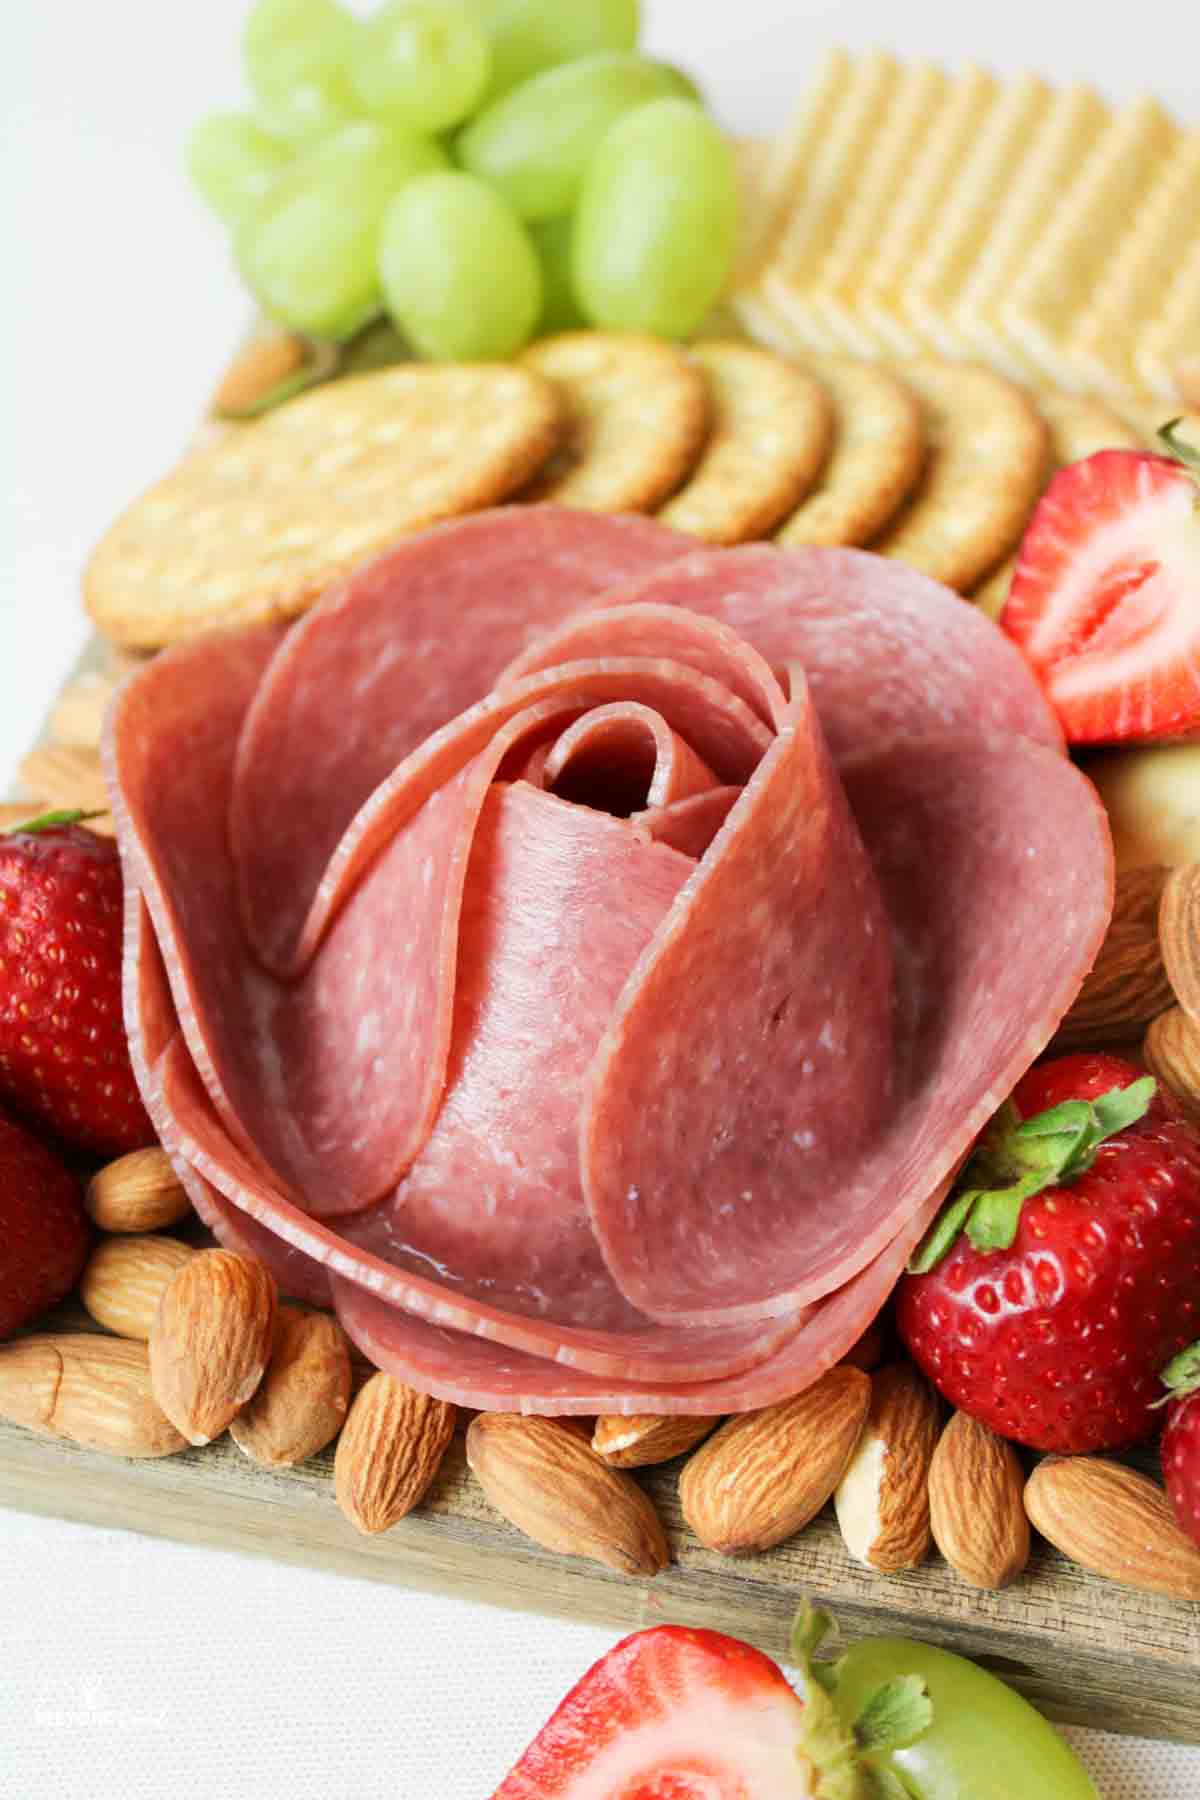
Make your charcuterie boards really stand out by learning how to make meat roses. These flowers are made using your favorite snacking meats like pepperoni and salami, and they're so easy to make that even the kids can help!
Save This Recipe to Your Inbox
By signing up, you’ll join our email list and can unsubscribe anytime.
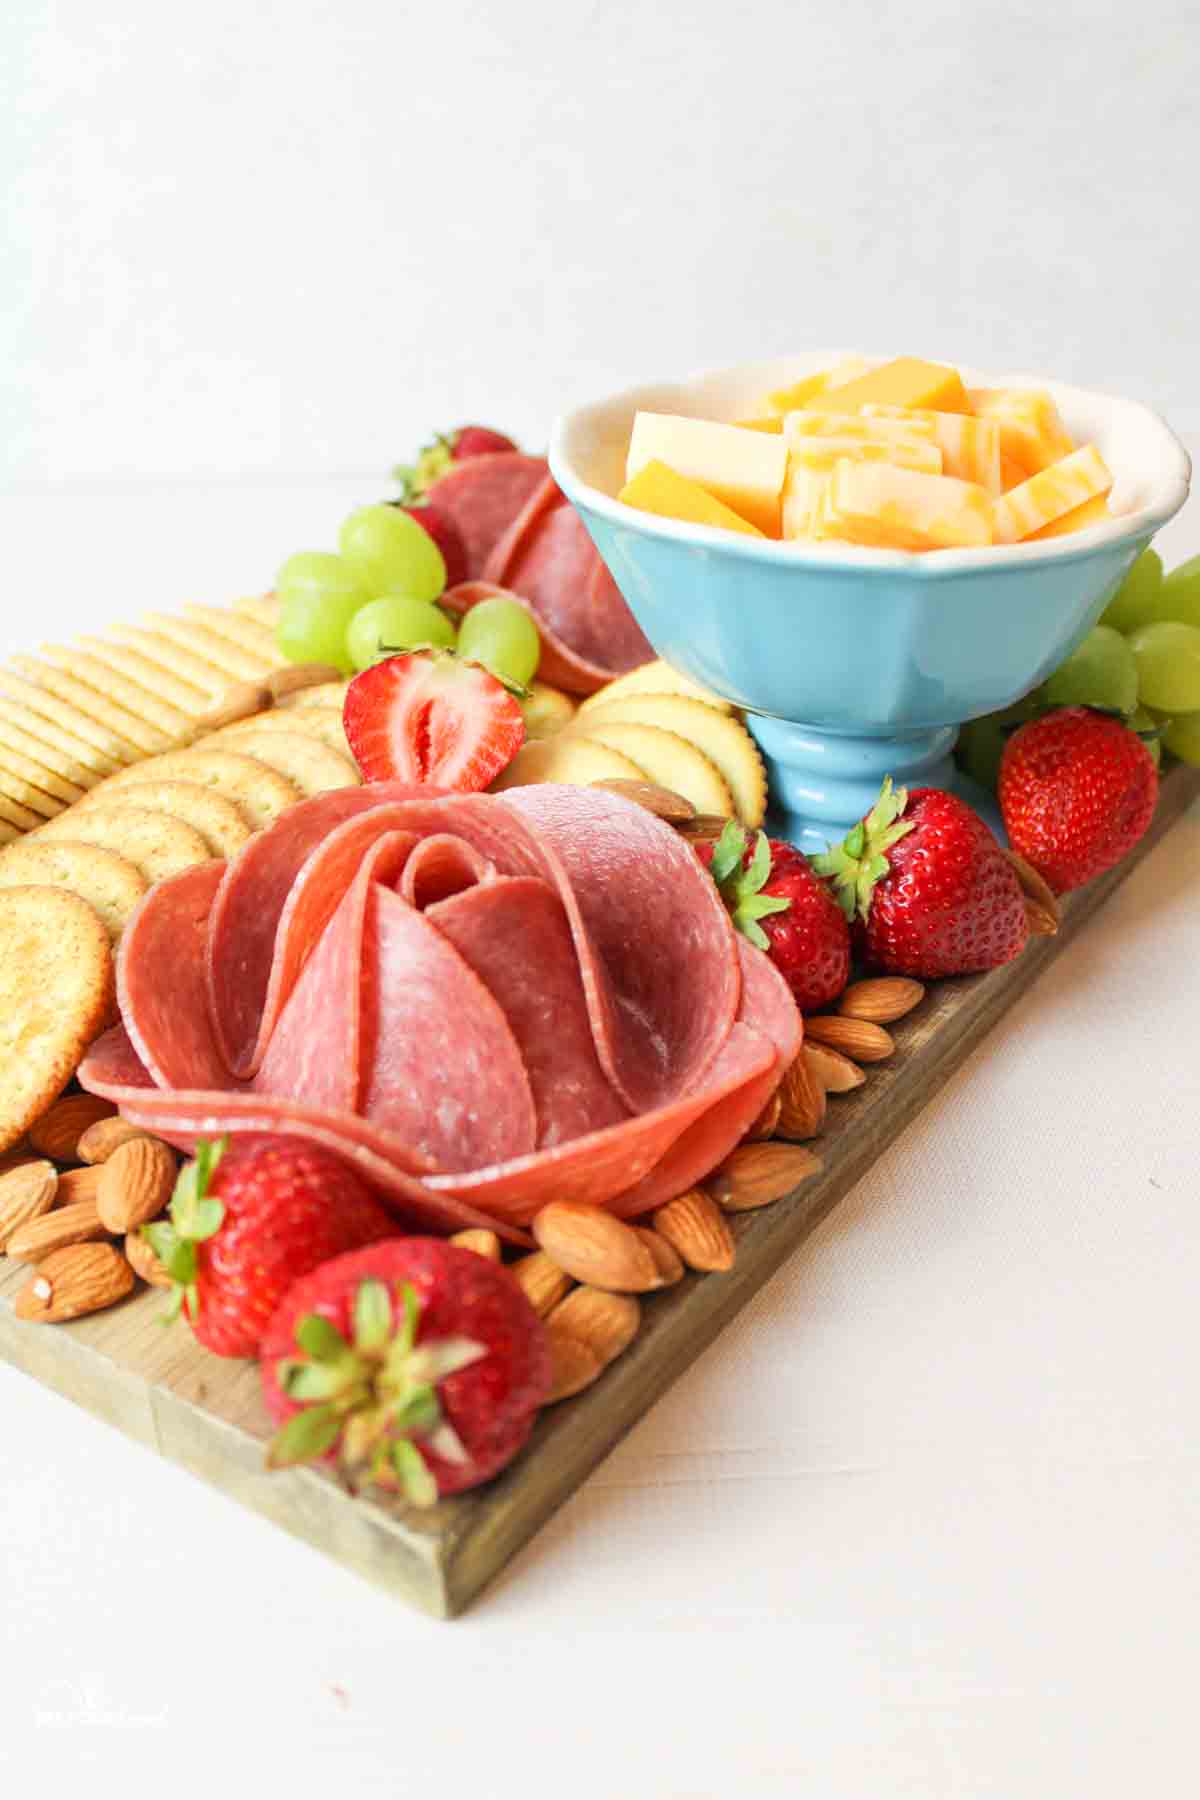
Charcuterie boards are a fun board filled with various snacking items like meats, cheeses, nuts, crackers, and fruits. Serving them up to friends and family has become a pretty viral thing over the past few years and from a frugal standpoint, I can see why.
Using up odds and ends to create something both unique and pretty is a great way to get everything eaten and clear some space in the pantry. Serve it up with some Homemade Cheese Crackers and Spiced Orange Ginger Ale Mocktail for fun festive party snacks.
Of course, you can also take the presentation up a notch with a wine glass meat rose. These charcuterie meat flowers are far easier to make than you might think.
For some more fun appetizer ideas, check out our Air Fryer Frozen Mozzarella Sticks, Creamy Vanilla Fruit Dip, and Crack Chicken Bombs.
Jump to:
💛 Why You'll Love This Recipe
- It's great for presentation. If you're already taking the time to make a charcuterie board, what's the harm in taking another minute or two to learn how to make meat roses?
- It's easier to serve. With regular meat slices on a board, everything is stuck together, and one pepperoni slice can easily turn into three. With these roses, they're a lot easier to pull from the pile and get the exact amount you want.
- They're easy to make. While they look impressive and time consuming, you'd be surprised at how quick and easy these roses really are to make.
🛒 Ingredients
Round lunch meats. Choose sturdier, round slices that are easy to shape. Thicker turkey, ham, or bologna work best. Very thin deli slices tend to tear before you can form the flower.
Snacking meats. Classic cracker meats like pepperoni and salami work well. Avoid very thick options like summer sausage, which are better left whole on the board.
See the recipe card below for full ingredients and instructions.
💰 Budget-Friendly Tips
Choose affordable meats. Bologna, ham, and turkey are budget-friendly options that still fold well and look great when assembled into roses.
Buy deli meat by the pound. Ordering from the deli counter is often cheaper than pre-packaged varieties and lets you control portions to avoid waste.
Stretch the board visually. A few meat roses create a full, impressive look, meaning you can use less meat overall while still making the board feel abundant.
🥄 Instructions for How to Make Meat Roses
Step 1: Separate any meats you have so that the pieces are not stuck together. This will make the process go by more smoothly.
Step 2: Take a clean wine glass, either a small mouth or a large-mouthed one depending on what you have or want. I think that smaller mouthed ones work best for smaller meats like pepperoni and salami whereas the larger mouthed ones are better for large meats like lunch meat.
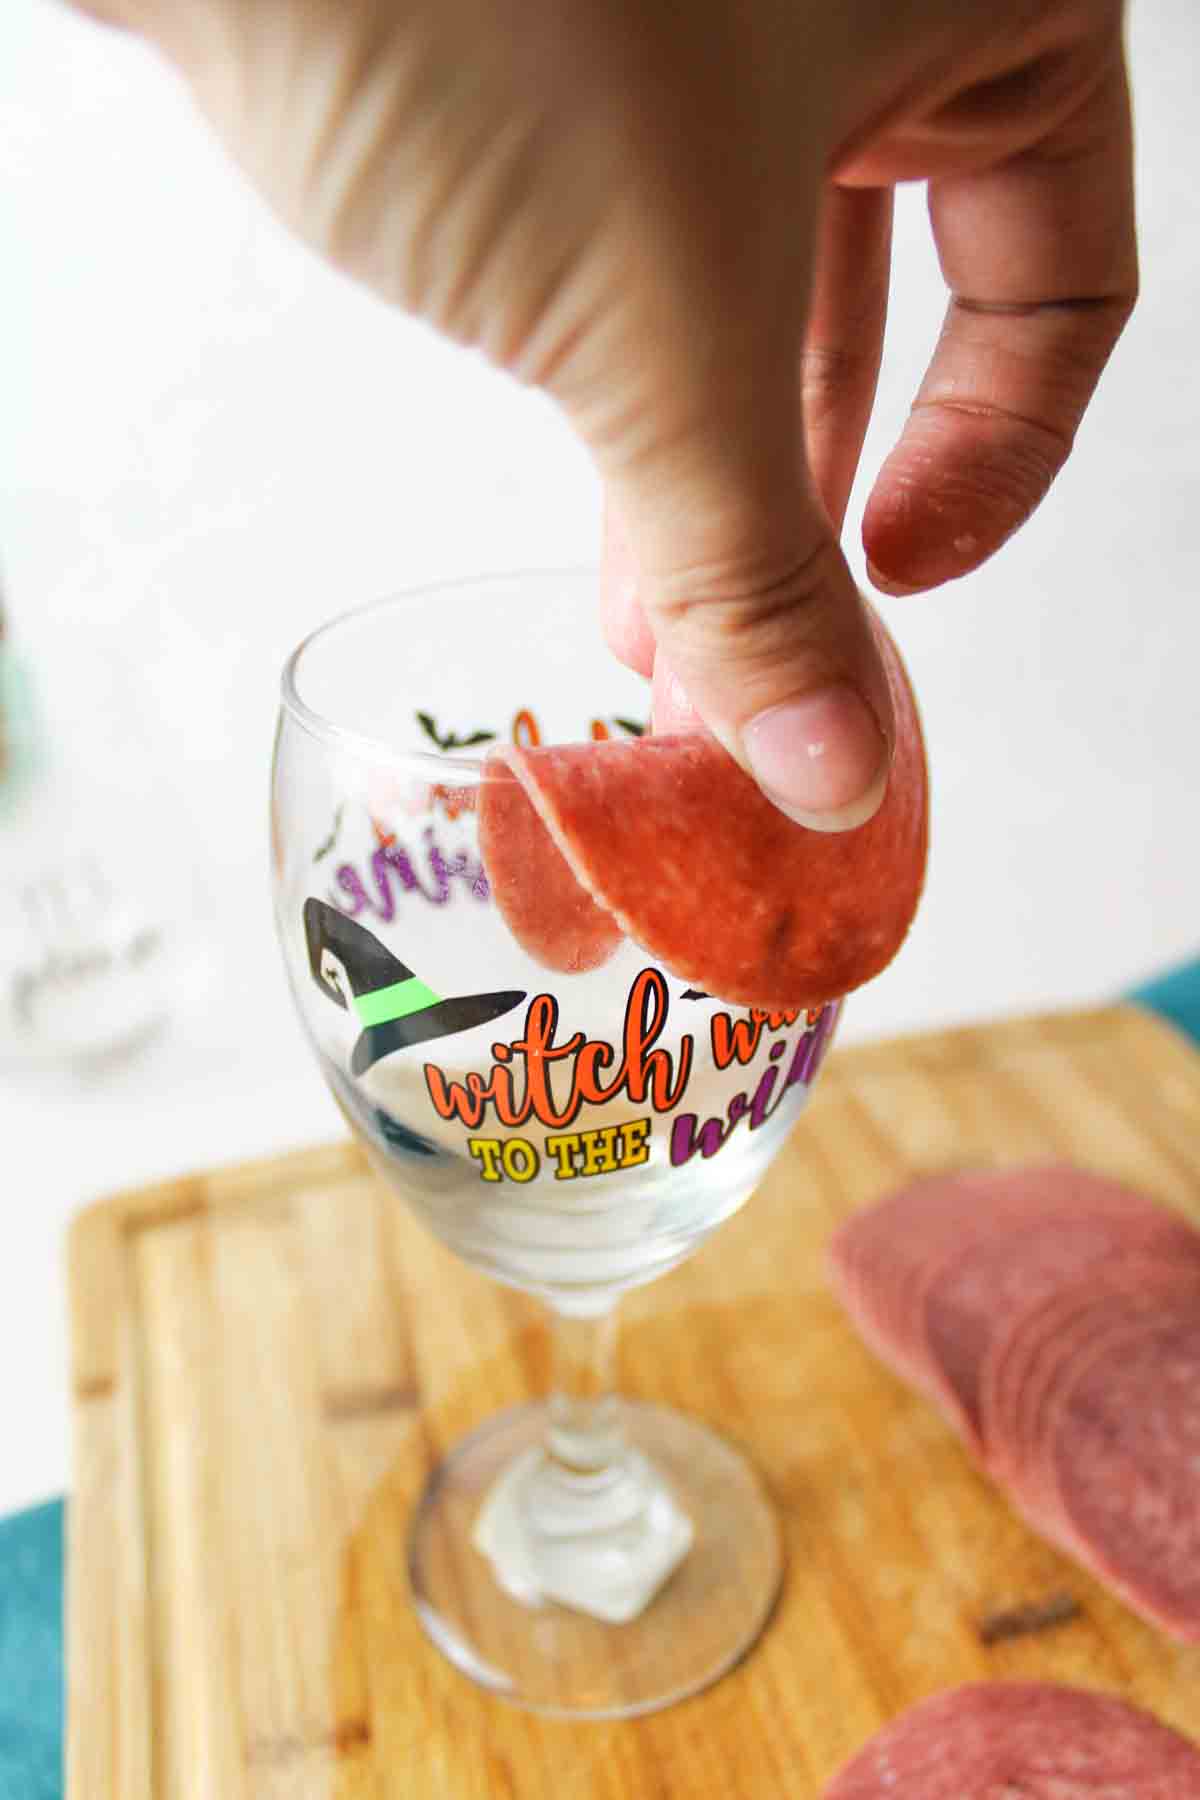
Step 3: Take one piece of meat and fold it in half over the rim of the top of the wine glass.
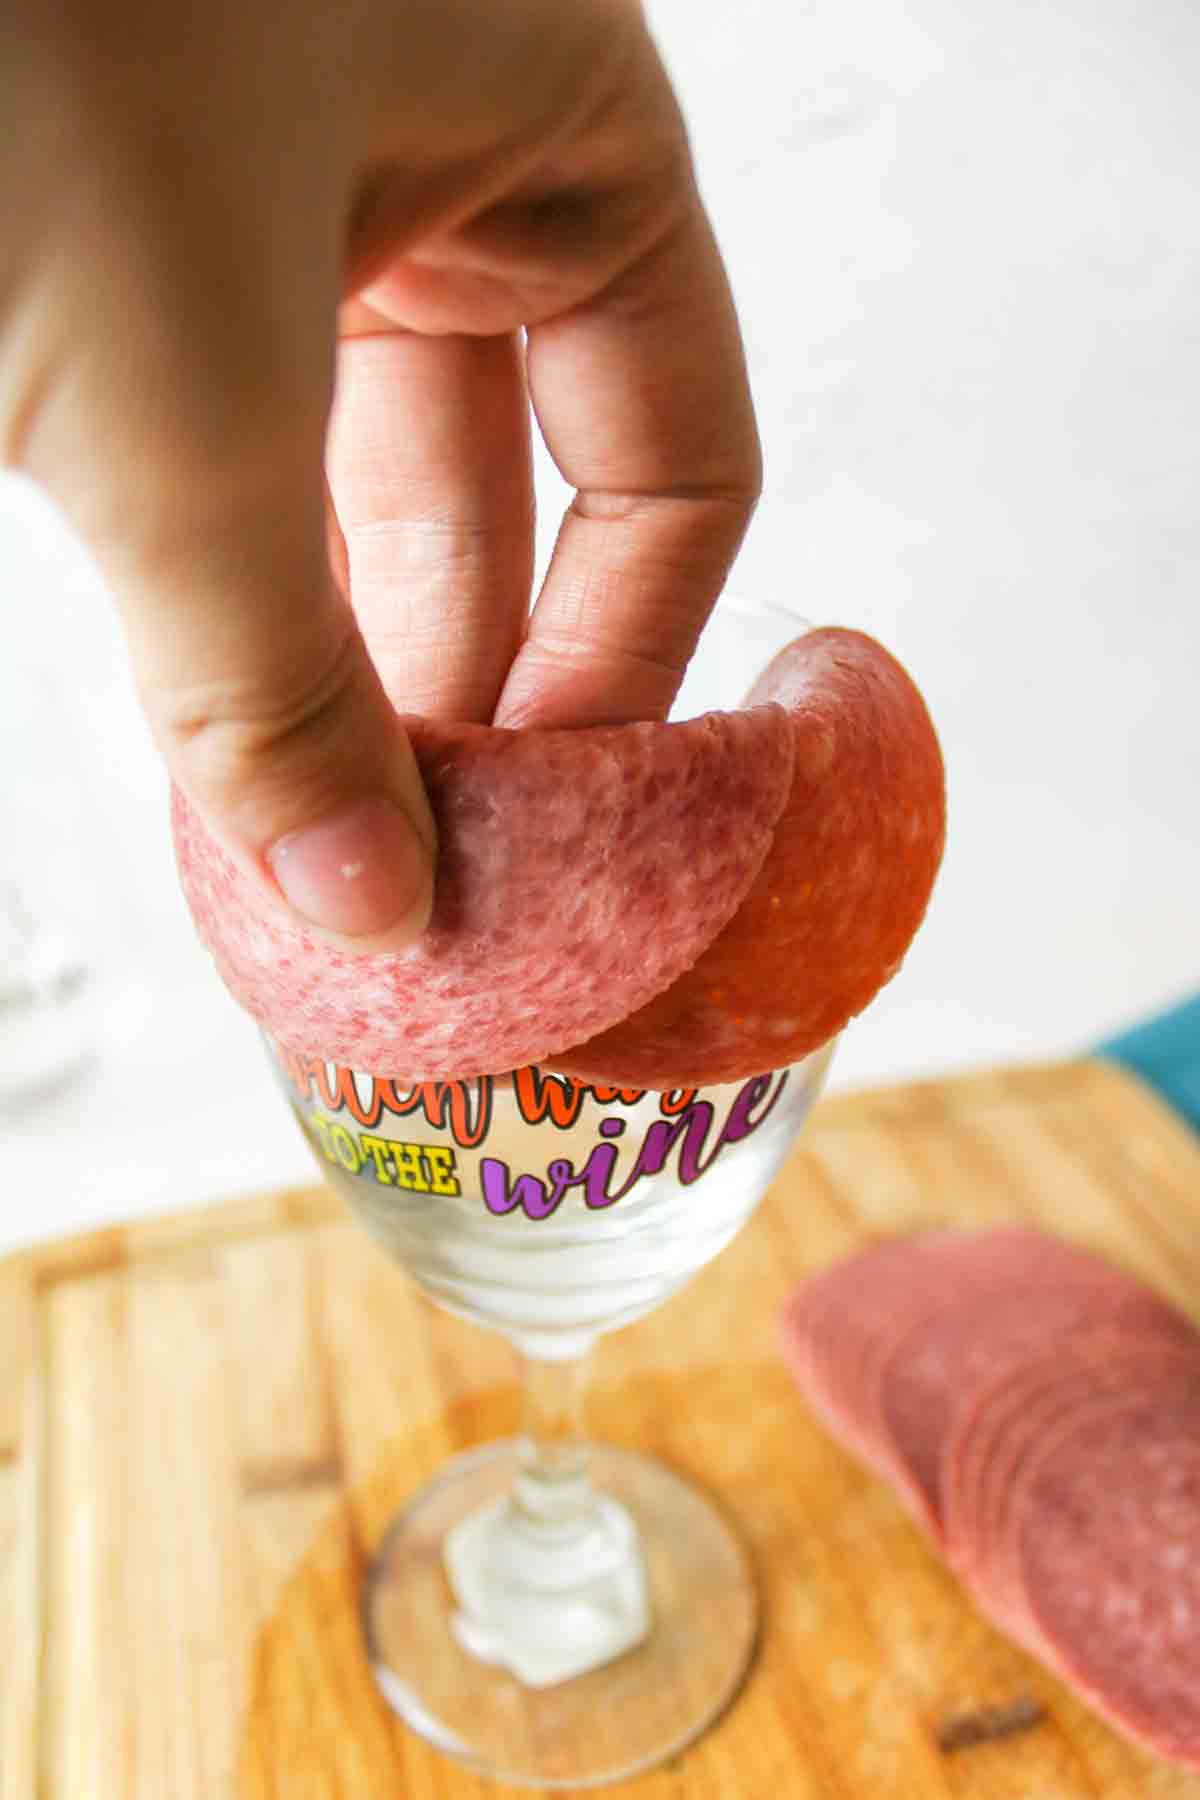
Step 4: Take another piece of meat and do the same, but overlap the meats slightly. Continue around the rim with meats until you've finished a full circle.
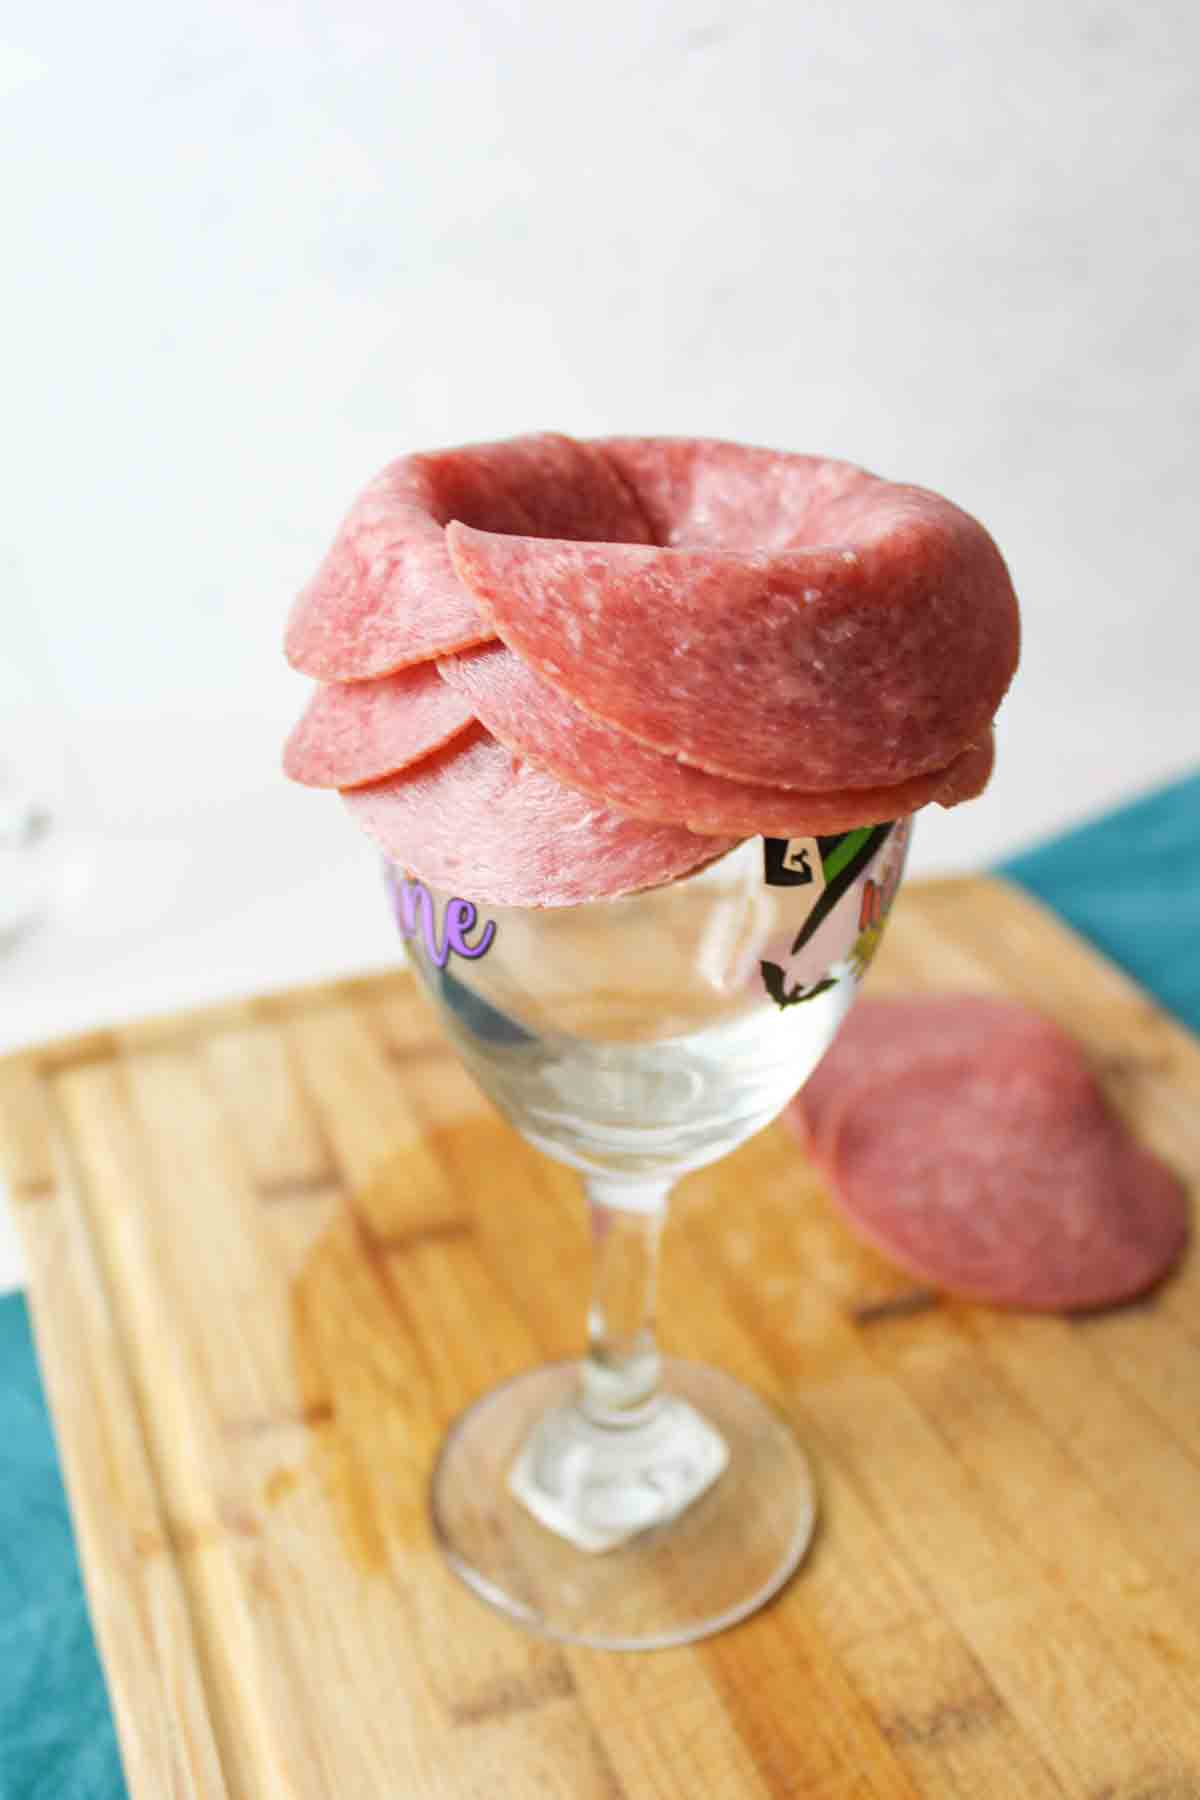
Step 5: If you can still see the bottom of the wine glass when you look through, your rose will not appear full when flipped and can fall apart easily. Make it more sturdy by adding another circle or two of meats, in the same way that you did layer 1.
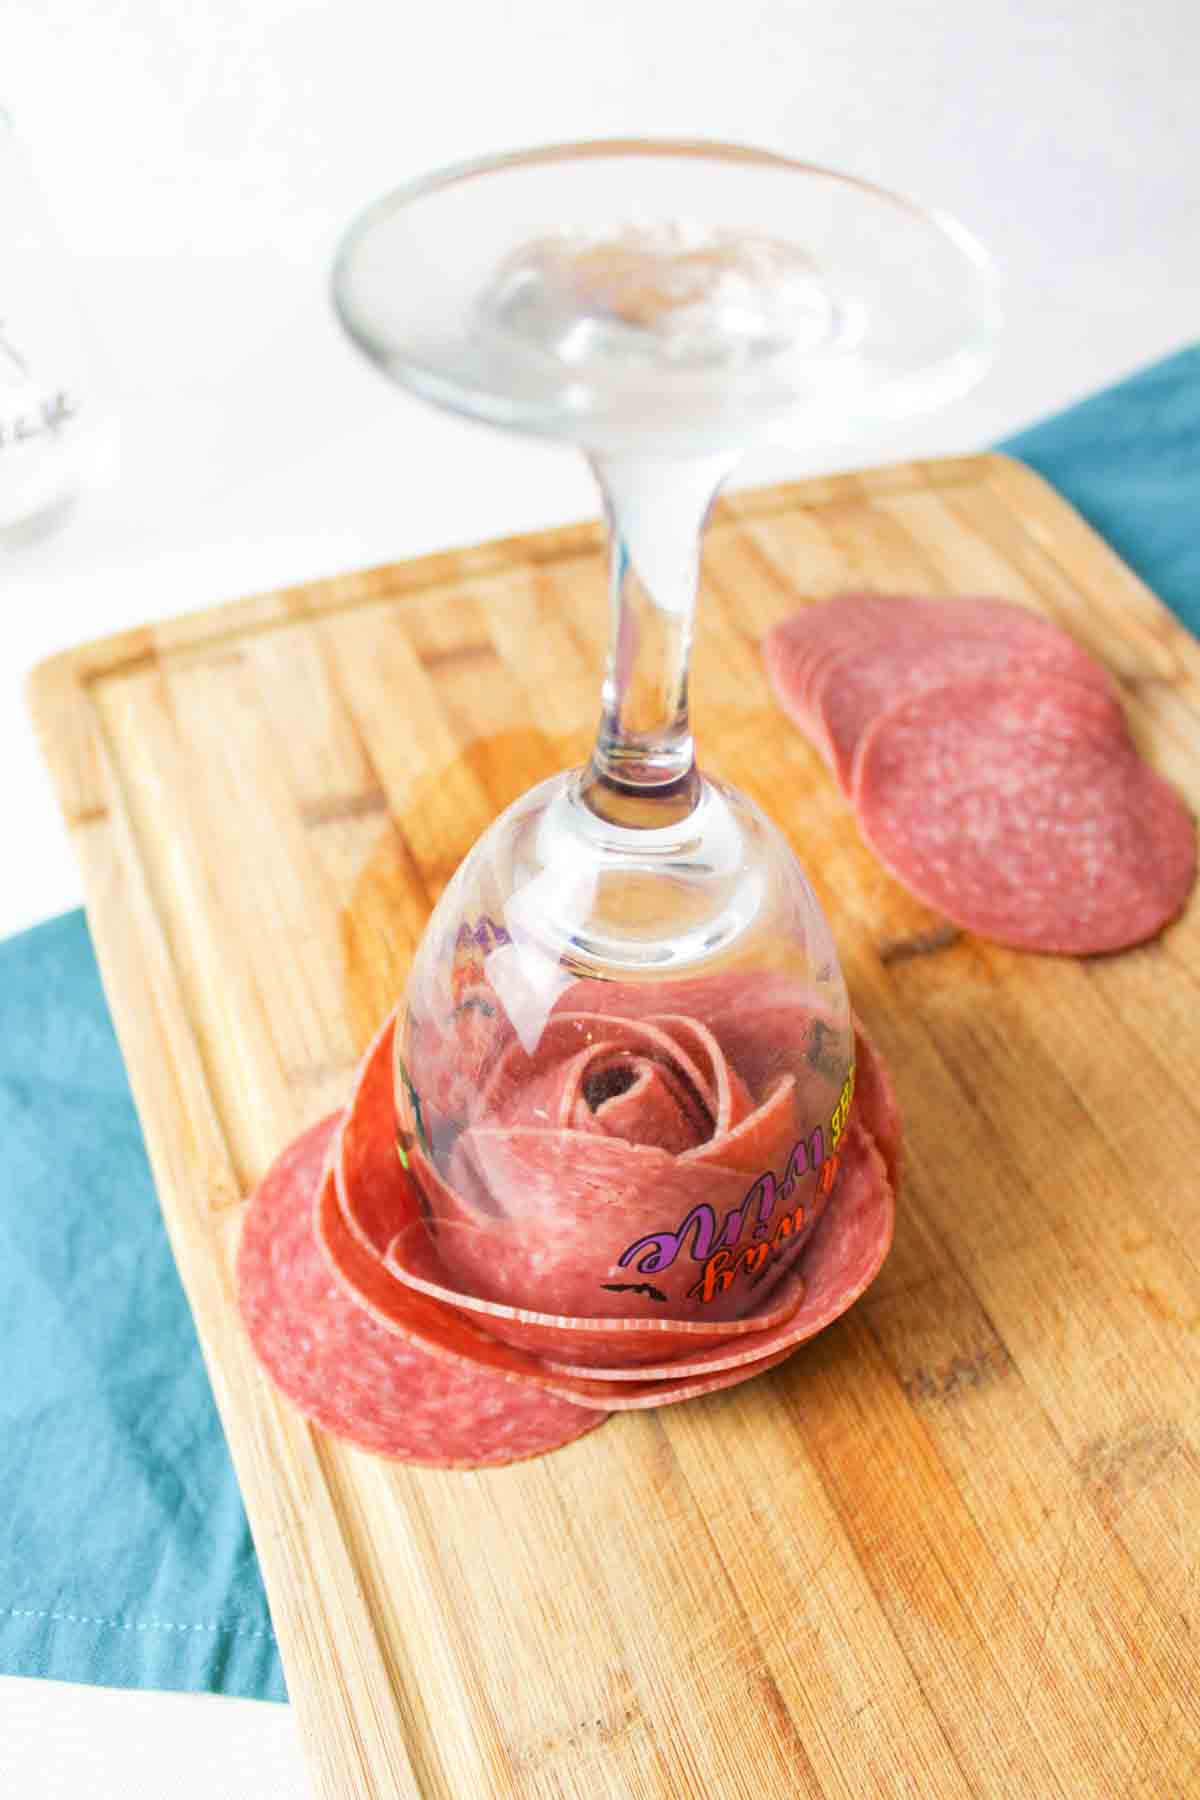
Step 6: Once the meat has filled in the cone inside the wine glass and you've got enough layers to be happy with your work, carefully flip the wineglass over and onto the charcuterie board.
Step 7: Carefully remove the wineglass without twisting as this could cause looser pieces of meat to become undone. Some meats may be a little stuck to the glass, so use your other hand (or borrow someone else's) to help unstick the situation.
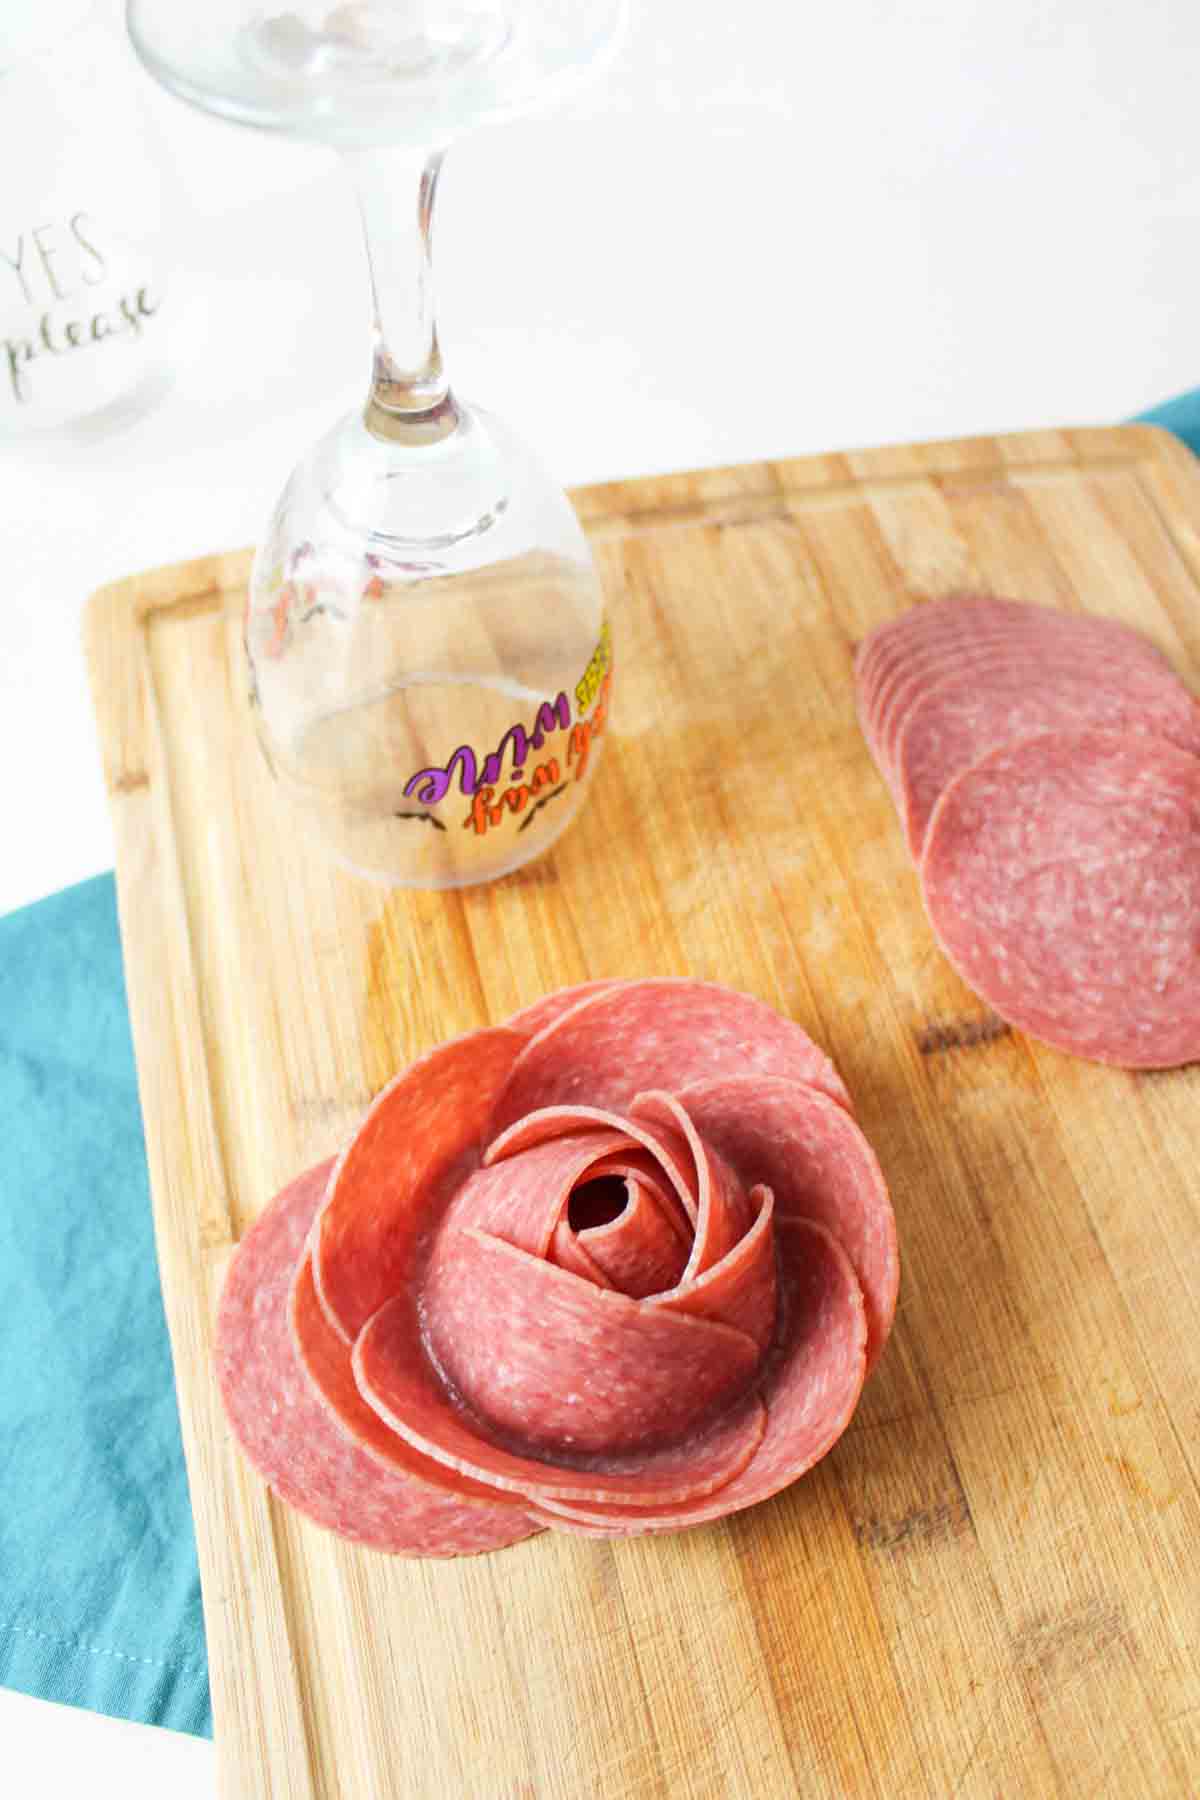
Step 8: Now your meat rose is ready for the charcuterie board. Make more and strategically place them around the board with crackers, cheese, nuts, and fruits as desired. Enjoy!
👩🏻🍳 Expert Tips
- Meat quantity. Have plenty of meat on hand before shaping each rose. Smaller slices like pepperoni require more pieces than larger cuts like bologna, which fill out the flower faster.
- Checking firmness. Gently press the center of the wine glass. The rose "bud" should feel firm and solid. Add more layers for a fuller look or use fewer layers for a looser, more open rose.
❄️ Storage
Storage: Store meat roses tightly covered in the refrigerator for up to 3 days. If they've already been cooked, let them cool completely before storing. Reheat gently in the oven or air fryer to maintain their shape and texture.
🥗 Side Dishes or Pairing Ideas
Meat roses pair well with cheese boards, crackers, and crusty bread. Add olives, pickles, or marinated veggies for contrast, and serve with dipping sauces like honey mustard, BBQ, or ranch. They also fit perfectly on a grazing board with fruit, nuts, and small bites for parties or holidays.
- Peanut Butter Yogurt Fruit DipRecipe $1.12 / Serving $0.28
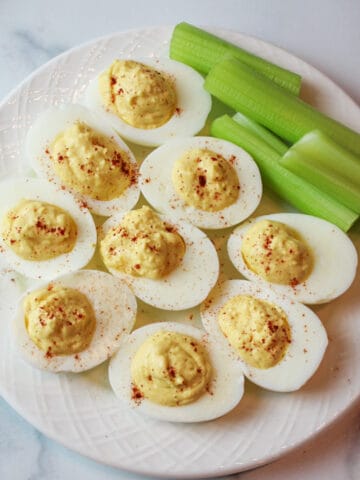
- Spicy Deviled EggsRecipe $2.79 / Serving $0.70
- Mini Pigs in a BlanketRecipe $7.94 / Serving $1.99
- Maple Bacon DipRecipe $3.99 / Serving $0.99


❓ Recipe FAQs
Meat roses are a decorative and artistic way to present slices of cured or deli meats on a charcuterie board. They are often rolled or folded to resemble a rose.
Meat roses can contribute to the overall flavor of the charcuterie board, especially if they are made from flavorful and high-quality meats. However, they also serve a decorative purpose, enhancing the visual presentation.
Meat roses can be stored in the refrigerator for 1-2 days. However, it's best to use them as soon as possible to maintain their freshness and appearance.
🍽️ More Recipes You'll Love
- Mini Pigs in a BlanketRecipe $7.94 / Serving $1.99
- Peanut Butter Yogurt Fruit DipRecipe $1.12 / Serving $0.28
- Muffin Tin Pizza BitesRecipe $7.40 / Serving $0.46
- Creamy Vanilla Fruit DipRecipe $3.17 / Serving $0.40


🐝 If you tried How to Make Meat Roses, please leave a ⭐️ star rating and share your buzz in the 💬 comments below. I'd truly appreciate it!
📖 Recipe

How to Make Meat Roses
Equipment
Ingredients
Meat options that work well
- Pepperoni
- Salami
- Turkey
- Ham
- Bologna
Instructions
- Prep: Separate all meat slices so none are stuck together. This makes shaping much easier and helps the roses hold their form.
- Start the rose: Take one slice of meat and fold it in half over the rim of a clean wine glass.
- Build layers: Add another folded slice, overlapping slightly with the first. Continue placing slices around the rim, overlapping each piece, until you complete a full circle.
- Check fullness: Look down into the center of the glass. If you can still see the bottom clearly, add another full circle or two of meat. This helps the rose stay full and prevents it from falling apart.
- Flip: Once the glass is filled and the rose looks sturdy, carefully flip the wine glass upside down onto your charcuterie board.
- Release: Gently lift the wine glass straight up without twisting. If any slices stick, use your hand to carefully loosen them.
- Finish: Adjust the petals slightly if needed, then repeat with remaining meats and arrange roses on your board with crackers, cheese, nuts, and fruit as desired.
Notes
- Glass size: A standard wine glass works best, but smaller glasses create tighter roses and larger glasses make fuller ones.
- Meat choice: Thinner, flexible meats like pepperoni and salami hold their shape better than thicker deli slices.
- Fullness: If you can see the bottom of the glass, add more layers so the rose stays sturdy when flipped.
- Releasing: Lift the glass straight up without twisting to keep the layers from unraveling.
- Adjusting: Gently fan or tuck pieces after flipping to shape the petals as needed.
Nutritional Information
Save This Recipe to Your Inbox
By signing up, you'll join our email list and can unsubscribe anytime.


Comments
No Comments