
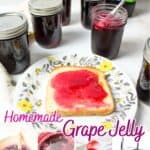
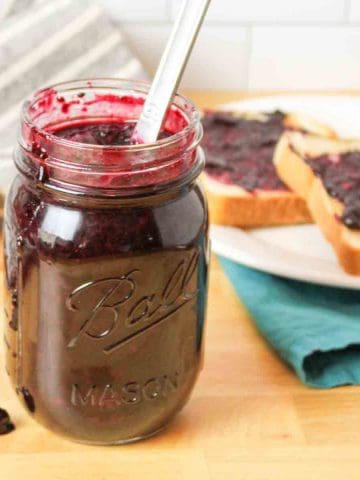
Grape jelly is such a classic treat, but why buy it from the store when you can make it yourself with this Homemade Grape Jelly Recipe? It spreads more easily, tastes fantastic, and is shelf-stable for months when canned.

Save This Recipe to Your Inbox
By signing up, you’ll join our email list and can unsubscribe anytime.
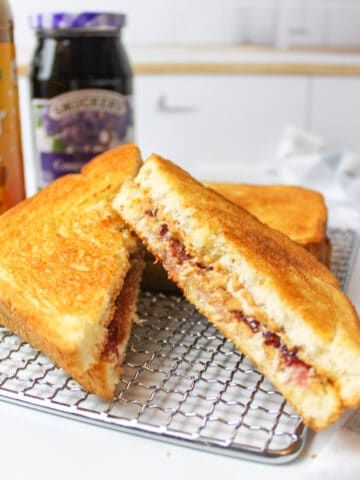
This easy grape jelly recipe is made with grape juice, sugar, and pectin. It delivers the perfect balance of flavor and sweetness in every bite and tastes incredible in a peanut butter and jelly sandwich or in recipes like our Peanut Butter and Jelly Bread Pudding or Spider Sandwiches.
This Homemade Grape Jelly Recipe uses bottled juice like our Apple Jelly (for Canning), not fresh fruit like Watermelon Jelly, but it's still a great way to use up extra juice. Whether from WIC or store sales, turning surplus juice into tasty, long-lasting jelly helps you get the most out of what you have.
This grape jelly recipe is safe for water bath canning and follows tested preservation methods. For more details on safely canning jams and jellies at home, check out the National Center for Home Food Preservation's guide.
Jump to:
- 💛 Why You'll Love This Recipe
- 🛒 Ingredients
- 📍 Water Bath Canning: Elevation Adjustments
- 🔀 Substitutions & Variations
- 💰 Budget-Friendly Tips
- 🥄 How to Make Homemade Grape Jelly
- 👩🏻🍳 Expert Tips
- ❄️ Storage
- 🫙 Reprocessing
- 🥗 Pairing Ideas
- ❓ Homemade Grape Jelly Recipe FAQs
- 🍽️ More Recipes You'll Love
- 📖 Recipe
- 💬 Comments
💛 Why You'll Love This Recipe
- Quick & Consistent: With powdered pectin, this grape jelly sets beautifully and fast. No long waits or failed batches. You'll get that classic jelly texture every time, perfect for PB&Js or toast without the stress.
- Budget-Friendly: This Homemade Grape Jelly Recipe is a great way to use up extra grape juice from WIC benefits, sales, or pantry overstock. Turning low-cost juice into shelf-stable jelly helps stretch your grocery dollars even further.
- Beginner-Friendly: With just a few pantry staples and a basic water bath canning process, this grape jelly is ideal for first-time canners. No fancy equipment needed, just simple, satisfying homemade goodness in every jar.
🛒 Ingredients
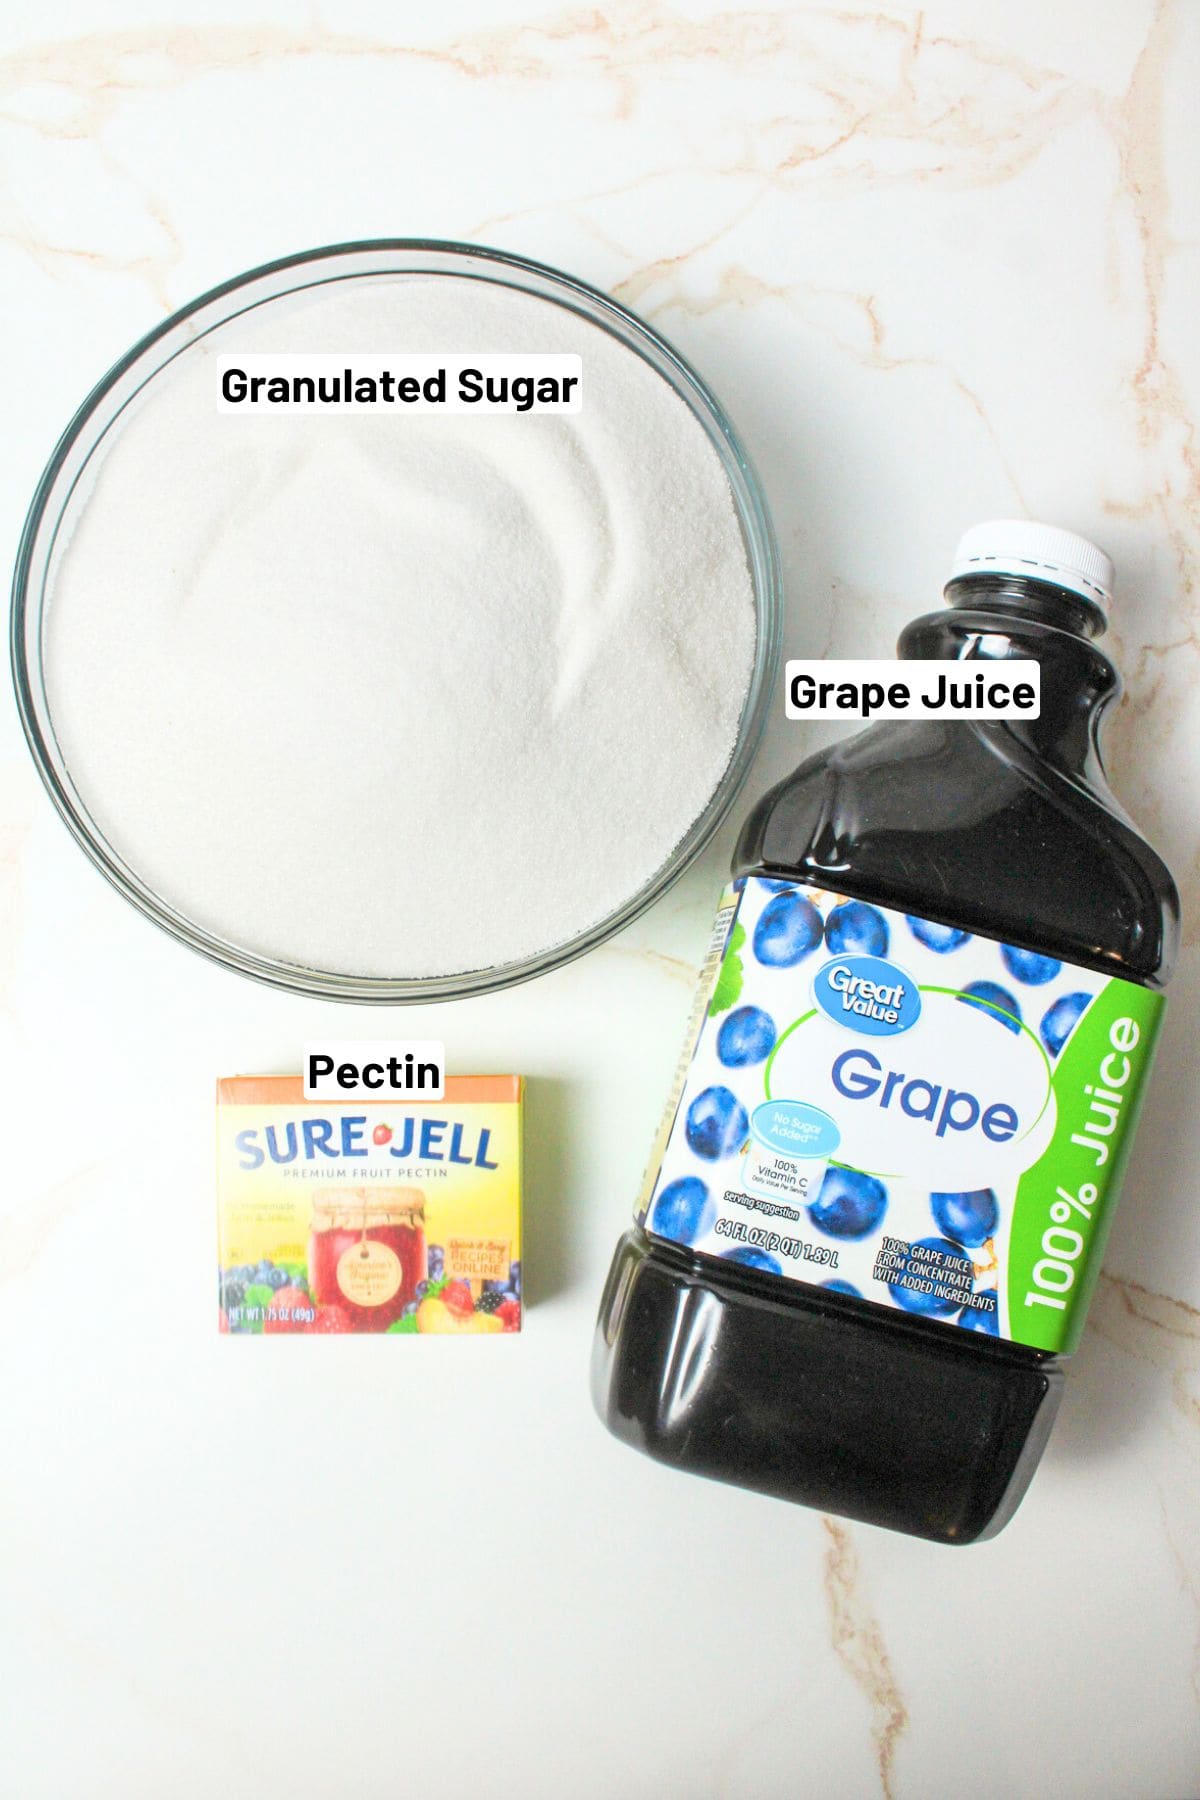
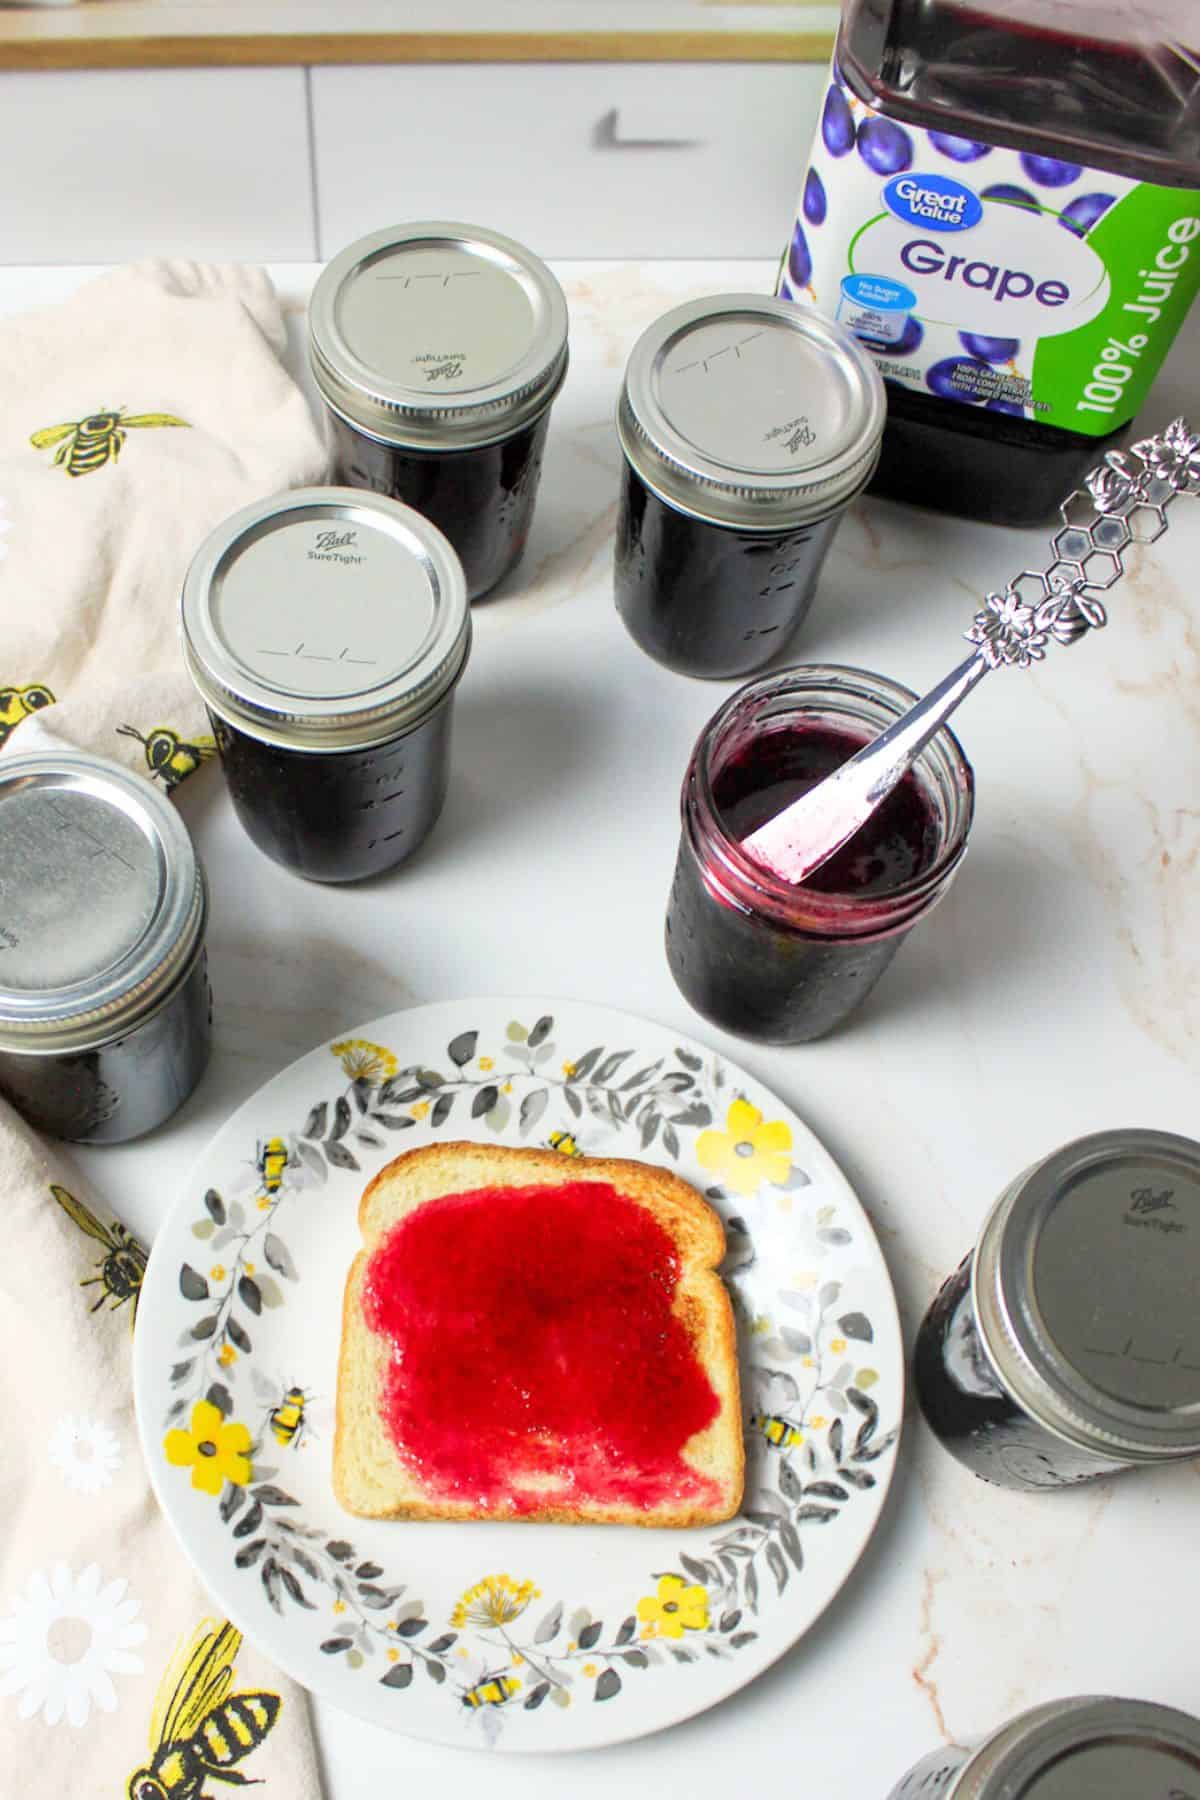
- Grape Juice: Great Value, Welch's, and Tipton Grove 100% Grape Juice are budget-friendly options perfect for making homemade jelly. They contain no added sugars or artificial preservatives, making them a safe and economical choice. Avoid juices labeled "grape drink," "cocktail," or "blend," as these often include added sweeteners or other juices that can affect the set and flavor.
- For a more natural, additive-free option, consider brands like Lakewood Organic or R.W. Knudsen. Whether you're going frugal or all-natural, both choices work well, just choose what suits your pantry and preferences.
- Pectin: We're using pectin in this grape jelly recipe to ensure a quick, reliable set every time. While grapes naturally contain some pectin, it's often not enough, especially when using bottled juice. Adding powdered pectin helps the jelly firm up properly without extended cooking.
See the recipe card below for full ingredients and instructions.
📍 Water Bath Canning: Elevation Adjustments
Use this chart to adjust boiling water bath processing times based on your elevation. Don't know your elevation? A quick Google search can help.
| Elevation | Processing Time |
|---|---|
| 0-1,000 ft | Use time listed in recipe (5 min) |
| 1,001-6,000 ft | 10 minutes |
| 6,001-10,000 ft | 15 minutes |
🔀 Substitutions & Variations
Pectin: You can use a low-sugar or no-sugar pectin if desired, but follow specific package instructions as the sugar ratio will change.
Sugar: You can reduce the sugar slightly with low-sugar pectin, but too little may affect the set and shelf-stability.
💰 Budget-Friendly Tips
Bottled grape juice often goes on sale, stock up when you can.
WIC and pantry surplus juices are perfect for this recipe.
Reusing clean jars is fine, but never reuse lids. They won't seal properly. Luckily, a box of new lids is only a few dollars and lasts through several batches.
🥄 How to Make Homemade Grape Jelly
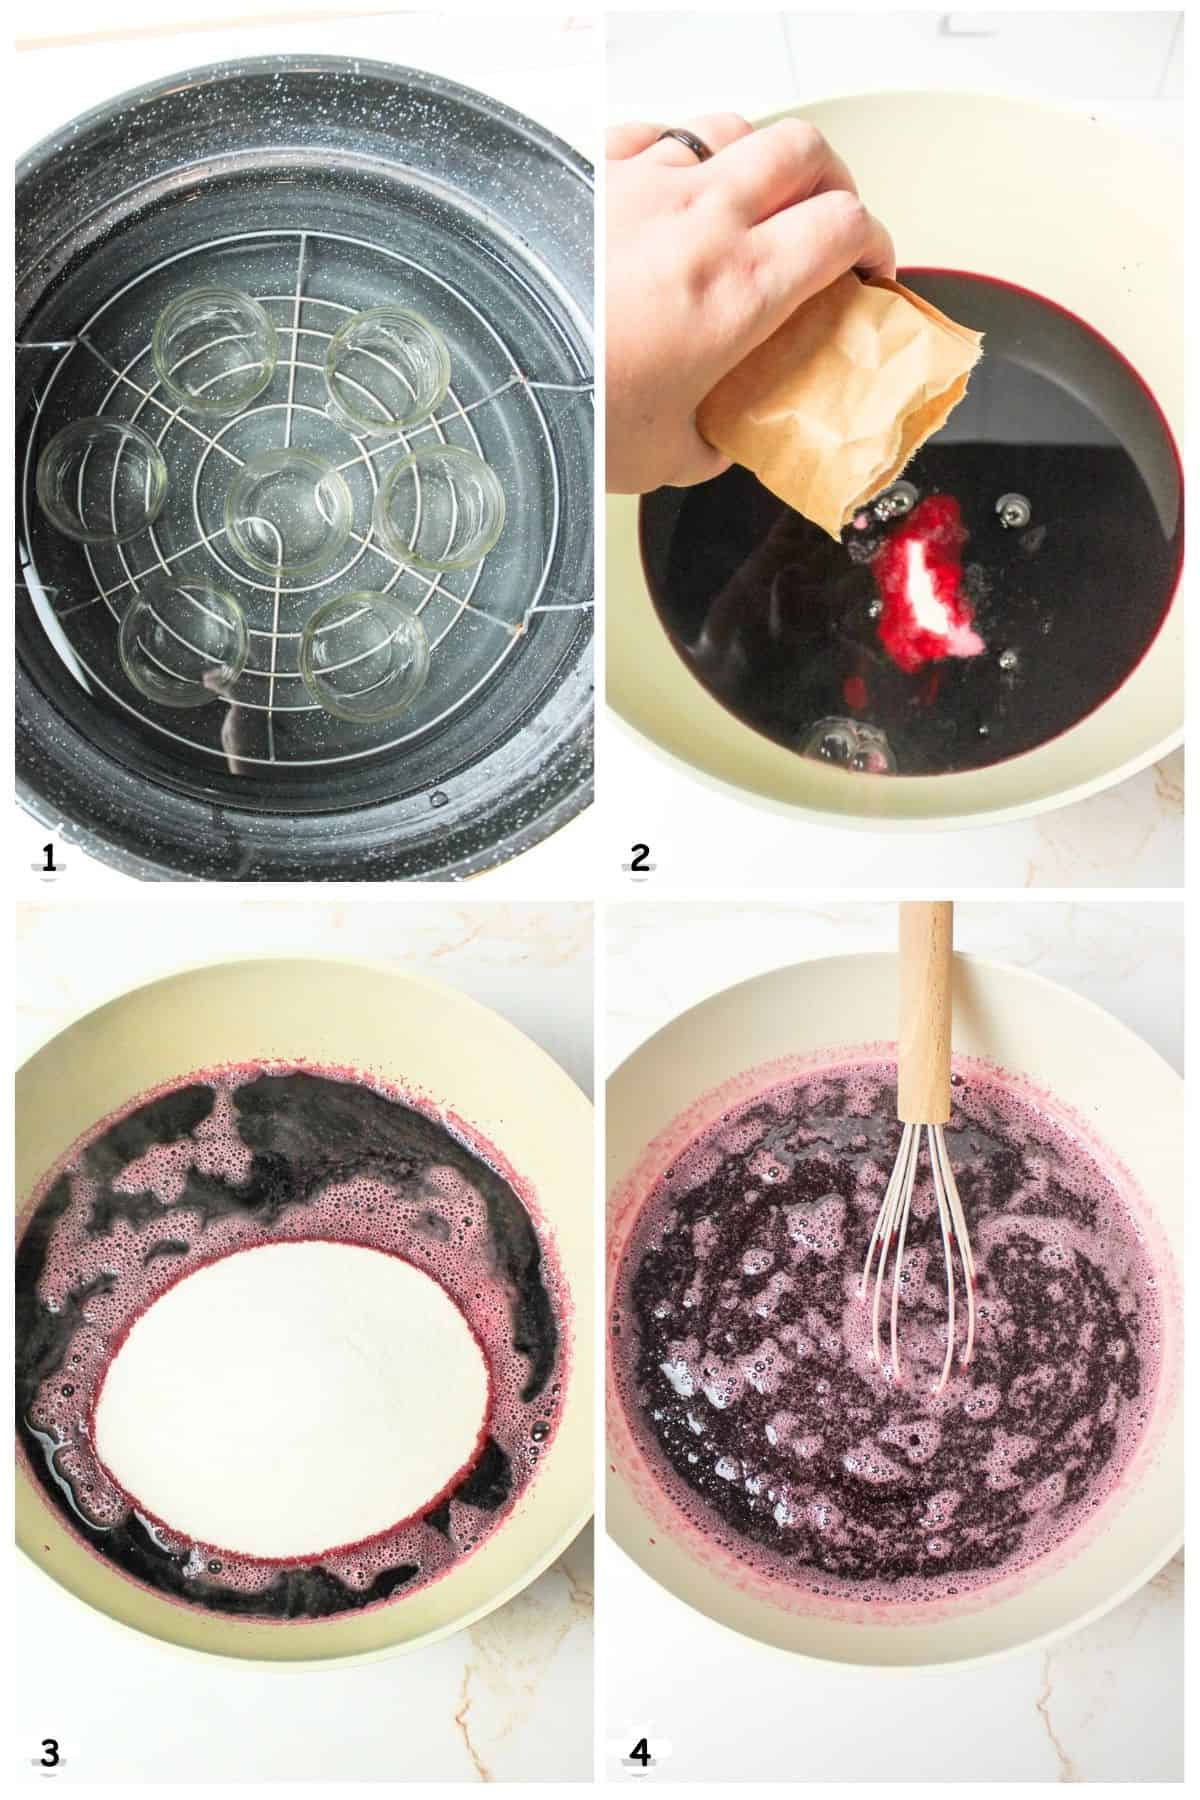
Step 1: Prepare jars and lids. Wash thoroughly, sterilize jars, and keep them hot. I like to place my empty jars inside my large canning pot and bring them to a boil while I prep everything else. (Image 1).
Tip: If your jars are clean, an alternative is to place them in the dishwasher (without soap) and run a hot water cycle to keep them warm.
Step 2: In a large pot, combine grape juice and pectin. (Image 2). Stir well.
Step 3: Bring to a rolling boil over high heat, stirring constantly.
Step 4: Add sugar all at once. (Image 3). Stir to dissolve.
Step 5: Return to a full, hard boil and boil 1 minute, stirring constantly. (Image 4).
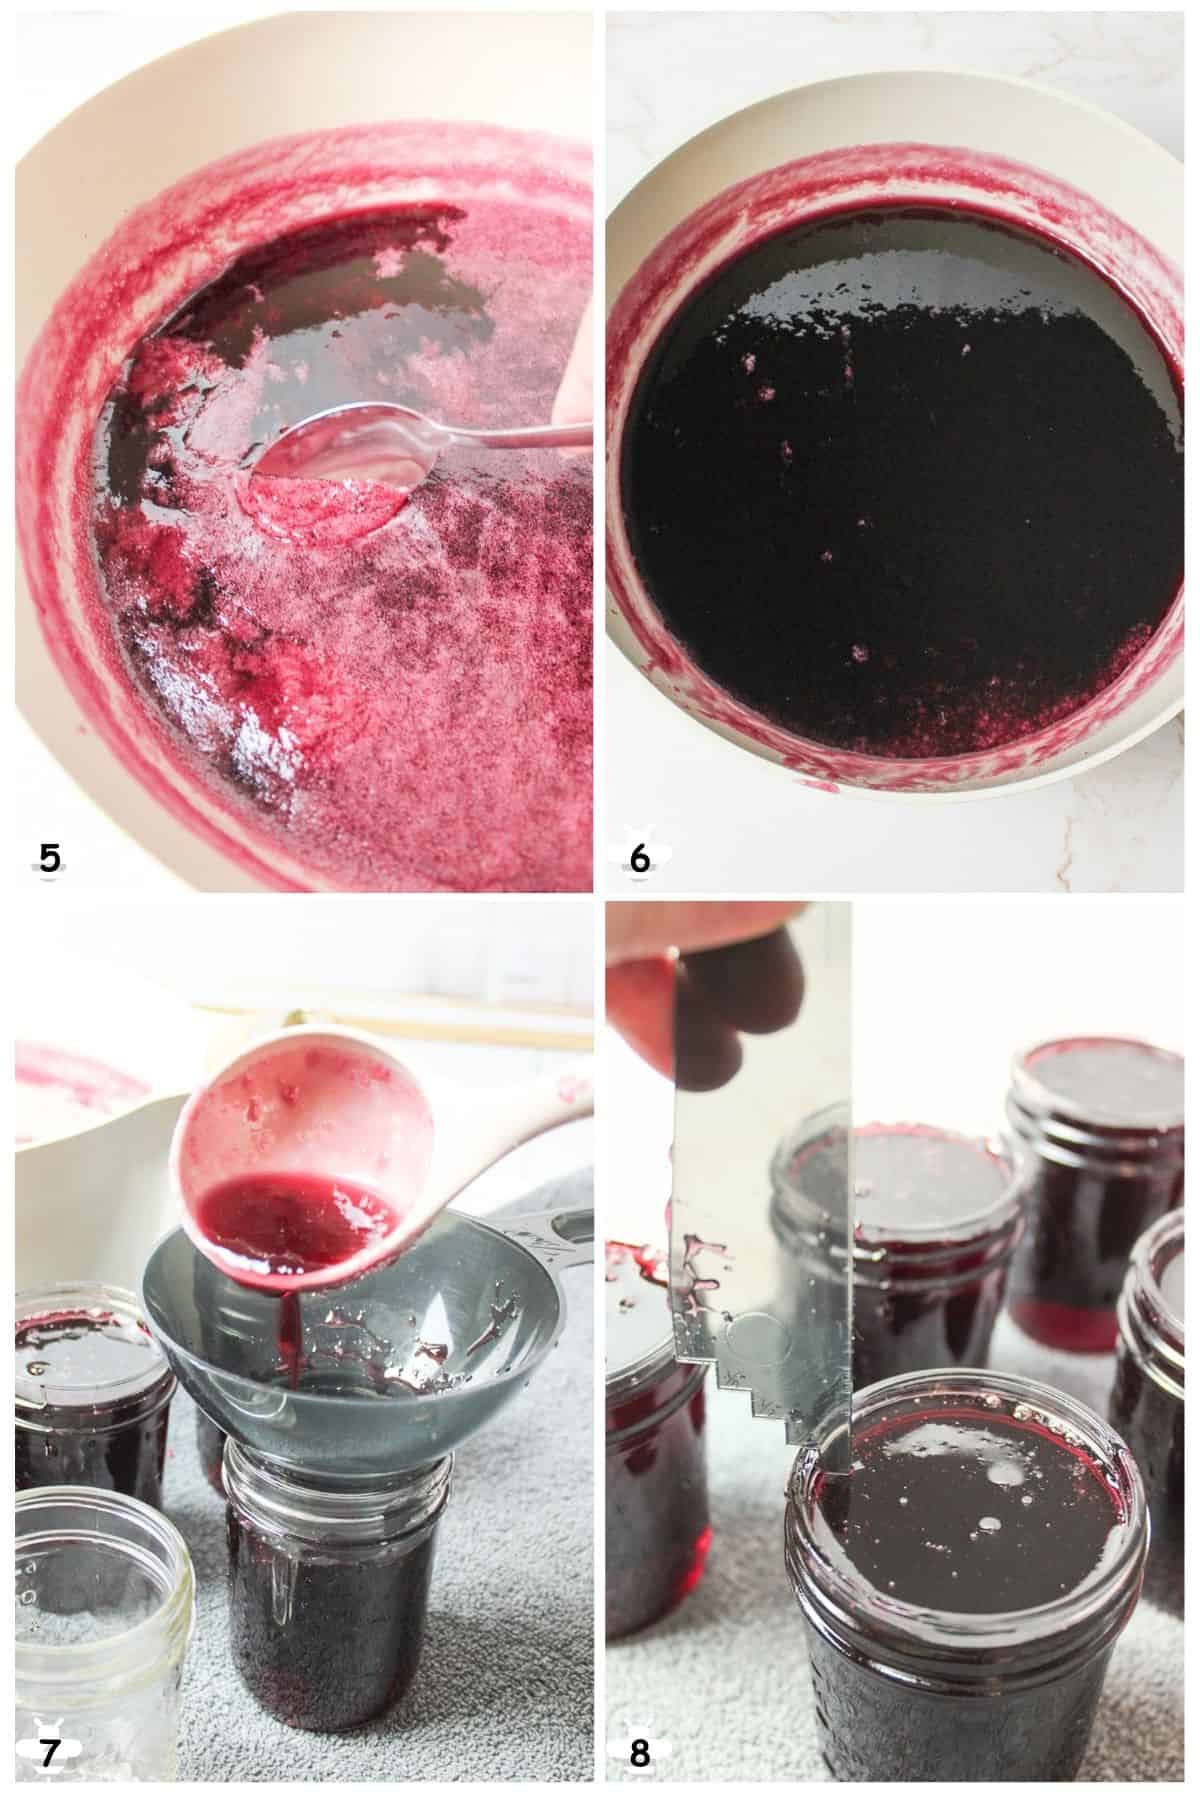
Step 6: Remove from heat, skim foam if needed. (Image 5). Tip: Letting it rest for a minute or two will allow the foam to set and become easier to remove. (Image 6).
Step 7: Ladle hot jelly into hot jars. (Image 7). Leave ¼ inch headspace. (Image 8).
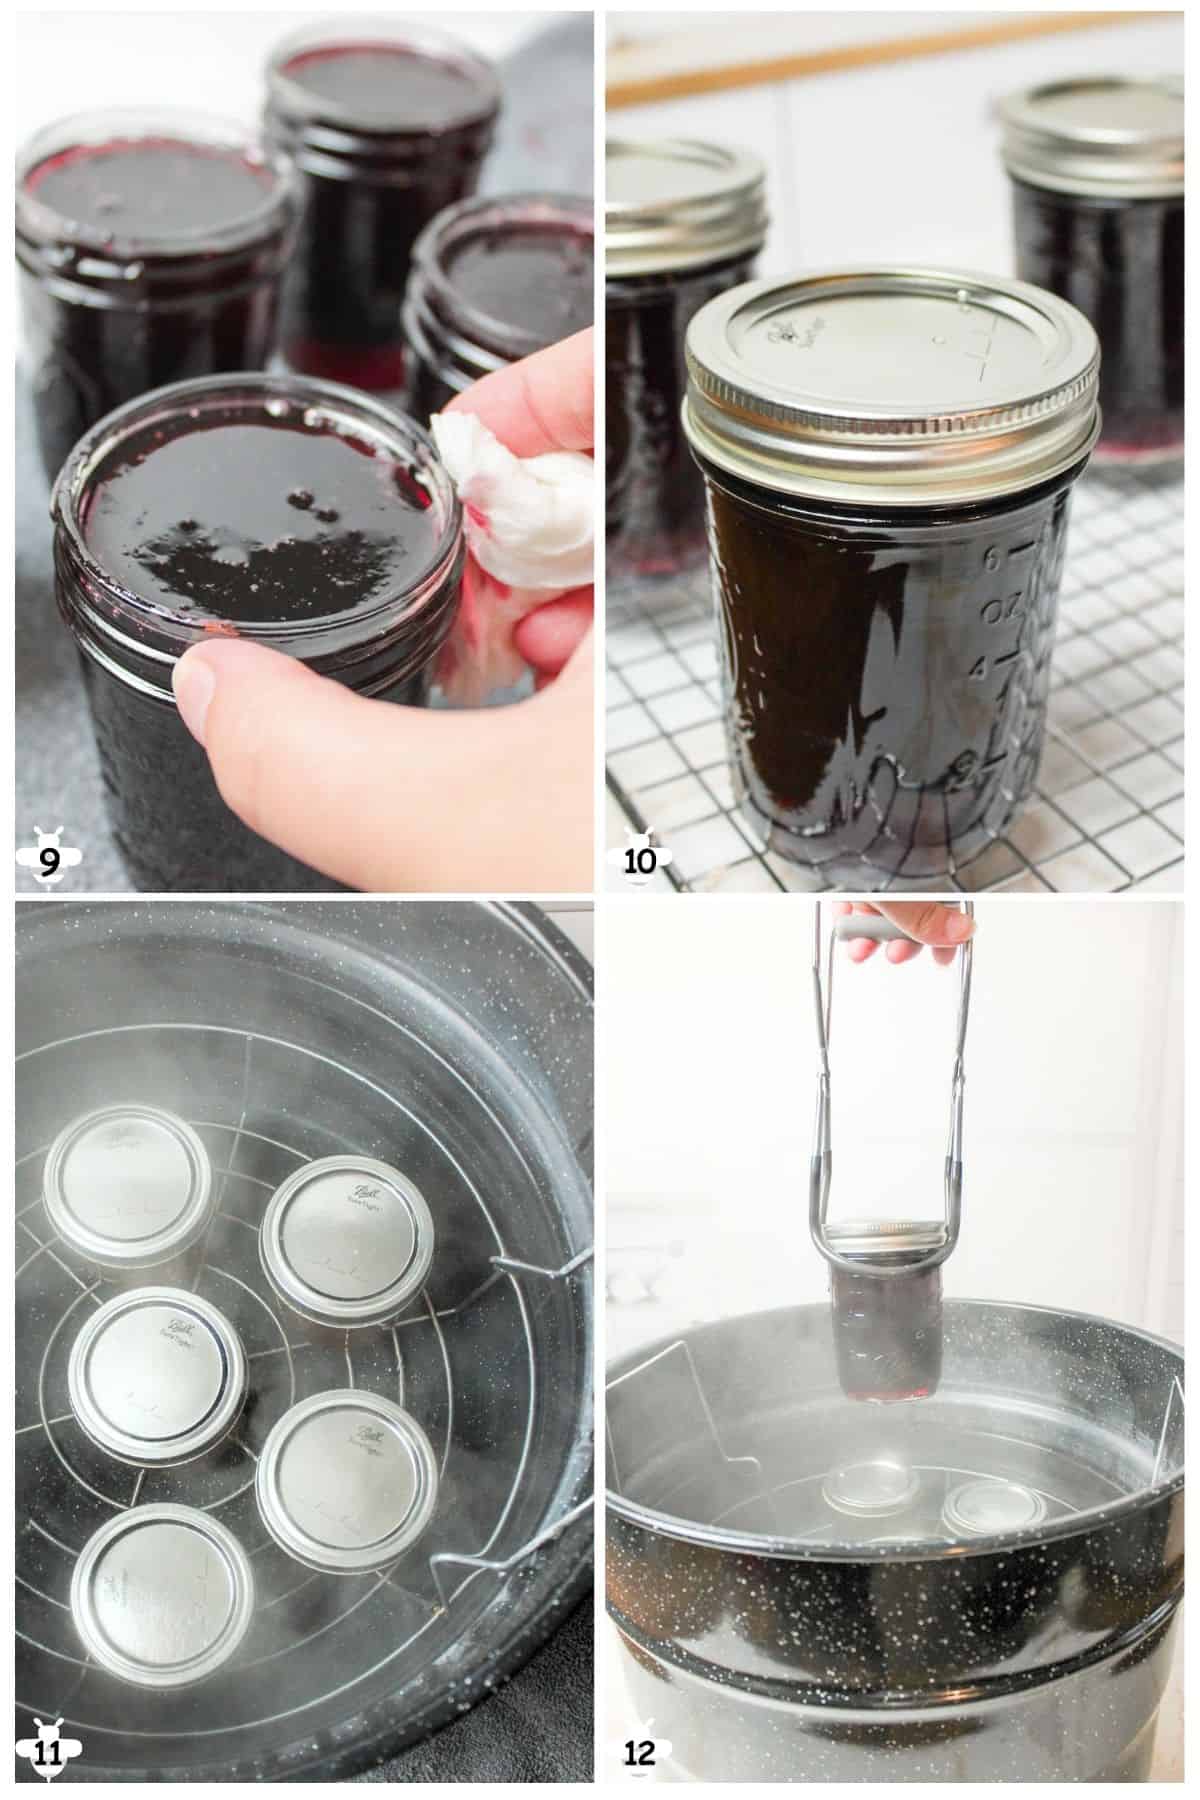
Step 8: Wipe rims clean. (Image 9).
Tip: I've found that a wet paper towel works better than a wet dishrag because it can fit better into the nooks and crannies along the side of the rim.
Step 9: Apply lids and rings (Image 10), tightening them fingertip tight.
You need to be careful with tightening them, too loose and they won't work right, and too tight, and they won't seal. A good rule of thumb is finger-tight. Turn the lids just enough to feel secure, but do not do any additional turning.
Tip: Using your non-dominant hand can help to keep you from overtightening the rings.
Step 10: Process jars in a boiling water bath, covered by at least 1 inch of water. (Image 11).
- 0-1,000 ft = 5 minutes
- 1,001-6000 ft = 10 minutes
- 6001-10000 ft = 15 minutes
Step 11: Turn off heat; let jars sit 5 minutes, then remove (Image 12) to towel-lined counter.
Step 12: Cool undisturbed for 12-24 hours.
Check seals before labeling and storing. *See Reprocessing Tips Below if your lids do not seal within 24 hours.
👩🏻🍳 Expert Tips
- Don't leave open jelly sitting around. Opened jelly should be refrigerated and used within 3-4 weeks.
- Don't walk away during the sugar boil. That rolling boil is fierce and can boil over quickly if unattended.
- It can take time to firm up. If the jelly doesn't set right away, give it 24-48 hours at room temp. It may still firm up!
- Since 2014, lids no longer require boiling, just wash and use at room temp.
- Why you should lay towels on counters when canning. Always place hot jars on towels to prevent glass shock and breakage.
- Canning Safety Tip. Always process your jars in a boiling water bath to ensure safe sealing and long shelf life. If you're new to canning or want a refresher, check out Ball Mason Jars' comprehensive water bath canning guide for expert advice.
❄️ Storage
Sealed jars: Store your Homemade Grape Jelly in a cool, dark place for up to 1 year.
Opened jars: Refrigerate and use within 3-4 weeks.
Unsealed jars: Refrigerate immediately or reprocess within 24 hours using fresh lids.
🫙 Reprocessing
If any jars fail to seal after the first processing, the contents can be safely reprocessed.
- Remove the jelly, return it to a pot, and bring it back to a full boil.
- Use fresh, sterilized jars and always replace the lids with new ones, do not reuse old lids.
- Repack the hot jelly into the clean jars, leaving the same ¼-inch headspace.
- Process again using the full recommended water bath canning time based on your elevation.
- Be sure jars are clean and hot before refilling to avoid breakage.
Reprocessing should be done within 24 hours of the initial canning attempt for best safety and quality.
🥗 Pairing Ideas
Classic PB&J sandwiches
Spread on toast, biscuits, or pancakes
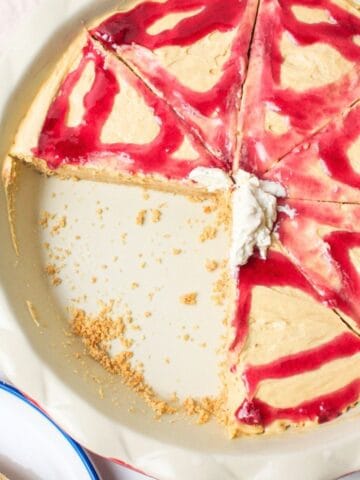
Use in baking: swirl into cheesecakes, bars, or even donuts.
- Peanut Butter and Jelly PieRecipe $5.43 / Serving $0.68
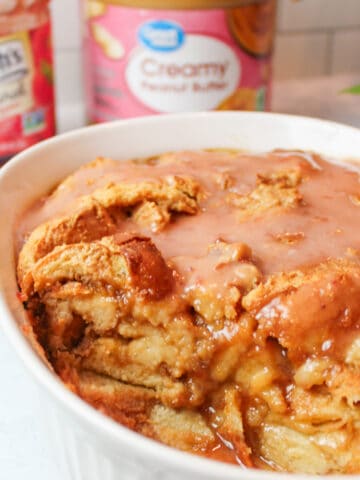
- Peanut Butter and Jelly Bread PuddingRecipe $3.40 / Serving $0.43
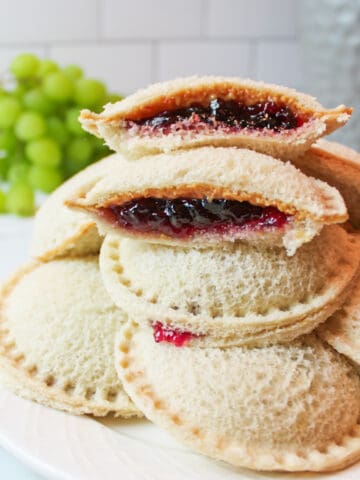
- Frozen Peanut Butter and Jelly SandwichesRecipe $0.96 / Serving $0.32
- Air Fryer Peanut Butter and JellyRecipe $0.94 / Serving $0.47
❓ Homemade Grape Jelly Recipe FAQs
Grape jam is made from crushed or pureed grapes, so it includes the fruit's pulp and sometimes skins, giving it a thicker, chunkier texture. Grape jelly, on the other hand, is made from strained grape juice only, resulting in a clear, smooth spread without any fruit pieces. Both are sweet and delicious but offer different mouthfeels and uses.
The secret to great jelly is balancing fruit juice, sugar, and pectin. The right pectin amount ensures a firm set, while sugar aids gel formation and sweetness. Bring the mixture to a full boil and cook for the right time to activate pectin. Let the jelly cool fully to set properly.
The four essential ingredients for making jelly are fruit flavor (juice), pectin, sugar, and acid. When combined in the right amounts with water, these create the gel that gives jelly its firm, spreadable texture.
If your homemade grape jelly didn't set, it's usually due to cooking time issues. Overcooking breaks down pectin, preventing the jelly from firming properly. This can happen either when extracting juice or during jelly cooking. On the other hand, undercooking means the jelly isn't concentrated enough to gel. Getting the timing just right is key to a perfect set.
🍽️ More Recipes You'll Love
- Peach Peel JellyRecipe $5.23 / Half Pint $1.31
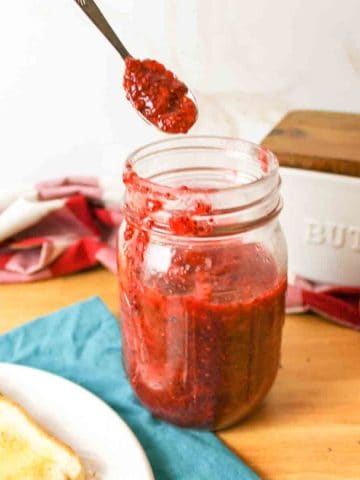
- Sugar Free Strawberry JamRecipe $2.69
- Sugar Free Blueberry JamRecipe $2.83
- Watermelon JellyRecipe $8.66 / Half Pint $1.73

🐝 If you tried this Homemade Grape Jelly Recipe, please leave a ⭐️ star rating and share your buzz in the 💬 comments below. I'd truly appreciate it!
📖 Recipe

Homemade Grape Jelly Recipe (From Juice)
Equipment
Ingredients
- 5 cups unsweetened grape juice - ($1.89)
- 1 box (1.75 ounces) powdered fruit pectin, Sure-Jell yellow box - ($3.99)
- 7 cups granulated sugar - ($2.68)
Instructions
- Prep jars. Wash and sterilize jars and lids. Keep jars hot until ready to fill, either in a boiling water bath canner or a hot dishwasher cycle.
- Cook the jelly base. In a large pot, combine the grape juice and pectin. Stir well and bring to a full rolling boil over high heat, stirring constantly.
- Add sugar. Add all the sugar at once and stir until dissolved. Return to a full rolling boil and boil exactly 1 minute, stirring constantly.
- Fill jars. Remove from heat and skim off foam if needed. Ladle hot jelly into hot jars, leaving ¼-inch headspace. Wipe rims clean, apply lids, and tighten rings fingertip-tight.
- Process. Place jars in a boiling water bath with at least 1 inch of water covering the jars. Process according to elevation.0 to 1,000 feet: 5 minutes1,001 to 6,000 feet: 10 minutes6,001 to 10,000 feet: 15 minutes
- Cool. Turn off heat and let jars rest in the canner for 5 minutes. Remove and cool undisturbed for 12 to 24 hours. Check seals before labeling and storing.
Notes
- Foam control. Juice jelly foams easily. Skim for a clearer finished jelly. Foam is safe to eat.
- Set time. Jelly may take 24 to 48 hours to fully set.
- Boil safety. Stir constantly during the sugar boil to prevent scorching or boil-overs.
- Lids. Modern lids do not require boiling. Wash and use at room temperature.
- Reprocessing. If jars do not seal within 24 hours, reheat jelly, repack into clean jars with new lids, and reprocess using full water bath time for your elevation.
- Storage. Store sealed jars in a cool, dark place for up to 1 year. Refrigerate after opening and use within 3 to 4 weeks. Unsealed jars should be refrigerated and used within 1 week.
Nutritional Information
Save This Recipe to Your Inbox
By signing up, you'll join our email list and can unsubscribe anytime.


Nicole Durham says
Grape Jelly is one of our favorites and nothing beats the taste of homemade!