

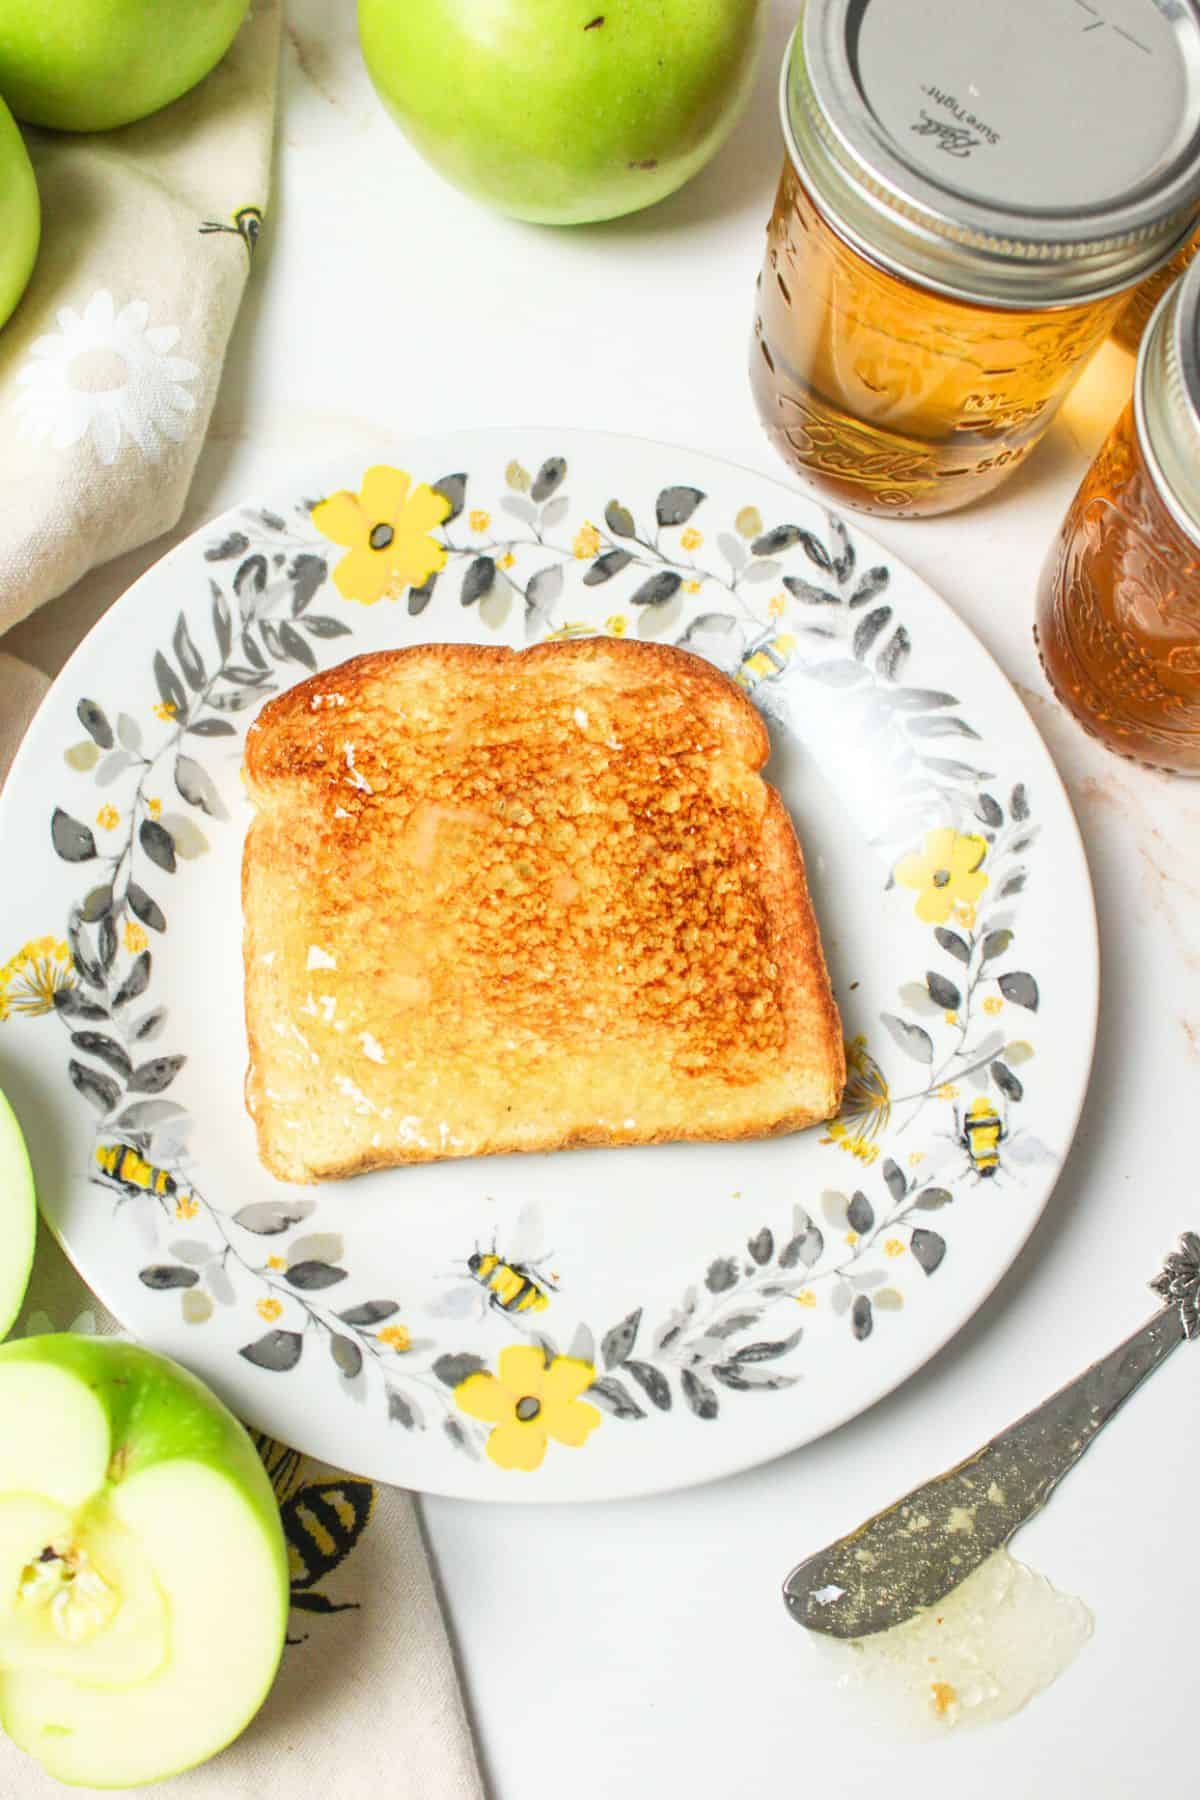
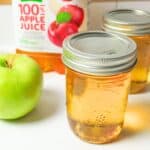
Homemade jams and jellies hold a special place in my heart, but apple jelly is truly in a place of its own. Tasting like apple juice in every bite, it's the perfect spread for Fall weather. I make apple jelly for canning so I can enjoy it all year long.

Save This Recipe to Your Inbox
By signing up, you’ll join our email list and can unsubscribe anytime.
This apple jelly for canning is truly a kitchen treasure that brings the taste of fresh orchard fruit right to your table. Unlike store-bought versions, homemade apple jelly captures the pure, natural essence of apples that's hard to beat.
Each batch can be tailored to your taste, and this control over ingredients means you know exactly what's going into your jelly, making it a wholesome and satisfying treat for your family.
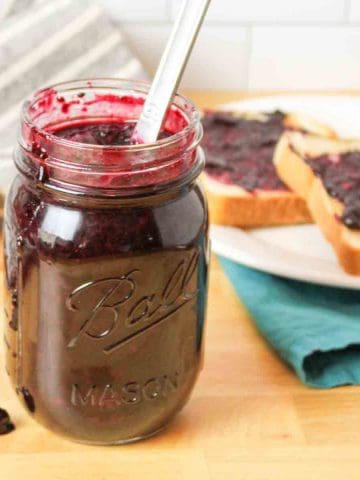
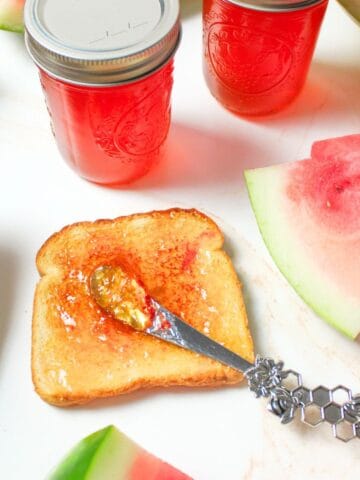
This recipe uses bottled juice like our Homemade Grape Jelly Recipe, not fresh fruit like Watermelon Jelly, but it's still a great way to use up extra juice. Whether from WIC or store sales, turning surplus juice into tasty, long-lasting jelly helps you get the most out of what you have.
Plus, homemade apple jelly makes for heartfelt gifts that show care and creativity. Perfect for holidays, birthdays, or just because.
Jump to:
- 💛 Why You'll Love This Recipe
- 🛒 Ingredients
- 🔀 Substitutions & Variations
- 💰 Budget-Friendly Tips
- 📍 Water Bath Canning: Elevation Adjustments
- 🥄 Instructions for Canning Apple Jelly
- 👩🏻🍳 Expert Tips
- 🫙 Reprocessing
- ❄️ Storage
- 🥗 Side Dishes or Pairing Ideas
- ❓ FAQs about Apple Jelly for Canning
- 🍽️ More Recipes You'll Love
- 📖 Recipe
- 💬 Comments
💛 Why You'll Love This Recipe
- Fast & Reliable: Uses powdered pectin for a quick, consistent set, so you don't have to wait hours for your jelly to gel. This means you can enjoy delicious homemade jelly in just a short time without guesswork.
- Frugal: Makes use of affordable bottled juice or surplus juice from sales, WIC, or bulk buying, helping you stretch your food budget. It's a smart way to turn extra juice into something tasty and long-lasting instead of letting it go to waste.
- Simple: Homemade apple jelly requires just a few basic ingredients and uses the straightforward water bath canning method that's accessible for beginners and experienced cooks alike. The step-by-step process makes preserving jelly easy and rewarding every time.
🛒 Ingredients
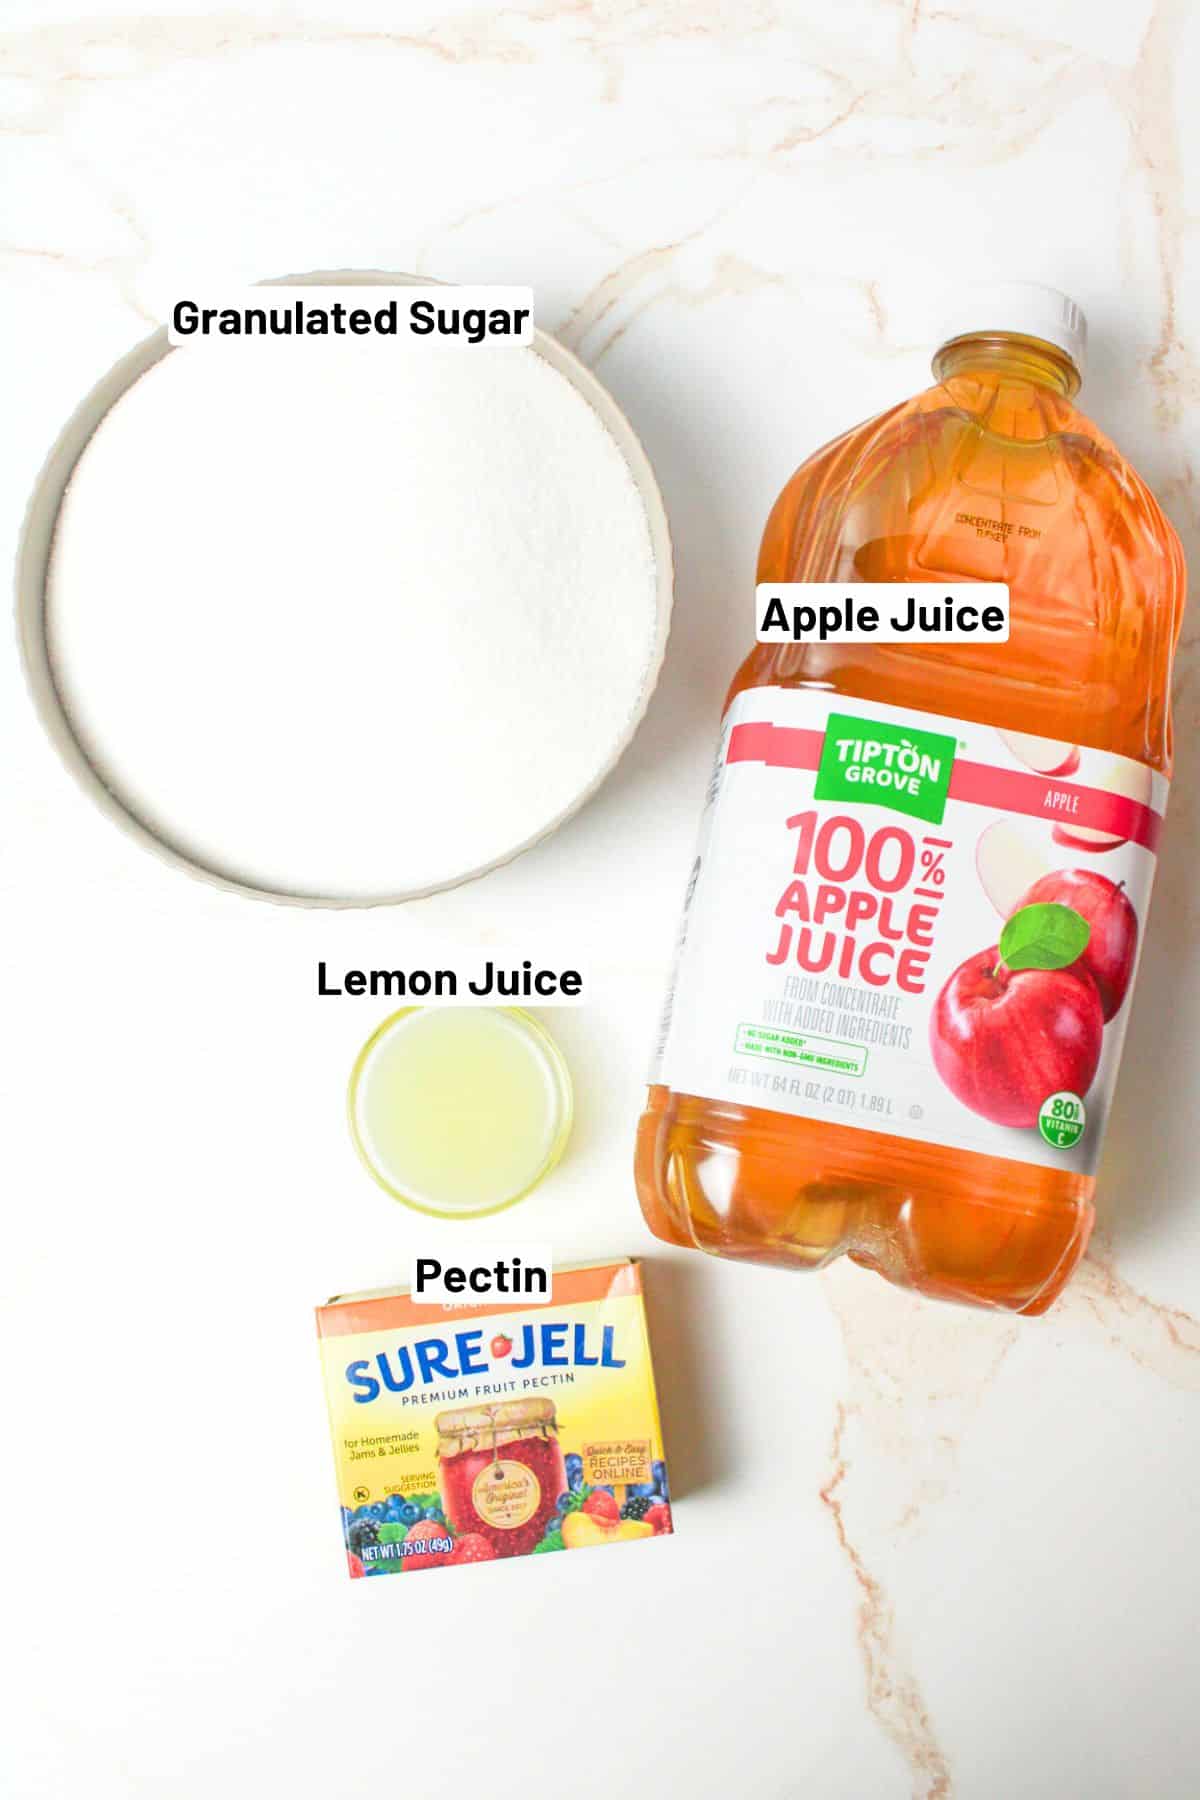
- Apple Juice. Great Value, Mott's, and Tipton Grove 100% Apple Juice are affordable, pure options for homemade jelly with no added sugars or preservatives. Avoid juices labeled "cocktail" or "blend." For a more natural choice, try Martinelli's, Lakewood Organic, or R.W. Knudsen. Both work well, pick what fits your budget and taste.
- Pectin. Apple jelly can be made with or without added pectin. This recipe uses powdered pectin and bottled lemon juice for a quick, reliable set. For a traditional method using just apples, sugar, and optional lemon juice, check out the NCHFP's no-pectin version. Both are safe when properly water bath canned.
See the recipe card below for full ingredients and instructions.
🔀 Substitutions & Variations
- Add a cinnamon stick while heating the juice for cozy spice.
- Stir in a splash of ginger juice for zing.
- Use low-sugar pectin with less sugar if preferred (follow tested ratios for safety).
💰 Budget-Friendly Tips
Buy juice in bulk or on sale for the cheapest batches.
WIC recipients can use their benefits for juice and turn it into long-lasting jelly.
Homemade jelly makes inexpensive but heartfelt holiday gifts.
📍 Water Bath Canning: Elevation Adjustments
Use this chart to adjust boiling water bath processing times based on your elevation. Don't know your elevation? A quick Google search can help.
| Elevation | Processing Time |
|---|---|
| 0-1,000 ft | Use time listed in recipe (5 min) |
| Above 1000 ft | 10 minutes |
🥄 Instructions for Canning Apple Jelly
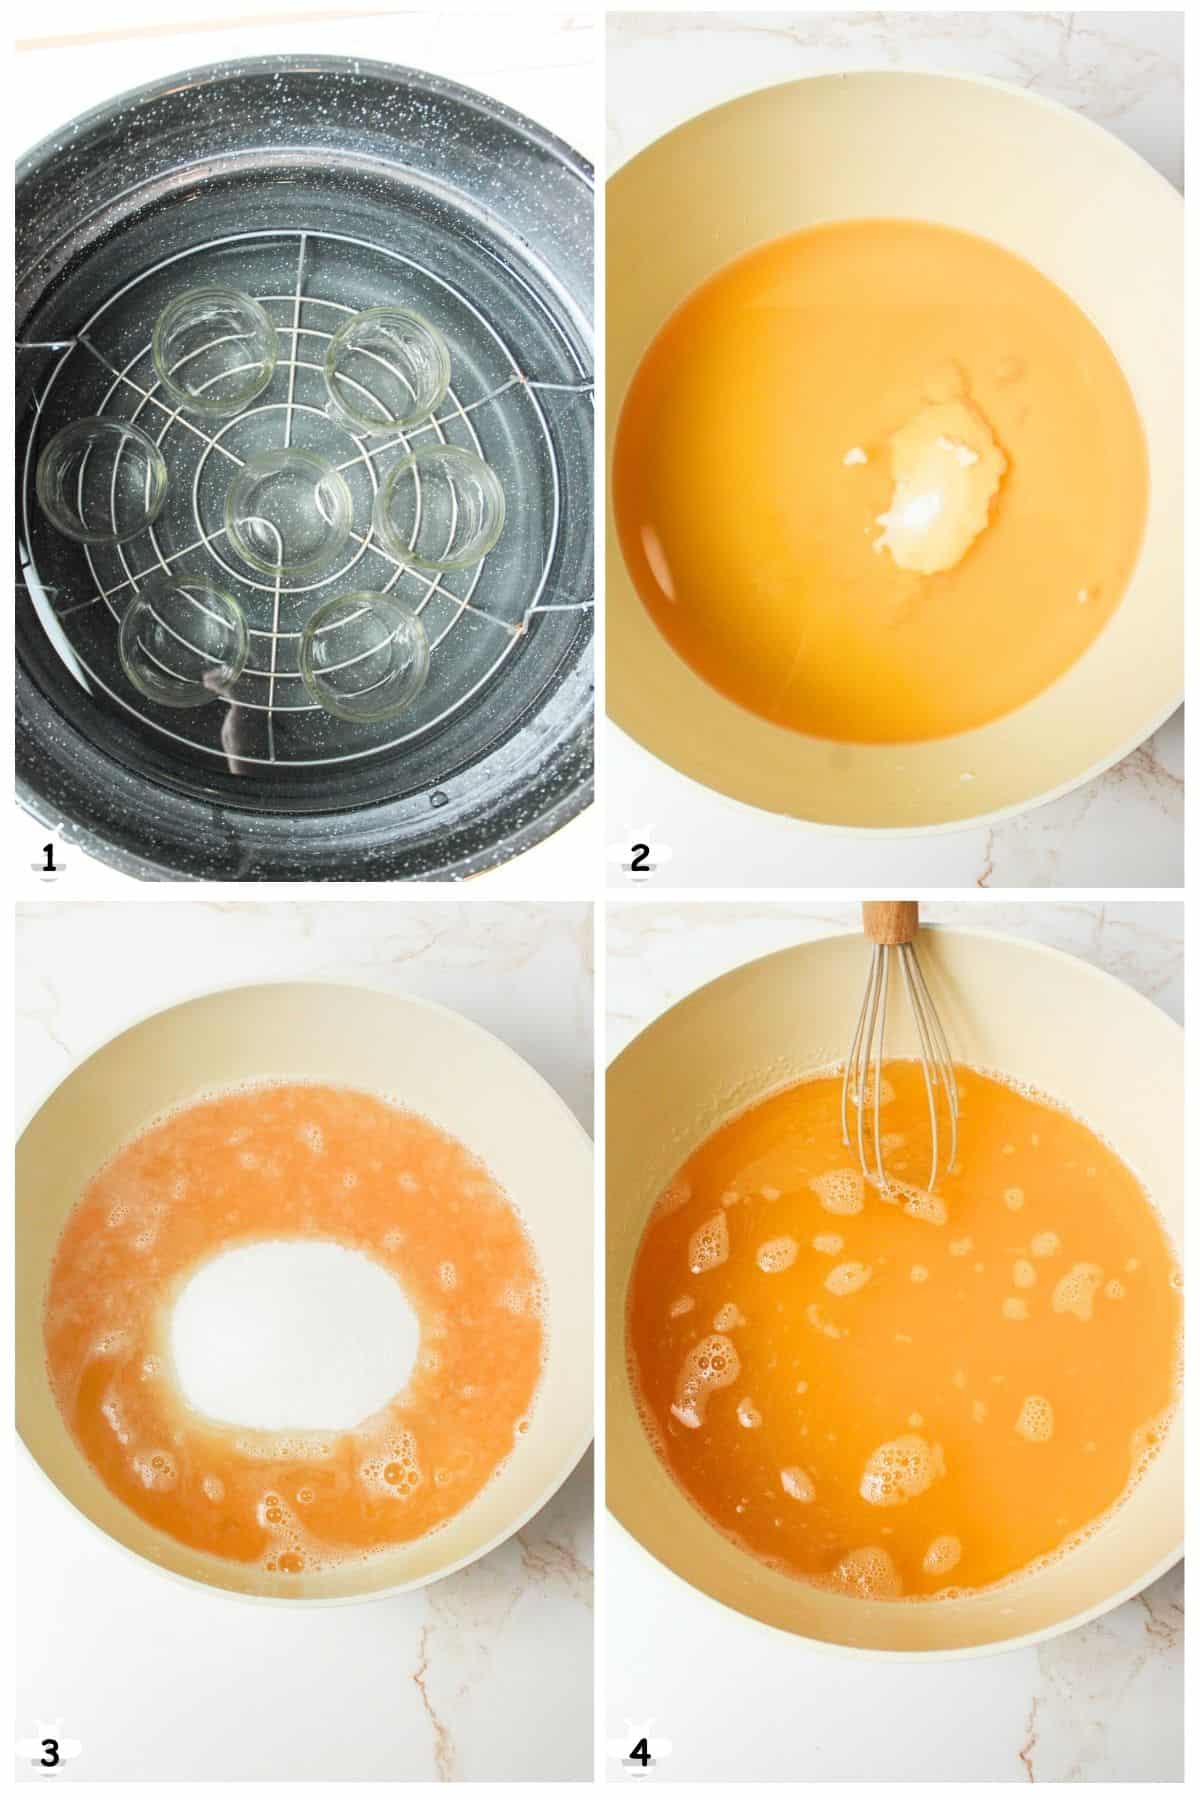
Step 1: Prepare jars and lids. Wash thoroughly, sterilize jars, and keep them hot. I like to place my empty jars inside my large canning pot and bring them to a boil while I prep everything else. (Image 1).
Tip: If your jars are clean, an alternative is to place them in the dishwasher (without soap) and run a hot water cycle to keep them warm.
Step 2: In a large pot, combine apple juice, lemon juice, and pectin. (Image 2). Stir well.
Step 3: Bring to a rolling boil over high heat, stirring constantly.
Step 4: Add sugar all at once. (Image 3). Stir to dissolve. (Image 4).
Step 5: Return to a full, hard boil and boil 1 minute, stirring constantly.
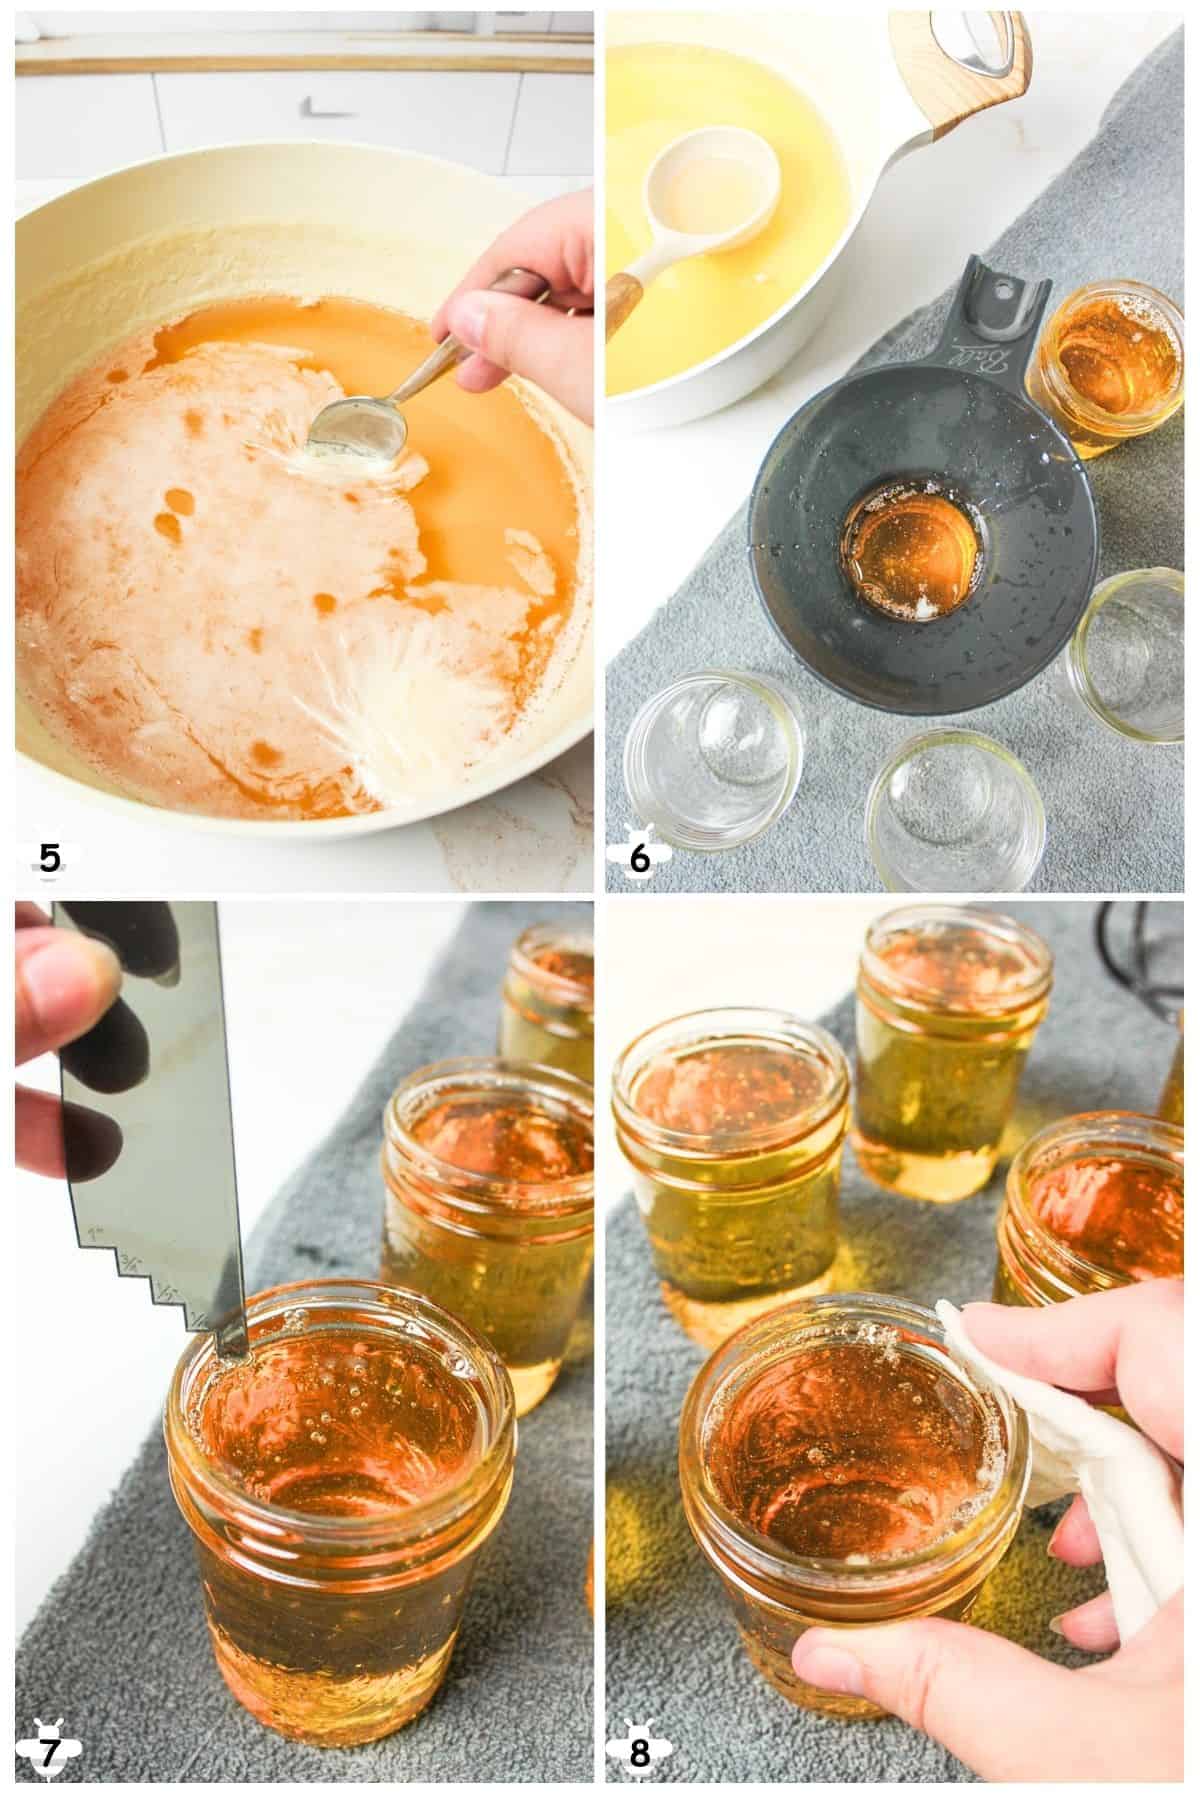
Step 6: Remove from heat, skim foam if needed. (Image 5). Tip: Letting it rest for a minute or two will allow the foam to set and become easier to remove.
Step 7: Ladle hot jelly into hot jars. (Image 6). Leave ¼ inch headspace. (Image 7).
Step 8: Wipe rims clean. (Image 8).
Tip: I've found that a wet paper towel works better than a wet dishrag because it can fit better into the nooks and crannies along the side of the rim.
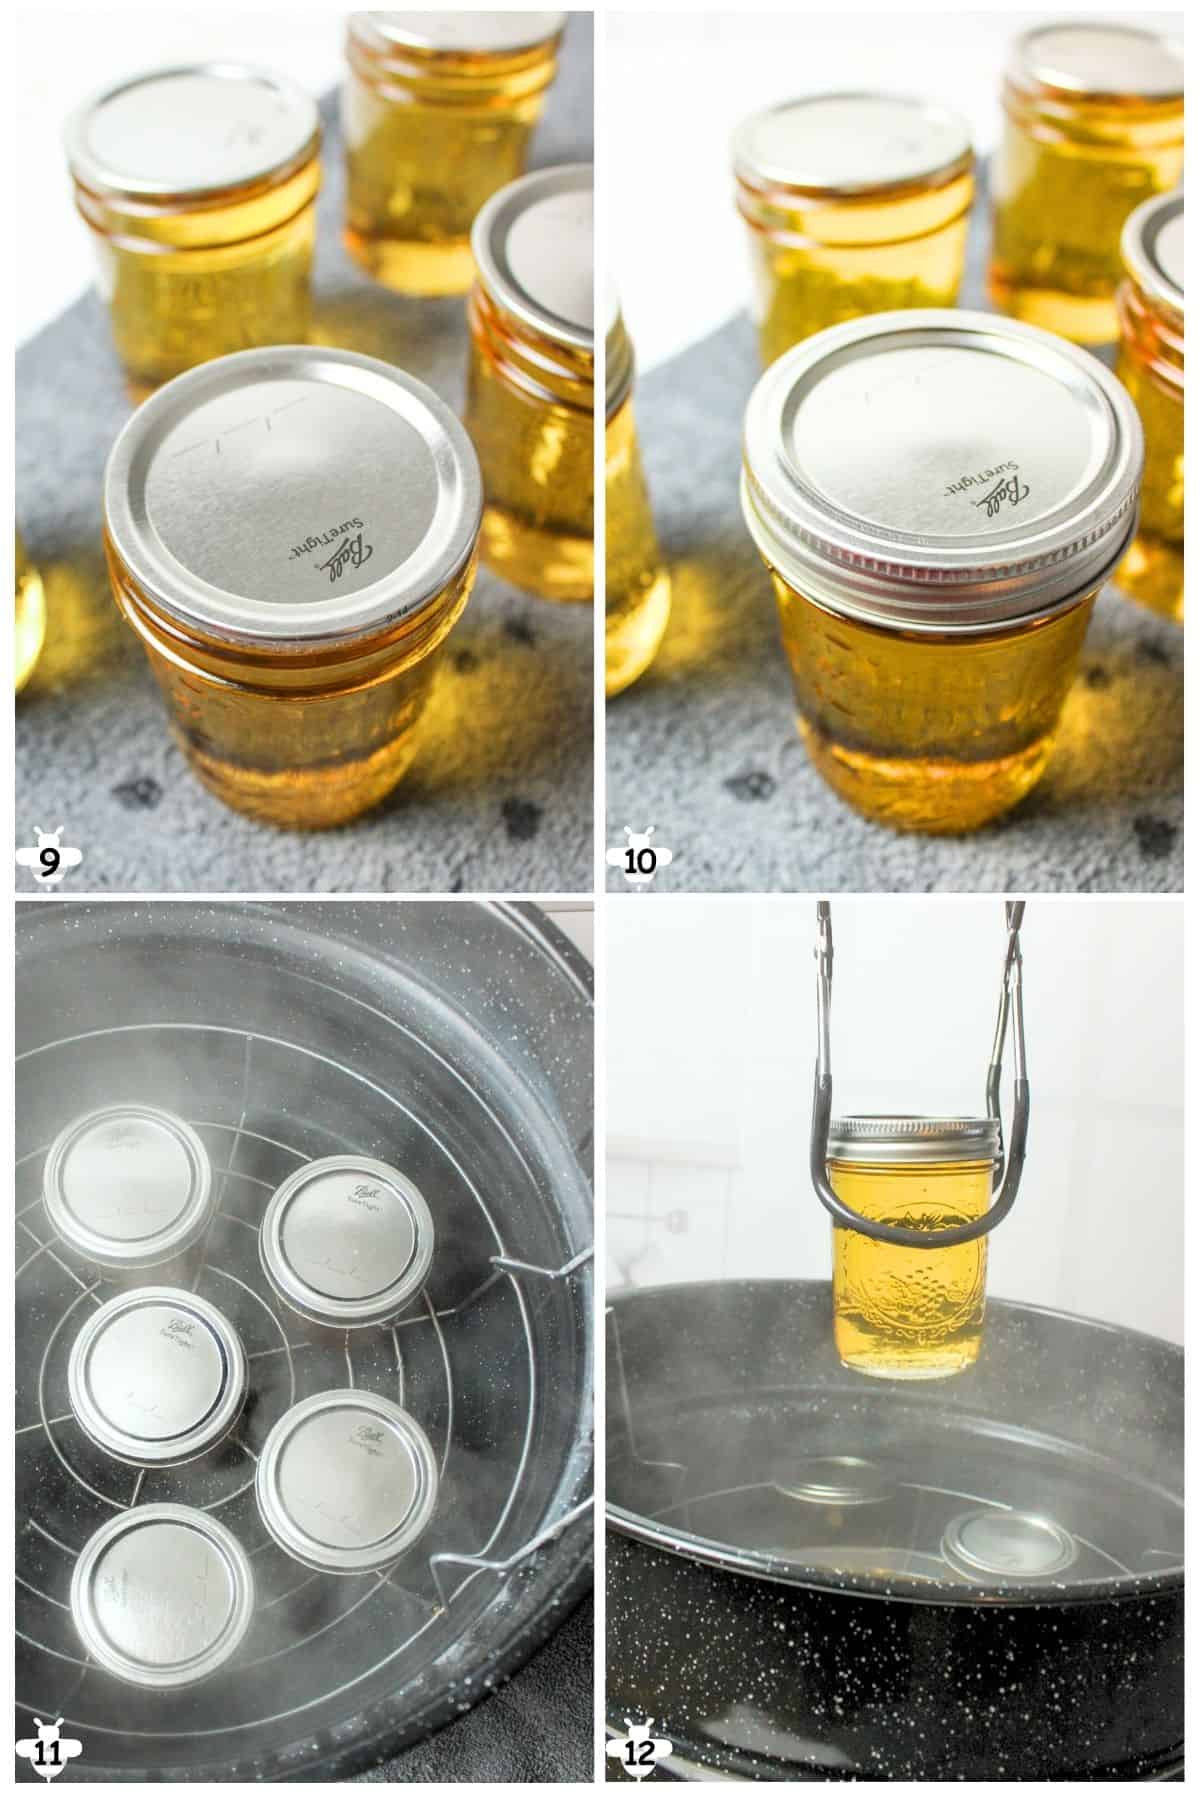
Step 9: Apply lids (Image 9) and rings (Image 10), tightening them fingertip tight.
You need to be careful with tightening them, too loose and they won't work right, and too tight, and they won't seal. A good rule of thumb is finger-tight. Turn the lids just enough to feel secure, but do not do any additional turning.
Tip: Using your non-dominant hand can help to keep you from overtightening the rings.
Step 10: Process jars in a boiling water bath, covered by at least 1 inch of water. (Image 11).
- 0-1,000 ft = 5 minutes
- 1,001+ ft = 10 minutes
Step 11: Turn off heat; let jars sit 5 minutes, then remove (Image 12) to towel-lined counter.
Step 12: Cool undisturbed for 12-24 hours, then check seals before labeling and storing.
Check seals before labeling and storing. *See Reprocessing Tips Below if your lids do not seal within 24 hours.
👩🏻🍳 Expert Tips
- Don't leave open jelly sitting around. Opened jelly should be refrigerated and used within 3-4 weeks.
- Don't walk away during the sugar boil. That rolling boil is fierce and can boil over quickly if unattended.
- It can take time to firm up. If the jelly doesn't set right away, give it 24-48 hours at room temp. It may still firm up!
- Why We DON'T Boil Lids Anymore. Since 2014, canning guidelines changed. Lids no longer need boiling. Just wash in soapy water and use at room temp. The sealing compound was reformulated, and preheating can actually weaken the seal.
- Why You Should Lay Towels on Counters. Towels protect hot jars from breaking on cold counters and make cleanup easier, just toss them in the wash instead of scrubbing sticky messes.
- Canning Safety Tip. Always process your jars in a boiling water bath to ensure safe sealing and long shelf life. If you're new to canning or want a refresher, check out Ball Mason Jars' comprehensive water bath canning guide for expert advice.
🫙 Reprocessing
If any jars fail to seal after the first processing, the contents can be safely reprocessed.
- Remove the jelly, return it to a pot, and bring it back to a full boil.
- Use fresh, sterilized jars and always replace the lids with new ones, do not reuse old lids.
- Repack the hot jelly into the clean jars, leaving the same ¼-inch headspace.
- Process again using the full recommended water bath canning time based on your elevation.
- Be sure jars are clean and hot before refilling to avoid breakage.
Reprocessing should be done within 24 hours of the initial canning attempt for best safety and quality.
❄️ Storage
Sealed jars: up to 1 year in a cool, dark place.
Opened jars: refrigerate and use within 3-4 weeks.
Unsealed jars: refrigerate and use within 1 week (or reprocess).
🥗 Side Dishes or Pairing Ideas
- Spread on fresh bread, biscuits, or sourdough toast.
- Use as a filling for thumbprint cookies.
- Warm slightly and drizzle over pancakes, waffles, or ice cream.
- Pair with sharp cheddar or brie on a cheese board.
- Easy Easter Bunny BiscuitsRecipe $2.14 / Serving $0.54
- Sourdough DonutsRecipe $2.33 / Serving $0.15
- 4 Ingredient SconesRecipe $1.58 / Serving $0.20
- Sourdough Thumbprint CookiesRecipe $4.01 / Serving $0.13


❓ FAQs about Apple Jelly for Canning
Jams and jellies are both soft, sweet spreads made from fruit, sugar, and pectin. The main difference between jam and jelly is that jam is made with fruit, whereas jelly is made with fruit juice.
Apples don't require added pectin to produce thick, sweet jelly. Our recipe DOES use it, though.
Almost all fruit contains some acid, but the natural amount of acid can differ between fruit types, and even from batch to batch of the same type of fruit. To ensure that my recipe has a proper acid level to gel properly and limit bacteria growth, I add lemon juice.
Once cool, press the top of each lid with a finger, ensuring that the seal is tight (lids do not move up or down at all). Let stand at room temperature for 24 hours.
🍽️ More Recipes You'll Love
- Peach Peel JellyRecipe $5.23 / Half Pint $1.31
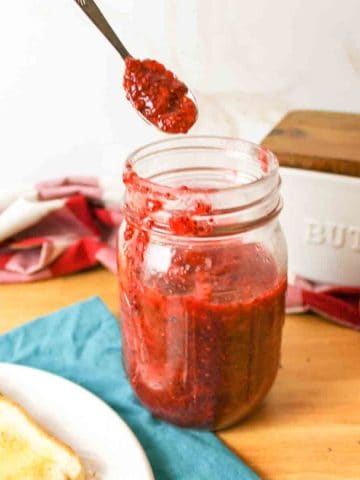
- Sugar Free Strawberry JamRecipe $2.69
- Sugar Free Blueberry JamRecipe $2.83
- Watermelon JellyRecipe $8.66 / Half Pint $1.73

🐝 If you tried this Apple Jelly for Canning, please leave a ⭐️ star rating and share your buzz in the 💬 comments below. I'd truly appreciate it!
📖 Recipe
Apple Jelly (for Canning)
Equipment
Ingredients
- 4 cups apple juice - ($1.09)
- 2 tablespoons bottled lemon juice - ($0.13)
- 1 box (1.75 ounces) powdered fruit pectin, Sure-Jell yellow box - ($3.99)
- 5 cups granulated sugar - ($1.92)
Instructions
- Prep jars. Wash and sterilize jars and lids. Keep jars hot until ready to fill, either in a boiling water bath canner or a hot dishwasher cycle.
- Cook the jelly base. In a large pot, combine the apple juice, lemon juice, and pectin. Stir well and bring to a full rolling boil over high heat, stirring constantly.
- Add sugar. Add all the sugar at once and stir until dissolved. Return to a full rolling boil and boil exactly 1 minute, stirring constantly.
- Fill jars. Remove from heat and skim off foam if needed. Let stand 1 to 2 minutes for easier skimming. Ladle hot jelly into hot jars, leaving ¼-inch headspace. Wipe rims clean, apply lids, and tighten rings fingertip-tight.
- Process. Place jars in a boiling water bath with at least 1 inch of water covering them.0 to 1,000 feet: 5 minutesAbove 1,000 feet: 10 minutes
- Cool. Turn off heat and let jars rest in the canner for 5 minutes. Remove and cool undisturbed for 12 to 24 hours. Check seals before labeling and storing.
Notes
- Foam control. Skimming foam improves clarity and is optional. Foam is safe to eat.
- Set time. Jelly may take 24 to 48 hours to fully set.
- Boiling safety. Stir constantly during the sugar boil to prevent scorching or boil-overs.
- Lids. Modern lids do not need boiling. Wash and use at room temperature.
- Reprocessing. If jars do not seal within 24 hours, reheat jelly, repack into clean jars with new lids, and reprocess using full water bath time for your elevation.
- Storage. Store sealed jars in a cool, dark place for up to 1 year. Refrigerate after opening and use within 3 to 4 weeks. Unsealed jars should be refrigerated and used within 1 week.
Nutritional Information
Save This Recipe to Your Inbox
By signing up, you'll join our email list and can unsubscribe anytime.


Nicole Durham says
I love this apple jelly!