
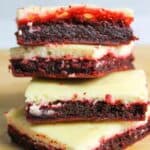
Red Velvet Cheesecake Brownies are a rich and creamy dessert made from boxed red velvet cake mix and a fast cheesecake batter. Together they're the perfect dessert and taste as great as they look.

Save This Recipe to Your Inbox
By signing up, you’ll join our email list and can unsubscribe anytime.
If you've ever made a red velvet cake before, then you know that it can be a bit of a pain to get "just right." Trying to make red velvet brownies is much easier. Thankfully Recipes With Boxed Cake Mixes are fast, easy, and super simple to make!
The cheesecake batter is also pretty easy to make- as simple as mixing everything together until smooth. Pair them together, and you have a minimal-prep dessert that tastes great!
These easy red velvet cake mix cheesecake brownies are a tasty treat that everyone can enjoy. With the bright fun colors and richness, they're a special dessert for any occasion.
If you want more cheesecake, try our No Bake Cool Whip Cheesecake, Cranberry White Chocolate Cheesecake, and Strawberry Cheesecake Pancakes.
Jump to:
💛 Why You'll Love This Recipe
- Simple ingredients. This recipe uses just a few basics. With boxed cake mix and cream cheese, you can make a rich dessert with minimal effort.
- Frugal. Made with affordable ingredients, this dessert comes in at an estimated cost of under $5, making it great for tight grocery budgets.
- Easy to make. While the cake mix isn't prepared exactly as directed on the box, the steps are just as simple. The cheesecake filling comes together by mixing everything in one bowl.
🛒 Ingredients

Boxed red velvet cake mix. Any brand of red velvet cake mix will work.
If you really love red velvet, don't forget to check out my Easy Red Velvet Funnel Cake and Red Velvet Banana Bread.
Cream cheese. Use thawed cream cheese for the cheesecake filling.
See the recipe card below for full ingredients and instructions.
💰 Budget-Friendly Tips
Use store brand cake mix. Generic red velvet cake mix works just as well and usually costs less.
Buy cream cheese in multipacks. Larger packs are often cheaper per block and can be used for multiple recipes.
Small servings go far. These brownies are rich, so cutting smaller squares stretches the batch further.
Skip extra toppings. The cheesecake layer adds plenty of flavor without needing frosting or garnish.
🥄 Instructions for Red Velvet Cheesecake Brownies
Step 1: Preheat your oven to 350F degrees.
Step 2: In one mixing bowl combine your melted butter, cake mix, and an egg.

Step 3: In another bowl, combine the softened cream cheese, sugar, egg, and vanilla with an electric mixer until smooth. If you use cold cream cheese it will have lumps, try to get them as small as possible- softened cream cheese is ideal.

Step 4: In your greased baking dish press the brownie batter down into the pan with your fingers and push up a little on the sides to create a lip.
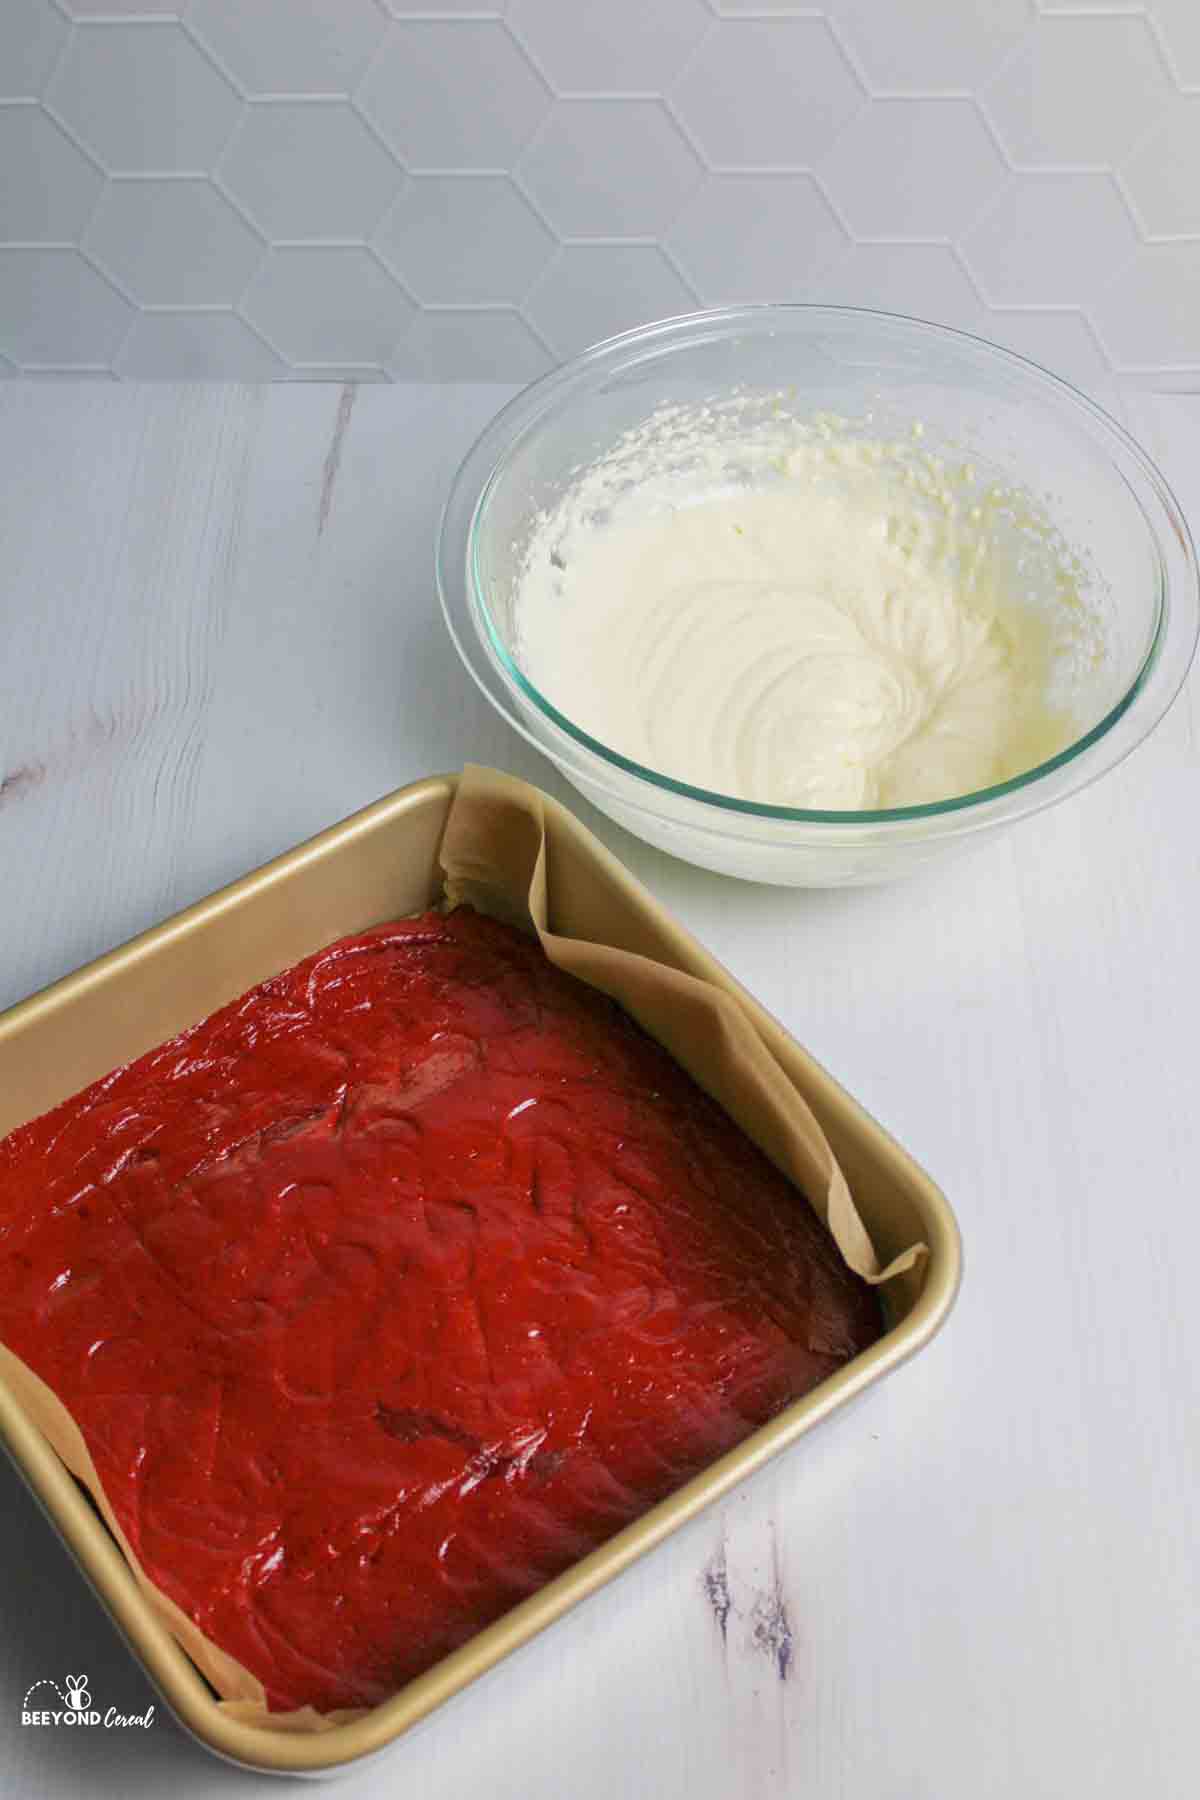
Step 5: Pour the cheesecake batter over the top of the brownie batter and spread it out evenly.

Step 6: Bake for 30-35 minutes until a toothpick can come out almost clean.
Step 7: Let it rest until cooled and then transfer to the fridge for at least an hour before serving. This helps the cheesecake to set.

👩🏻🍳 Expert Tips
Adjusting brownie mix consistency. The batter is naturally thick, which works well for forming a crust. For a softer texture, mix in up to 3 tablespoons of oil or water.
❄️ Storage and Make Ahead
Storage: Store Red Velvet Cheesecake Brownies covered in the refrigerator for up to 5 days, either in the baking dish or in an airtight container with parchment between layers.
Make Ahead: Brownies can be made a day in advance and kept refrigerated until ready to slice and serve.
🥗 Side Dishes or Pairing Ideas
Red velvet cheesecake brownies pair well with fresh berries, whipped topping, vanilla ice cream, coffee, or served as part of a dessert tray for parties and holidays.
- Gingerbread CookiesRecipe $4.85 / Serving $0.10
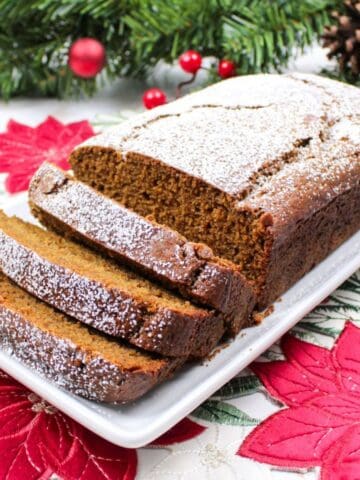
- Gingerbread LoafRecipe $3.39 / Serving $0.34
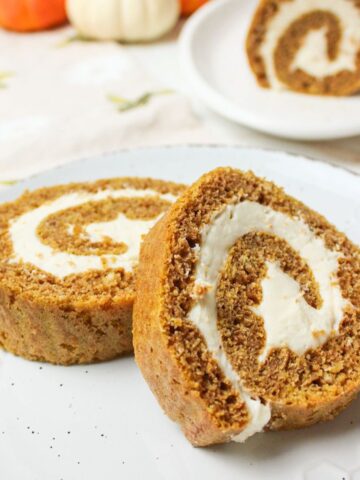
- Sourdough Pumpkin RollRecipe $3.78 / Serving $0.38
- Sugar Free Cherry Pie FillingRecipe $8.19 / Serving $1.02


❓ Recipe FAQs
Yes, you could use that size, but by doing so the cheesecake brownie will be a lot thinner. If you like your dessert bars to be thinner and chewier vs soft and tender, then this could be a great size for you to try.
If you make yours in an 8x8 then it can be evenly sliced into 9 pieces (as shown). However, I should warn you it's a very rich dessert and if I could re-cut them I'd make the bars half the size because they're very filling. 2-inch by 2-inch squares would be ideal.
Keep your brownies covered in the fridge for up to 5 days. You can wrap the baking dish in plastic wrap or keep the pieces in an airtight container with parchment paper in between each layer.

🍽️ More Recipes You'll Love
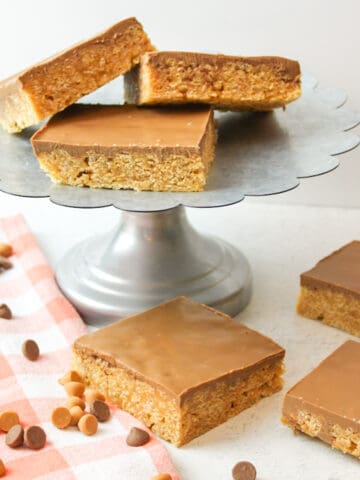
- Microwave ScotcheroosRecipe $7.33 / Serving $0.61
- Fruity Pebbles TreatsRecipe $4.23 / Serving $0.35
- Hershey's Best BrowniesRecipe $3.41 / Serving $0.28
- Rolo Turtle FudgeRecipe $14.58 / Serving $0.91
🐝 If you tried these Red Velvet Cake Mix Cheesecake Brownies, please leave a ⭐️ star rating and share your buzz in the 💬 comments below. I'd truly appreciate it!
📖 Recipe
Red Velvet Cheesecake Brownies
Ingredients
Brownie Layer
- ⅔ cup vegetable oil - ($0.47)
- 1 box (15.25 ounces) red velvet cake mix - ($1.68)
- 2 large eggs - ($0.30)
Cheesecake Layer
- 8 ounces cream cheese, softened - ($1.86)
- ¼ cup granulated sugar - ($0.09)
- 1 large egg - ($0.15)
- ½ teaspoon vanilla extract - ($0.01)
Instructions
- Preheat & Prep: Preheat the oven to 350°F. Grease a baking dish and set aside.
- Make the Brownie Layer: In a mixing bowl, combine the vegetable oil, red velvet cake mix, and eggs until fully blended. The batter will be thick.
- Make the Cheesecake Layer: In a separate bowl, beat the cream cheese, sugar, egg, and vanilla until smooth and creamy.
- Assemble: Press the brownie batter evenly into the bottom of the prepared baking dish, pushing slightly up the sides to form a crust-like edge. Pour the cheesecake mixture over the brownie layer and spread evenly.
- Bake: Bake for 30-35 minutes, or until the center is set and a toothpick inserted comes out mostly clean.
- Cool & Chill: Allow to cool completely, then refrigerate for 1-2 hours to fully set before slicing and serving.
Notes
- Brownie Texture: The brownie batter is intentionally thick to form a sturdy crust. For a softer base, add up to 3 tablespoons of oil or water to the brownie mixture.
- Serving Size: These brownies are rich and filling. 2×2-inch squares are ideal.
- Storage: Store covered in the refrigerator for up to 5 days. Keep in an airtight container or wrap the baking dish tightly; layer parchment paper between stacked pieces if needed.
Nutritional Information
Save This Recipe to Your Inbox
By signing up, you'll join our email list and can unsubscribe anytime.


Comments
No Comments