

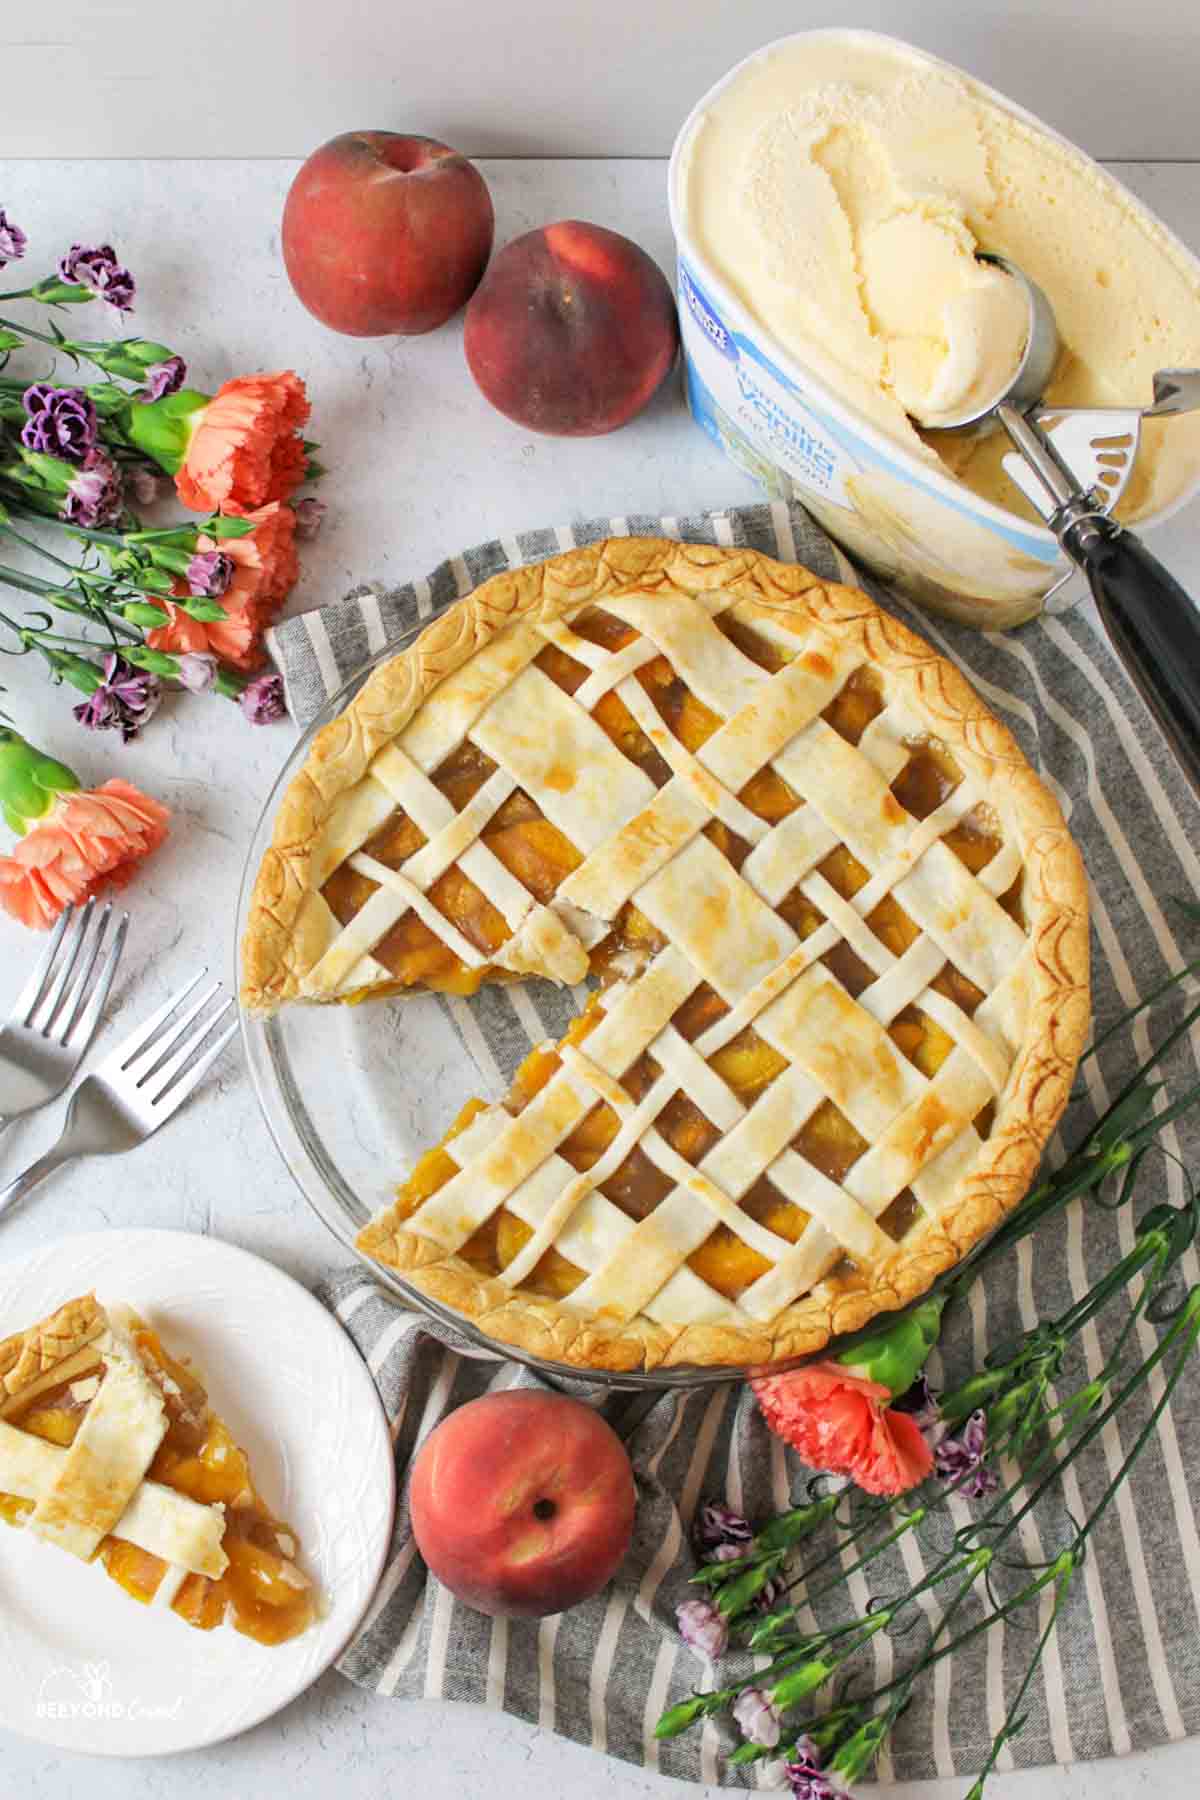
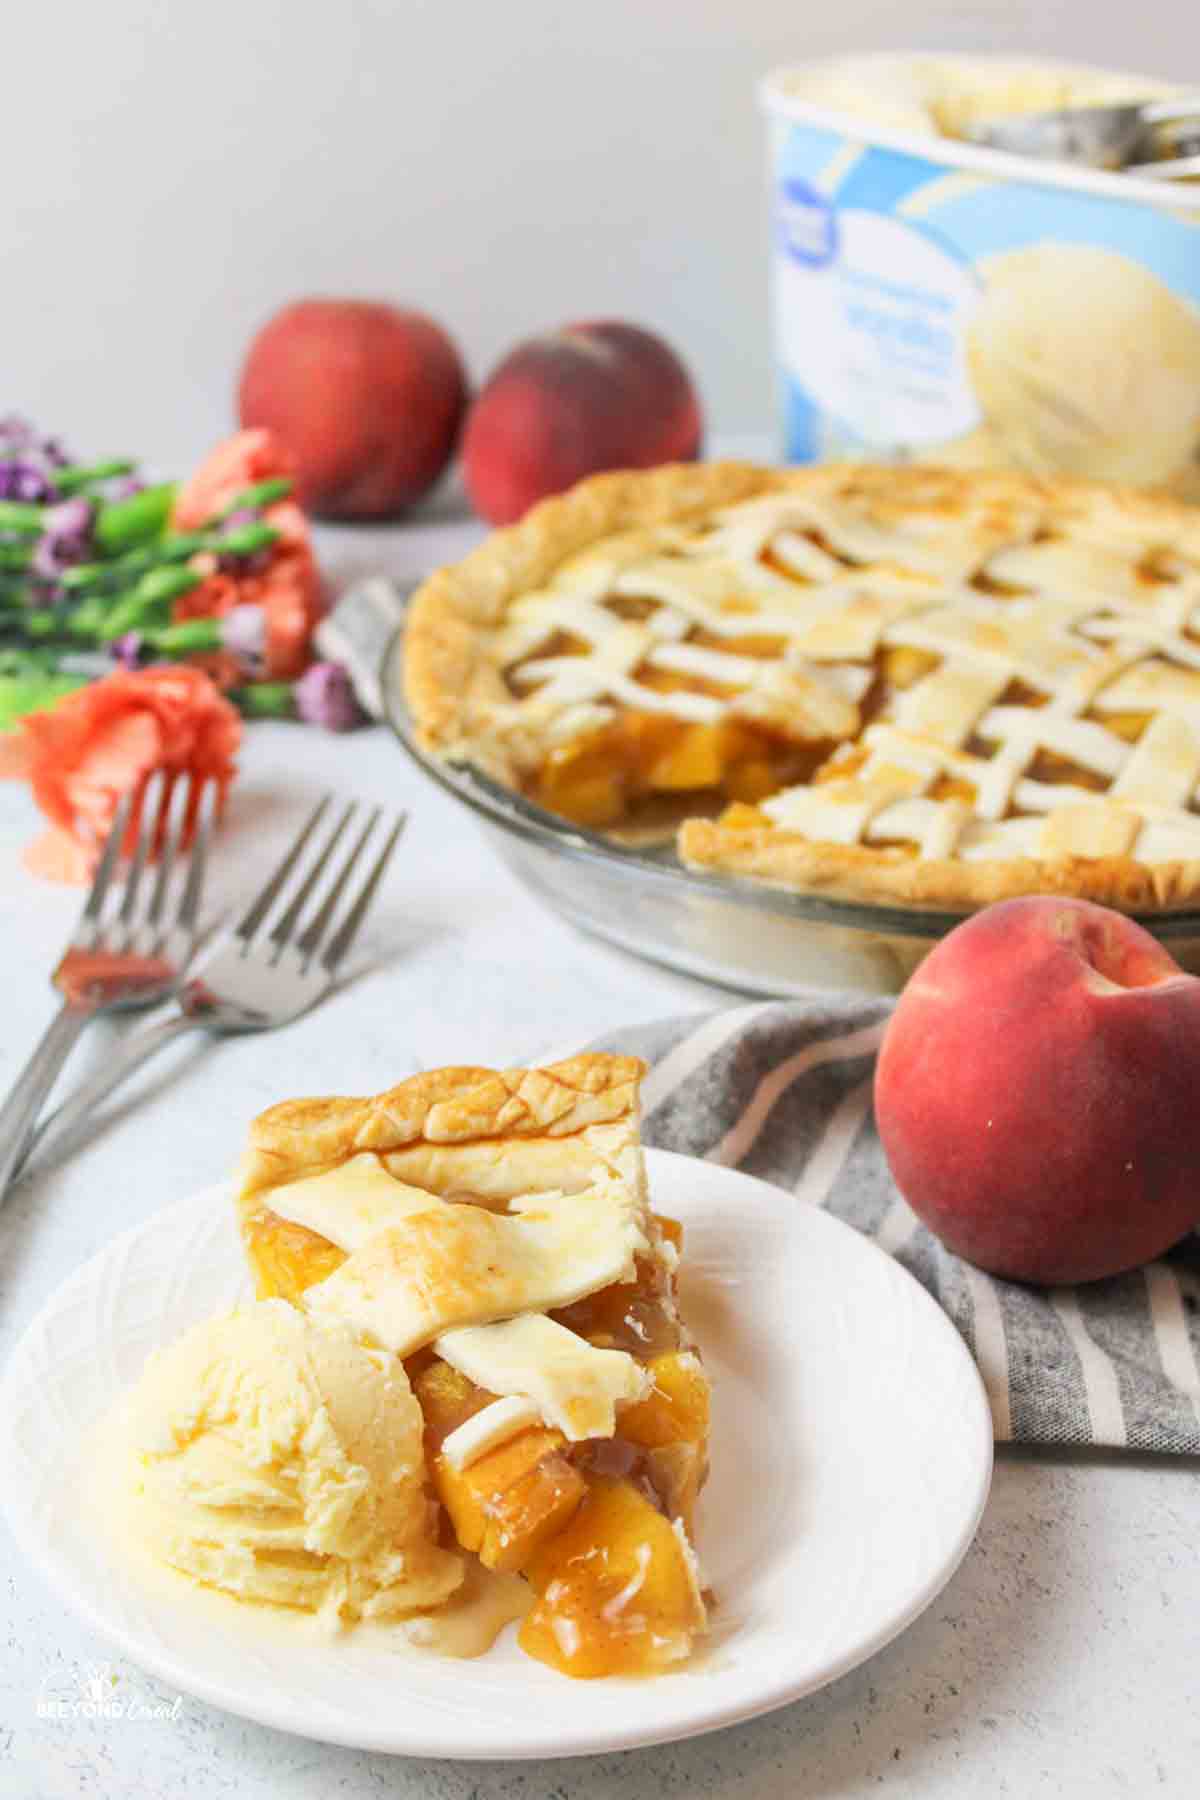
This easy homemade peach pie filling is the perfect thing for your next batch of cooked pies and cobblers. Made with just a few ingredients and frozen peaches, every bite is flavorful and perfect.
Save This Recipe to Your Inbox
By signing up, you’ll join our email list and can unsubscribe anytime.
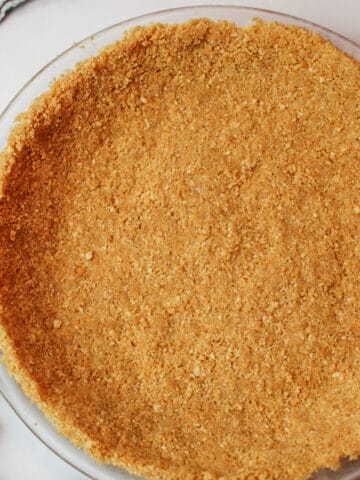
We love peach pie and strawberry peach cobbler too, so this easy peach filling recipe really comes in handy. With just a few basic ingredients, it delivers fabulous results. Whether in a No Bake Graham Cracker Crust or a double pie crust, it adds flavorful simplicity to any pie.
Using frozen peaches for homemade peach pie filling ensures you can savor the taste of summer peaches year-round. Even when fresh peaches are out of season, this recipe captures their essence perfectly. It's versatile enough for various desserts, from classic peach pie to topping your favorites.
For more seasonal pie ideas, explore my recipes for Instant Pot Apple Pie Filling, Applesauce Custard Pie, and Apple Pie with Graham Cracker Crust.
Jump to:
💛 Why You'll Love This Recipe
- Great year round: Peaches are not always in season and their flavor can vary. Frozen peaches are picked and flash frozen at peak ripeness, giving you consistent flavor and texture any time of year.
- Affordable: Frozen peaches are often cheaper than fresh and require no peeling or slicing. This frozen peach pie filling is reliable all year. If you have fresh peaches, try our Peaches and Cream Bundt Cake or Peach Crumble Pie.
- Minimal ingredients: This filling uses simple pantry staples. Add a premade pie crust for an easy dessert that works for any occasion.
🛒 Ingredients
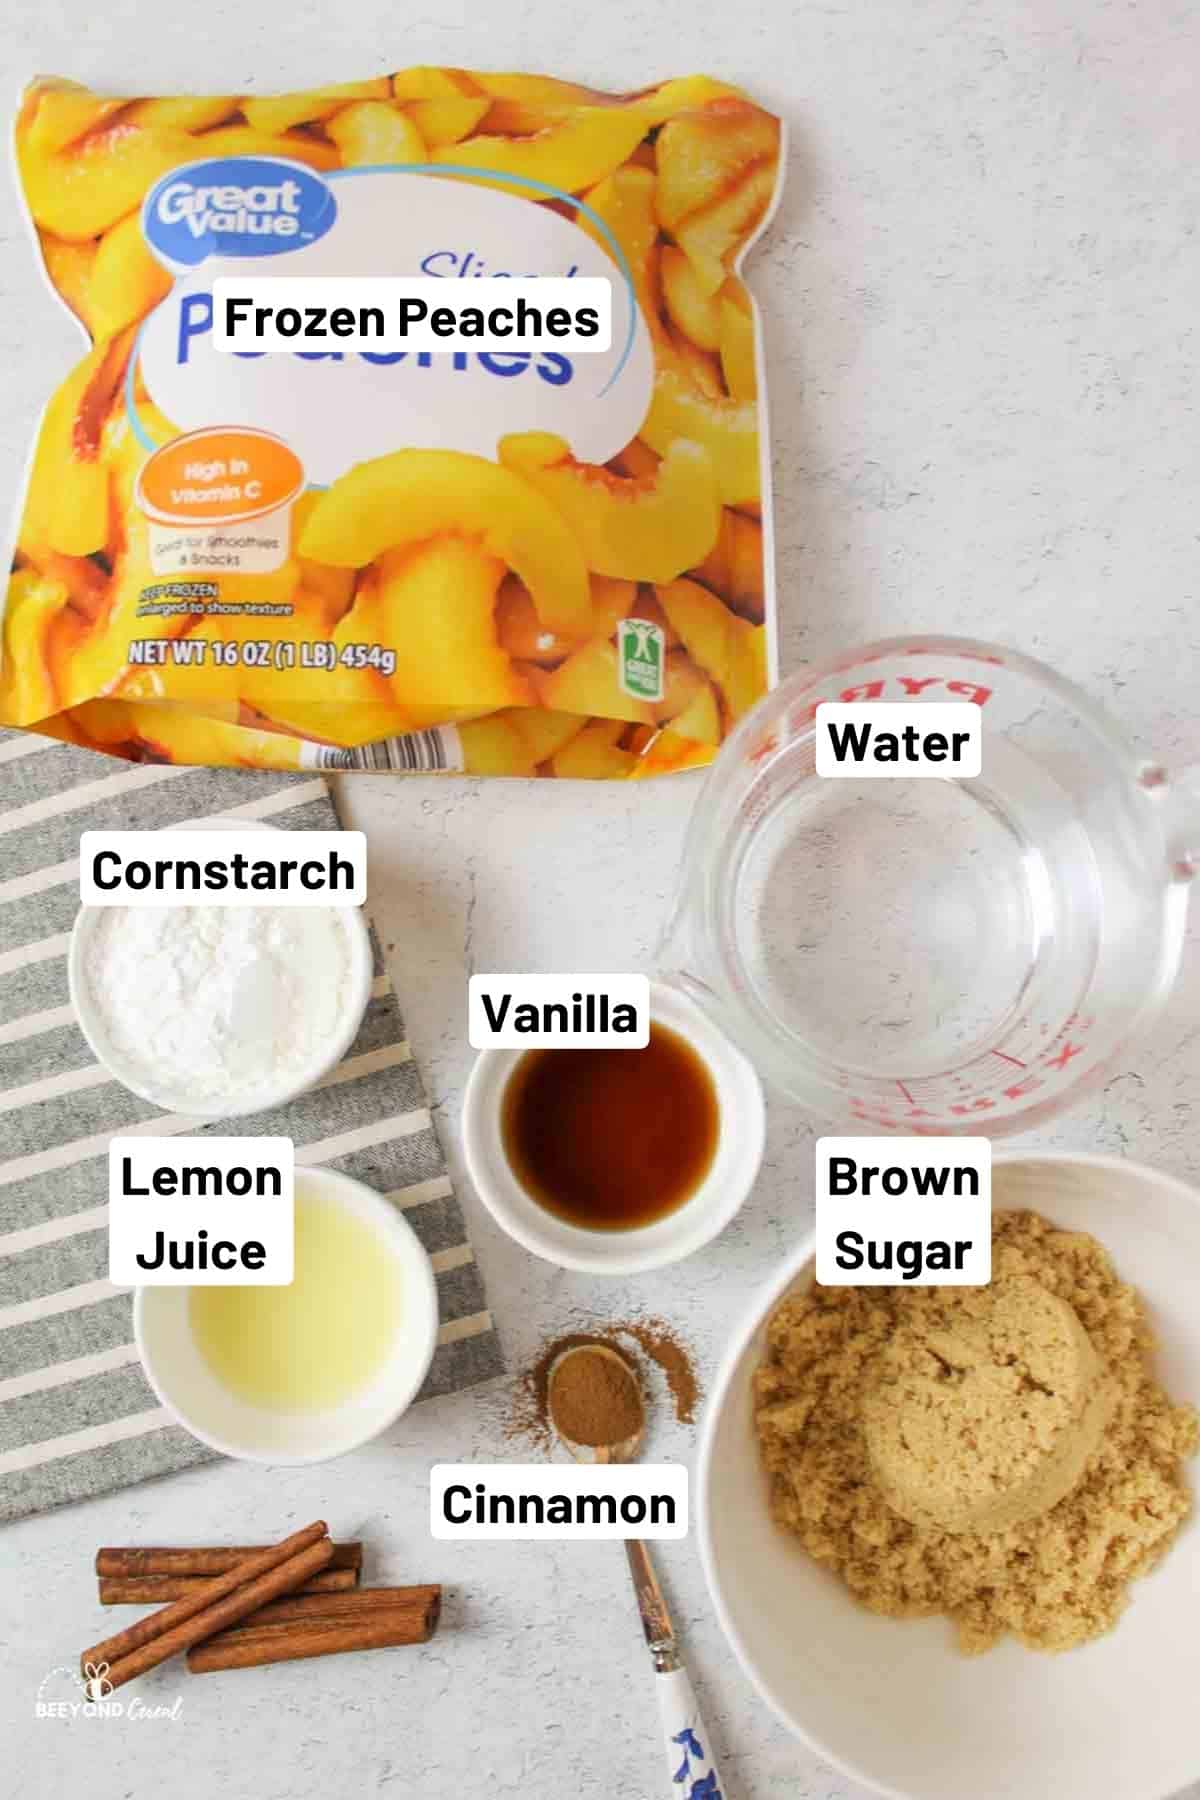
Frozen peaches- You'll want to use a bag of frozen peaches. I like to get mine from Walmart, but a lot of grocery stores (including Aldi) seem to carry it year-round.
Lemon juice- Adding lemon juice will help to give us a nice color and freshness.
Brown sugar- For a depth of flavor and sweetness, we like to use brown sugar, but you can use granulated sugar instead.
Cornstarch- This is the thickening agent, and it will help to keep your filling from becoming too runny.
See the recipe card below for full ingredients and instructions.
💰 Budget-Friendly Tips
Buy sugar in bulk: Brown sugar is often less expensive when purchased in larger bags and stores well for baking projects like this.
Pantry thickener: Cornstarch is an inexpensive pantry staple and stretches far, making it more cost effective than specialty thickeners.
Double and freeze: Make a double batch and freeze half for a future pie or dessert, saving time and money later.
🥄 Instructions for Homemade Peach Pie Filling
Step 1: In a medium or large sized pot over medium high heat, combine the water, lemon juice, sugar, and cinnamon. Whisk in the cornstarch.
Step 2: Stir until the sugar looks dissolved, and then add in the peaches and vanilla extract.
Step 3: Continue cooking and stirring until the mixture becomes thickened. This could take a while, depending on how frozen and cold the peach slices were when they entered the pot.
This is because they have to thaw and warm up before the mixture can solidify. Remember to stir gently so as not to crush the sliced peaches.
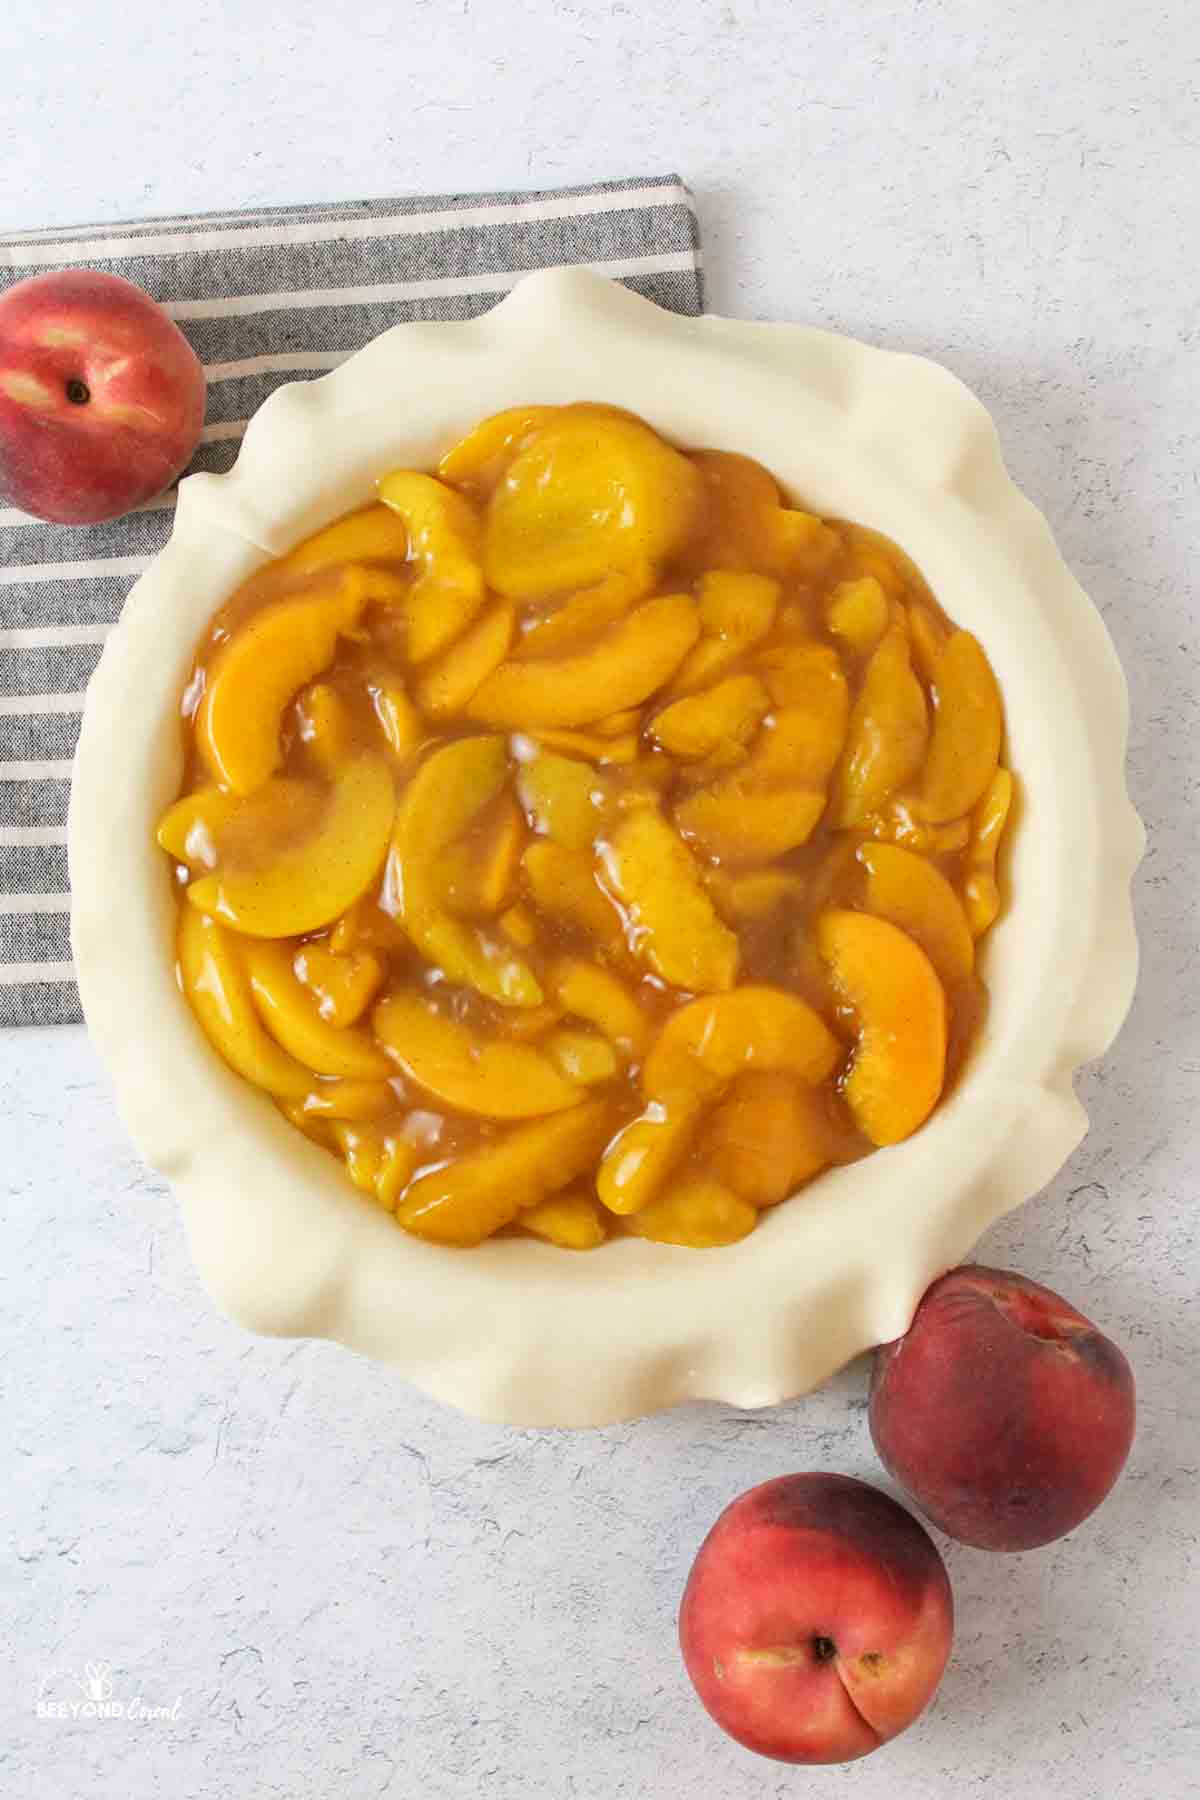
Step 4: Once the filling has thickened, remove it from heat and allow it to cool. Use as desired.
The recipe card below includes steps for making this peach pie filling into a tasty pie.
👩🏻🍳 Expert Tips
- Using Fresh Peaches- Fresh peaches are suitable substitutes for frozen ones and require less cooking time. However, peeling is necessary for fresh peaches.
- Reducing Cooking Time- Warming frozen peach slices to room temperature can expedite the cooking process.
- Pie Option- Instructions for transforming this peach pie filling into a delicious pie are provided on the recipe card below.
❄️ Storage, Reheating & Make Ahead
Storage: Store cooled peach filling in an airtight container in the refrigerator for up to 5 days.
Reheating: Reheat gently on the stovetop over low heat or in the microwave in short intervals, stirring between, until warmed through.
Make Ahead: This filling is perfect for making ahead. Prepare it up to 3 days in advance and refrigerate until ready to use, or freeze for longer storage.
🥗 Side Dishes or Pairing Ideas
Homemade pie crusts cost less than store-bought and bring extra flavor to your pie. If time allows, try one of these homemade options for a crust that pairs beautifully with peach filling.
- Homemade Pie CrustRecipe $2.54 / Crust $1.27
- Sourdough Pie CrustRecipe $3.10 / Crust $1.55
- Vinegar Pie CrustRecipe $1.24
- No Bake Graham Cracker CrustRecipe $1.52


❓ Recipe FAQs
This peach pie filling once made can be cooled and stored in the fridge in an airtight container for up to 4 or 5 days.
If you don't cook the filling long enough on the stove for it to become thickened, the results will be soupy and runny later. Another good reason could be that you didn't allow the pie or dessert to cool long enough after baking.
This pie filling has a thickener that activates at high heat but it doesn't thicken completely until the mixture begins to cool down. Allowing the pie to cool will help it to solidify enough that it isn't a runny mess.
You can use this pie filling in a cobbler, pie, or tart, or use it as a topping on ice cream. I like peach dump cakes because they're easy and flavorful too.
🍽️ More Recipes You'll Love
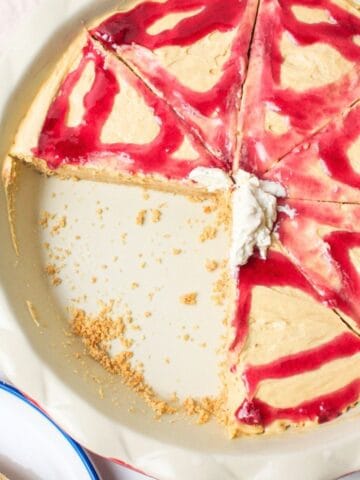
- No Bake Cool Whip CheesecakeRecipe $7.14 / Serving $0.60
- Rustic Strawberry GaletteRecipe $4.30 / Serving $0.71
- No Bake Pumpkin CheesecakeRecipe $5.52 / Serving $0.46
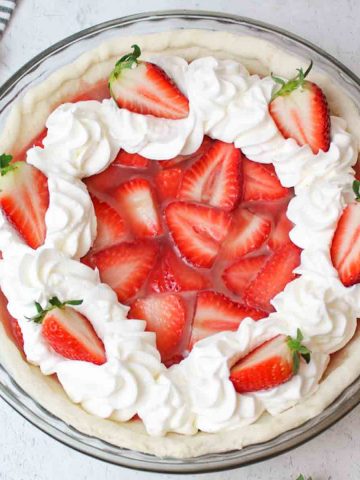
- Fresh Strawberry PieRecipe $7.42 / Serving $0.93

🐝 If you tried this Homemade Peach Pie Filling, please leave a ⭐️ star rating and share your buzz in the 💬 comments below. I'd truly appreciate it!
📖 Recipe

Homemade Peach Pie Filling
Ingredients
- 1 cup water - ($0.00)
- 1 tablespoon lemon juice - ($0.06)
- 1 cup brown sugar - ($0.44)
- ⅛ teaspoon ground cinnamon - ($0.01)
- ¼ cup cornstarch - ($0.16)
- 5 cups frozen peaches, sliced - ($2.97)
- 2 teaspoon vanilla extract - ($0.06)
Instructions
- Cook filling. In a medium to large pot over medium-high heat, whisk together the water, lemon juice, brown sugar, ground cinnamon, and cornstarch until smooth.
- Add fruit. Stir in the frozen peaches and vanilla extract.
- Thicken. Continue cooking, stirring gently and frequently, until the peaches thaw and the mixture thickens. This may take several minutes depending on how frozen the peaches are.
- Cool. Remove from heat once thickened and allow the filling to cool before using.
Optional: Turn Filling into a Pie
- Assemble. Preheat the oven to 450°F. Press a prepared pie crust into a pie plate. Add cooled peach filling and top with a second crust. Crimp edges, cut vents, and brush with egg wash (1 large egg beaten with 1 tablespoon water).
- Bake. Bake at 450°F for 10 minutes, then reduce heat to 350°F and continue baking for 20 to 25 minutes. Loosely cover crust edges with foil if browning too quickly.
- Rest. Cool completely before slicing to allow the filling to set.
Notes
- Texture. Fully thickening the filling on the stovetop prevents a runny pie.
- Peaches. Fresh peaches can be used and will reduce cooking time.
- Cooling. Cooling is essential for proper slicing and structure.
- Storage. Store filling in an airtight container in the fridge for 4 to 5 days.
- Uses. Ideal for pies, cobblers, tarts, dump cakes, or as an ice cream topping.
Nutritional Information
Save This Recipe to Your Inbox
By signing up, you'll join our email list and can unsubscribe anytime.


Comments
No Comments