

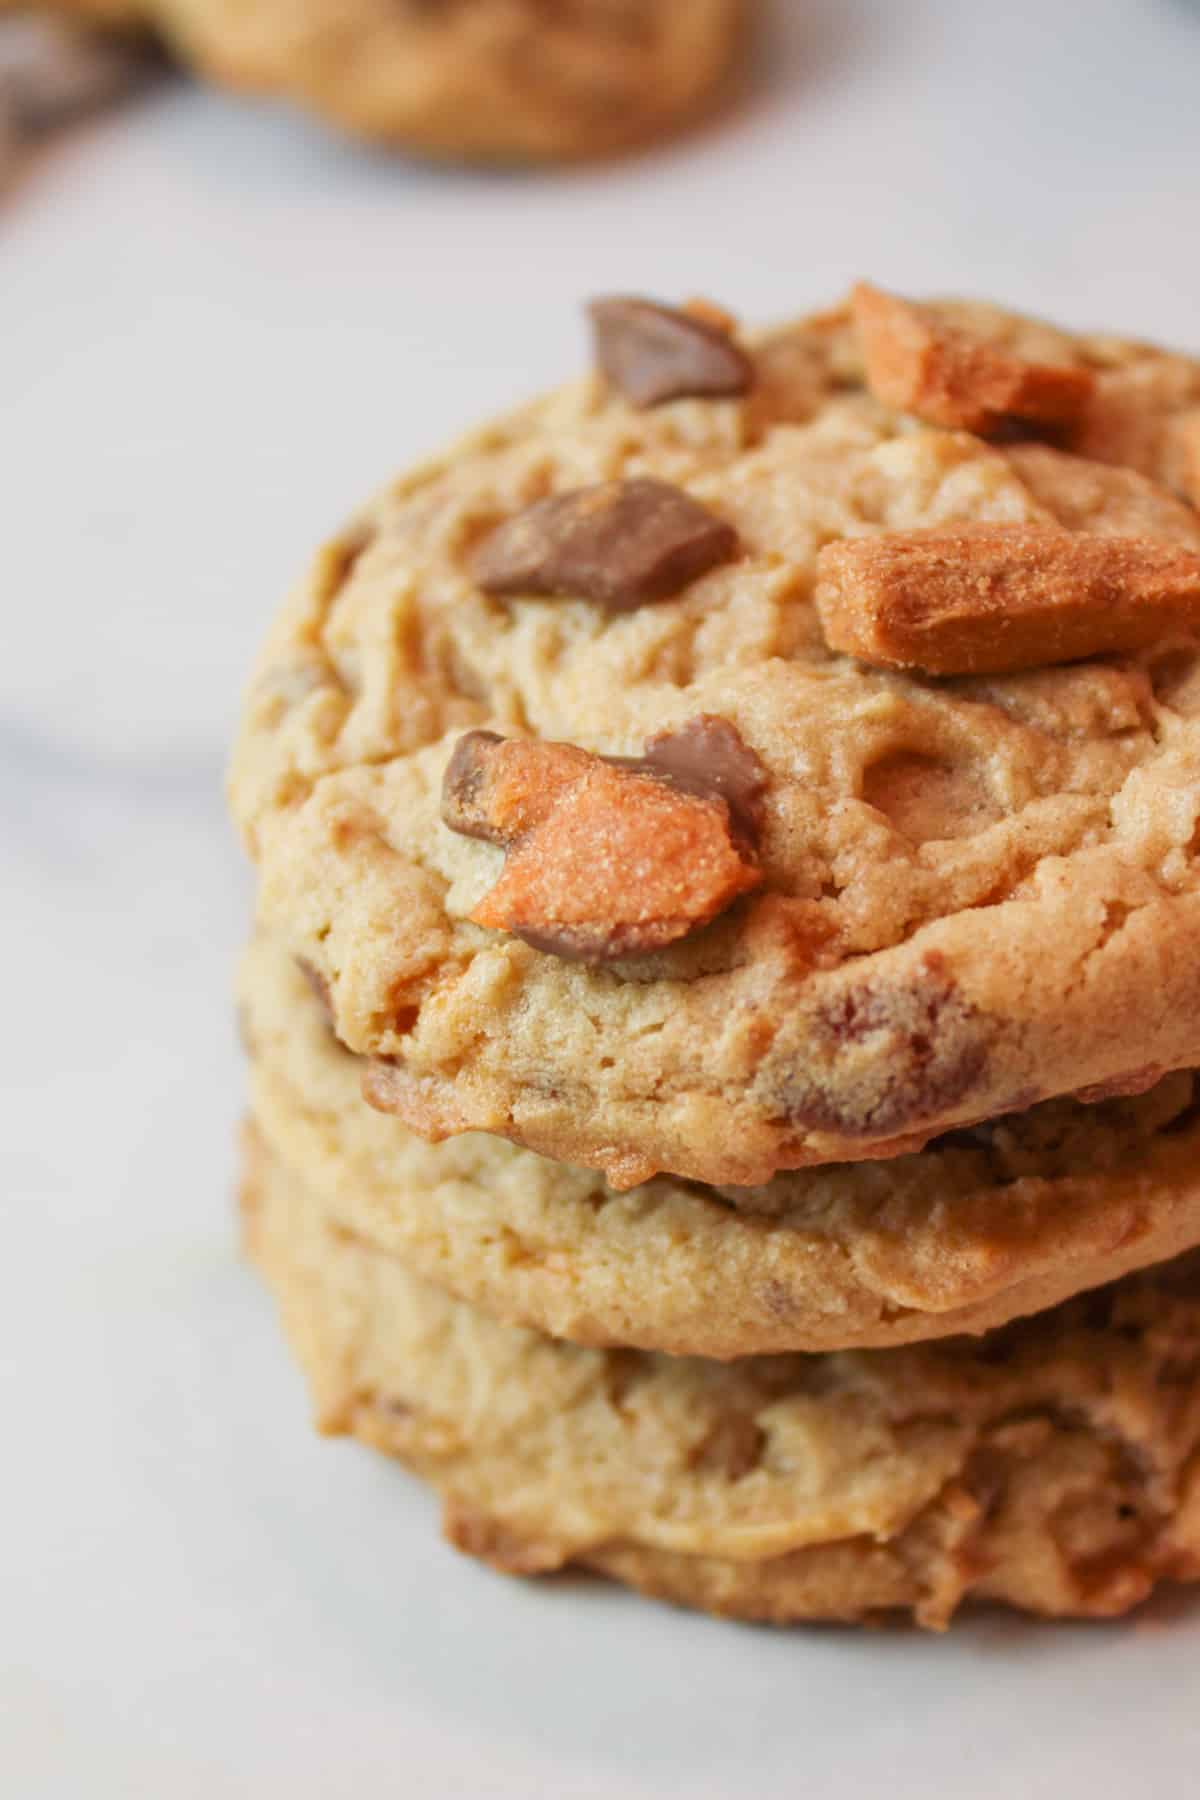
When I say that these peanut butter Butterfinger cookies will become your favorite cookie, I truly mean it. From the soft, tender cookie to the chewy sweet candy pieces, these cookies are fabulous!
Save This Recipe to Your Inbox
By signing up, you’ll join our email list and can unsubscribe anytime.
While attempting a Pantry Challenge, I discovered a bag of Butterfinger bits from a recent ice cream party with the kids.
Inspired, I transformed these bits into the most divine cookies ever. Adapted from my Fluffernutter Peanut Butter Cookies, these cookies are a pure delight!
Soft, chewy, and bursting with flavor, they're irresistible. I confess, I devoured most of them within 24 hours, they're that good!
As a peanut butter cookie lover, these scratch-made treats are a special treat. While I typically enjoy my Cake Mix Peanut Butter Cookies or Cake Mix Peanut Butter Blossoms, these homemade PB cookies are a true delight.
If you still have Butterfinger bars left, try pairing them with my Butterfinger hot cocoa for the ultimate treat combo!
Jump to:
💛 Why You'll Love This Recipe
- They're great for leftover candy! Holidays like Easter or Halloween often mean an abundance of candy in the house. These cookies are perfect for using up any Butterfinger Bars that you may have sitting around. But don't forget that my Milk Dud Cookies are another excuse to shove candy in cookie dough too.
- It's simple. There are only a few ingredients needed to make this Butterfinger cookie recipe. It comes together quickly too, making it perfect for any occasion.
- Easy to follow steps. The steps needed to make these cookies are very simple and easy, making them beginner-friendly! Great for a first-time baker.
🛒 Ingredients

Sugars- For soft and chewy cookies, you'll want to use both brown sugar and granulated sugar. (This is a pretty common trend with cookies, like in my Butterscotch Chocolate Chip Cookies).
Peanut Butter- I prefer to use creamy peanut butter but feel free to use chunky if that's what you'd like. I tested this recipe with basic peanut butter like Jif and Skippy, and I do not recommend high fat or fancier nut butter as the consistency and moisture content are not the same.
You can use any kind peanut butter in recipes like my Peanut Butter Banana Overnight Oats or Spicy Peanut Butter Ramen, but baking recipes have to be more precise for accurate results.
Butterfingers bar- For that delicious peanut butter chocolate flavor, you'll want to use Butterfinger candy bars. Use more for garnish if desired. Using Butterfinger bits works fine too.
See the recipe card below for full ingredients and instructions.
💰 Budget-Friendly Tips
Buy candy bars in bulk. Grab Butterfinger bars from the value pack or the baking section instead of single bars, much cheaper per ounce.
Freeze extras. These cookies freeze beautifully, make a double batch while ingredients are cheap and save some for later.
Use up leftovers. Crumble leftover candy pieces over ice cream or yogurt instead of tossing them, nothing goes to waste!
Use up Halloween leftovers. Chop up any mini chocolate bars, Butterfingers, Reese's, Snickers, Milky Way, or even KitKats, and fold them into the dough. A mix of candies adds fun flavor and texture while preventing waste.
🥄 Instructions for Peanut Butter Butterfinger Cookies
Step 1: Preheat the oven to 350 degrees F.
Step 2: Line a baking sheet with parchment paper and set it aside.

Step 3: Add the flour, baking powder, baking soda, and salt to a large mixing bowl (Image 1).
Step 4: Whisk together to combine. Set aside.
Step 5: In another bowl, add the butter and sugars (Image 2).
Step 6: Cream together until light and fluffy.
Step 7: Add in the egg and vanilla (Image 3).
Step 8: Mix again until combined (Image 4).

Step 9: Add in the peanut butter (Image 5).
Step 10: Mix until smooth (Image 6).
Step 11: Add your dry ingredients to the peanut butter mixture (Image 7).
Step 12: Mix together until just combined (Image 8). Do not overmix.

Step 13: Crush your Butterfinger candy bars into small pieces and add to the cookie dough (Image 9).
Step 14: Fold them together to distribute them throughout the dough evenly (Image 10).
Step 15: Scoop the dough using a medium-sized cookie scoop or 2 rounded tablespoons. Place onto your baking sheet evenly spaced about 2 inches apart (Image 11).
Step 16: Bake in the oven at 350 degrees F for 10-12 minutes or until the edges look set and the tops are no longer glossy. Immediately top with additional candy pieces (if desired) (Image 12).
Step 17: Let cookies cool on the baking sheet for about 5-10 minutes before transferring them to a wire cooling rack to cool completely.
👩🏻🍳 Expert Tips
- Let the cookies cool before moving. The hardest part about making these cookies is having the patience to let them cool properly and then removing them from the baking sheet.
- More patience = better results. Due to the soft texture of these Butterfinger bits cookies, it's best to leave the cookies to cool completely on the baking sheets before transferring them to a wire cooling rack. Waiting 5-10 minutes may be fine, but longer is better.
- Pro tip for easy cookie transport. Using a greased spatula helps get under them with little to no tearing of the cookie.
❄️ Storage, Reheating & Make Ahead
Storage: Store baked cookies in an airtight container at room temperature for up to 5 days. They stay soft and chewy for days but are best enjoyed fresh.
Reheating: Warm cookies in the microwave for 8-10 seconds to bring back that fresh-from-the-oven texture and melt the candy bits slightly.
Make Ahead: Prepare the dough up to 3 days in advance and refrigerate in a covered container until ready to bake. You can also freeze scooped cookie dough balls or fully baked cookies for up to 3 months. For best results, flash-freeze on a baking sheet for 1-2 hours before transferring to a freezer-safe container.
🥗 Side Dishes or Pairing Ideas
These cookies pair perfectly with a cold glass of milk or a warm cup of hot cocoa. You can also turn them into easy ice cream sandwiches using vanilla or peanut butter ice cream.
For parties, serve them on a snack board with popcorn, pretzels, or salted nuts for a sweet-and-salty combo, or include them on a dessert table with brownies and blondies for a fun variety.
- Butterfinger Hot ChocolateRecipe $4.89 / Serving $2.45
- Rolo Stuffed Ritz CrackersRecipe $2.33 / Serving $0.47
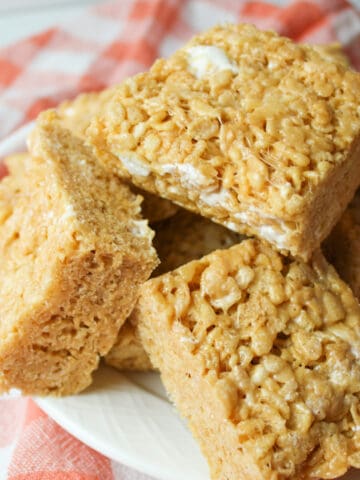
- Peanut Butter Rice Krispie TreatsRecipe $2.90 / Serving $0.24
- Rolo Turtle FudgeRecipe $14.58 / Serving $0.91


❓ Recipe FAQs
Yes, adding milk chocolate chips would make these cookies full of rich flavor and goodness. I recommend adding no more than 1 cup of chocolate chips as there's plenty of candy in the dough already as well. Save any remaining chocolate chips for recipes like Chocolate Chip Loaf Cake or Honey Chocolate Chip Cookies.
The crispy center part of a Butterfinger candy bar is layers of peanut butter, just another reason why this cookie dough pairs perfectly with this candy.
You don't need to chill this cookie dough recipe, but you can if you want to. Just scoop and bake (from chilled) when ready. Note that you may need an extra minute or two while baking, but cooking the dough while it's still fridge temp cold is fine.

🍽️ More Recipes You'll Love
- Milk Dud CookiesRecipe $4.09 / Serving $0.11
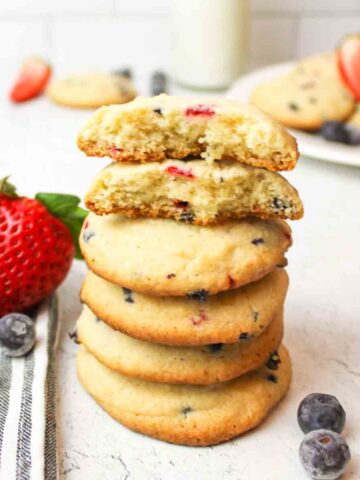
- Triple Berry Muffin Mix CookiesRecipe $3.41 / Serving $0.17
- Pumpkin White Chocolate Chip CookiesRecipe $3.64 / Serving $0.20
- Chocolate Chip Pecan CookiesRecipe $2.73 / Serving $0.09

🐝 If you tried these Peanut Butter Butterfinger Cookies, please leave a ⭐️ star rating and share your buzz in the 💬 comments below. I'd truly appreciate it!
📖 Recipe

Peanut Butter Butterfinger Cookies
Ingredients
- ½ cup unsalted butter, softened - ($0.99)
- ¾ cup brown sugar, packed - ($0.19)
- ¼ cup granulated sugar - ($0.09)
- 1 large egg - ($0.15)
- 2 teaspoons vanilla extract - ($0.06)
- ½ cup creamy peanut butter - ($0.59)
- 1 ½ cup all-purpose flour - ($0.20)
- ½ teaspoon baking powder - ($0.02)
- ½ teaspoon baking soda - ($0.01)
- ¼ teaspoon salt - ($0.01)
- 1 cup Butterfinger candy bar pieces, crushed - ($1.43)
Instructions
- Prep. Preheat oven to 350°F. Line a baking sheet with parchment paper.
- Mix dry ingredients. In a medium bowl, whisk together flour, baking powder, baking soda, and salt. Set aside.
- Cream butter and sugars. In a large bowl, beat butter, brown sugar, and granulated sugar until light and fluffy.
- Add wet ingredients. Mix in egg and vanilla until combined. Add peanut butter and mix until smooth.
- Combine dough. Add dry ingredients to the wet mixture and mix just until combined. Do not overmix.
- Fold in candy. Gently fold in crushed Butterfinger pieces until evenly distributed.
- Portion. Scoop dough using a medium cookie scoop or about 2 rounded tablespoons. Place on the baking sheet about 2 inches apart.
- Bake. Bake 10 to 12 minutes, until edges are set and tops are no longer glossy. Press extra candy pieces on top if desired.
- Cool. Let cookies cool on the baking sheet 5 to 10 minutes, then transfer to a wire rack to cool completely.
Notes
- Baking Tip. Let cookies cool fully on the baking sheet before moving to prevent tearing. A greased spatula helps.
- Make Ahead. Refrigerate unbaked dough up to 3 days.
- Storage. Store baked cookies in an airtight container at room temperature up to 5 days.
- Freezing. Freeze unbaked dough or baked cookies after flash-freezing. Store up to 3 months and thaw before using.
Nutritional Information
Save This Recipe to Your Inbox
By signing up, you'll join our email list and can unsubscribe anytime.


Comments
No Comments