

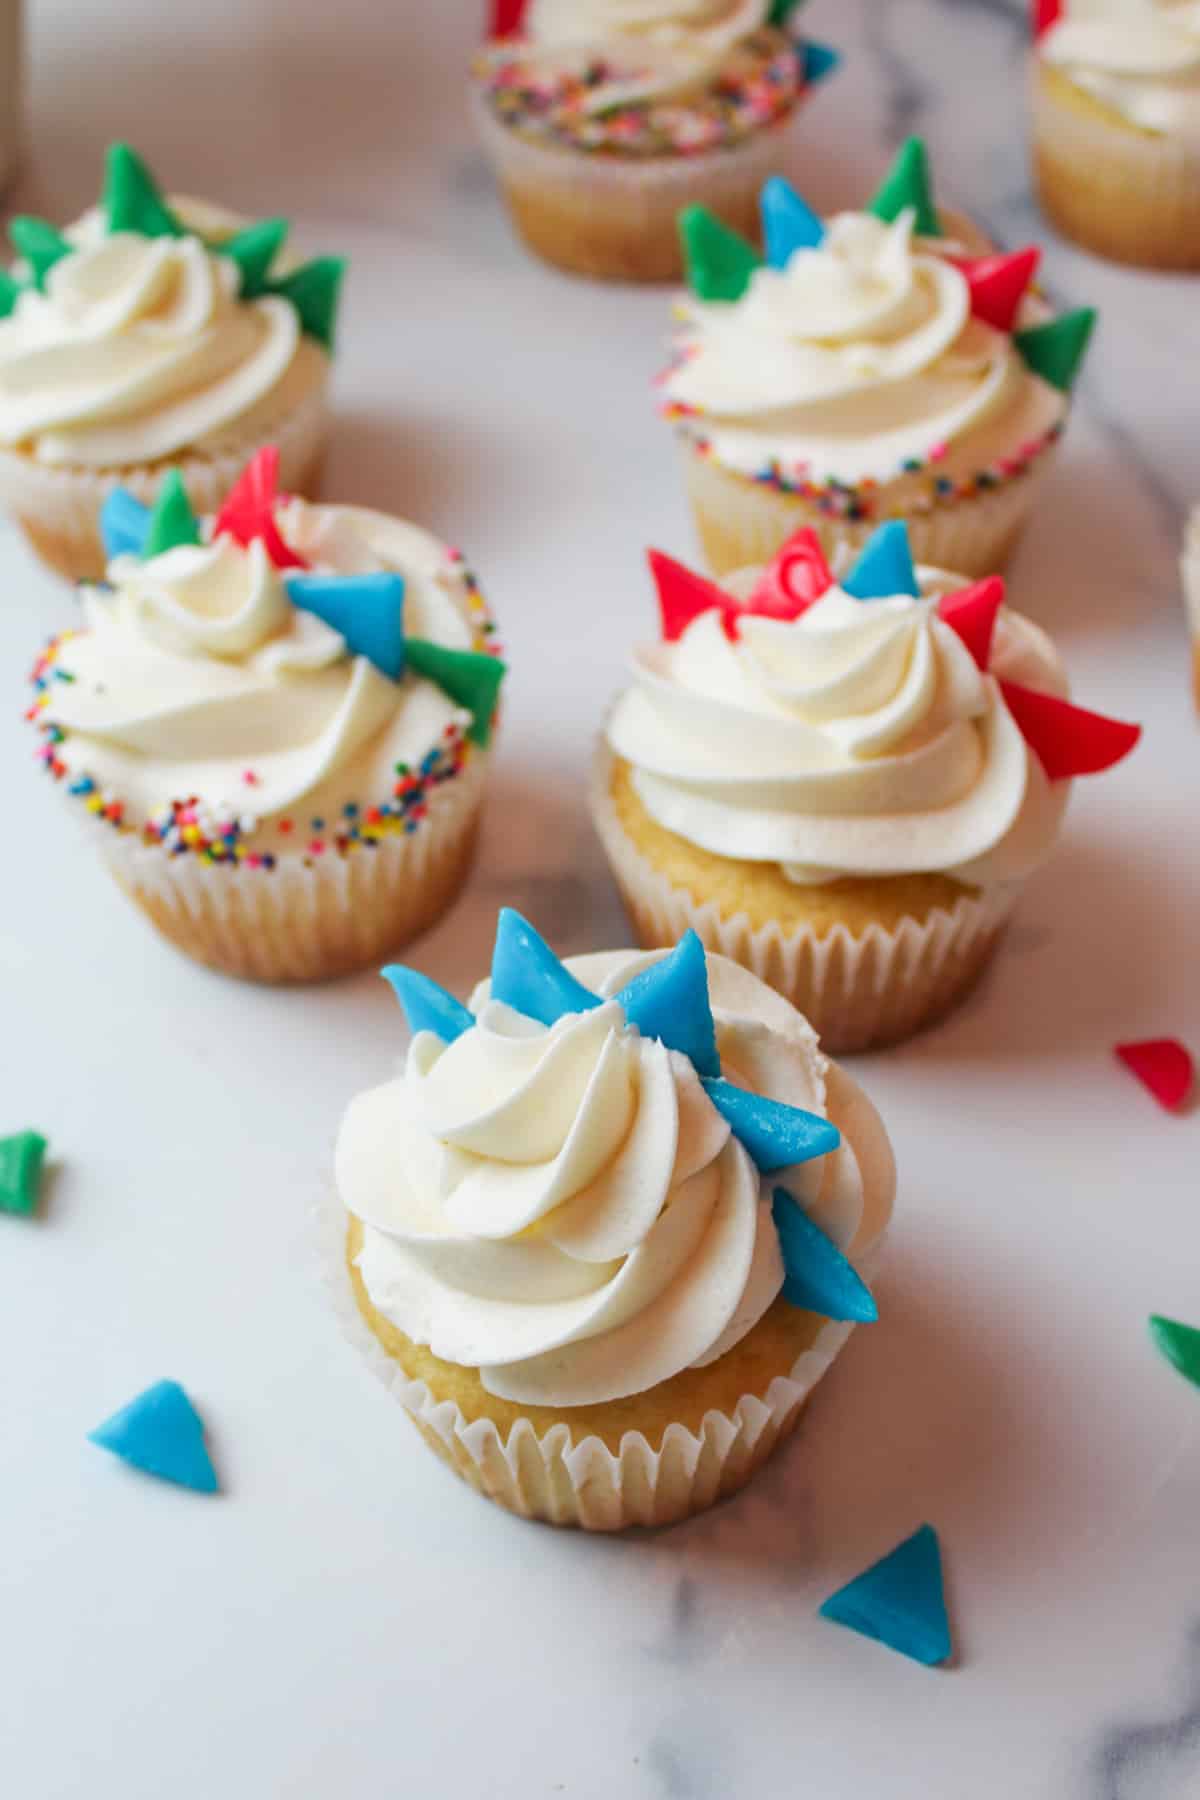
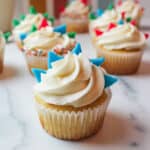
Birthday parties can be complicated, but desserts should be simple. With these easy dinosaur cupcakes, you can have a perfectly festive-themed dessert that's cheap, easy, and so much fun for all ages.

Save This Recipe to Your Inbox
By signing up, you’ll join our email list and can unsubscribe anytime.
You're never too old for a fun dinosaur-themed party, and I'm sure Ross Geller from Friends would agree. These dinosaur cupcakes serve up the right amount of fun and color without being too over the top.
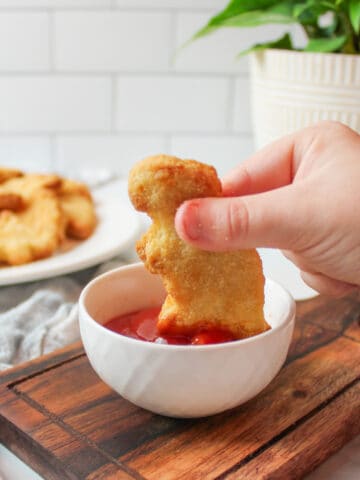
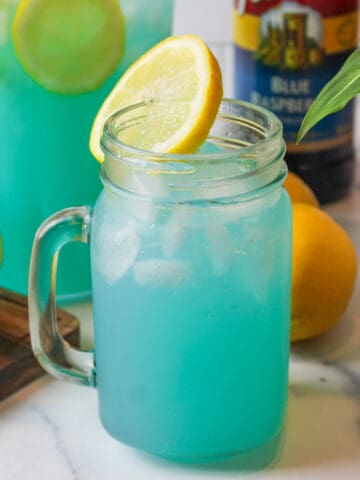
While these are perfect for setting the scene at your next dessert table, make sure to leave room on the table for some Blue Raspberry Lemonade and Air Fryer Dino Nuggets too!
Having fun with themed cupcakes is nothing new here, just check out our Nacho Cupcakes and Seedling Cupcakes and see for yourself. Made with boxed cake mix, these treats don't get much easier than this.
Jump to:
💛 Why You'll Love This Recipe
- Not too much food coloring. As a parent, I know there are a lot of us out there who try to avoid unnecessary food coloring for one reason or another, and that's just one more reason to enjoy these dinosaur cupcakes. You can add as much or as little food coloring as you want to the frosting, and they'll still look great.
- They're easy. A box of cake mix turned into cupcakes and a simple buttercream frosting are all you'll have to make. After that, we get the fun of assembling it all together!
- They're totally customizable. Use any color of Airheads desired to help fit in with the color scheme or theme of your next party. Add sprinkles or a cool cupcake liner too! You can even use homemade Oreo Buttercream Frosting!
🛒 Ingredients
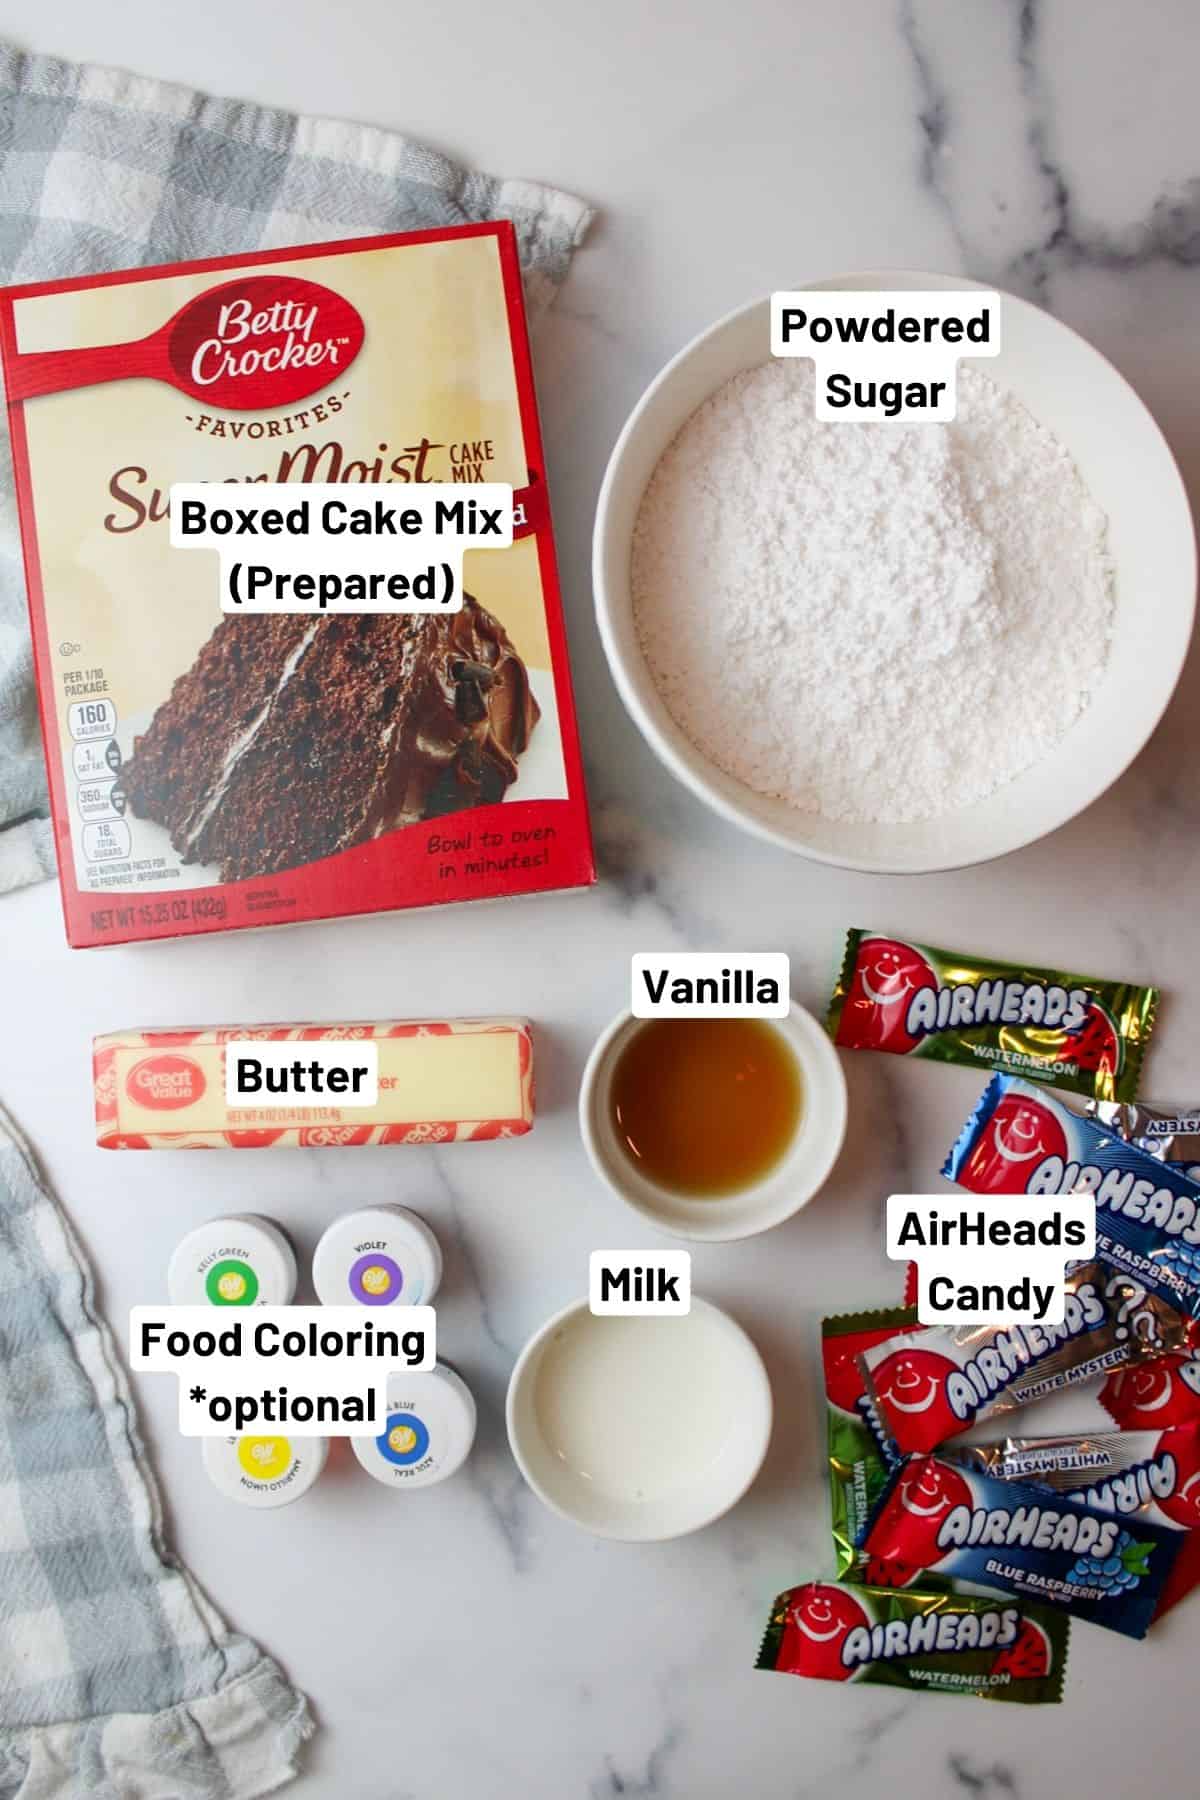
Cake mix- You can use any flavor of cake mix desired. We use cake mix pretty much any chance we get for recipes like Jiffy Cornbread With Cake Mix, Microwave Ice Cream Cone Cupcakes and Cake Mix Blueberry Muffins.
Powdered sugar- This is the base of the buttercream frosting recipe and will give us a smooth sweet finish.
Airhead candies- Use any flavor of Airhead candy desired. These will be the scales on our dinosaur cupcakes.
See the recipe card below for full ingredients and instructions.
🔀 Substitutions & Variations
Dairy Free. You can make this Dinosaur Cupcakes recipe dairy free by using nondairy plant based milk like Almond milk instead of whole milk or cows milk.
Use shortening (like Crisco) in place of the butter. You will need 1.5 cups of shortening). Double check the box of cake mix as some may contain dairy in the ingredients. Airheads are dairy free.
💰 Budget-Friendly Tips
Buy in bulk when possible. Sprinkles, powdered sugar, and cupcake liners are cheaper when bought in larger packs.
Skip extra coloring. You can avoid buying food coloring by relying on the colors of the Airheads.
Stretch the frosting. If you're low on frosting, pipe a smaller swirl and let the Airhead spikes be the main decoration.
🥄 Instructions for Dinosaur Cupcakes
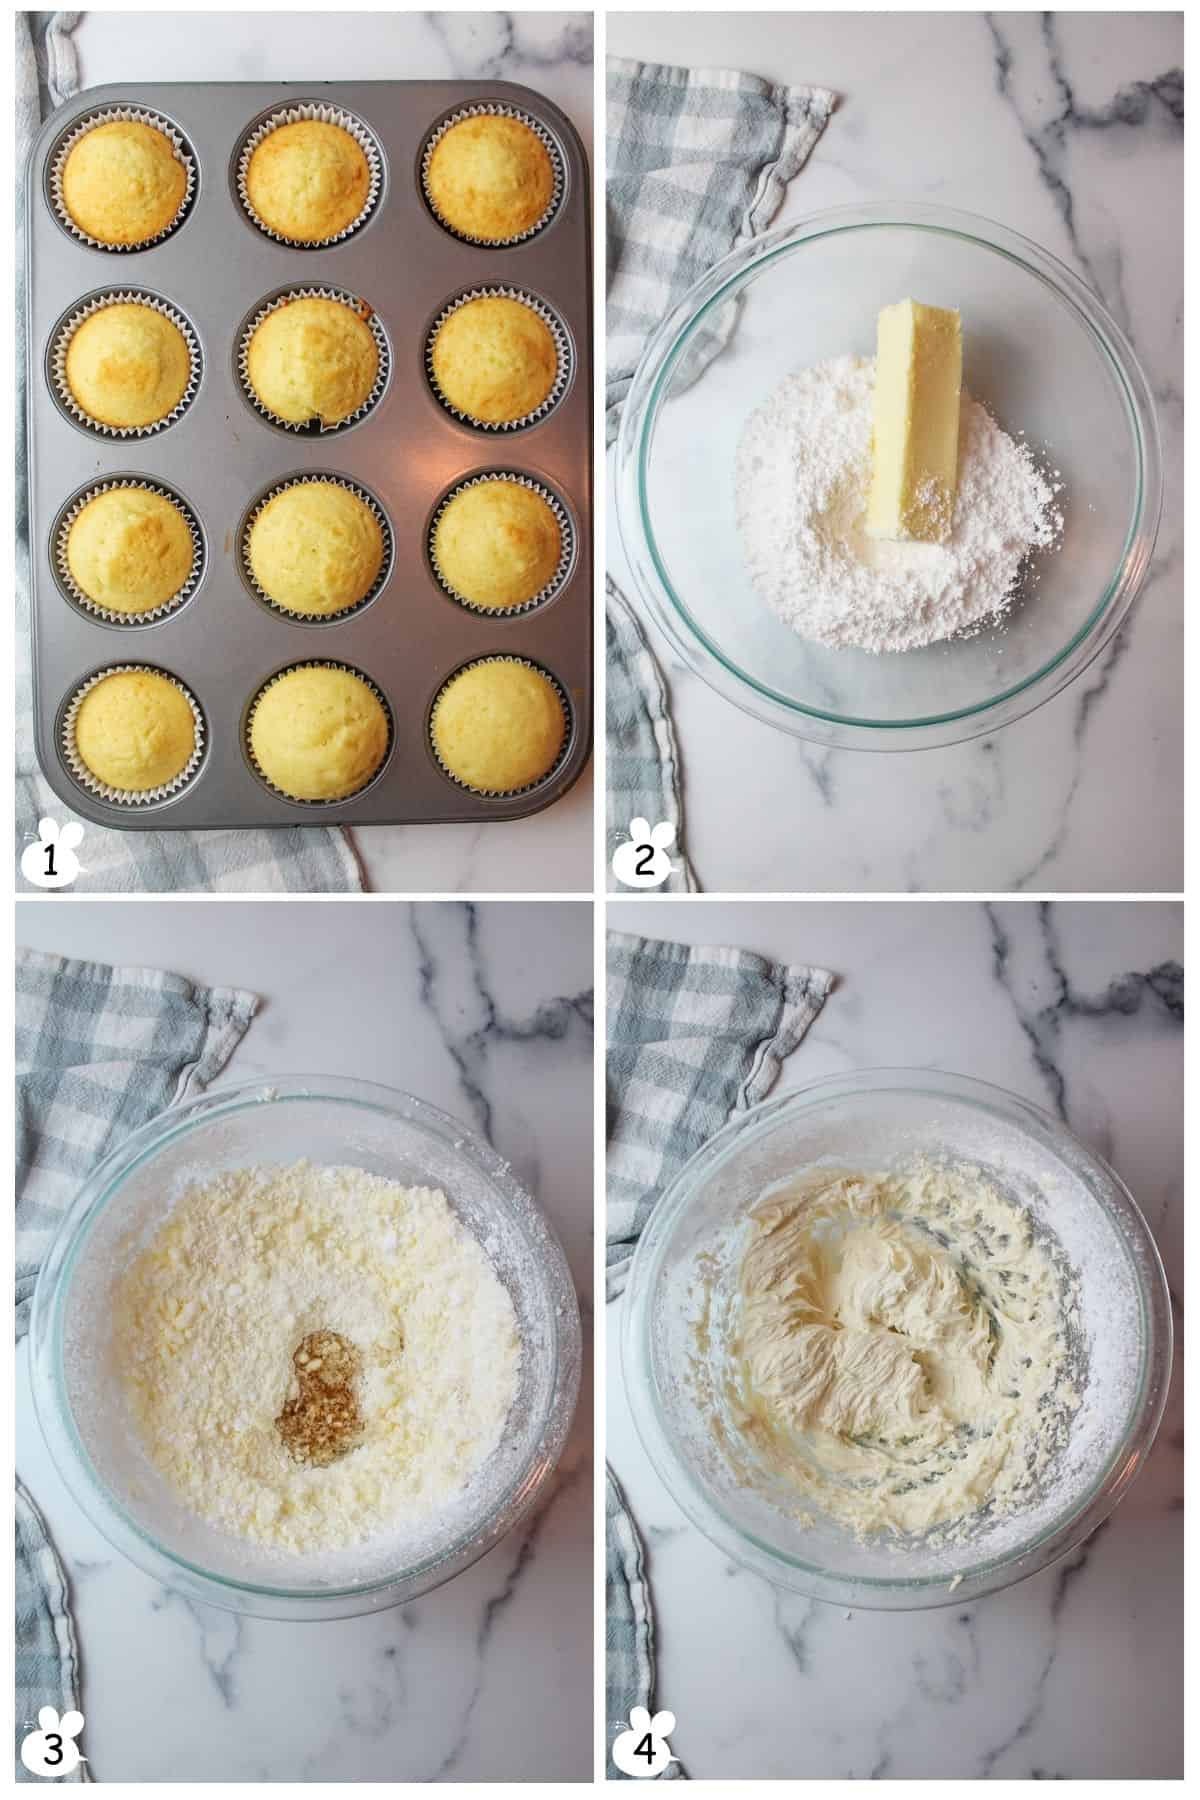
Step 1: Make cupcakes according to the box's instructions. Let cool completely before use (Image 1).
Step 2: Add the butter and powdered sugar to a large mixing bowl (Image 2). Mix together until blended.
Step 3: Add in the vanilla extract (Image 3). Mix again until combined.
Step 4: Add in the milk, one tablespoon at a time, blending after each addition until the frosting is to your desired consistency (Image 4).
Step 5: Once ready, you can divide and color or add to a piping bag with a fitted tip. I like to use a Wilton 1M tip for my frosted cupcakes. Set aside.
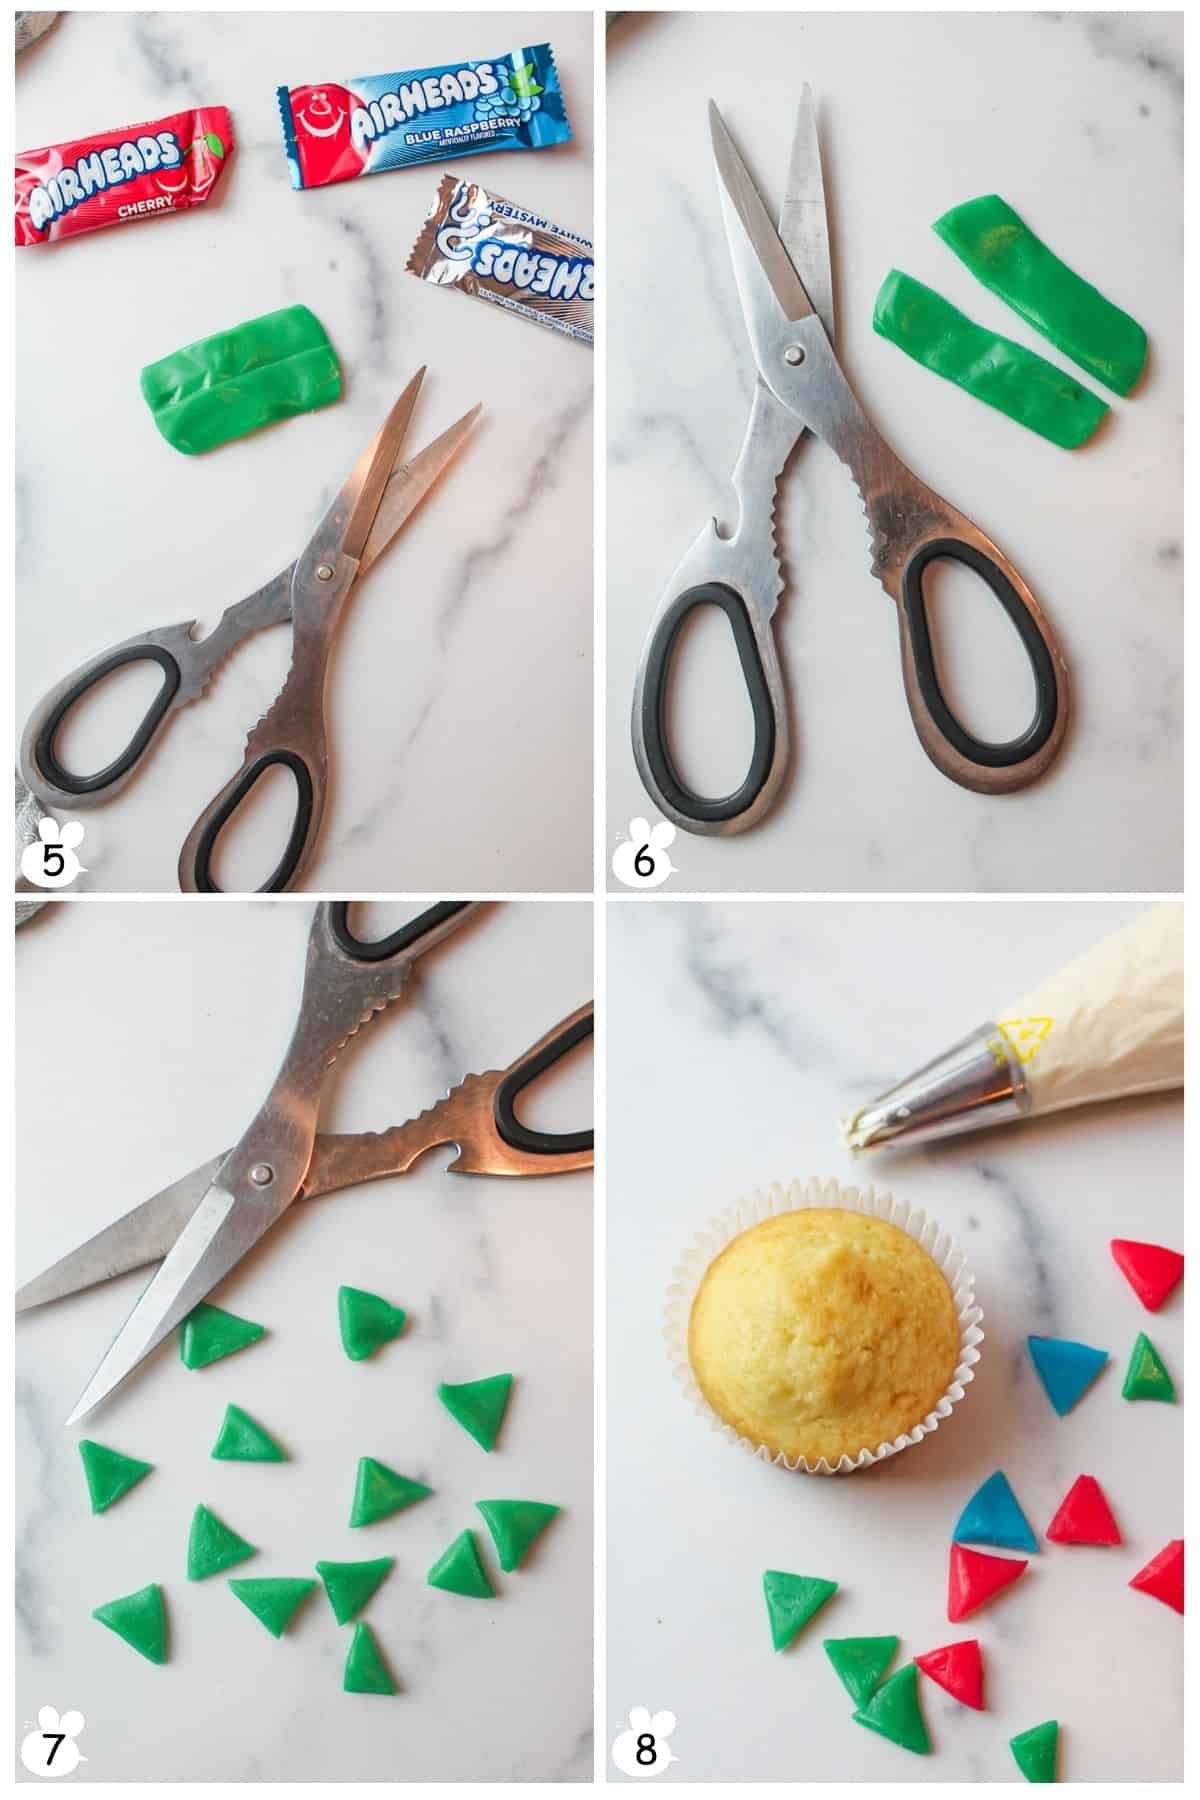
Step 6: Unwrap the airheads and grab a clean pair of kitchen scissors (Image 5).
Step 7: On the back of the airheads, you'll notice a line down the middle. You'll want to cut on that line to make two halves (Image 6).
Step 8: Now turn each half into multiple triangles by cutting at W-shaped angles (Image 7).
Step 9: Have your frosting, cooled cupcakes, and airhead pieces ready to go in front of you like a little workstation (Image 8).
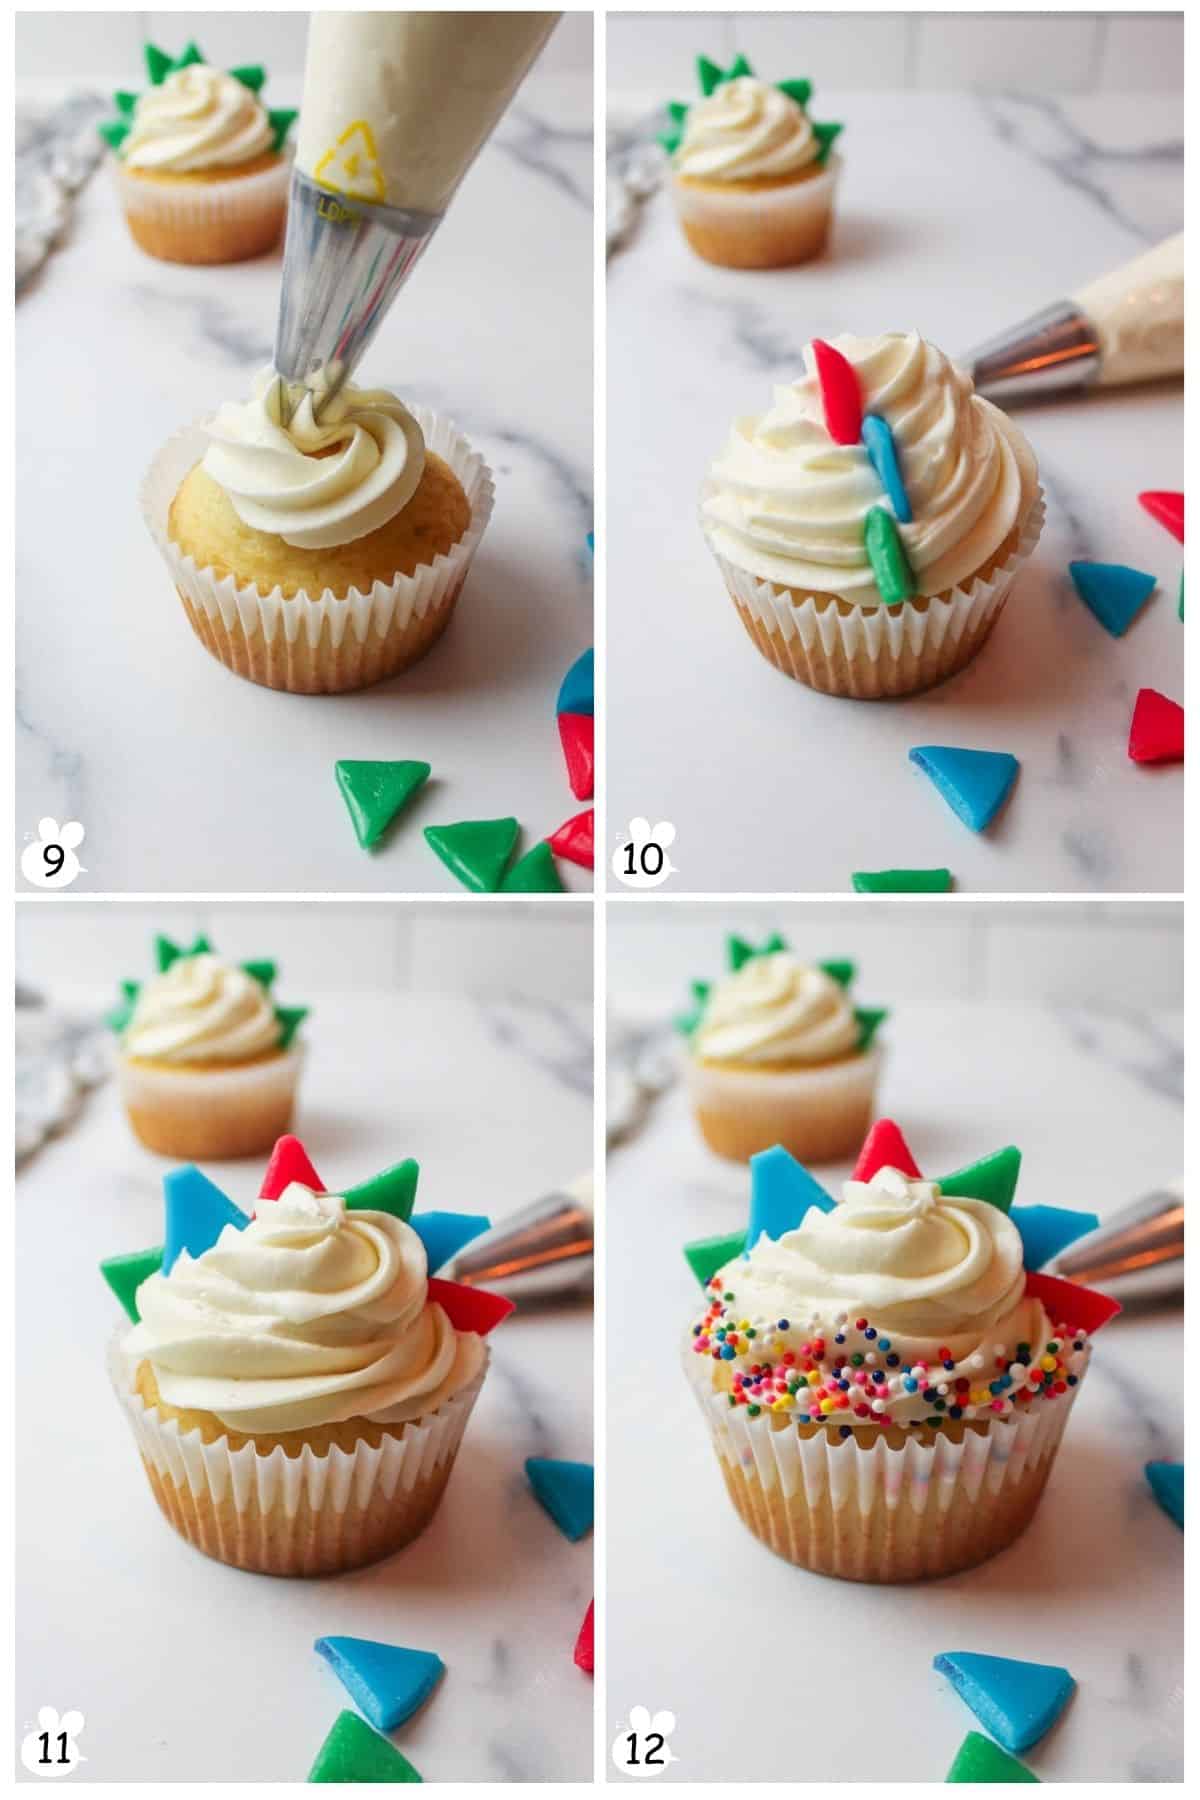
Step 10: Pipe frosting onto the cupcake (Image 9).
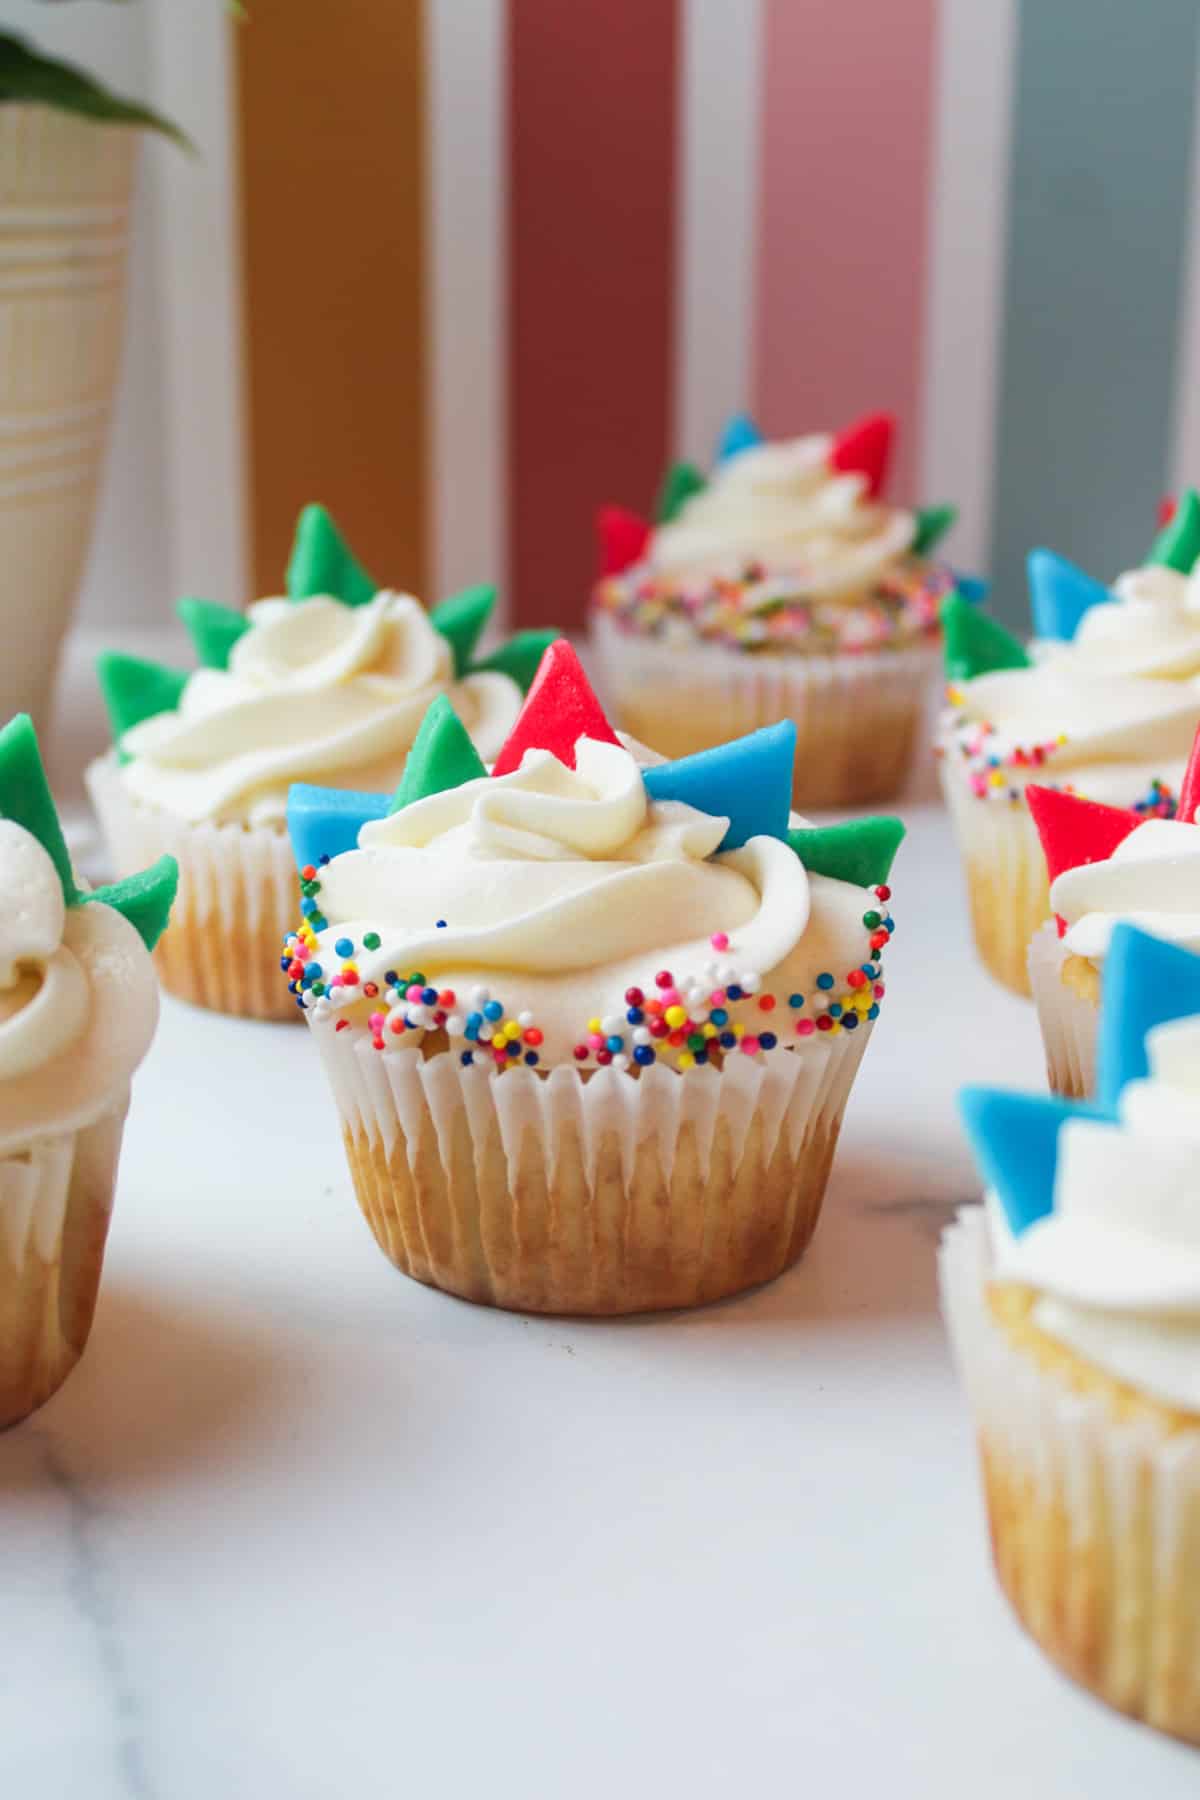
Step 11: Stagger the airhead pieces down the center of the cupcake in a straight row with one tip pointed upwards and a base neatly tucked away in the frosting (Image 10).
Step 12: You can use a solid color per cupcake or alternate colors for a variety (Image 11).
Step 13: If desired, you can add a ring of sprinkles around the edge of the frosting base by spooning sprinkles over the frosting (Image 12). I recommend using a bowl underneath to catch what drops.
Step 14: Continue and repeat until all Dinosaur Cupcakes have been decorated.
Serve and enjoy!
👩🏻🍳 Expert Tips
Use any flavor! You can use any boxed cake mix for your Dinosaur Cupcakes, I like to stick with the classics like chocolate or yellow cake mix but feel free to try red velvet or spice cake. Or you can make your cupcakes from scratch if desired.
❄️ Storage and Make Ahead
Refrigeration: Store assembled dinosaur cupcakes in a well-covered container in the fridge for 3-4 days. The Airheads may "weep" or sweat as they warm up. This is normal.
Make Ahead - Cupcakes: Bake cupcakes in advance and store them in an airtight container in the fridge or freezer.
Make Ahead - Frosting: Prepare the buttercream separately and keep it in an airtight container in the fridge for 1-2 days.
Frosting Tip: Let the frosting sit at room temperature for a few minutes before piping so it softens and becomes easier to work with.
🥗 Side Dishes or Pairing Ideas
Keep the dino-theme going with fun, kid-approved treats! Serve your dinosaur cupcakes alongside Air Fryer Dino Nuggets, Blue Raspberry Lemonade, or a simple fruit tray for a colorful party spread. For a full dessert table, pair them with Sourdough Donuts or other easy finger foods that kids can grab and go.
- Air Fryer Dino NuggetsRecipe $3.16 / Serving $0.79
- Blue Raspberry LemonadeRecipe $2.60 / Serving $0.26
- Sourdough DonutsRecipe $2.33 / Serving $0.15
- Pepperoni Pizza SticksRecipe $4.32 / Serving $0.54


❓ Dinosaur Cupcakes FAQs
No. Unfortunately, you cannot. I have personally tried this and found that the canned frosting is too soft and will not hold the airhead candies in place as it should. Homemade buttercream is thicker, sturdier, and will harden when chilled, making it a perfect solution.
With this recipe, you should be able to frost about 24-30 cupcakes, but that depends entirely on how much frosting you give each cupcake.
I think that depends entirely on whether or not they were invited to the party.
🍽️ More Recipes You'll Love
- Cookie Monster CookiesRecipe $6.47 / Serving $1.08
- Butterscotch Chocolate Chip CookiesRecipe $2.93 / Serving $0.24
- Chocolate Chip Marshmallow CookiesRecipe $5.04 / Serving $0.21
- Spider SandwichesRecipe $0.94 / Serving $0.47
🐝 If you tried these dinosaur cupcakes, please leave a ⭐️ star rating and share your buzz in the 💬 comments below. I'd truly appreciate it!
📖 Recipe
Dinosaur Cupcakes
Equipment
Ingredients
Cupcakes
- 1 box (15.25 ounces) cake mix, any flavor - ($1.00)
- ⅓ cup vegetable oil - ($0.23)
- 1 cup water - ($0.00)
- 3 large eggs - ($0.45)
Buttercream
- 3 sticks unsalted butter, room temperature - ($2.97)
- 4 ½ cups powdered sugar - ($1.62)
- 2 teaspoon vanilla extract - ($0.06)
- 3-4 tablespoons milk - ($0.04)
Optional Decorations
- Airhead candies - ($1.24)
- sprinkles
Instructions
- Bake cupcakes. Add the cake mix, oil, water, and eggs to a large bowl and whisk until combined. Divide into a paper lined muffin pan and bake according to package directions, about 18 minutes at 350°F. Cool completely.
- Make buttercream. Add the butter and powdered sugar to a large bowl and mix until blended. Add the vanilla extract and mix again. Add the milk, 1 tablespoon at a time, mixing until the frosting reaches your desired consistency.
- Prep decorations. Unwrap the Airhead candies. Using clean kitchen scissors, cut each candy in half along the center line, then cut into small triangles using angled cuts.
- Decorate. Pipe frosting onto the cooled cupcakes using a piping bag fitted with a tip. Arrange the Airhead pieces down the center of each cupcake, alternating colors if desired. Add sprinkles around the base of the frosting if using.
- Serve. Serve immediately or chill until ready to enjoy.
Notes
- Recipe Tips. Any cake mix works, or substitute homemade cupcakes. A Wilton 1M tip works well for piping.
- Make Ahead. Cupcakes and frosting can be prepared separately in advance. Let frosting sit briefly at room temperature before piping.
- Storage. Store decorated cupcakes well covered in the refrigerator for 3 to 4 days. Airhead candies may weep slightly when returning to room temperature.
Nutritional Information
Save This Recipe to Your Inbox
By signing up, you'll join our email list and can unsubscribe anytime.


Comments
No Comments