
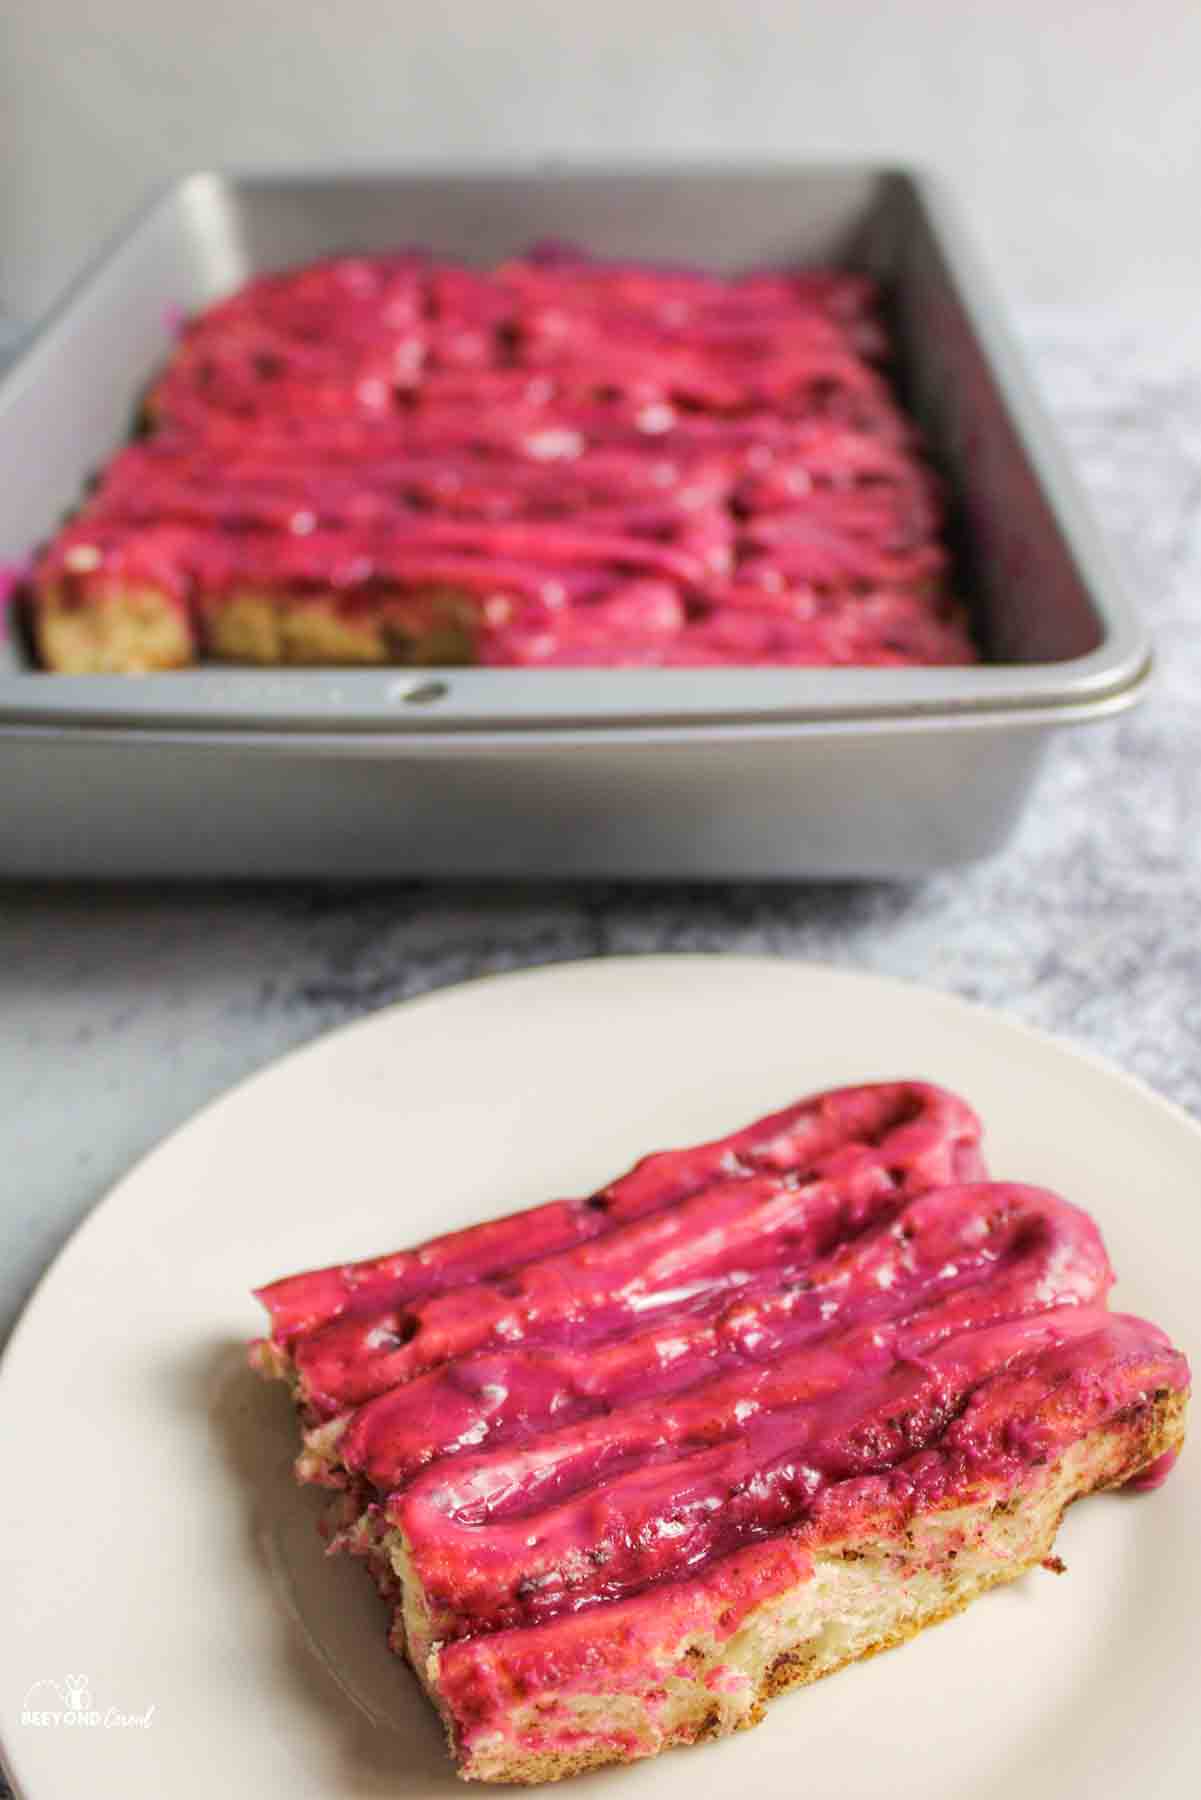
If you're looking for a simple and easy breakfast that's as spooky as it is festive, look no further. 2 Ingredient Cinnamon Roll Intestines are made with just a few minutes of effort, and you can have a delicious breakfast that ignites a fright at the table.
Save This Recipe to Your Inbox
By signing up, you’ll join our email list and can unsubscribe anytime.
I love making spooky and fun treats for my kids. I even do it all year long- at their request). It's so much fun, and it's a great way to add a little "something extra" to a normal food routine.
While we don't eat canned cinnamon rolls often, they are almost always finding their way into our shopping carts. We like to keep them on hand for busy weekends or turn them into something creative like these zombie guts cinnamon rolls.
This cinnamon roll breakfast recipe is perfect for serving up to the boys and ghouls on Halloween. From the frightfully easy recipe to the spooktacular praises you're sure to receive, this recipe is one everyone can enjoy.
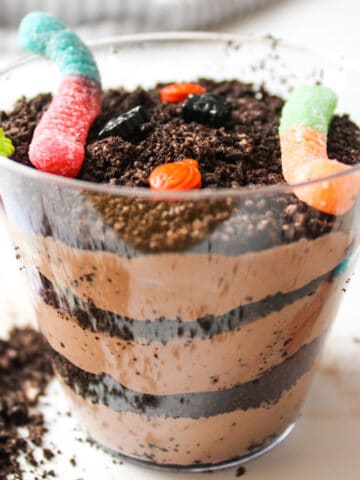
For more Halloween fun, make sure to check out my Halloween Dirt Cups and Frozen Whipped Zombie Brains.
Jump to:
💛 Why You'll Love This Recipe
- Brains or guts. These can be styled to look like spooky guts or zombie brains, depending on how you arrange the rolls in the pan.
- Fun to make. Assembling these Halloween cinnamon rolls is part of the fun, and seeing everyone's reaction makes it even better.
- Easy and budget friendly. All you need are cinnamon rolls and food coloring, making this a simple and inexpensive breakfast that's hard to forget.
🛒 Ingredients

Food coloring. Use red and blue food coloring to create the dark red or purple color.
Canned cinnamon rolls. Choose cinnamon rolls that unroll easily. If you have extra cans, try Cinnamon Roll Monkey Bread or Cinnamon Roll Apple Cobbler.
See the recipe card below for full ingredients and instructions.
💰 Budget-Friendly Tips
Use store-brand cinnamon rolls. Many generic brands cost less and actually unravel better than name brands.
Keep food coloring minimal. A tiny amount goes a long way, so you won't need to buy specialty colors.
Make it a themed treat. This recipe doubles as both dessert and decoration, reducing the need for extra party items.
🥄 Instructions for Cinnamon Roll Intestines
Step 1: Preheat your oven to the temperature requested by your canned cinnamon rolls.
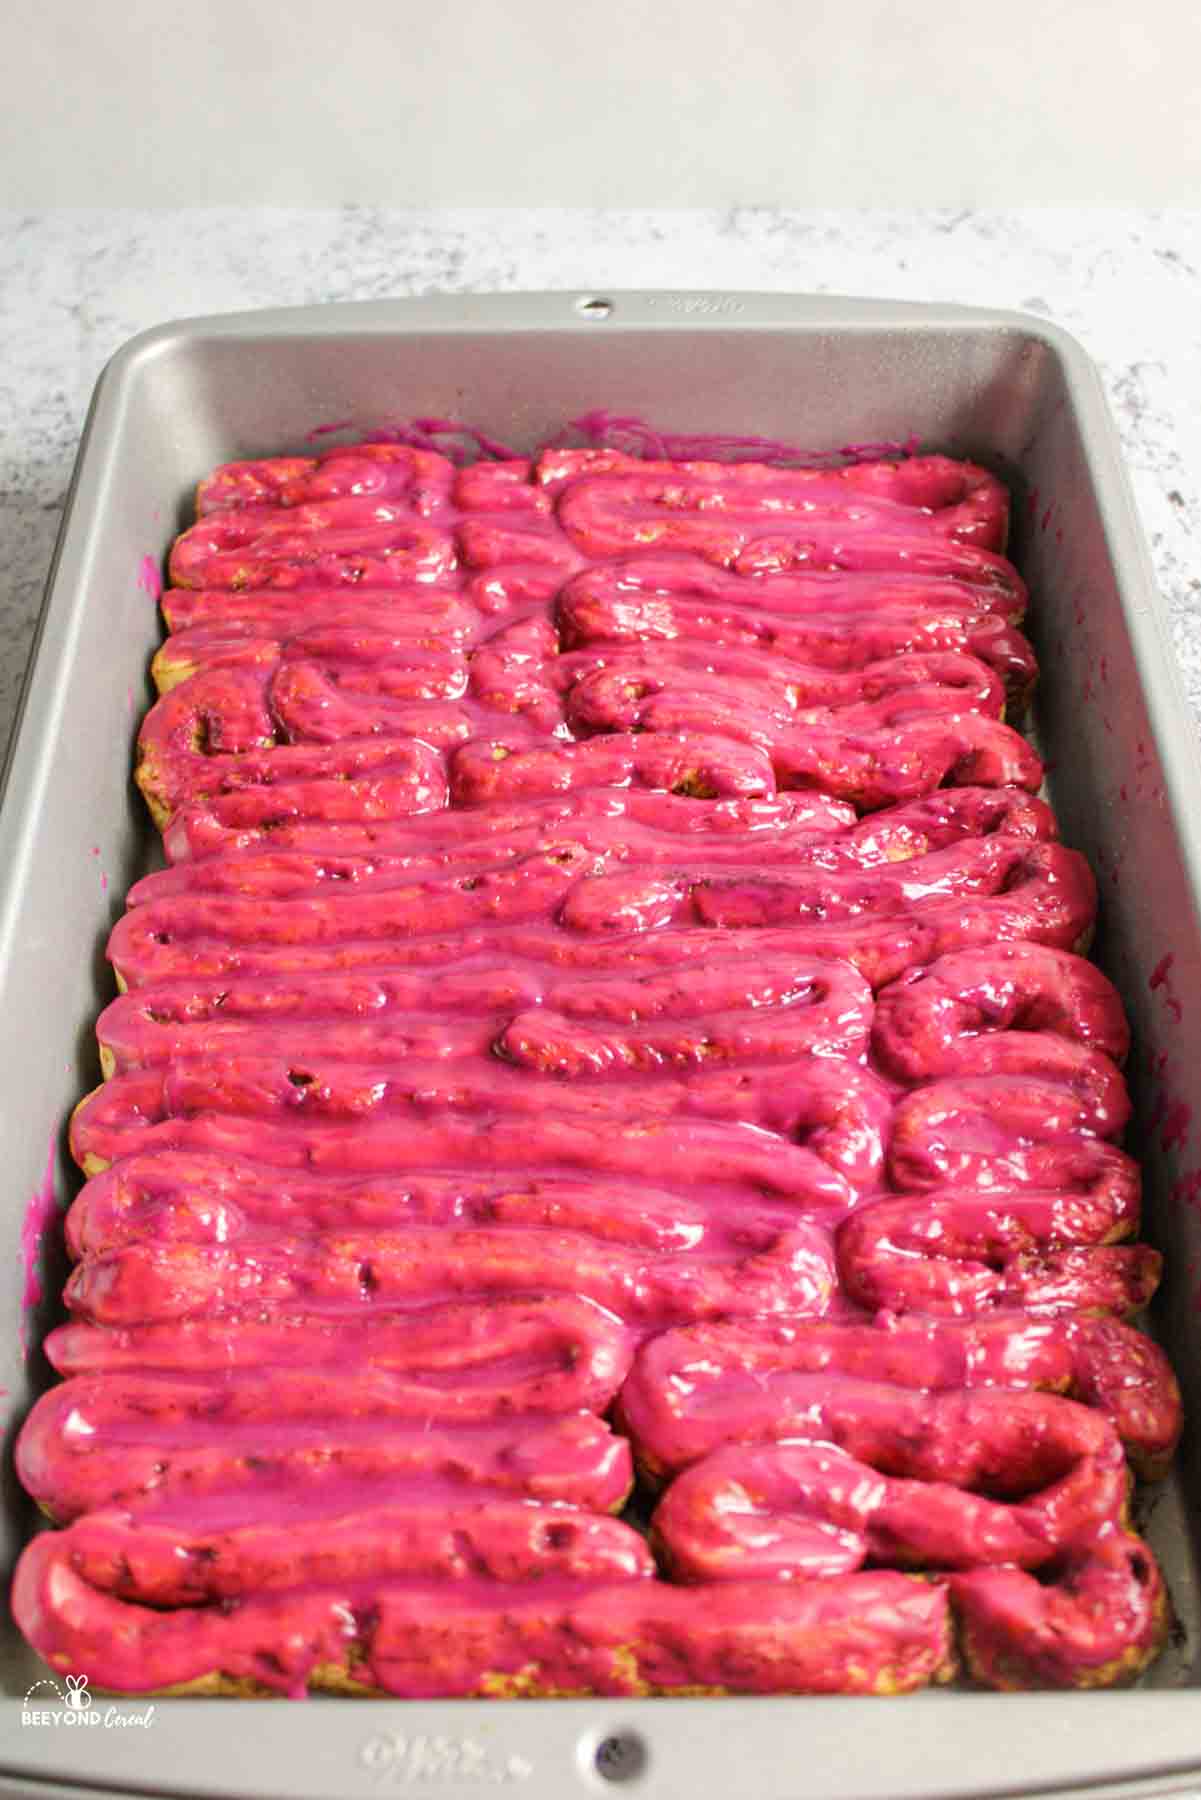
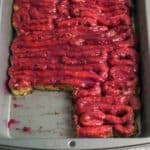
Step 2: Grease a 9x13 baking dish and open/unravel the cinnamon rolls. Lay them in the pan in back and forth zig-zag motions making them look like lines and blocks.

Step 3: Leaving gaps between the rolls is okay.

Step 4: Bake for the specified time directed on canned cinnamon rolls.

Step 5: Remove from oven and allow to cool while you prep the icing.

Step 6: In a bowl mix the icing with red food coloring.
Step 7: Add in a small amount of blue ( a little goes a long way) and then add in more red until the desired color has been reached.

Step 8: Spread the icing over the rolls and fill in the nooks and crannies. I found that a pastry brush is very helpful with this.

Step 9: Slice your zombie guts cinnamon rolls and serve.

👩🏻🍳 Expert Tips
- Choose the right rolls. Use canned cinnamon rolls that unroll easily. Both store brands and options like Annie's work well.
- Bake as directed. After unrolling and shaping, bake according to the time and temperature listed on the package.
- Have fun with it. With the right rolls, these turn into spooky treats everyone will enjoy.
❄️ Storage and Make Ahead
Storage: Store leftover Cinnamon Roll Intestines covered at room temperature for up to 2 days or in the refrigerator for up to 4 days.
Make Ahead: These are best served fresh, but you can bake them earlier the same day and frost just before serving.
🥗 Side Dishes or Pairing Ideas
These cinnamon roll intestines pair well with a Halloween breakfast spread, spooky snack tables, fruit trays for balance, or served alongside other themed treats for parties.
- Halloween Dirt CupsRecipe $5.33 / Serving $0.89
- Pumpkin White Chocolate Chip CookiesRecipe $3.64 / Serving $0.20
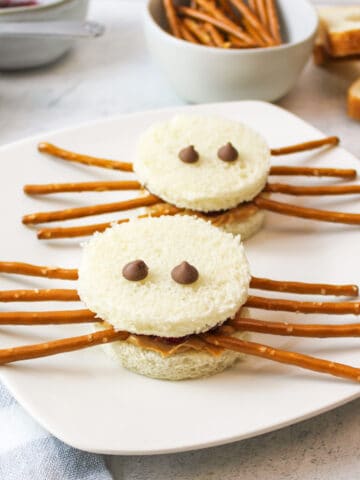
- Spider SandwichesRecipe $0.94 / Serving $0.47
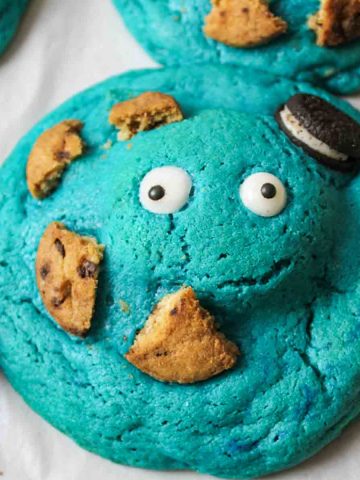
- Cookie Monster CookiesRecipe $6.47 / Serving $1.08

❓ Cinnamon Roll Intestines FAQs
They will! Just bake them at the specified time and temperature on the package and follow along with the steps to make them look spooky!
The blue will add a better hue to the icing to make it slightly more realistic. I always think of intestines as being more purple in color thanks to the blues and reds in our body, if desired you just keep it red, but without the blue, the red will be very vibrant- like Santa's red suit.
Shaping the dough into a winding, irregular pattern resembling intestines is part of the fun. There's no right or wrong way, and you can get creative with the design.
🍽️ More Recipes You'll Love
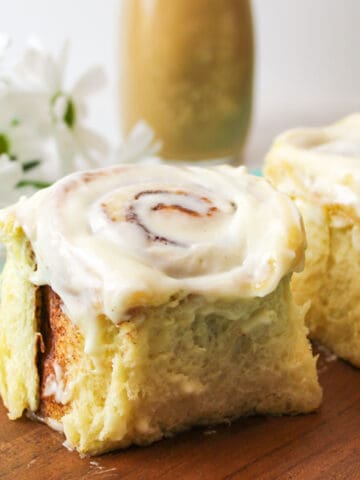
- Homemade Cinnamon Roll Recipes
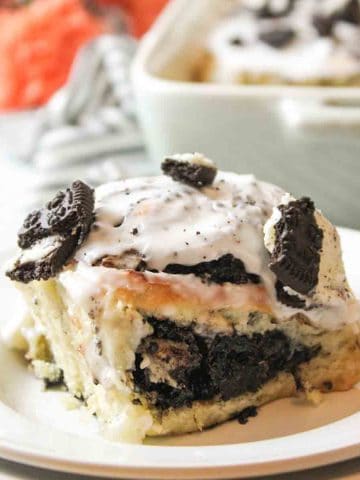
- Oreo Cinnamon RollsRecipe $6.44 / Serving $0.54
- Small Batch Cinnamon RollsRecipe $2.65 / Serving $0.66
- Clone of a Cinnabon Cinnamon Roll RecipeRecipe $6.89 / Serving $0.57


🐝 If you tried these 2 Ingredient Cinnamon Roll Intestines, please leave a ⭐️ star rating and share your buzz in the 💬 comments below. I'd truly appreciate it!
📖 Recipe
Cinnamon Roll Intestines
Equipment
Ingredients
- 2 cans cinnamon rolls with frosting - ($4.48)
- Red and blue food coloring - ($0.04)
Instructions
- Preheat & Prep: Preheat the oven to the temperature listed on the cinnamon roll package. Grease a 9 by 13 inch baking dish.
- Prepare the Rolls: Open the cans of cinnamon rolls and separate the frosting from the rolls.
- Shape the Rolls: Unravel each cinnamon roll and loosely place them into the baking dish in wavy lines and sections. Fill gaps as needed. Do not pack them tightly, as they will expand while baking.
- Bake: Bake according to the instructions on the cinnamon roll packaging. Remove from the oven and allow to cool slightly while preparing the frosting.
- Color the Frosting: Transfer the frosting to a small bowl. Add a small amount of red food coloring and mix until pink. Add a tiny amount of blue food coloring, then add more red a little at a time until the desired shade of purple is reached.
- Frost: Spoon the colored frosting over the warm cinnamon rolls. Use a pastry brush or spoon to work the frosting into the curves and crevices.
- Serve: Slice and serve while warm.
Notes
- Roll Selection: Not all canned cinnamon rolls unroll easily. Avoid brands that do not separate cleanly. Store brands and higher end options like Annie's tend to work best.
- Bake Time: Always follow the temperature and bake time listed on the cinnamon roll packaging, as this varies by brand.
- Color Control: Add blue food coloring sparingly. A very small amount goes a long way.
- Serving Tip: These are best served warm while the frosting is soft and spreadable.
Nutritional Information
Save This Recipe to Your Inbox
By signing up, you'll join our email list and can unsubscribe anytime.


Comments
No Comments