

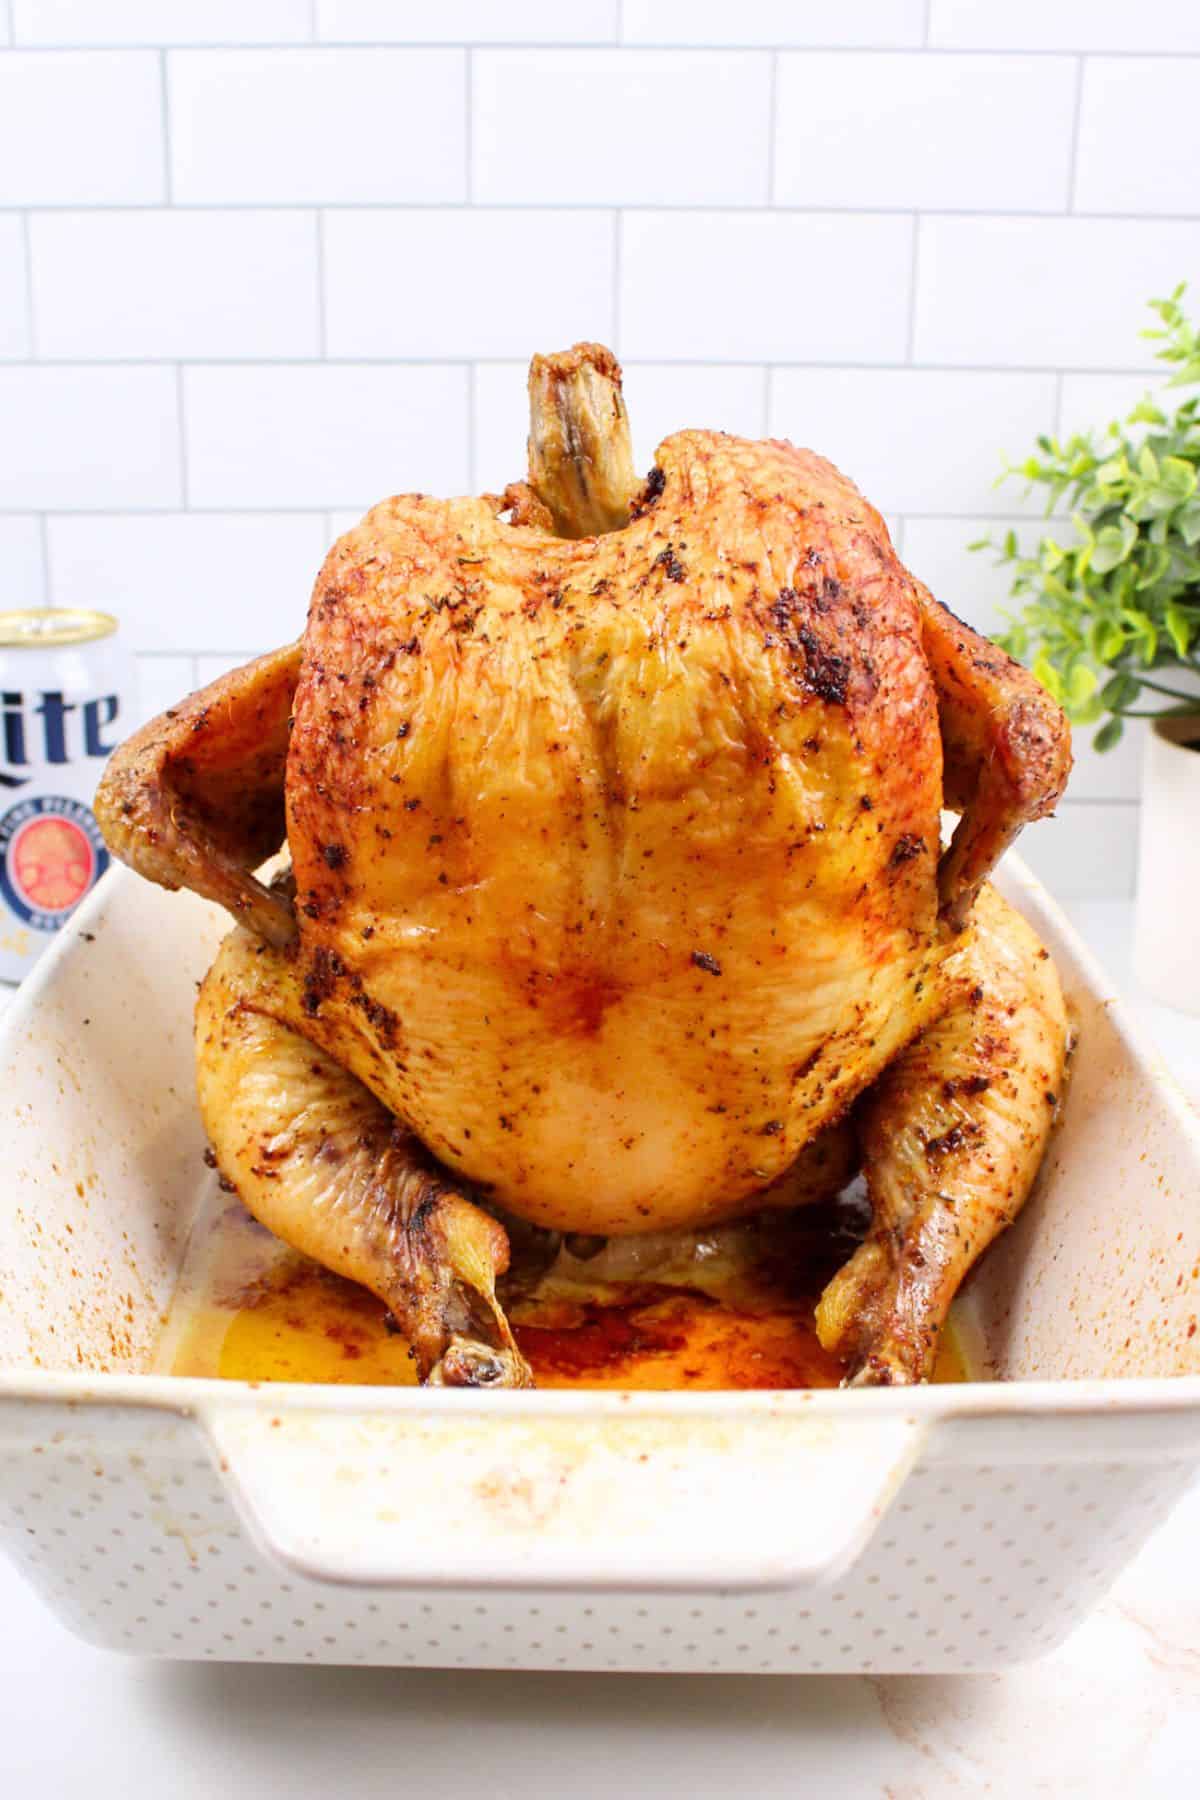
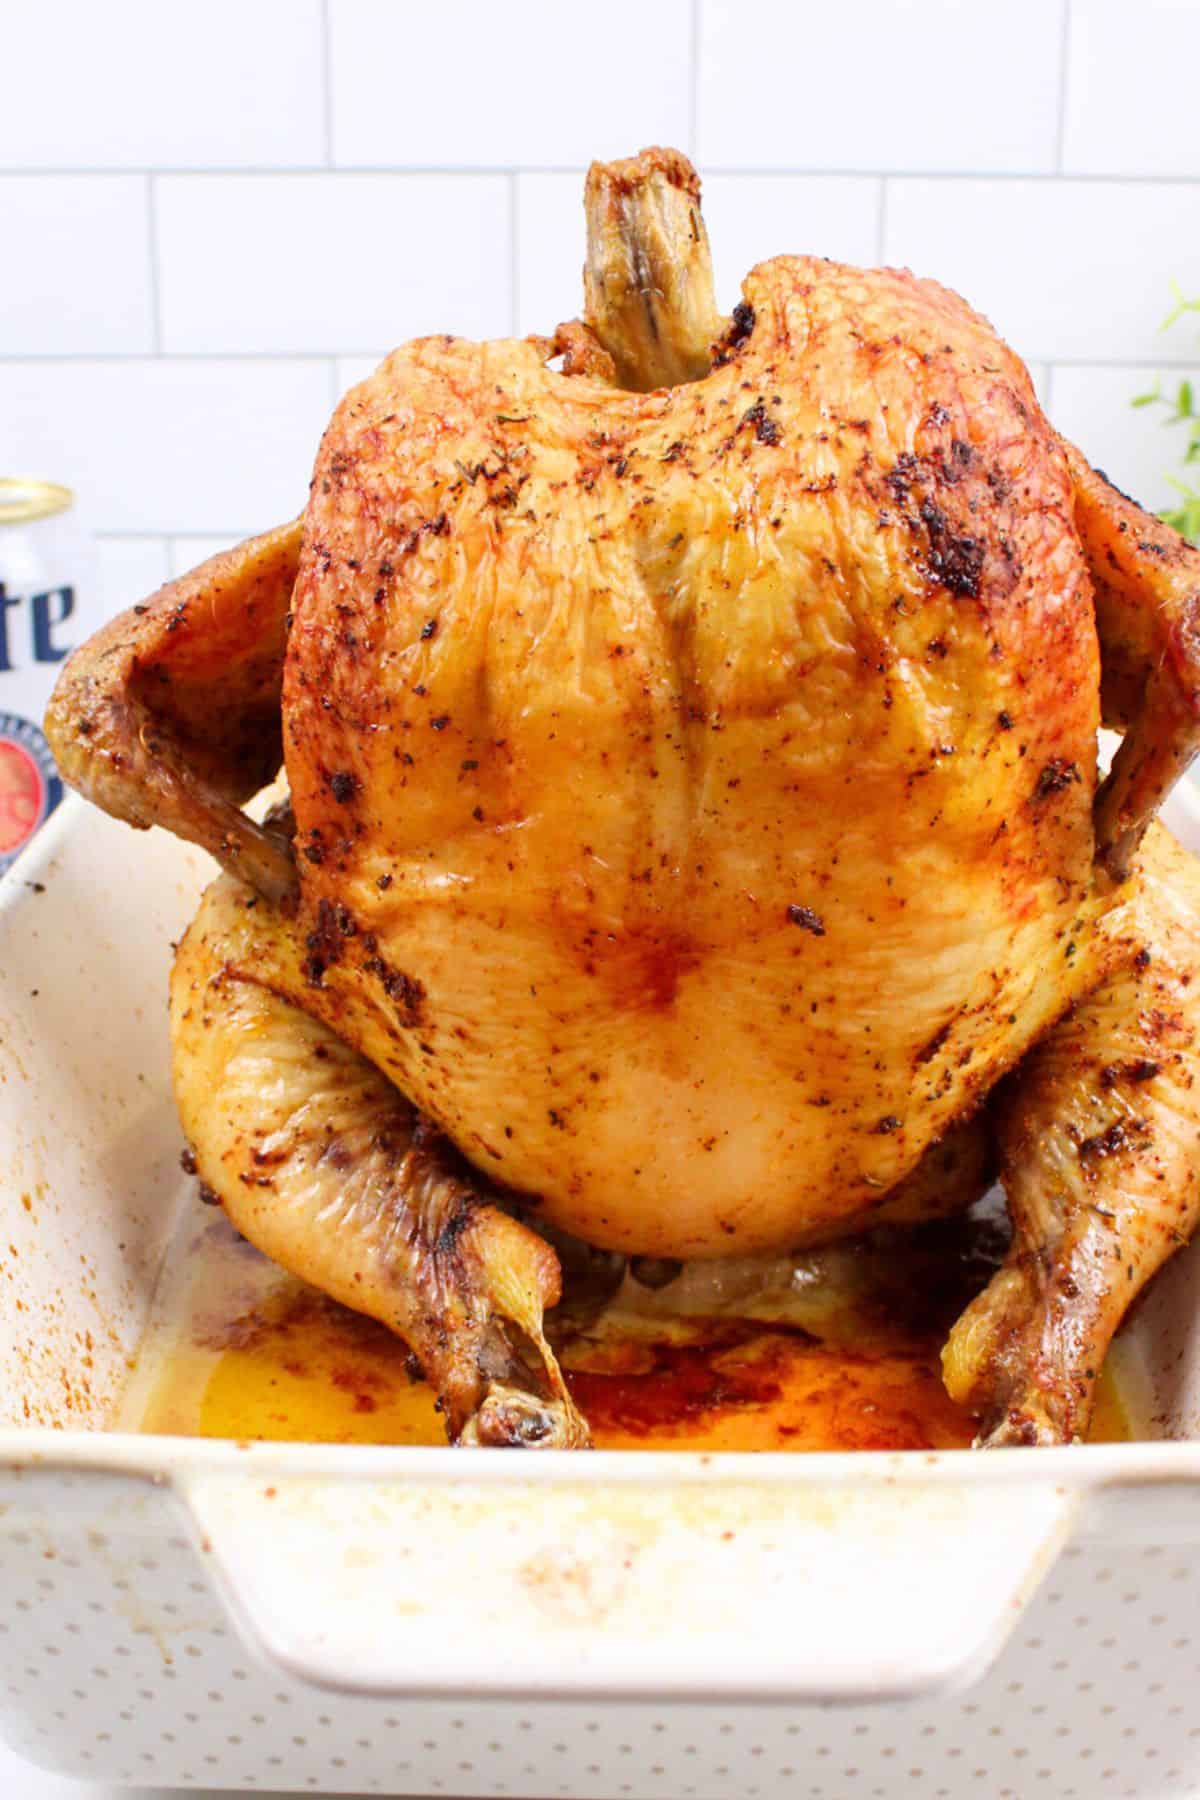
Beer butt chicken is a fun way to make a moist and tender chicken. Oven roasted Beer Can Chicken is one of the best ways to get a perfectly cooked bird every time.
Save This Recipe to Your Inbox
By signing up, you’ll join our email list and can unsubscribe anytime.
Oven baked beer butt chicken, also known as beer stuffed chicken, beer bottom chicken, or beer up the bum chicken, is a flavorful twist on classic roasted chicken.
This method infuses the chicken with moisture and flavor, producing tender, juicy meat and crispy skin. By placing an open beer can inside the chicken, the steam keeps it moist as it cooks.
Beer butt chicken in the oven has been a family favorite for as long as I can remember and is one of our go-to chicken recipes. It's great for gatherings or a comforting family meal.
Be sure to check the variations section for more flavor ideas, and try our Beer Brine Chicken Wings for another chicken and beer recipe.
Jump to:
💛 Why You'll Love This Recipe
- Foolproof. Beer Can Chicken is hard to mess up. There are plenty of ways to customize it, but very few ways for it to go wrong.
- Oven friendly. While many people grill beer butt chicken, the oven works just as well. You still get golden, crispy skin and juicy meat without worrying about drying it out.
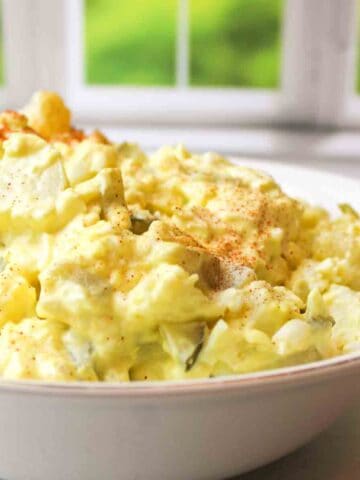
- Pairs with anything. Serve it with everything from Dill Pickle Potato Salad to Orange Creamsicle Fluff or Cheddar Bacon Ranch Pasta Salad.
🛒 Ingredients
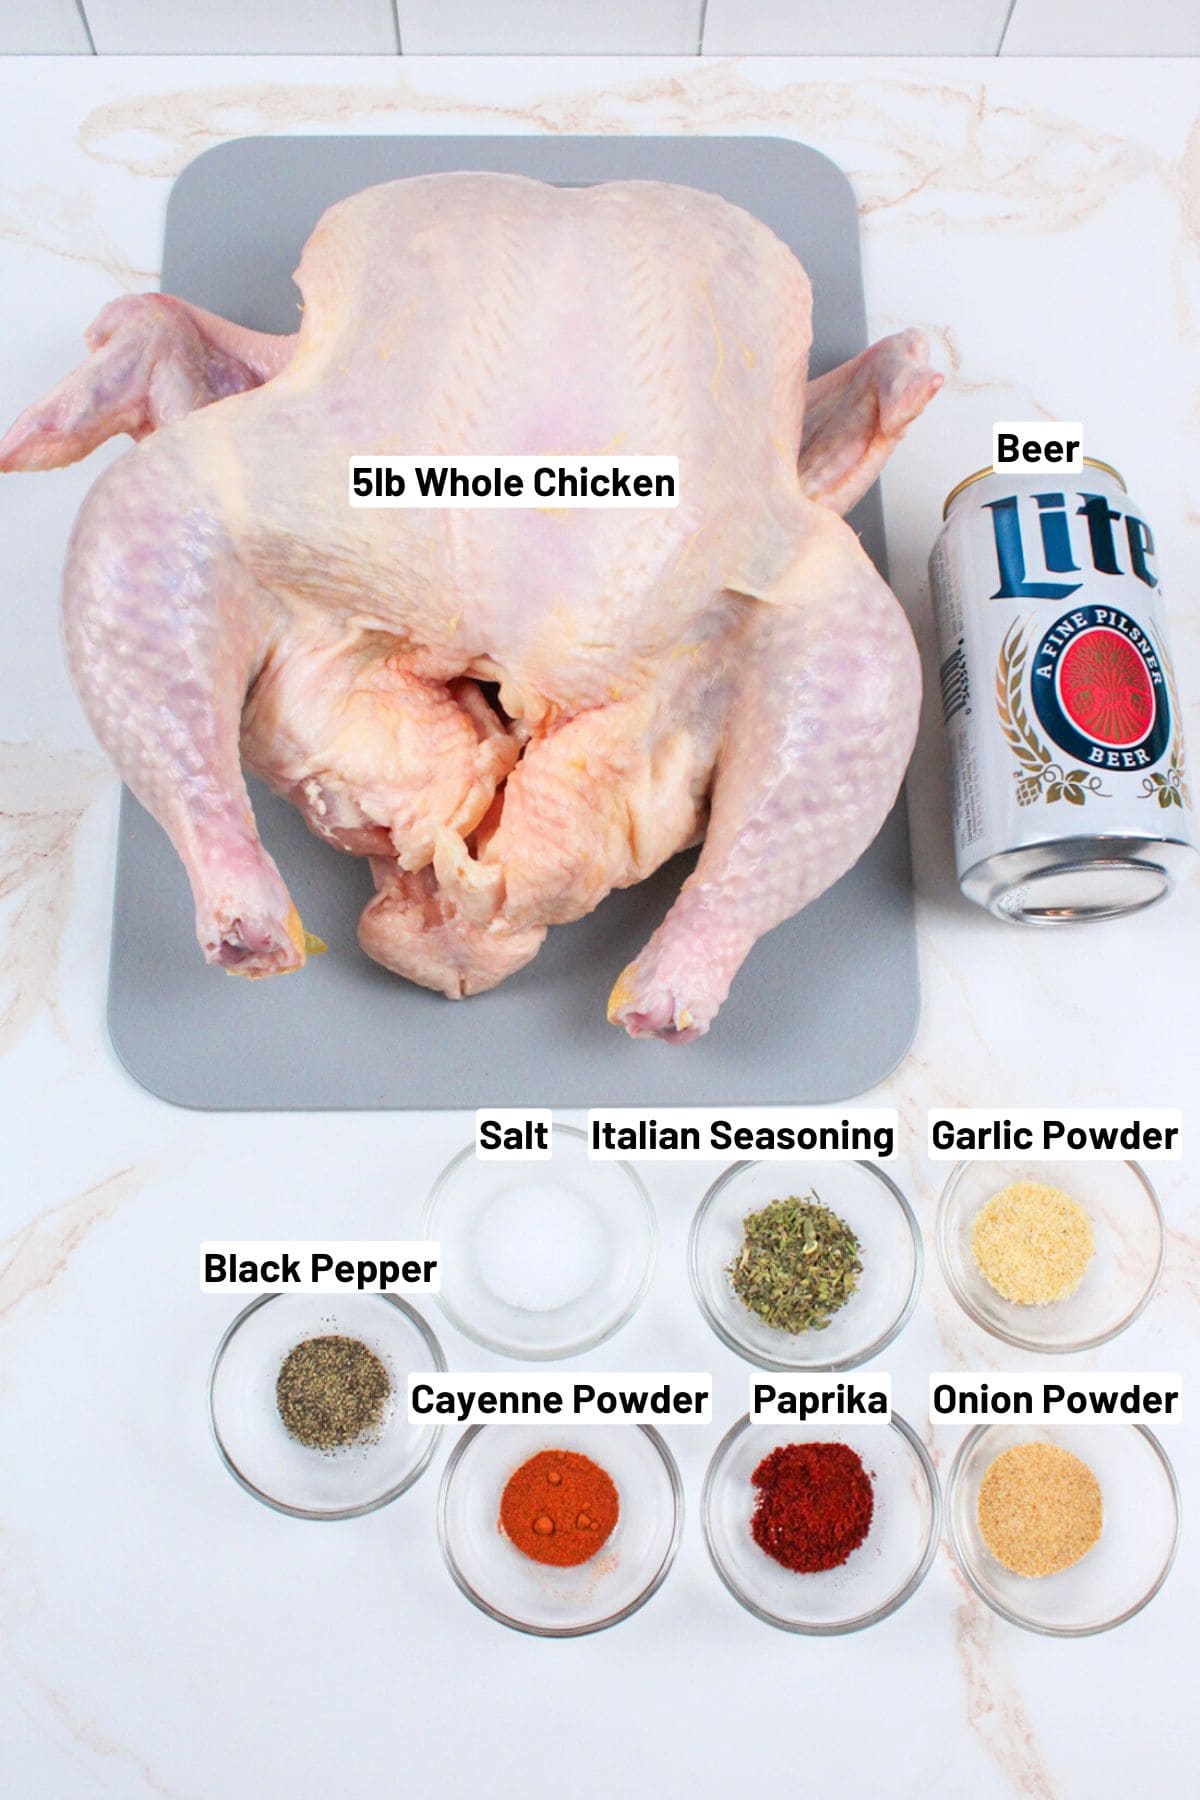
Beer. Use a standard size can of your favorite beer. You'll only need about half, so enjoy the rest or save a can for Jalapeño Cheddar Beer Bread.
Whole chicken. Use a fully thawed whole chicken. If you have another on hand, try Roasted Chicken with Potatoes and Carrots.
Seasonings. A simple blend of salt, ground pepper, Italian seasoning, paprika, cayenne, garlic powder, and onion powder keeps the flavor balanced.
See the recipe card below for full ingredients and instructions.
🔀 Substitutions & Variations
Beer free options. If you need a gluten free alternative, skip the beer and use canned lemonade, root beer, Dr. Pepper, or cola instead. These all work with the same baking method.
Lemonade is especially good with a few fresh herbs added to the can, but all of these options keep the chicken moist and flavorful.
💰 Budget-Friendly Tips
Choose whole chicken for value. Whole chickens are often cheaper per pound than pre-cut pieces.
Use inexpensive beer. A basic, mild beer works well and keeps costs down.
Save the drippings. Pan juices can be used for gravy or spooned over leftovers to add moisture.
Plan for leftovers. One roasted chicken can stretch into sandwiches, salads, or soups later in the week.
🥄 How to Make Beer Can Chicken in The Oven
Step 1: Lower the oven rack and preheat the oven to 350°F.
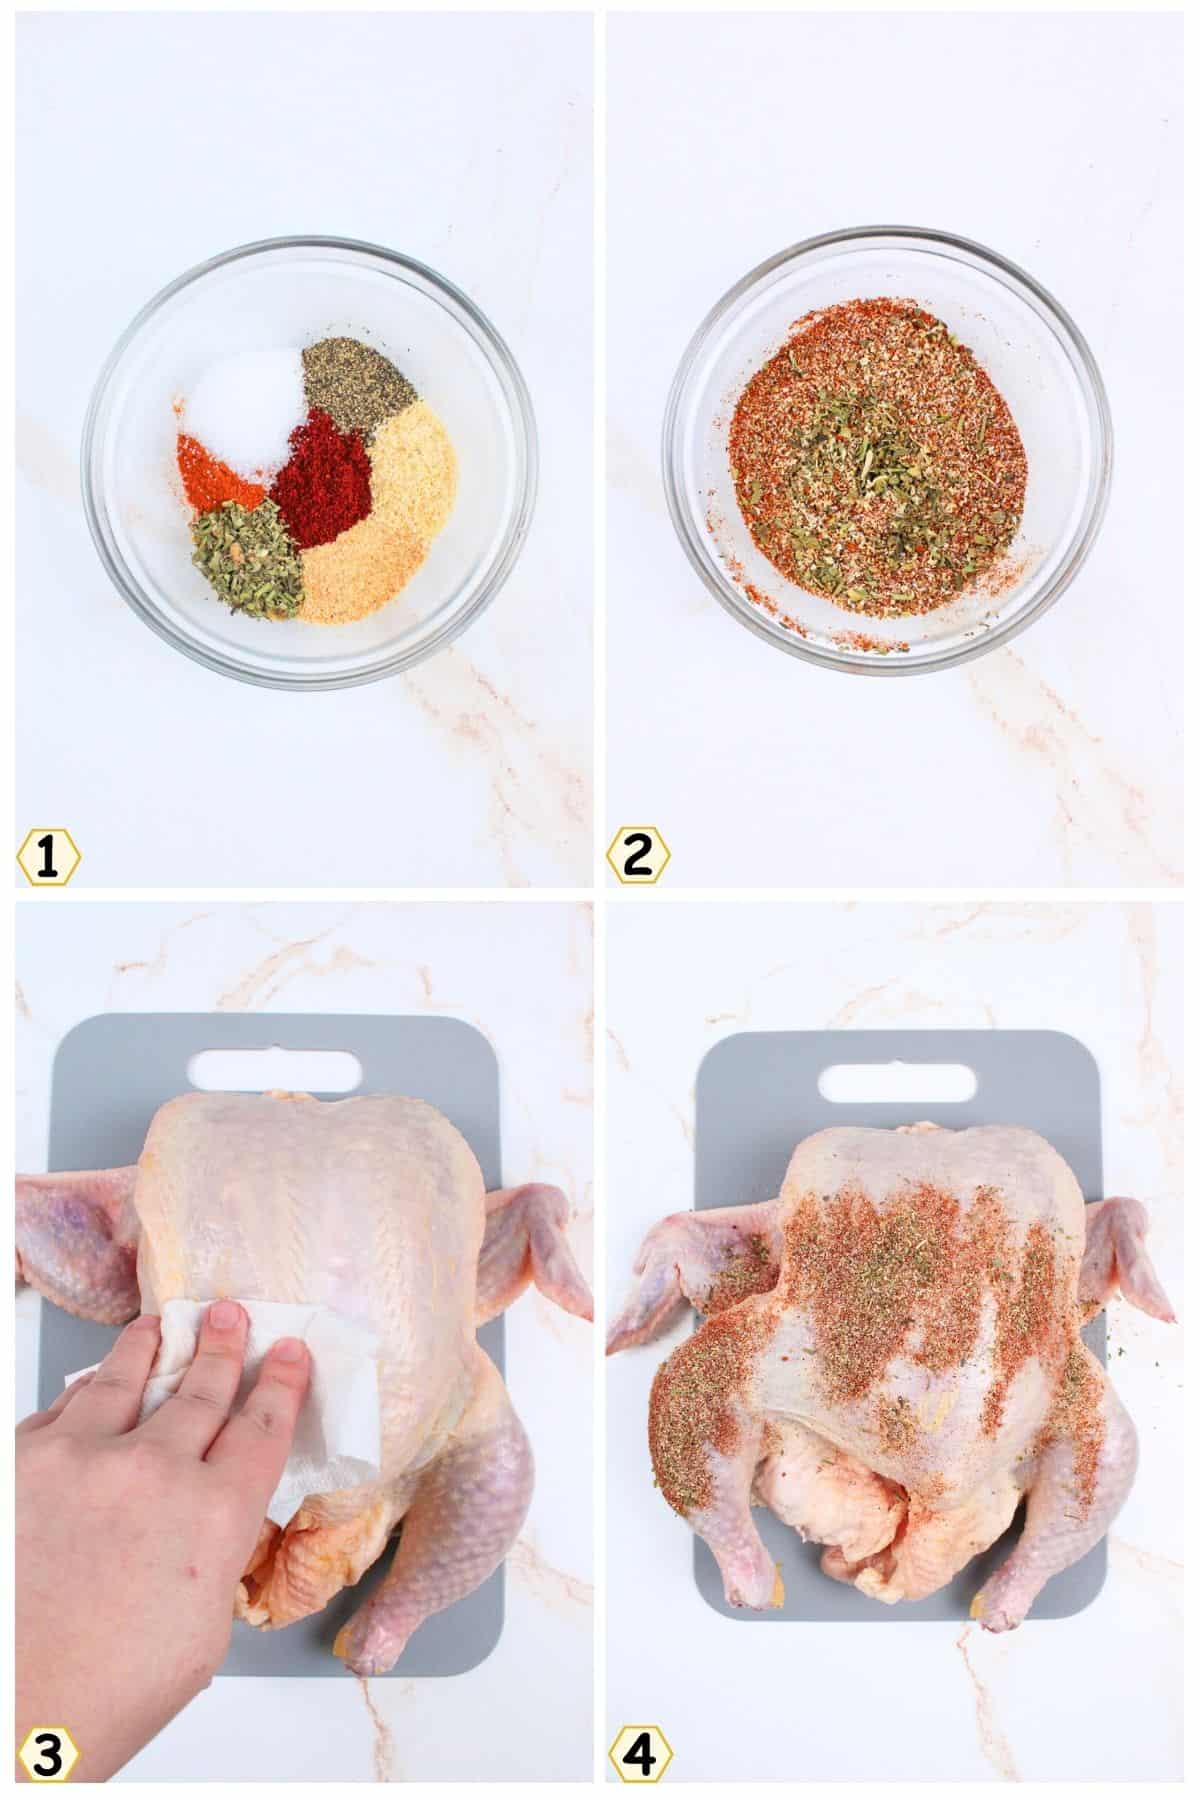
Step 2: In a small bowl, mix together all seasoning ingredients. (Images 1 & 2) Set aside.
Step 3: Pat the chicken dry with paper towels. Remove any giblets and trim excess skin around the cavity opening. (Image 3)
Step 4: Rub the mixture evenly over the entire chicken, including under the wings and along the sides. (Image 4)

Step 5: Pour out half of the beer. Place the can upright in the center of a 9x13 baking dish. (Image 5)
Step 6: Carefully lower the chicken onto the beer can, pressing down gently until stable. Adjust the legs as needed for balance. (Image 6)
Step 7: Using a sharp knife, make a small slit in the skin between the breast and thigh. Tuck the tip of each wing into the slit to prevent burning. (Image 7)
Step 8: Bake for about 20 minutes per pound, or until the internal temperature reaches 165°F when checked with an instant-read thermometer. A 5-pound chicken will take approximately 1 hour and 40 minutes. (Image 8)
Step 9: Remove from the oven and let the chicken rest in the pan for 10 minutes. The beer can will be extremely hot.
Step 10: Carefully remove the beer can using tongs while holding the chicken steady with a towel or oven mitts. Slice and serve as desired.
👩🏻🍳 Expert Tips
- Use the right pan. A 9x13 baking dish works best. Beer can chicken releases a lot of juices, and a dish helps prevent overflow better than a sheet pan.
- Adjust beer flavor. For a stronger beer taste and extra moisture, pour about half the beer into the baking dish before roasting. Skip this step if you prefer a milder flavor.
- Choose the beer wisely. Avoid strong or hoppy beers. A simple, inexpensive beer gives great results without overpowering the chicken.
- Lower the oven rack. Lower the rack before preheating so the chicken fits comfortably and doesn't hit the top of the oven.
❄️ Storage, Reheating & Make Ahead
Storage: Store leftover Beer Can Chicken in an airtight container in the refrigerator for up to 4 days.
Reheating: Reheat covered in the oven at 325°F or warm individual portions in the microwave.
Make Ahead: The seasoning blend can be mixed in advance and stored in an airtight container until ready to use.
🥗 Side Dishes or Pairing Ideas
This Beer Can Chicken pairs well with roasted potatoes, corn on the cob, coleslaw, green beans, or a simple salad for a hearty, comforting meal.
- Dill Pickle Potato SaladRecipe $3.68 / Serving $0.37
- Orange Creamsicle FluffRecipe $4.39 / Serving $0.44
- Air Fryer Corn on the CobRecipe $1.53 / Serving $0.38
- Deviled Egg Pasta SaladRecipe $6.14 / Serving $0.51


❓ Beer Can Chicken FAQs
While preparing beer can chicken, the beer is not actually consumed, but rather, its steam is utilized for cooking. As the chicken bakes, the alcohol in the beer evaporates, and the longer it cooks, the lower the alcohol content becomes.
Since this isn't a marinade and the actual beer content absorbed by the chicken is minimal, research indicates that it's generally safe to enjoy beer can chicken during pregnancy.
During the cooking process, the beer can inside of the chicken releases steam to help cook it from the inside, adding in a little moisture. The beer can also help to keep the chicken upright so that the fat drains away from the bird and gives it a nice crispy skin.
You want to avoid anything too hoppy or bitter. Choosing a middle road beer is a great choice because it gets the job done without overpowering the chicken.
🍽️ More Recipes You'll Love
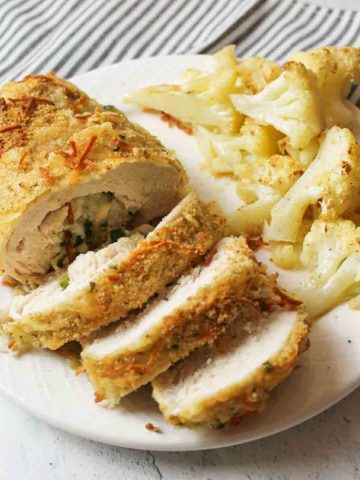
- Stuffed Chicken Roll UpsRecipe $10.87 / Serving $2.72
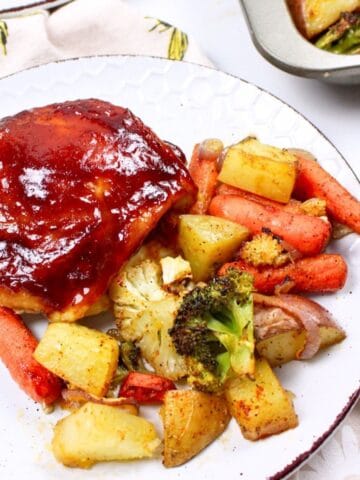
- BBQ Chicken Sheet Pan DinnerRecipe $8.63 / Serving $2.15
- Sourdough Chicken and DumplingsRecipe $4.96 / Serving $0.83
- Blackened Chicken SaladRecipe $12.58 / Serving $6.29


🐝 If you tried this Beer Can Chicken, please leave a ⭐️ star rating and share your buzz in the 💬 comments below. I'd truly appreciate it!
📖 Recipe

Beer Can Chicken
Ingredients
- 1 whole chicken, about 5 pounds - ($7.30)
- 1 can beer, half full - ($0.97)
Seasoning Rub
- ½ teaspoon salt - ($0.01)
- ½ teaspoon Italian seasoning or dried thyme leaves - ($0.04)
- ½ teaspoon paprika - ($0.04)
- ½ teaspoon garlic powder - ($0.04)
- ½ teaspoon onion powder - ($0.04)
- ¼ teaspoon ground black pepper - ($0.02)
- ⅛ teaspoon cayenne pepper - ($0.01)
Instructions
- Prepare the Oven: Lower the oven rack and preheat the oven to 350°F.
- Prep the Chicken: Pat the chicken dry with paper towels. Remove any giblets and trim excess skin around the cavity opening.
- Season the Chicken: In a small bowl, mix together all seasoning ingredients. Rub the mixture evenly over the entire chicken, including under the wings and along the sides.
- Prepare the Beer: Pour out half of the beer. Place the can upright in the center of a 9x13 baking dish.
- Position the Chicken: Carefully lower the chicken onto the beer can, pressing down gently until stable. Adjust the legs as needed for balance.
- Secure the Wings: Using a sharp knife, make a small slit in the skin between the breast and thigh. Tuck the tip of each wing into the slit to prevent burning.
- Roast: Bake for about 20 minutes per pound, or until the internal temperature reaches 165°F when checked with an instant-read thermometer. A 5-pound chicken will take approximately 1 hour and 40 minutes.
- Rest: Remove from the oven and let the chicken rest in the pan for 10 minutes. The beer can will be extremely hot.
- Serve: Carefully remove the beer can using tongs while holding the chicken steady with a towel or oven mitts. Slice and serve as desired.
Notes
- Safety: Always remove the beer can carefully using tongs and heat protection to avoid spills and burns.
- Pan Choice: A 9x13 baking dish is recommended to catch juices and prevent overflow.
- Beer Flavor: Pouring half of the beer into the baking dish is optional and can enhance moisture and beer flavor.
- Beer Selection: Mild, inexpensive beers work best. Avoid strongly hopped varieties.
- Rack Placement: Lower the oven rack before preheating to prevent the chicken from contacting the top of the oven.
- Non-Alcoholic Option: Substitute canned lemonade, root beer, cola, or Dr. Pepper. Baking time remains the same. Lemonade pairs especially well with fresh herbs inside the can.
Nutritional Information
Save This Recipe to Your Inbox
By signing up, you'll join our email list and can unsubscribe anytime.


Comments
No Comments