

Learn how to make strawberry jam for canning with just a few simple steps and ingredients. This recipe is beginner-friendly and perfect for anyone wanting to create delicious homemade jam.

Save This Recipe to Your Inbox
By signing up, you’ll join our email list and can unsubscribe anytime.
There's something truly satisfying about making your own canned strawberry jam, from the fragrant simmering berries to the satisfying "pop" of sealed jars as they cool. This recipe is one of our favorite ways to preserve the sweetness of summer using simple, wholesome ingredients.
Not only is it budget-friendly (just $1.60 per half-pint), but it's also an approachable recipe even for first-time canners.
We love that this strawberry jam for canning follows safe water bath canning guidelines approved by the National Center for Home Food Preservation and university extension programs like Virginia Tech Extension and Illinois Extension, so you can feel confident you're doing it right.
Whether you're a beginner or seasoned homesteader, this strawberry jam canning recipe is a delicious way to stock your pantry. Want more canning ideas? Don't miss How to Can Peaches or our Homemade Grape Jelly Recipe!
Looking for a no sugar added, freezer jam (not safe for canning?) Check out our Sugar Free Strawberry Jam.
Jump to:
- 💛 Why You'll Love This Recipe
- 🛒 Ingredients
- 🔀 Substitutions & Variations
- 💰 Budget-Friendly Tips
- 📍 Water Bath Canning: Elevation Adjustments
- 🥄 How to Make Strawberry Jam for Canning
- 👩🏻🍳 Expert Tips
- ❄️ Storage
- 🫙 Reprocessing
- 🥗 Side Dishes or Pairing Ideas
- ❓ Strawberry Jam for Canning FAQs
- 🍽️ More Recipes You'll Love
- 📖 Recipe
- 💬 Comments
💛 Why You'll Love This Recipe
- Beginner-Friendly: This jam uses just a few ingredients and simple canning techniques, so it's perfect even if it's your first time preserving.
- Long-Lasting: With proper canning, this canned strawberry jam recipe is shelf-stable for up to a year, no freezer space required.
- Budget-Wise: At just $1.60 per jar, this homemade option beats many store-bought versions without sacrificing flavor.
🛒 Ingredients
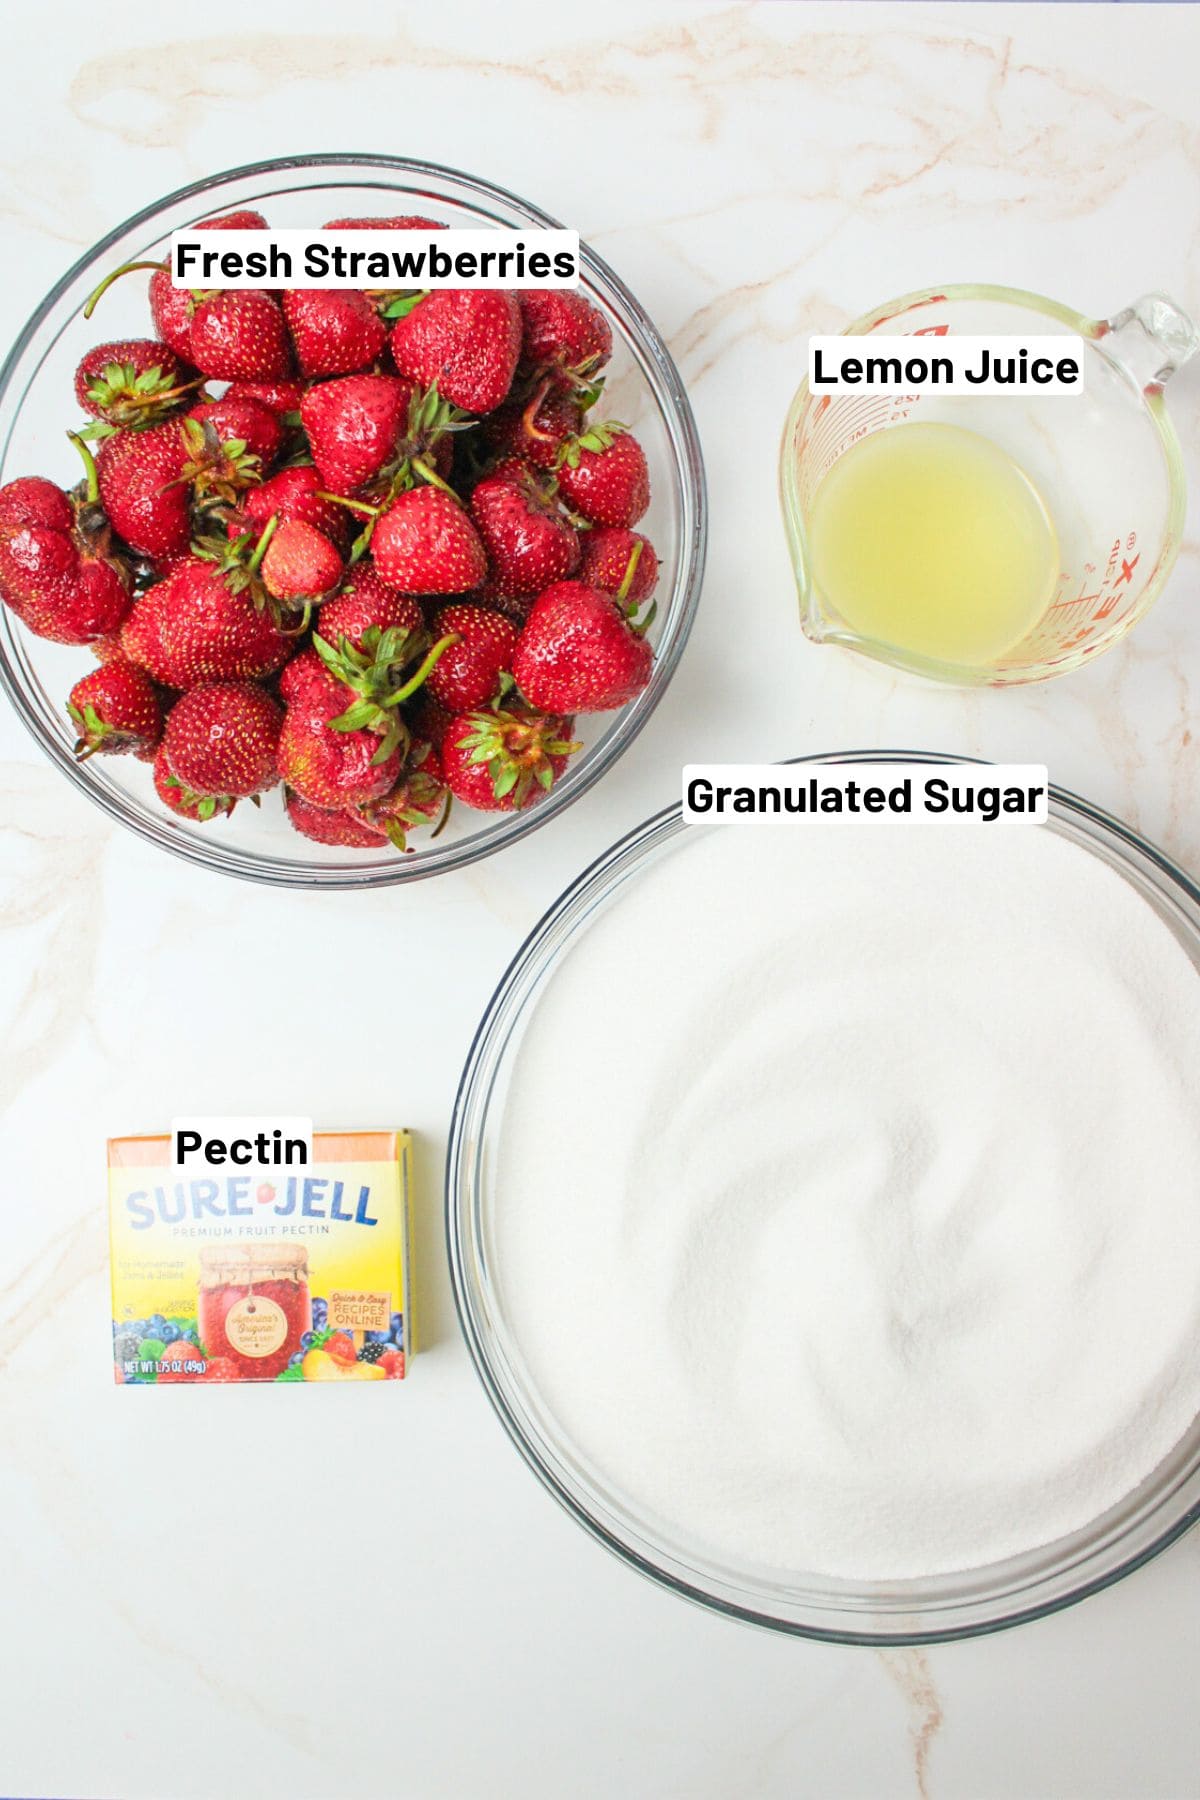
- Crushed Strawberries: Freshly crushed berries (not puréed) give the jam its classic texture and concentrated berry flavor.
- Powdered Pectin (like Sure-Jell): Helps the jam set to a spreadable consistency without needing to overcook the fruit.
- Bottled Lemon Juice: This ensures safe acidity levels for canning and enhances the brightness of the strawberry flavor. DO NOT USE FRESH LEMON JUICE!
- Granulated Sugar: Acts as both a sweetener and a preservative, helping the jam gel and last longer on the shelf.
See the recipe card below for full ingredients and instructions.
🔀 Substitutions & Variations
Pectin: You can use a low-sugar or no-sugar pectin if desired, but follow specific package instructions as the sugar ratio will change.
Lemon Juice: Bottled is best for consistent acidity in canning, but in non-canned versions, fresh lemon juice may be used.
Sugar: You can reduce the sugar slightly with low-sugar pectin, but too little may affect the set and shelf-stability.
💰 Budget-Friendly Tips
Strawberry jam is already one of the more affordable berries, especially when you buy berries in season or on sale. You can save even more by purchasing in bulk at a farmer's market or pick-your-own farm.
Using store-brand sugar and buying pectin in multipacks also helps cut costs.
📍 Water Bath Canning: Elevation Adjustments
Use this chart to adjust boiling water bath processing times based on your elevation. Don't know your elevation? A quick Google search can help.
| Elevation | Add to Processing Time |
|---|---|
| 0-1,000 ft | Use time listed in recipe (10 min) |
| 1,001-3,000 ft | Add 5 minutes |
| 3,001-6,000 ft | Add 10 minutes |
| 6,001-8,000 ft | Add 15 minutes |
| 8,001-10,000 ft | Add 20 minutes |
🥄 How to Make Strawberry Jam for Canning
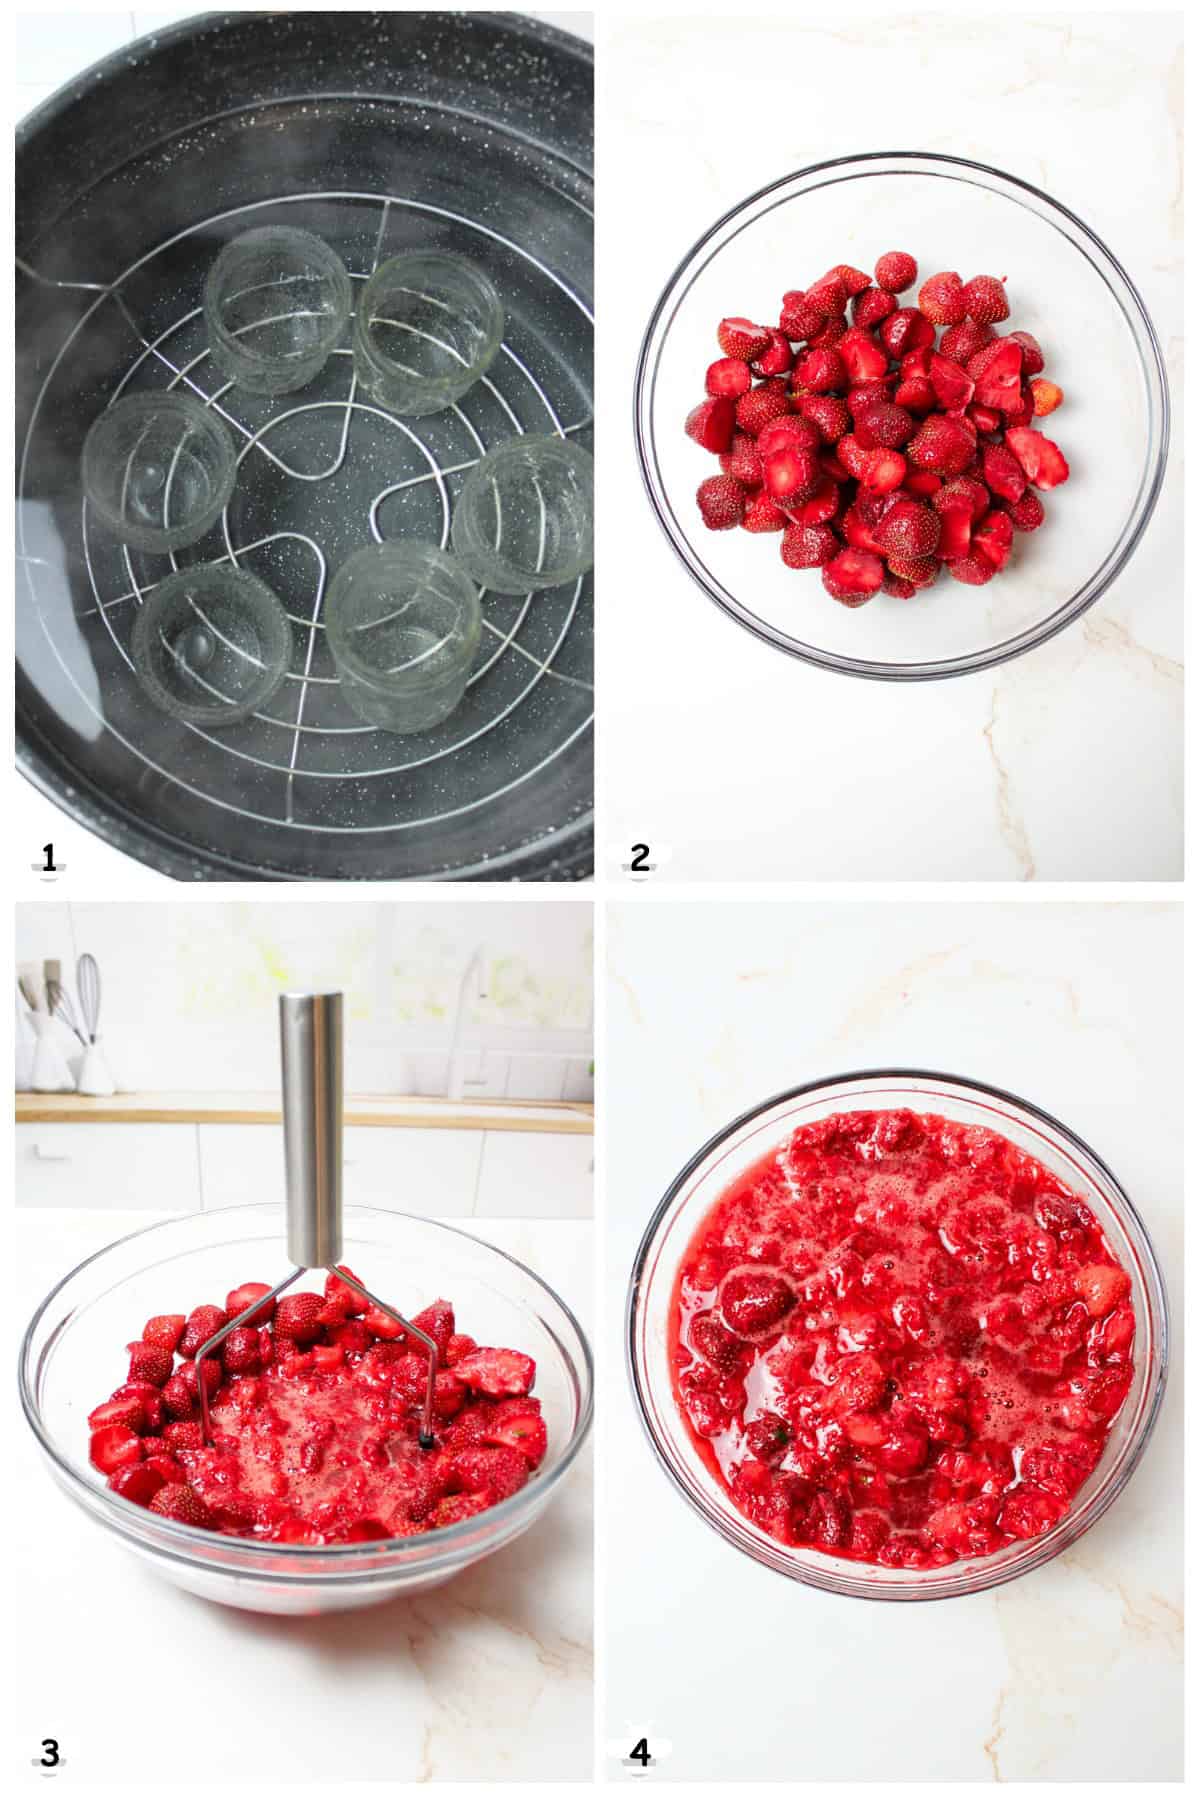
Step 1: Prepare jars and lids. Wash thoroughly, sterilize jars, and keep them hot. I like to place my empty jars inside my large canning pot and bring them to a boil while I prep everything else. (Image 1).
If your jars are clean, an alternative is to place them in the dishwasher (without soap) and run a hot water cycle to keep them warm.
Step 2: Wash and hull berries. (Image 2). Crush in batches using a potato masher or food processor (do not purée completely). (Image 3). Measure out exactly 5 cups of crushed fruit. (Image 4).
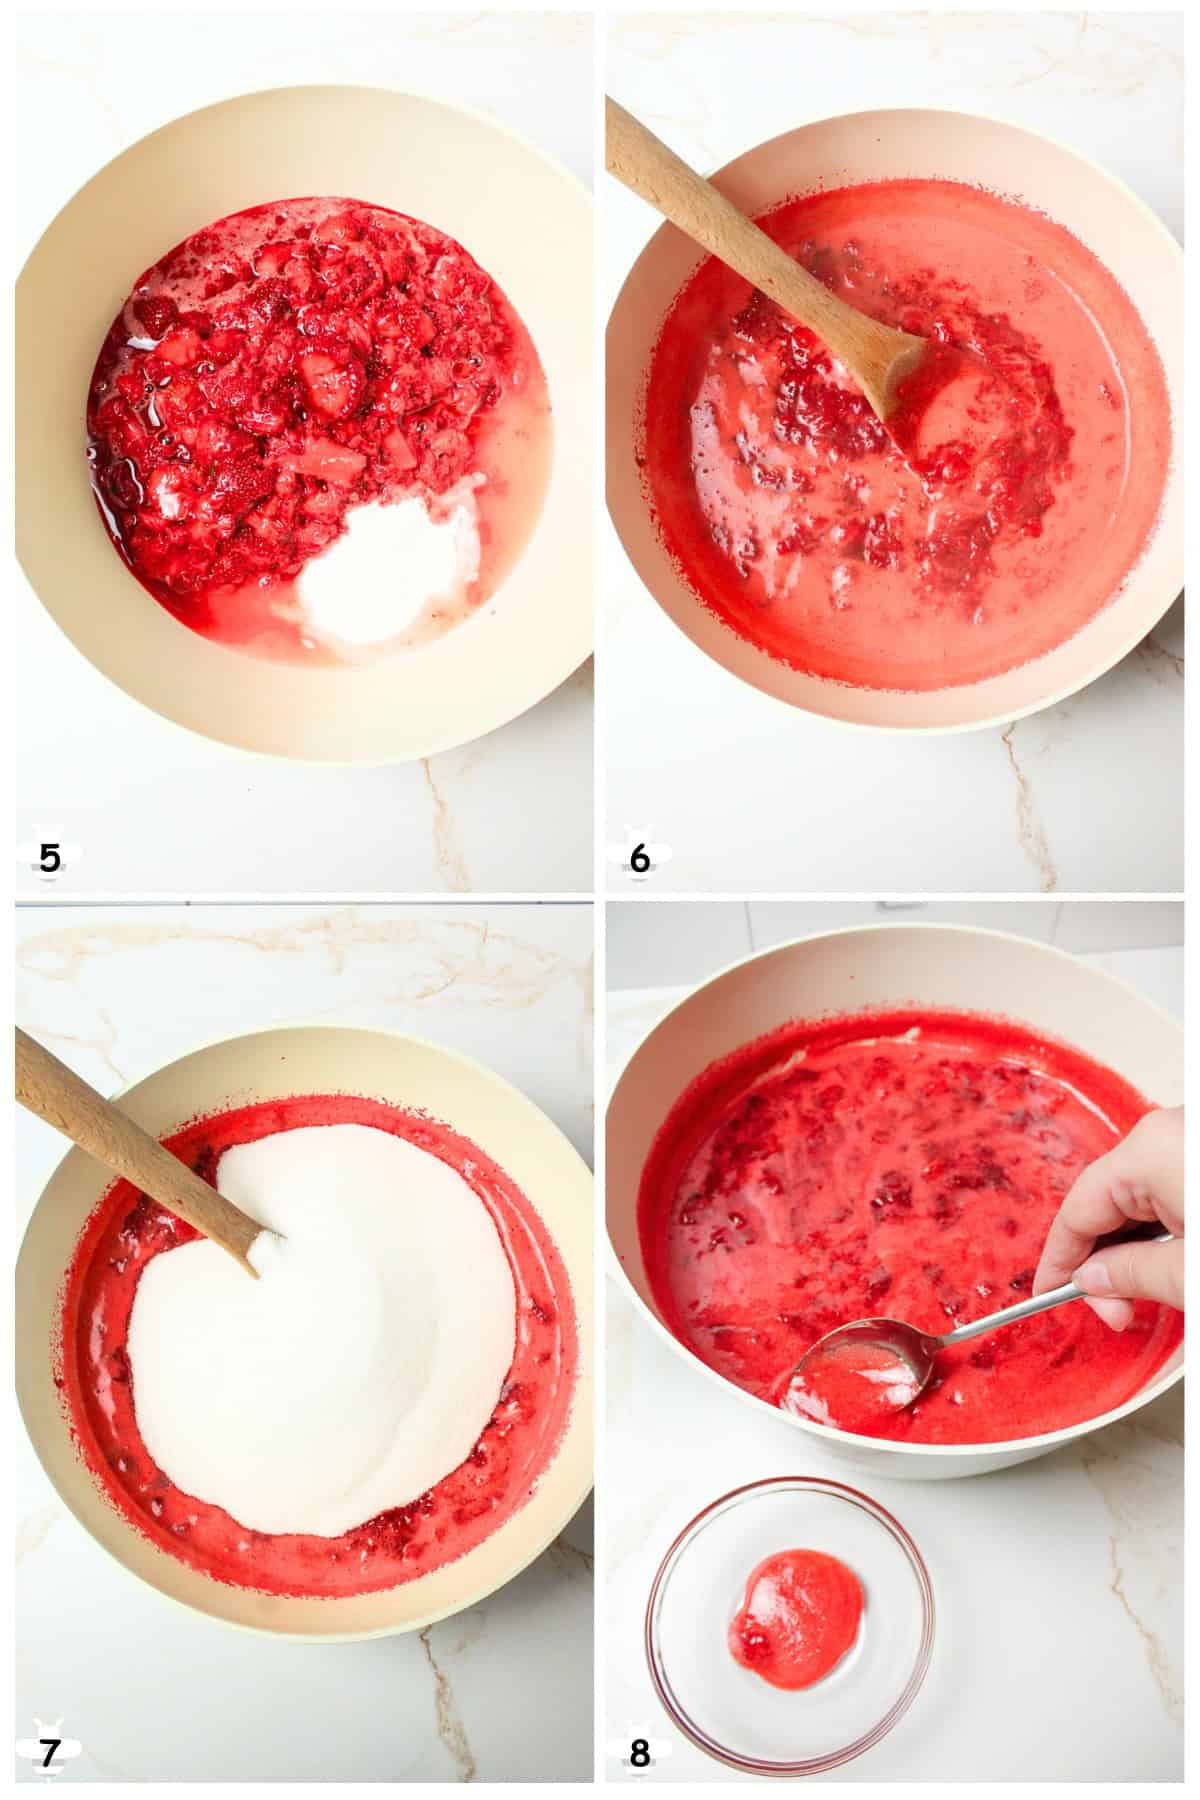
Step 3: In a large, deep pot, combine strawberries, bottled lemon juice, and pectin. (Image 5). Bring to a full rolling boil over high heat, stirring constantly. (Image 6).
Step 4: Add all the sugar at once. (Image 7). Stir until dissolved. Return to a full rolling boil. Boil exactly 1 minute, stirring constantly.
Step 5: Remove from heat and skim off any foam. (Image 8). Tip: Letting it rest for a minute or two will allow the foam to set and become easier to remove.
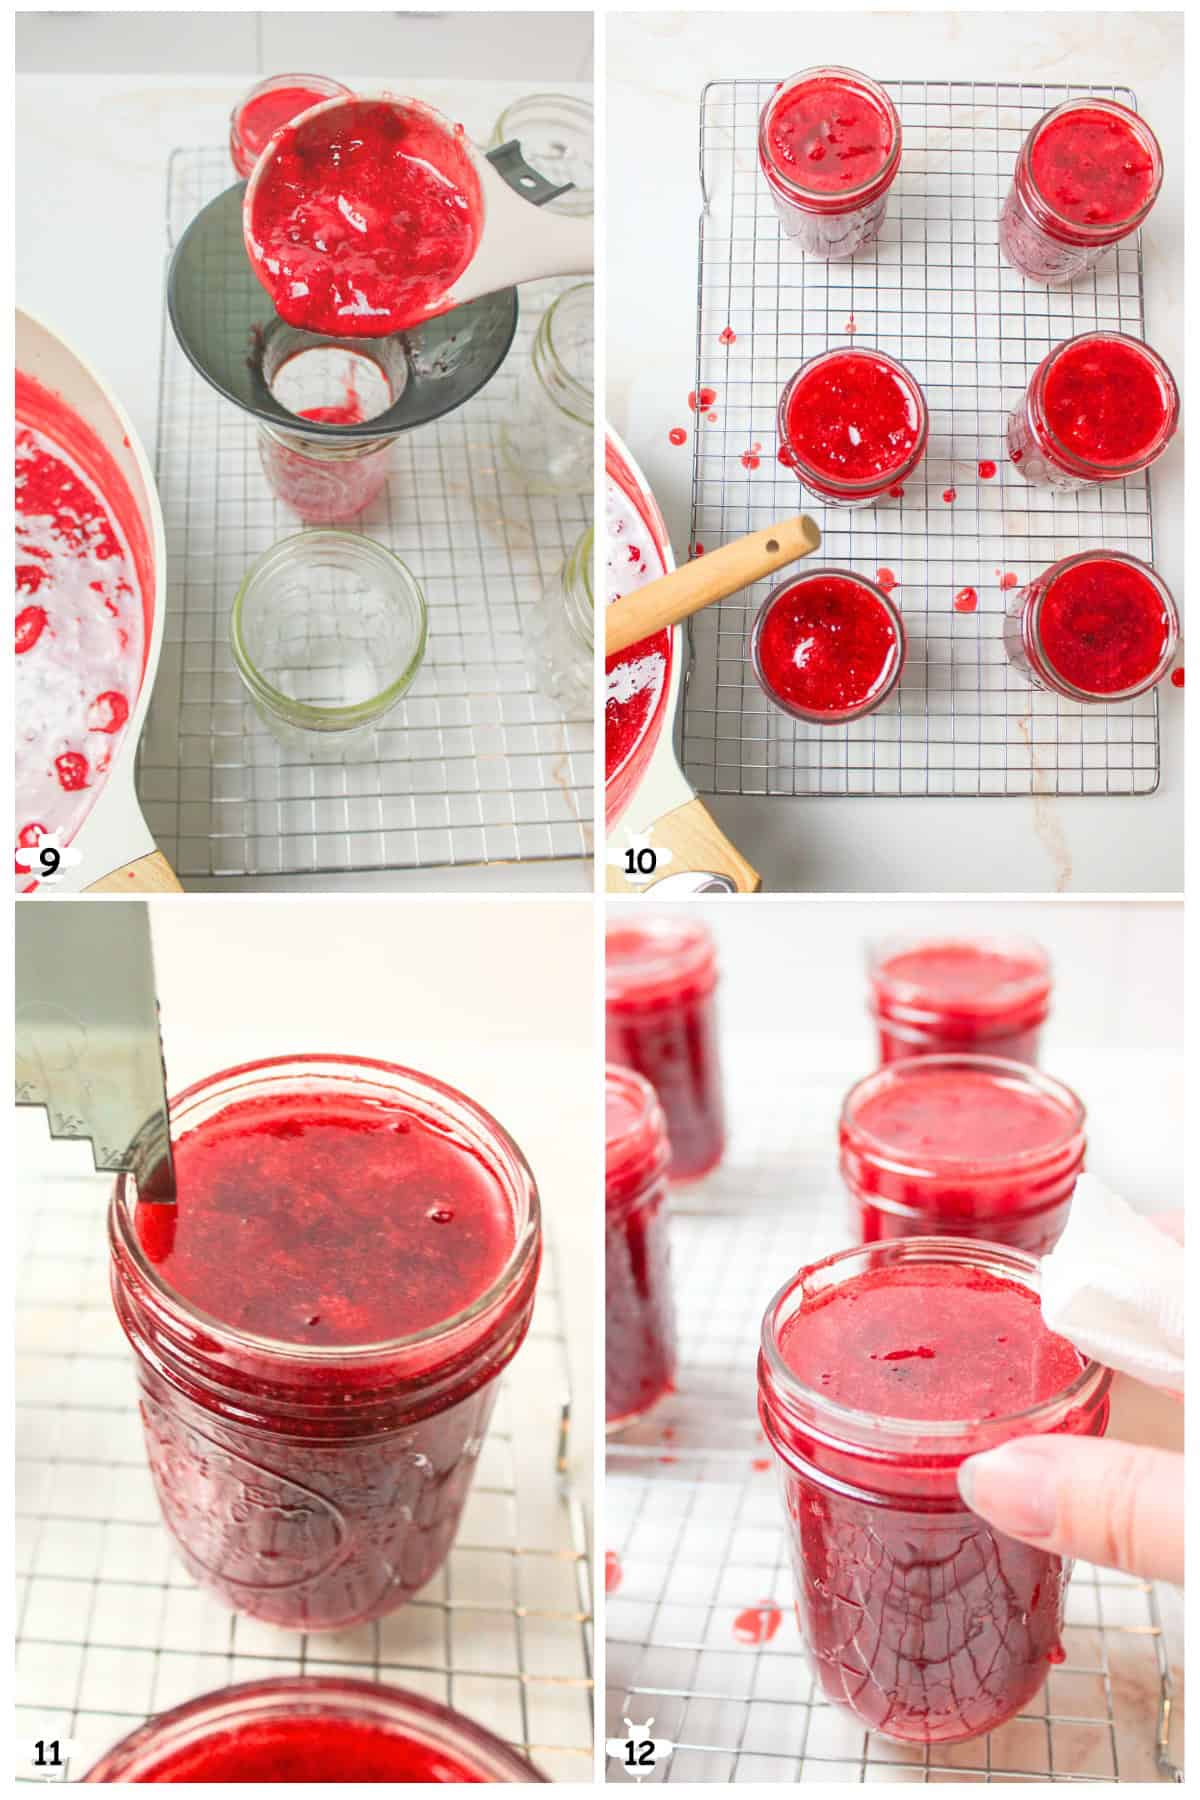
Step 6: Ladle hot jam into hot jars, (Images 9&10), leaving ¼-inch headspace. (Image 11).
Step 7: Wipe rims clean. (Image 12).
Tip: I've found that a wet paper towel works better than a wet dishrag because it can fit better into the nooks and crannies along the side of the rim.
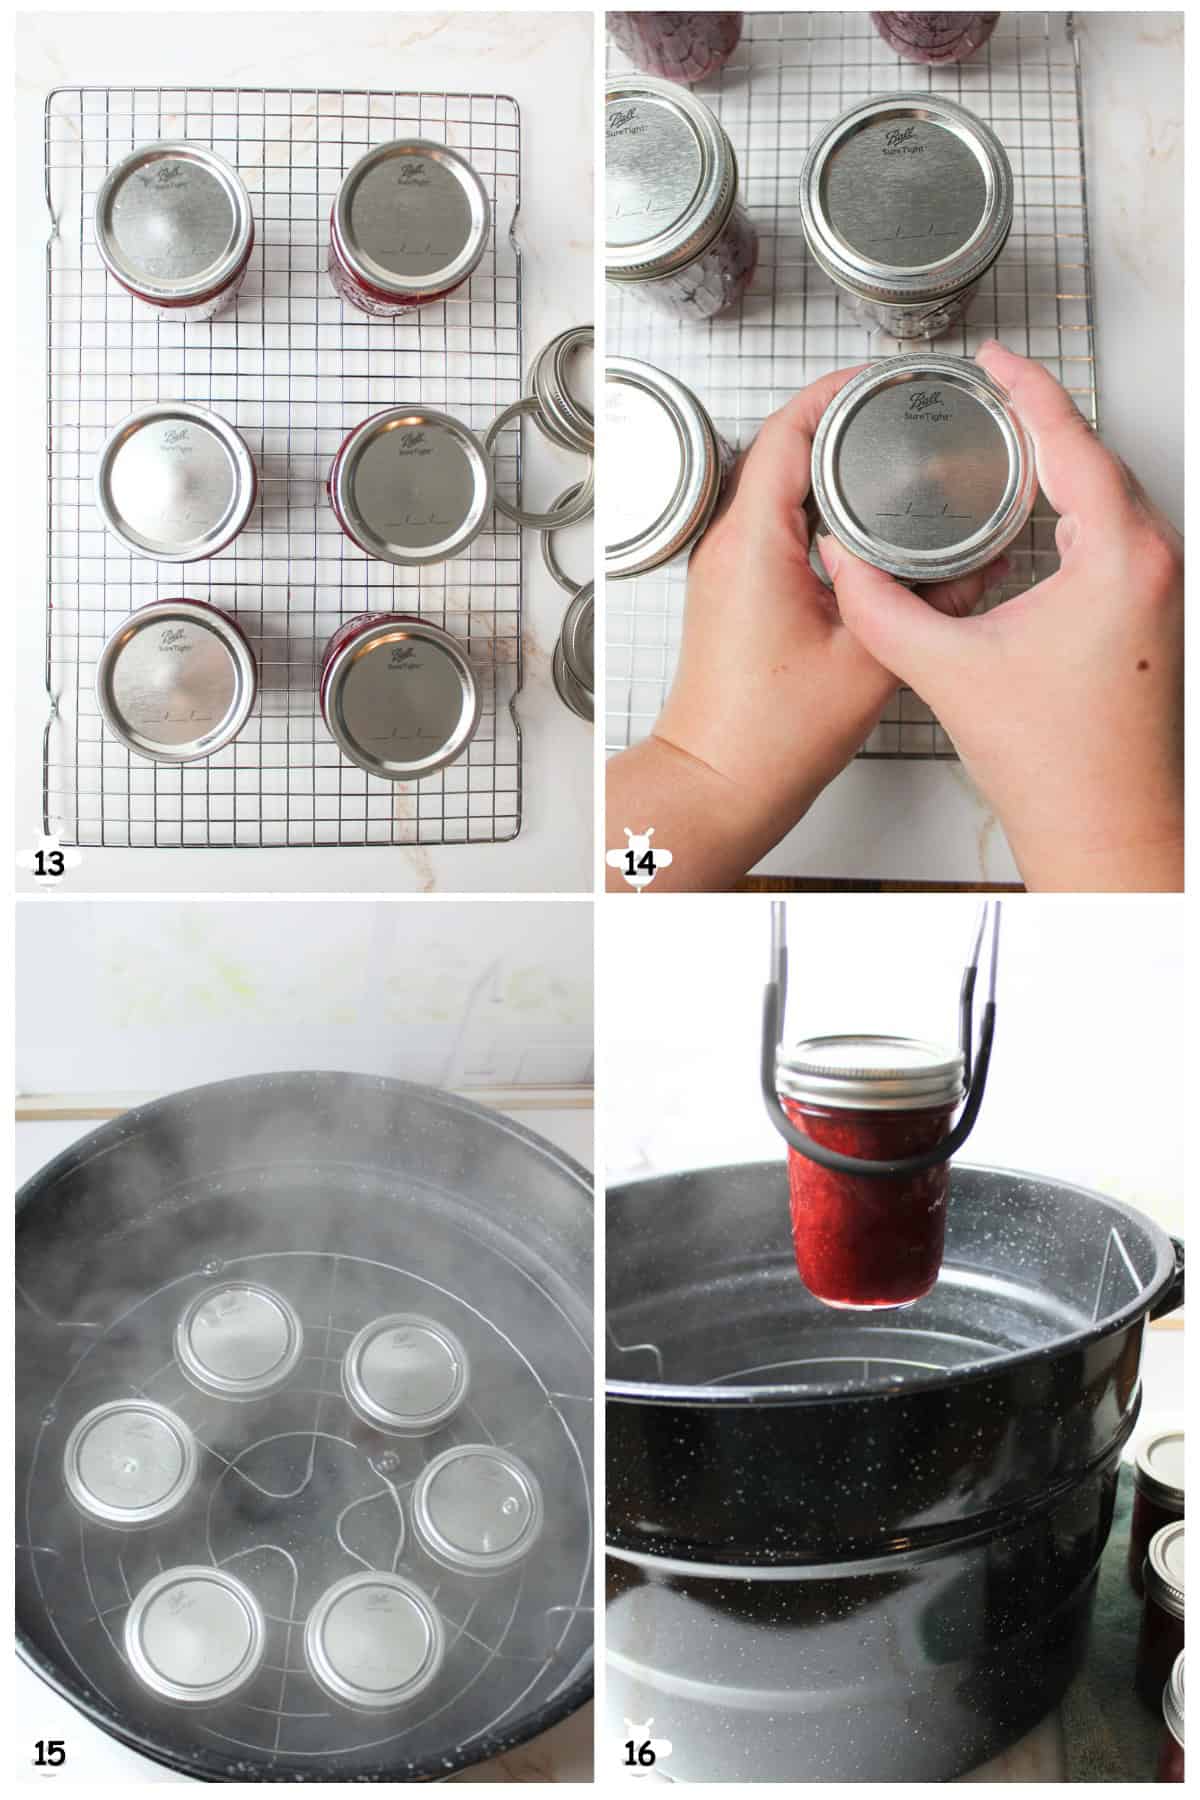
Step 8: Add lids (Image 13) and rings, tightening fingertip-tight. (Image 14).
You need to be careful with tightening them, too loose and they won't work right, and too tight, and they won't seal. A good rule of thumb is finger-tight. Turn the lids just enough to feel secure, but do not do any additional turning.
Tip: Using your non-dominant hand can help to keep you from overtightening the rings.
Step 9: Place jars in the boiling water bath canner (jars must be fully submerged with 1-2 inches of water over them). (Image 15).
- 0-1,000 ft = 10 minutes
- 1,001-6,000 ft = 15 minutes
- 6,001+ ft = 20 minutes
Step 10: Turn off the heat and let the jars rest 5 minutes, then remove (Image 12) to a towel-lined counter. Cool and undisturbed for 12-24 hours.
👩🏻🍳 Expert Tips
- Hot jam is lava! Use caution when stirring or pouring; it splashes easily and is extremely hot.
- Foam skimming is optional, but it gives your finished jam a clearer appearance.
- Don't reduce sugar unless you use low-sugar pectin, or your jam may not set properly.
- When canning strawberry jam, make sure your jars are hot when filling to avoid cracking from temperature shock.
- Don't reuse canning lids, they're one-time-use for safe sealing.
- Why We DON'T Boil Lids Anymore. Around 2014, the canning process was changed. The lid manufacturing companies and canning authorities updated their guidelines to no longer require swimming or boiling the metal lids before using.
- They now recommend washing in soapy water and using them at room temperature. This is because the sealing compound on the lids was reformulated to perform better without preheating. Preheating can weaken the seals.
- Why you should lay towels on counters when canning. Use clean towels that you don't mind getting stained. Placing warm/hot glass jars on a cold counter can result in thermal shock, resulting in glass breaking. Having towels laid down prevents this.
- Plus, it makes clean up a lot easier as you'll just need to pick them up and throw them in the washer instead of scrubbing hard sugar and peach stains off the counters.
❄️ Storage
Storage: Once processed and sealed correctly, your homemade strawberry jam is shelf-stable for up to 12 months when stored in a cool, dark, and dry place (such as a pantry or cabinet). Avoid areas exposed to direct sunlight or fluctuating temperatures.
After opening a jar, refrigerate and use within 3-4 weeks for best quality. Always use a clean spoon when scooping to prevent contamination. If you ever notice mold, off smells, or bubbling, discard the jar, even if it's sealed.
🫙 Pro Tip: Label your jars with the date they were canned so you can use the oldest ones first. A simple masking tape and marker label works great!
🫙 Reprocessing
If any jars fail to seal after the first processing, the contents can be safely reprocessed.
- Remove the jelly, return it to a pot, and bring it back to a full boil.
- Use fresh, sterilized jars and always replace the lids with new ones, do not reuse old lids.
- Repack the hot jelly into the clean jars, leaving the same ¼-inch headspace.
- Process again using the full recommended water bath canning time based on your elevation.
- Be sure jars are clean and hot before refilling to avoid breakage.
Reprocessing should be done within 24 hours of the initial canning attempt for best safety and quality.
🥗 Side Dishes or Pairing Ideas
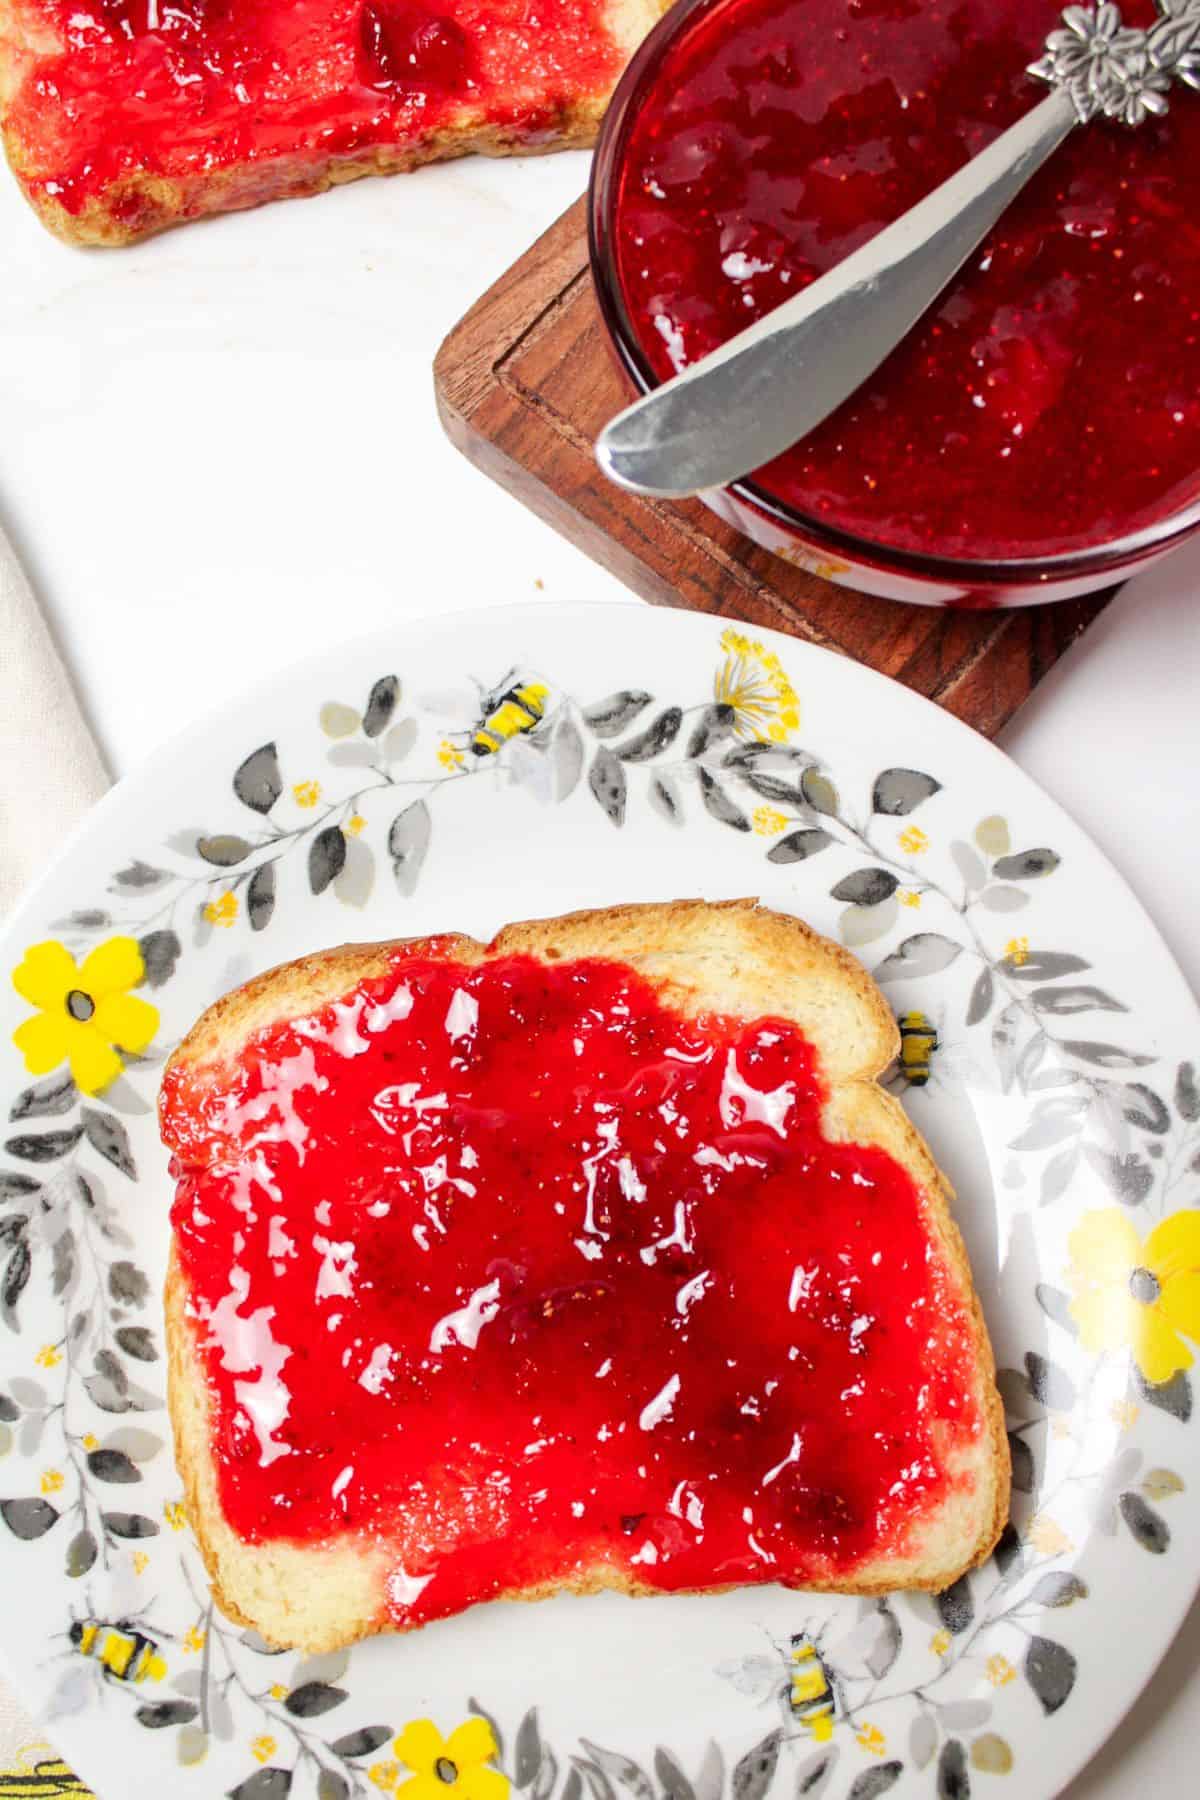
Homemade strawberry jam is delicious spread over warm toast, English muffins, or biscuits. It also pairs beautifully with pancakes, waffles, or stirred into yogurt. For a simple dessert, try spooning it over ice cream or cheesecake.
- Jam Shortbread BarsRecipe $3.59 / Serving $0.40
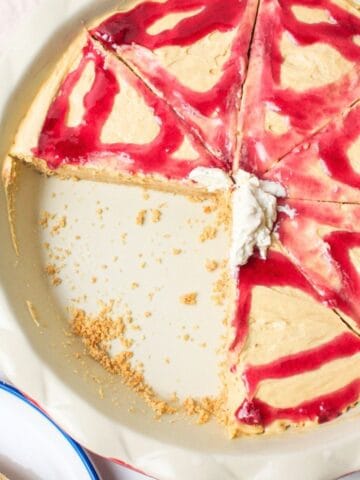
- Peanut Butter and Jelly PieRecipe $5.43 / Serving $0.68
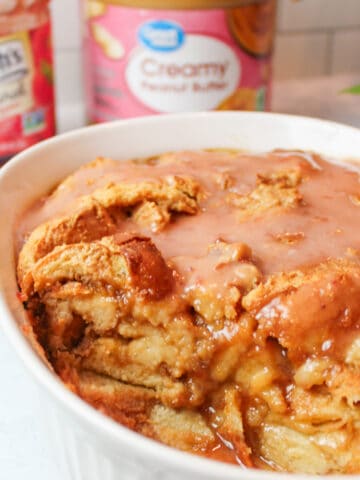
- Peanut Butter and Jelly Bread PuddingRecipe $3.40 / Serving $0.43
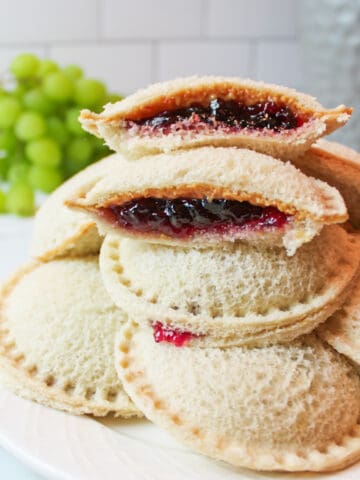
- Frozen Peanut Butter and Jelly SandwichesRecipe $0.96 / Serving $0.32

❓ Strawberry Jam for Canning FAQs
That depends on your preference! Jam with pectin sets more reliably and quickly, preserving a fresher fruit flavor since it doesn't need to be cooked down as long. Jam without pectin has a softer set and a deeper, more caramelized flavor due to longer cooking times. Both are delicious, just different!
No. Strawberry jam is a high-acid food and should only be water bath canned. Pressure canning is not necessary and may overcook or darken your jam.
Yes, you can make and can pectin-free strawberry jam, but it requires longer cooking to achieve a good set. Be sure to follow a tested pectin-free recipe with proper acid and sugar ratios to ensure safety for canning.
Not necessarily. Jam thickens more as it cools. It should reach the gel stage (around 220°F at sea level), but don't overcook it trying to get it "jammy" in the pot, it will set as it sits in the jars. A spoon or plate test can help confirm readiness.
Leaving out lemon juice can make your jam unsafe for water bath canning. It helps lower the pH to a safe level and balances the sweetness with a bright flavor. Always use bottled lemon juice (not fresh) for consistent acidity in canning.
No. This is an outdated and unsafe method. Jars should be processed in a boiling water bath and then left upright to cool undisturbed. Turning them upside down doesn't guarantee a proper seal and can lead to contamination.
🍽️ More Recipes You'll Love
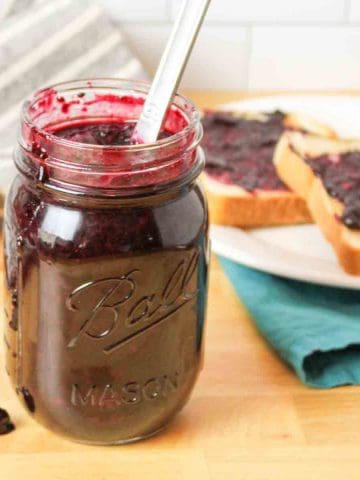
- Sugar Free Blueberry JamRecipe $2.83
- Apple Jelly (for Canning)Recipe $7.13/ Half-Pint $1.46
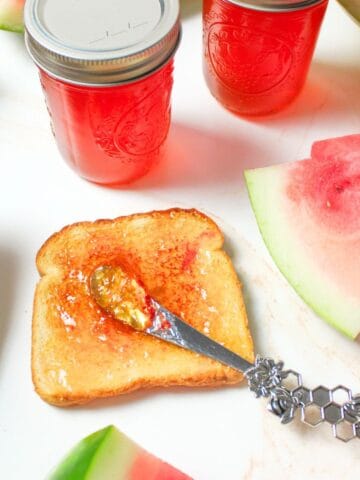
- Watermelon JellyRecipe $8.66 / Half Pint $1.73
- Peach Peel JellyRecipe $5.23 / Half Pint $1.31


🐝 If you tried this Strawberry Jam for Canning, please leave a ⭐️ star rating and share your buzz in the 💬 comments below. I'd truly appreciate it!
📖 Recipe
Strawberry Jam for Canning
Ingredients
- 5 cups crushed fresh strawberries, about 2 quarts whole berries - ($2.97)
- ¼ cup bottled lemon juice - ($0.26)
- 1 box (1.75 ounces) powdered fruit pectin, Sure-Jell yellow box - ($3.70)
- 7 cups granulated sugar - ($2.69)
Instructions
- Prep jars. Wash and sterilize jars and lids. Keep jars hot until ready to fill, either in a boiling water bath canner or a hot dishwasher cycle.
- Prep the strawberries. Wash, hull, and crush strawberries in batches using a potato masher or food processor, leaving some texture. Measure exactly 5 cups.
- Cook the jam base. In a large pot, combine the crushed strawberries, bottled lemon juice, and pectin. Bring to a full rolling boil over high heat, stirring constantly.
- Add sugar. Add all the sugar at once and stir until fully dissolved. Return to a full rolling boil and boil exactly 1 minute, stirring constantly.
- Fill jars. Remove from heat and skim off any foam. Ladle hot jam into hot jars, leaving ¼-inch headspace. Wipe rims clean, apply lids, and tighten rings fingertip-tight.
- Process. Place jars in a boiling water bath canner with 1 to 2 inches of water covering the jars. Process according to altitude.0 to 1,000 feet: 10 minutes1,001 to 6,000 feet: 15 minutes6,001 feet and above: 20 minutes
- Cool. Turn off heat and let jars rest in the canner for 5 minutes. Remove and cool undisturbed for 12 to 24 hours.
Notes
- Fruit quality. Use ripe, fresh strawberries and measure crushed fruit accurately for proper set.
- Acidity. Bottled lemon juice is required for safe, consistent acidity.
- Boil timing. Boil the jam exactly 1 minute after adding sugar to ensure proper gelling.
- Foam. Skimming foam improves clarity but does not affect safety.
- Storage. Store sealed jars in a cool, dark place for up to 1 year. Refrigerate after opening and use within 3 to 4 weeks.
- Set check. Jam may thicken further as it cools. Softer jam can still be used as syrup or spread.
- Lids. Always use new canning lids for a proper seal.
Nutritional Information
Save This Recipe to Your Inbox
By signing up, you'll join our email list and can unsubscribe anytime.


Nicole Durham says
Nothing is better than homemade strawberry jam!