

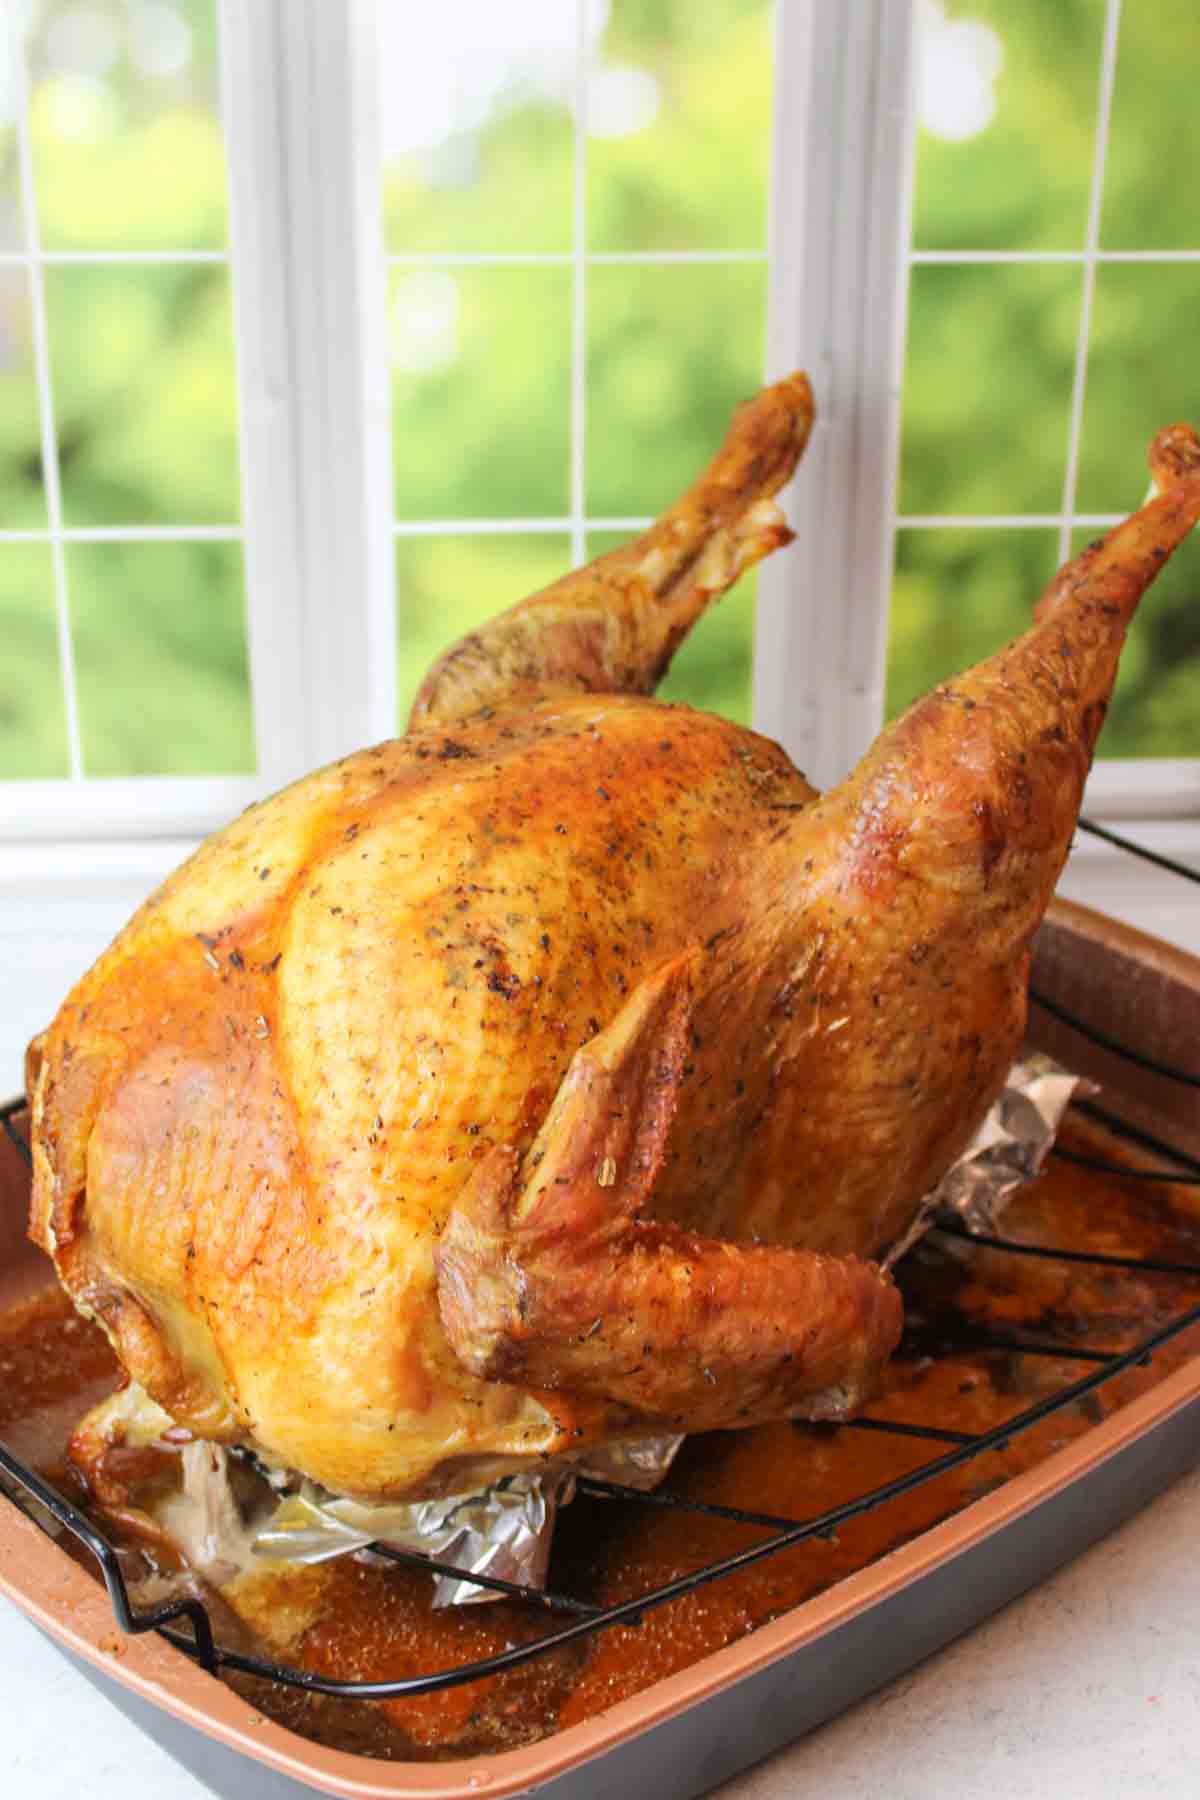
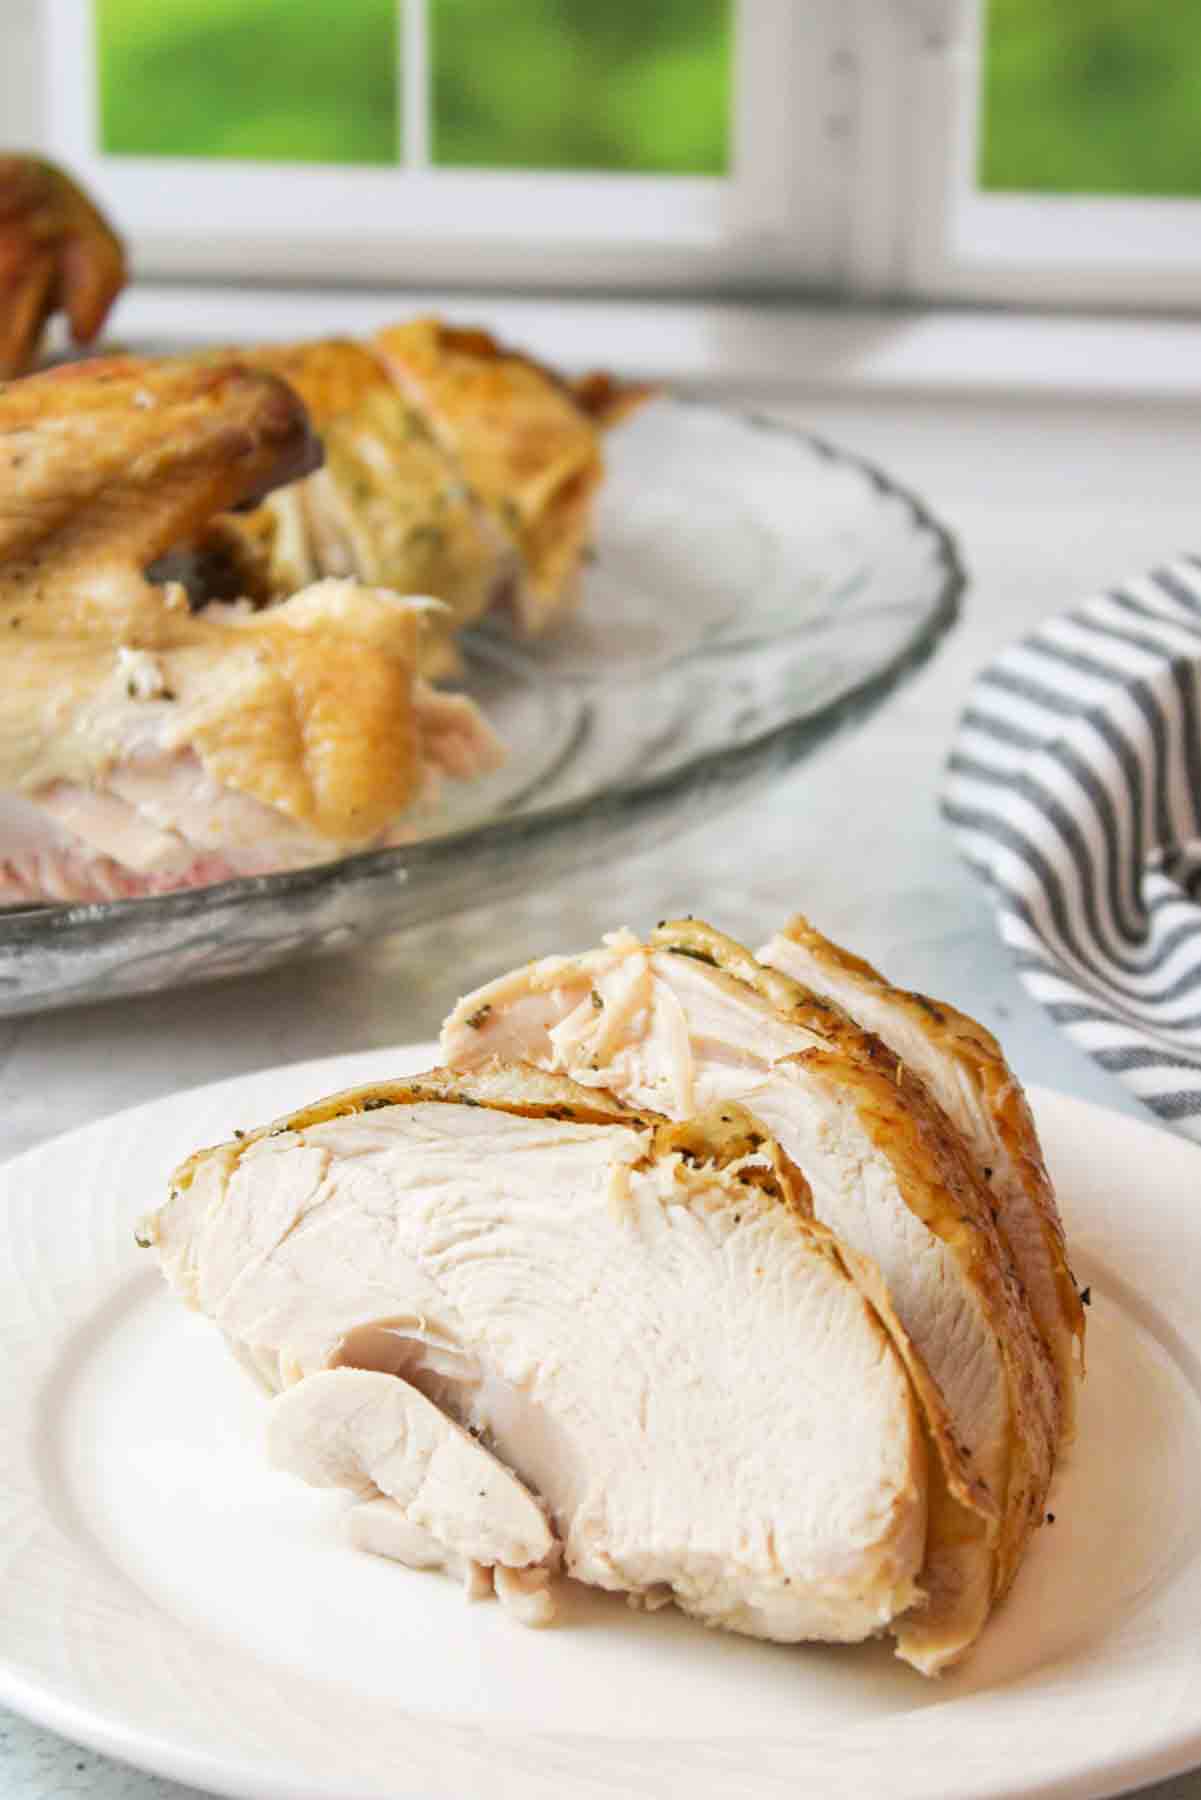
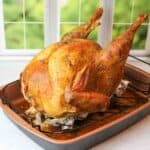
Want a succulent, oven-roasted, dry-brined turkey without all the labor? This is my preferred (stress-free) method for preparing turkeys every year. Juicy Oven Roasted Dry Brined Turkey takes only a few minutes of prep and no large pot of liquid is needed.
Save This Recipe to Your Inbox
By signing up, you’ll join our email list and can unsubscribe anytime.
The main dish is key to winning. With a simple mix of salt and seasonings, you'll have a flavorful bird ready in no time.
What is Dry Brine Turkey? Dry brining, or pre-salting, is an easy process. Massage the turkey with salt, refrigerate for 24 to 72 hours, then roast. Unlike wet brining, dry brining adds flavor without water.
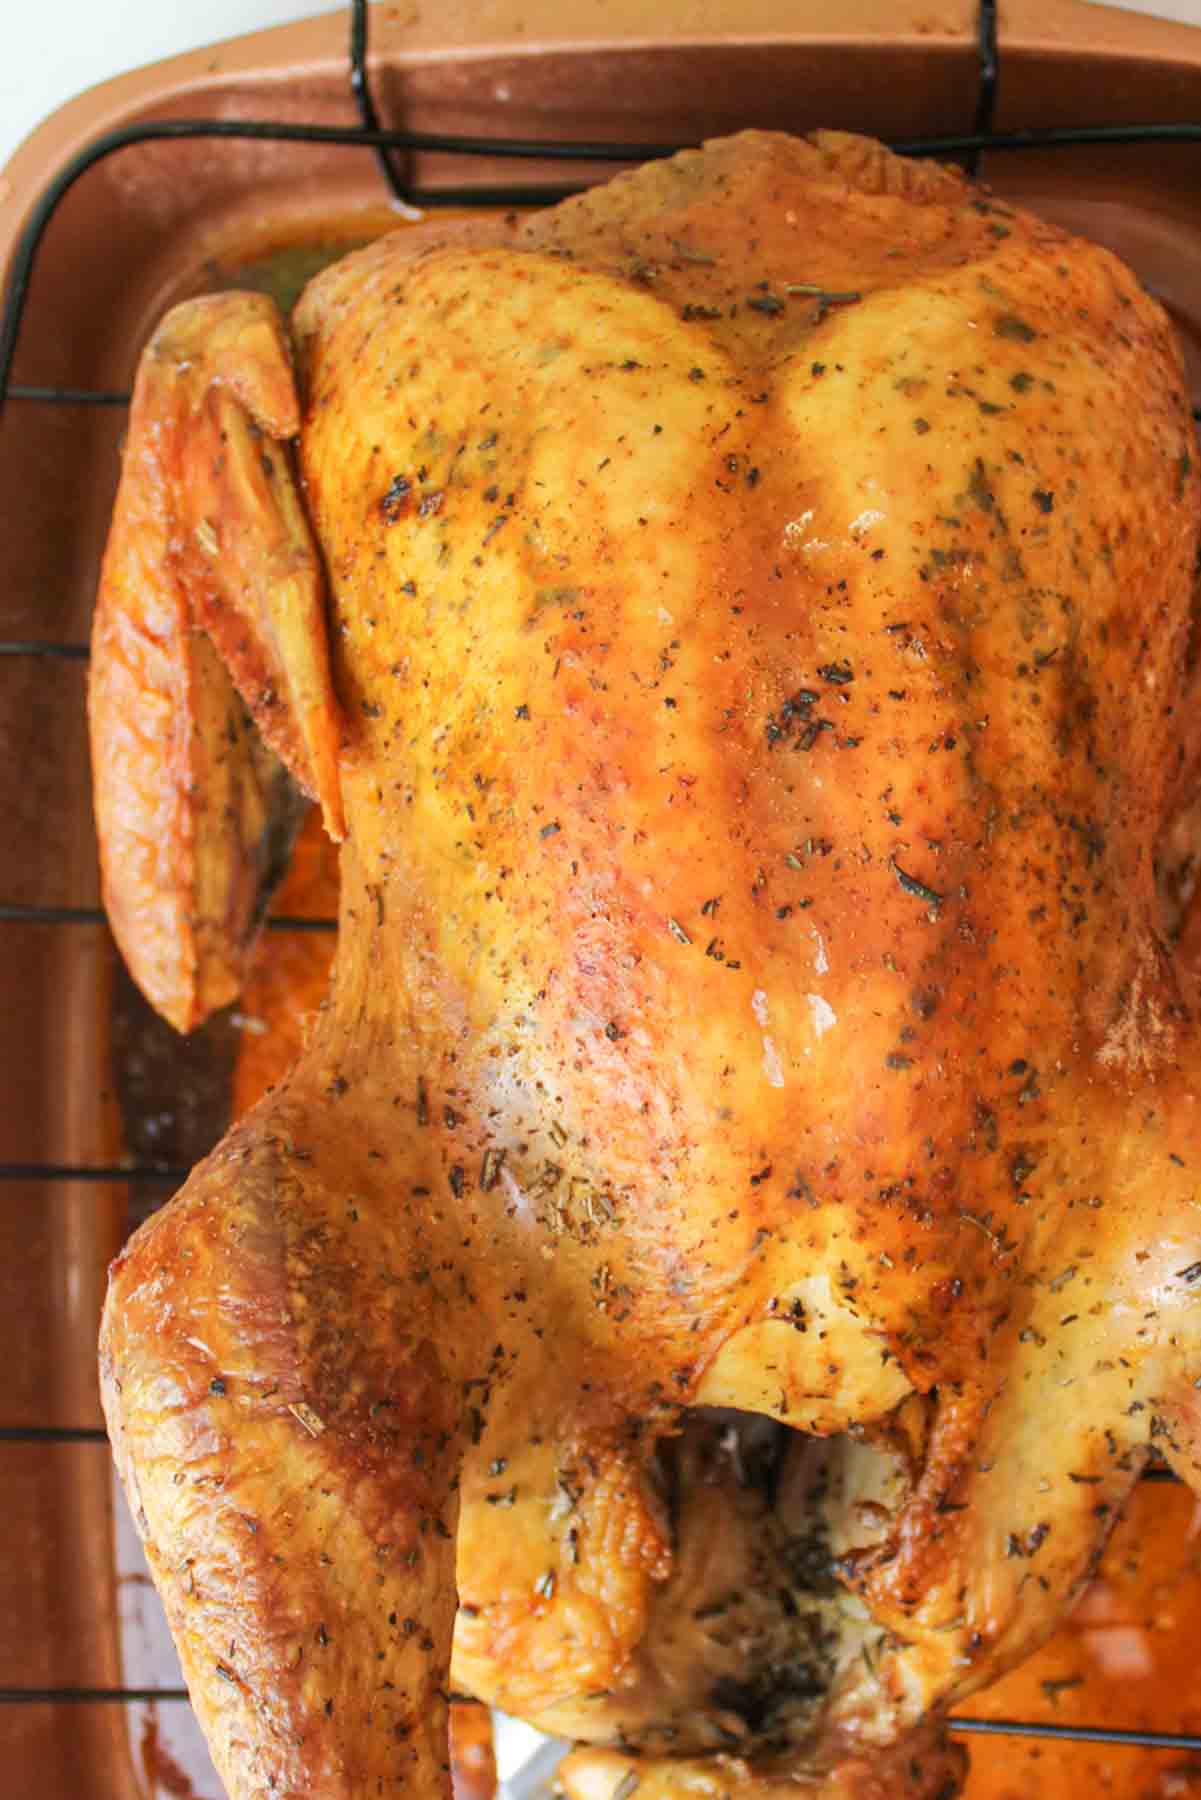
The result? A juicy bird with crispy skin. This is our go-to dry brine turkey recipe every year, and it's easy to see why.
For more turkey recipes, try my Air Fryer Turkey Breast, Cajun Turkey Breast Recipe, and Thanksgiving Tamales.
Jump to:
💛 Why You'll Love This Recipe
- Easier than wet brines. No sloshing bags, no giant pots, and no mess. Just simple pantry staples, a roasting pan, and a few minutes of hands-on time.
- Quick prep. Mix the seasonings, rub the turkey, and let it brine in the fridge for a day or two. It fits easily into busy holiday schedules and can be prepped up to 4 days in advance.
- Simple ingredients. All you need is a thawed turkey and basic seasonings, keeping this recipe affordable for tight budgets and stress-free, especially during the hectic holiday season.
🛒 Ingredients
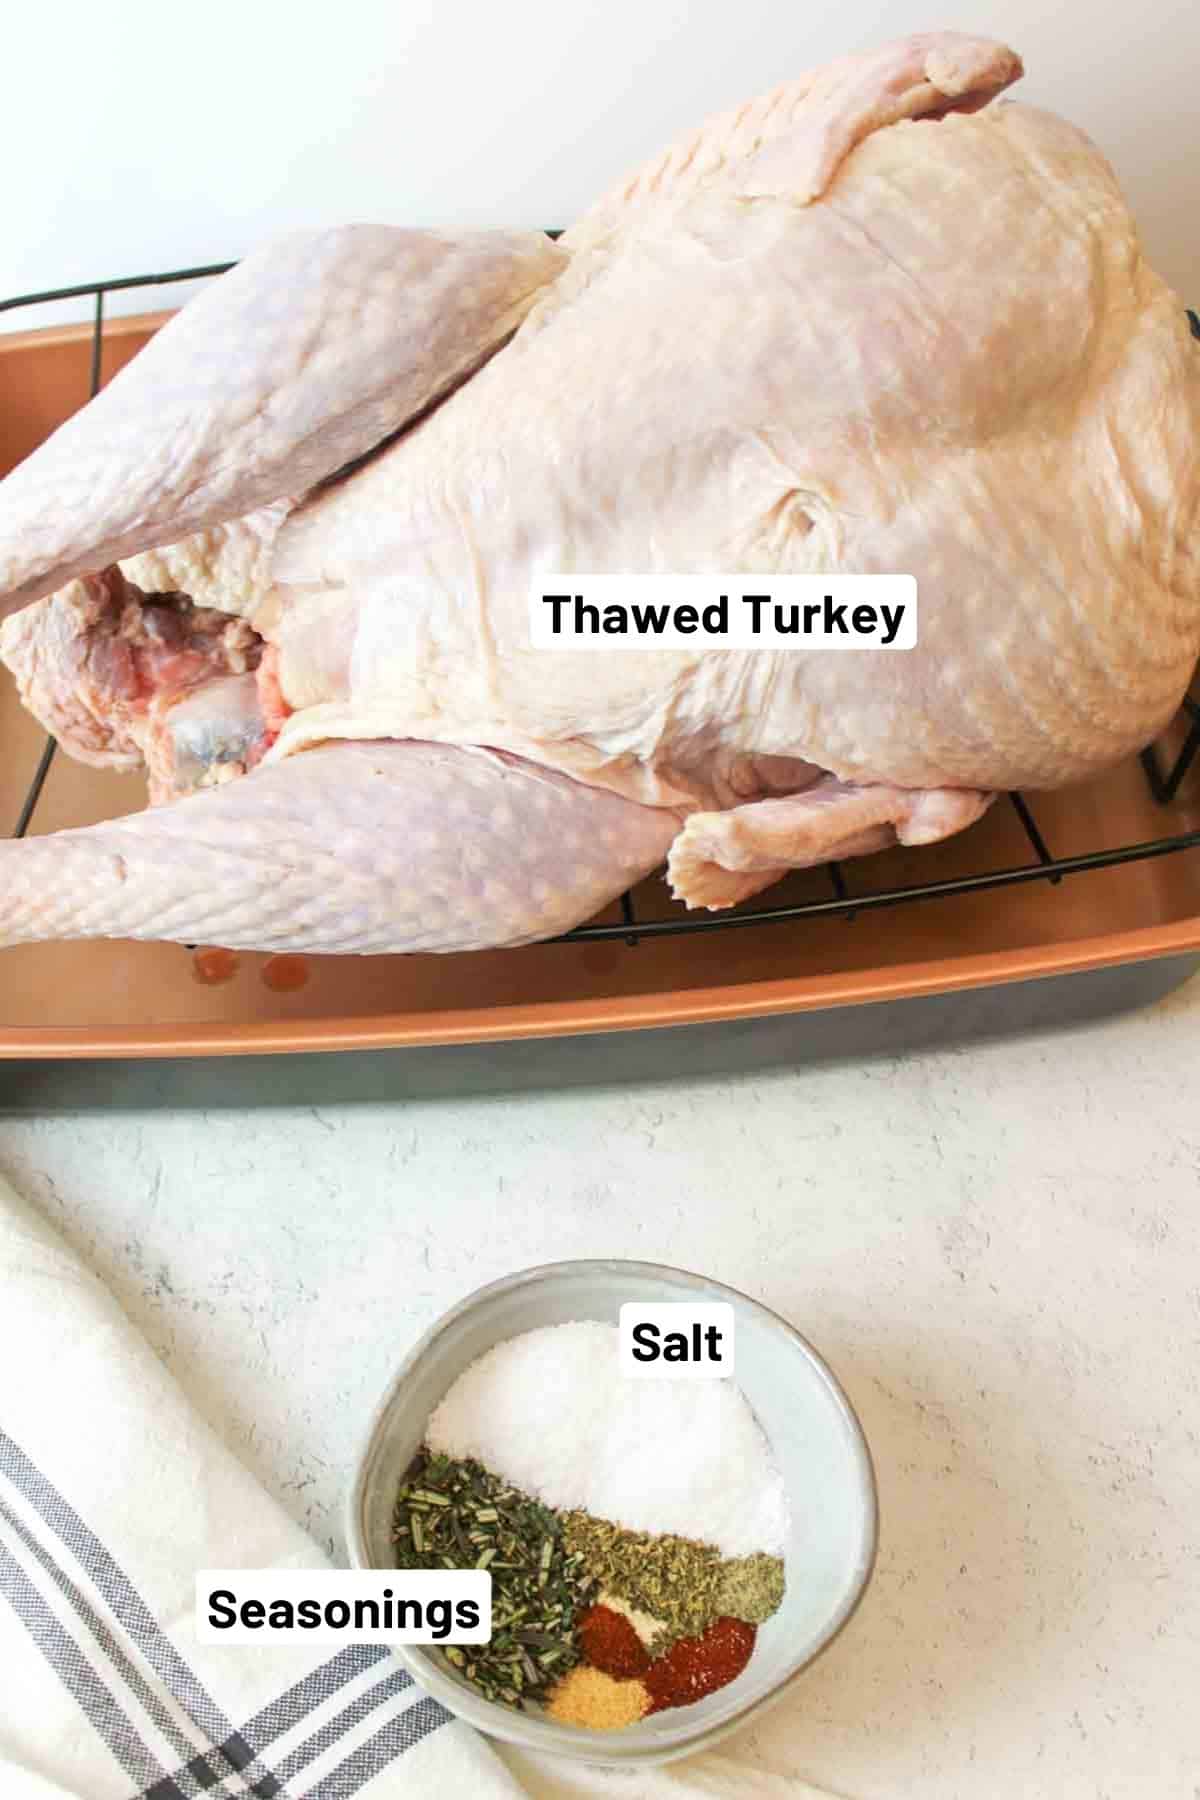
Kosher Salt. Use kosher salt only, not table salt. The larger grain is key for proper dry brining. Morton's works well.
Seasonings. A simple pantry blend like garlic powder, onion powder, paprika, black pepper, cayenne, basil, and rosemary adds plenty of flavor without fuss.
Whole Turkey. Plan ahead and allow several days for the turkey to fully thaw in the fridge. It must be completely thawed before brining.
💡 After roasting, be sure to check out How to Reuse Leftover Food for easy and practical ways to use up leftover turkey meat.
See the recipe card below for full ingredients and instructions.
💰 Budget-Friendly Tips
Dry brining saves money. This method skips large amounts of liquid, bags, and extra equipment while still delivering great flavor. Most of the seasonings are inexpensive staples you may already have on hand.
Buy turkey during holiday sales. Whole turkeys are often heavily discounted around major holidays and freeze well.
Maximize leftovers. Dry-brined turkey stays moist, making it ideal for sandwiches, soups, and casseroles after the main meal.
🥄 Instructions for Dry Brined Turkey
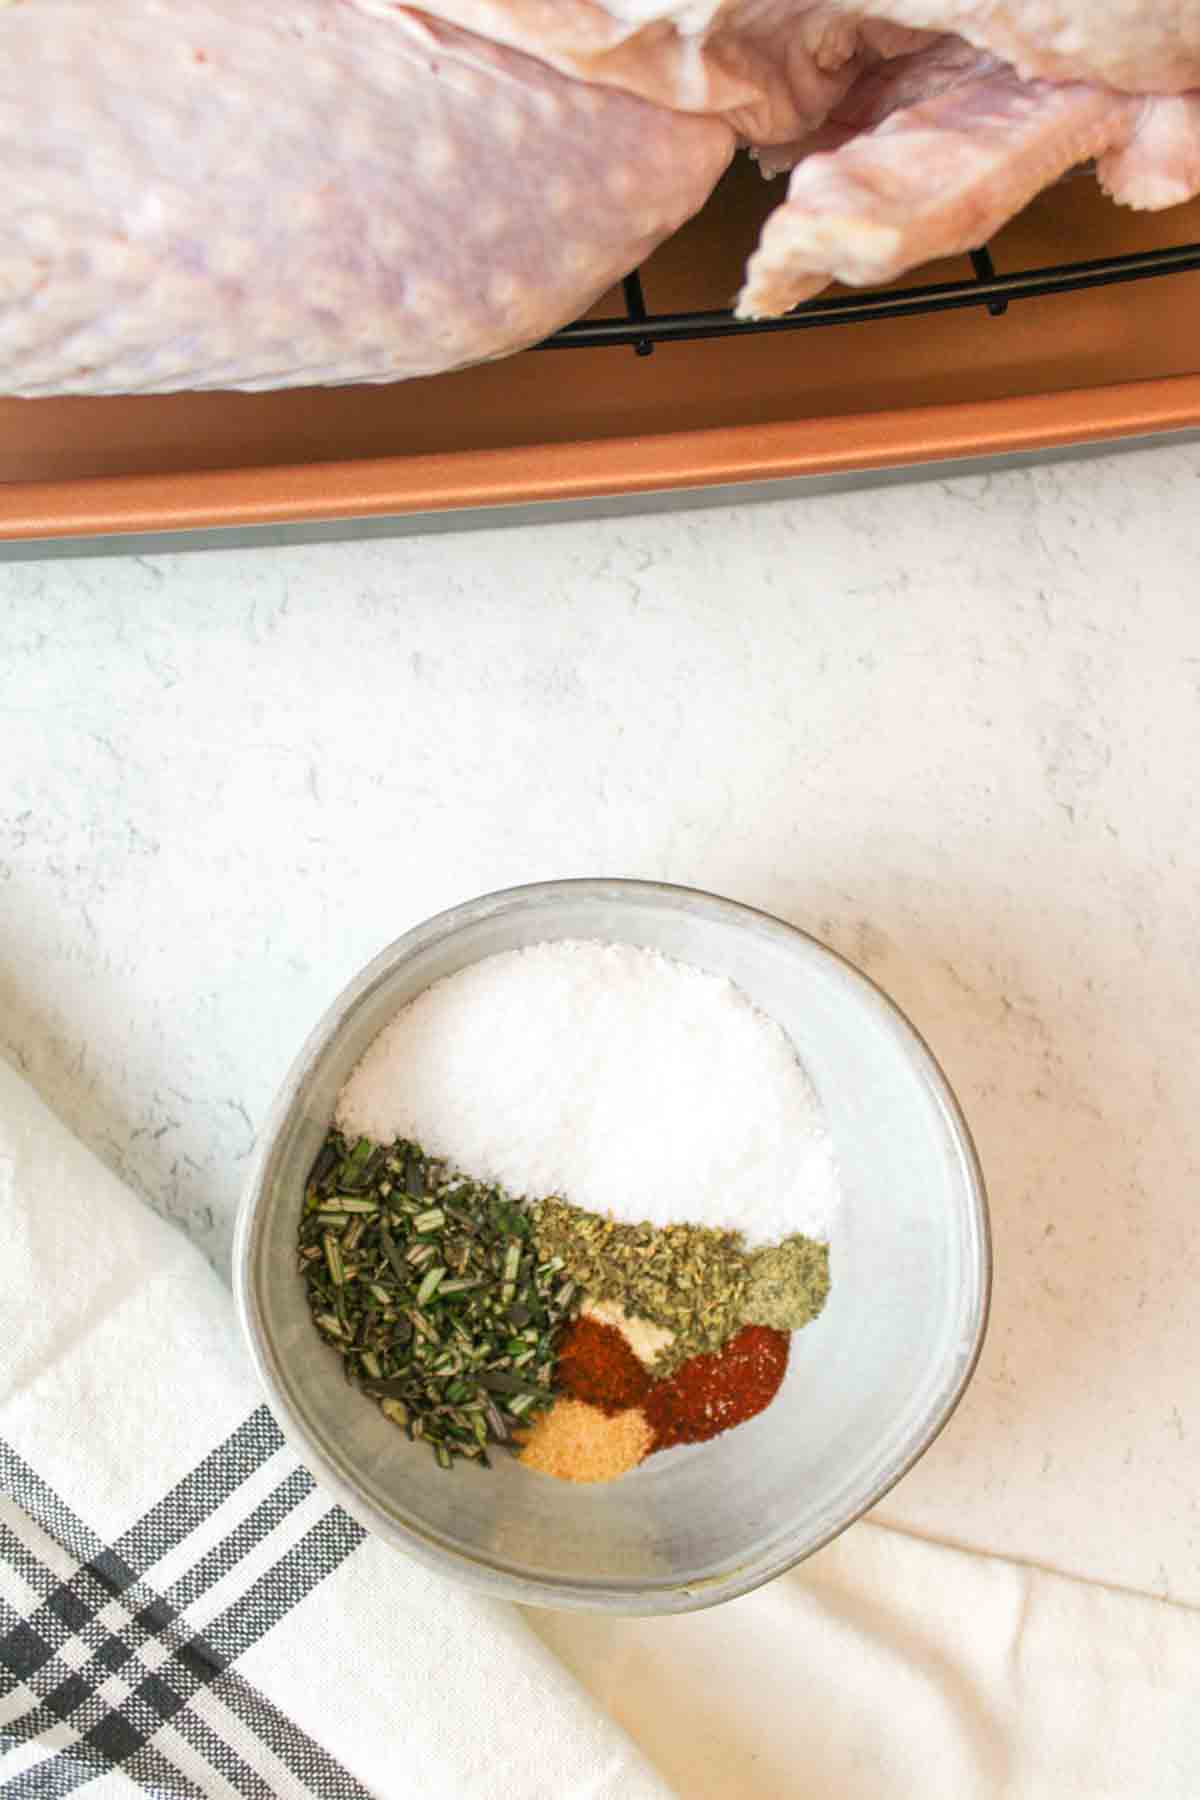
Step 1: Make the dry bine rub by adding the salt and seasonings to a small container or bowl.
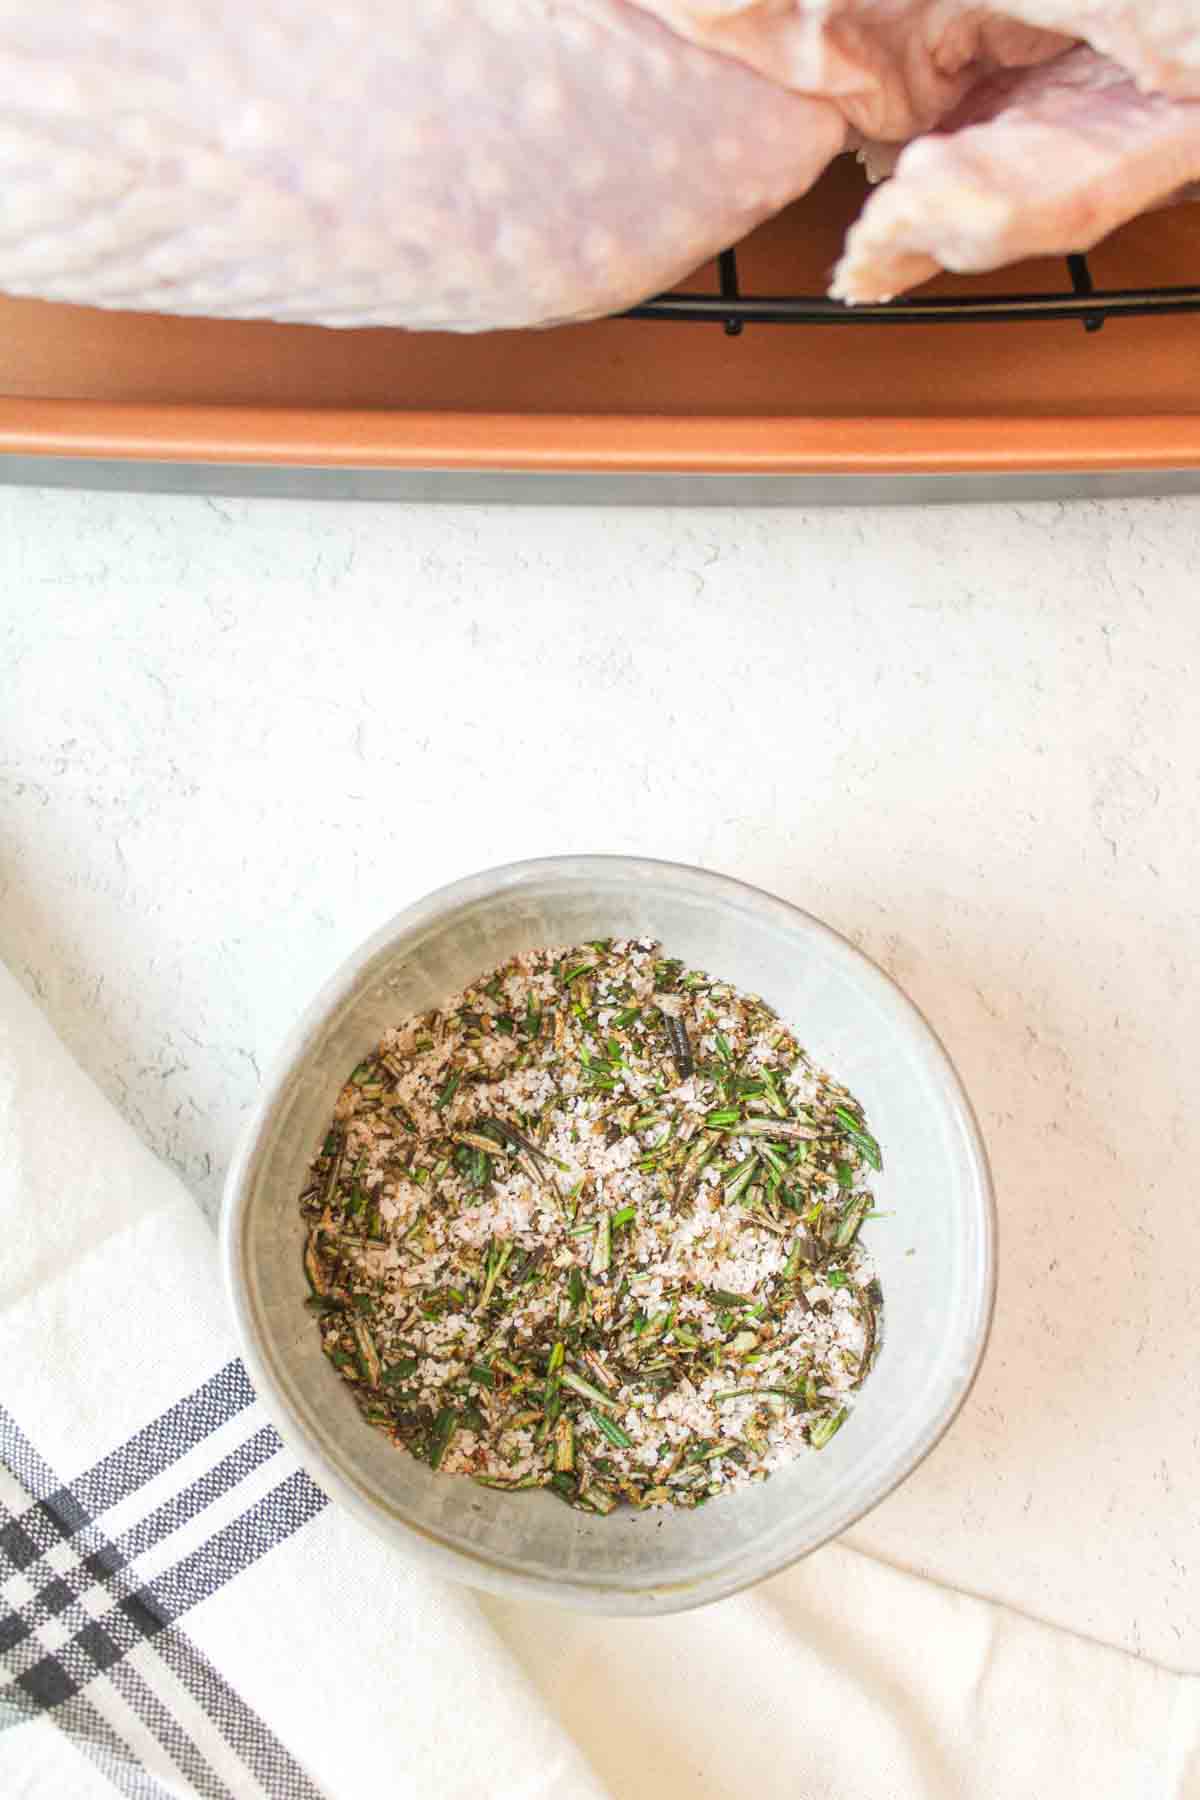
Step 2: Mix well to combine and then set aside.
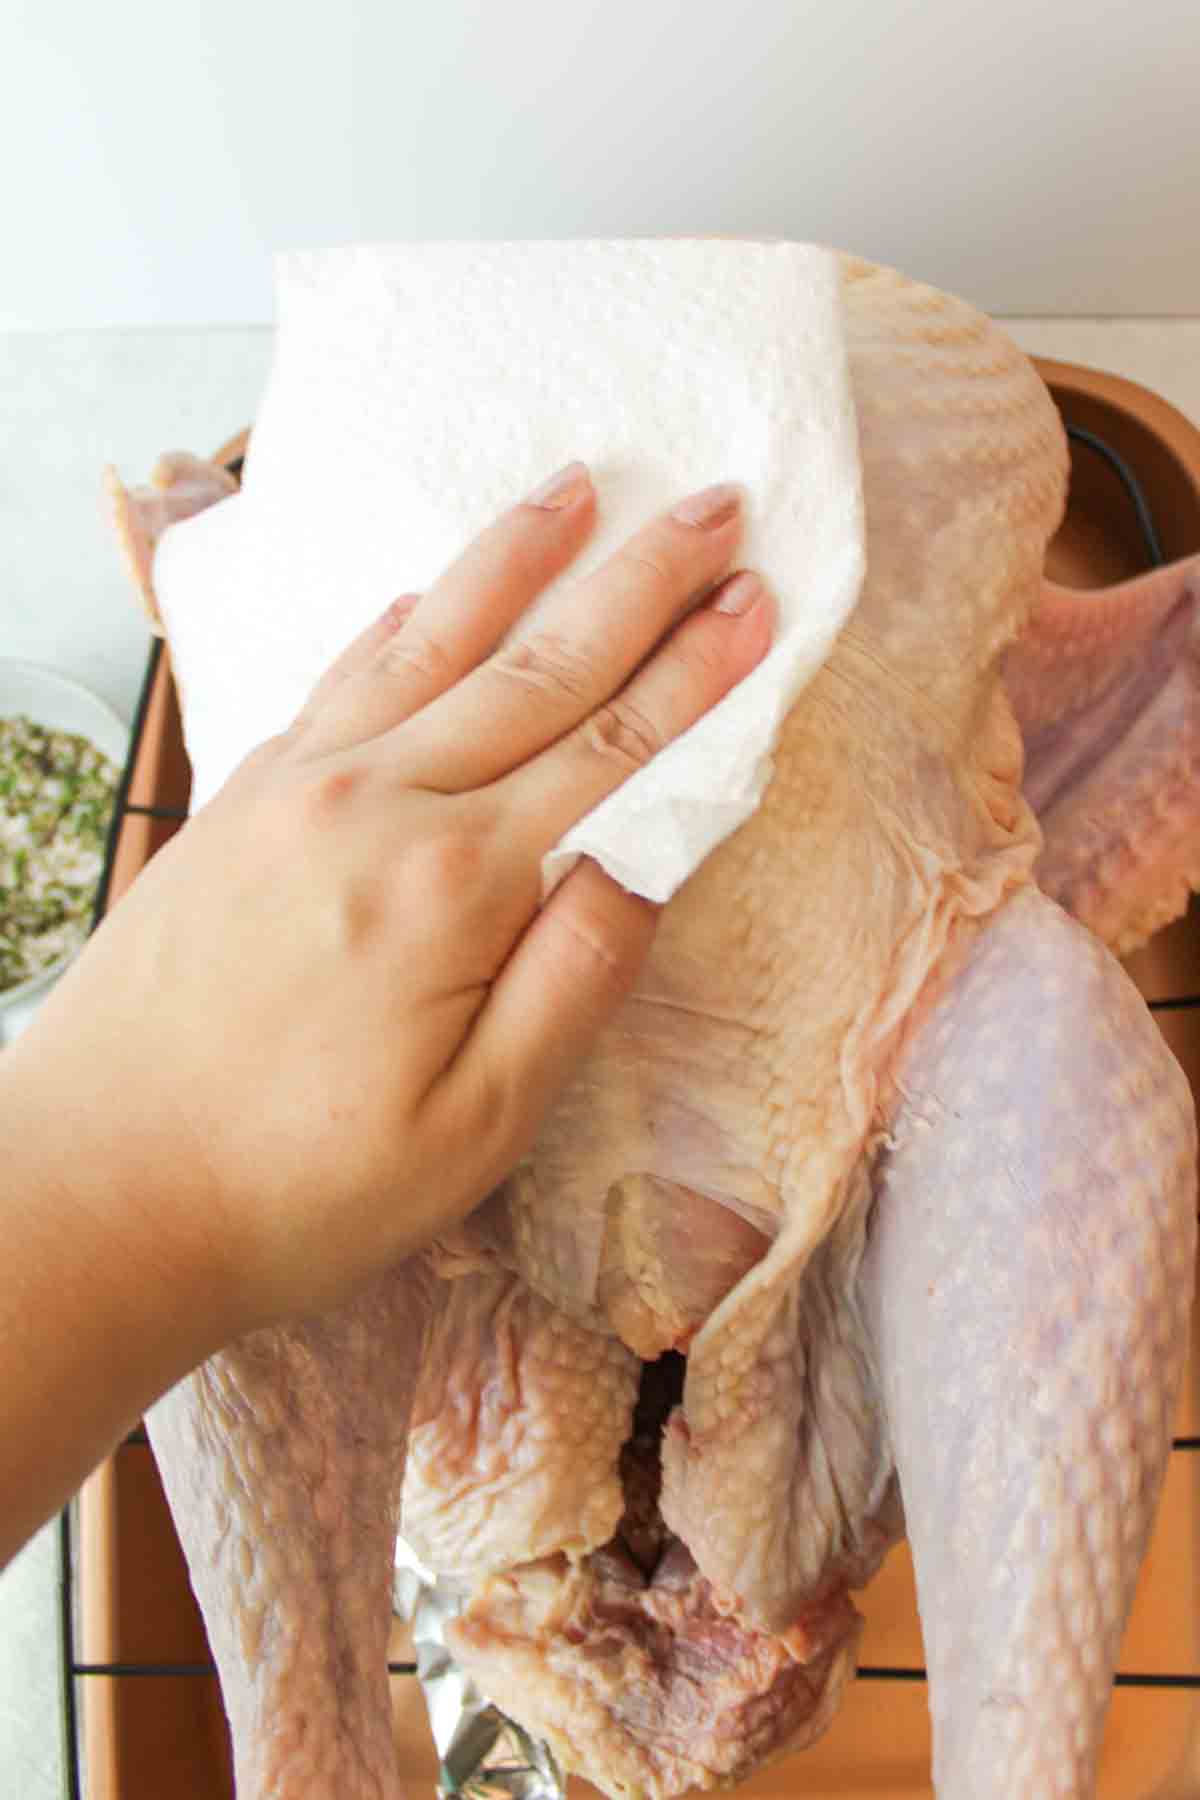
Step 3: Remove the neck, giblets, bags, etc from inside the turkey, and then pat it dry with paper towels.
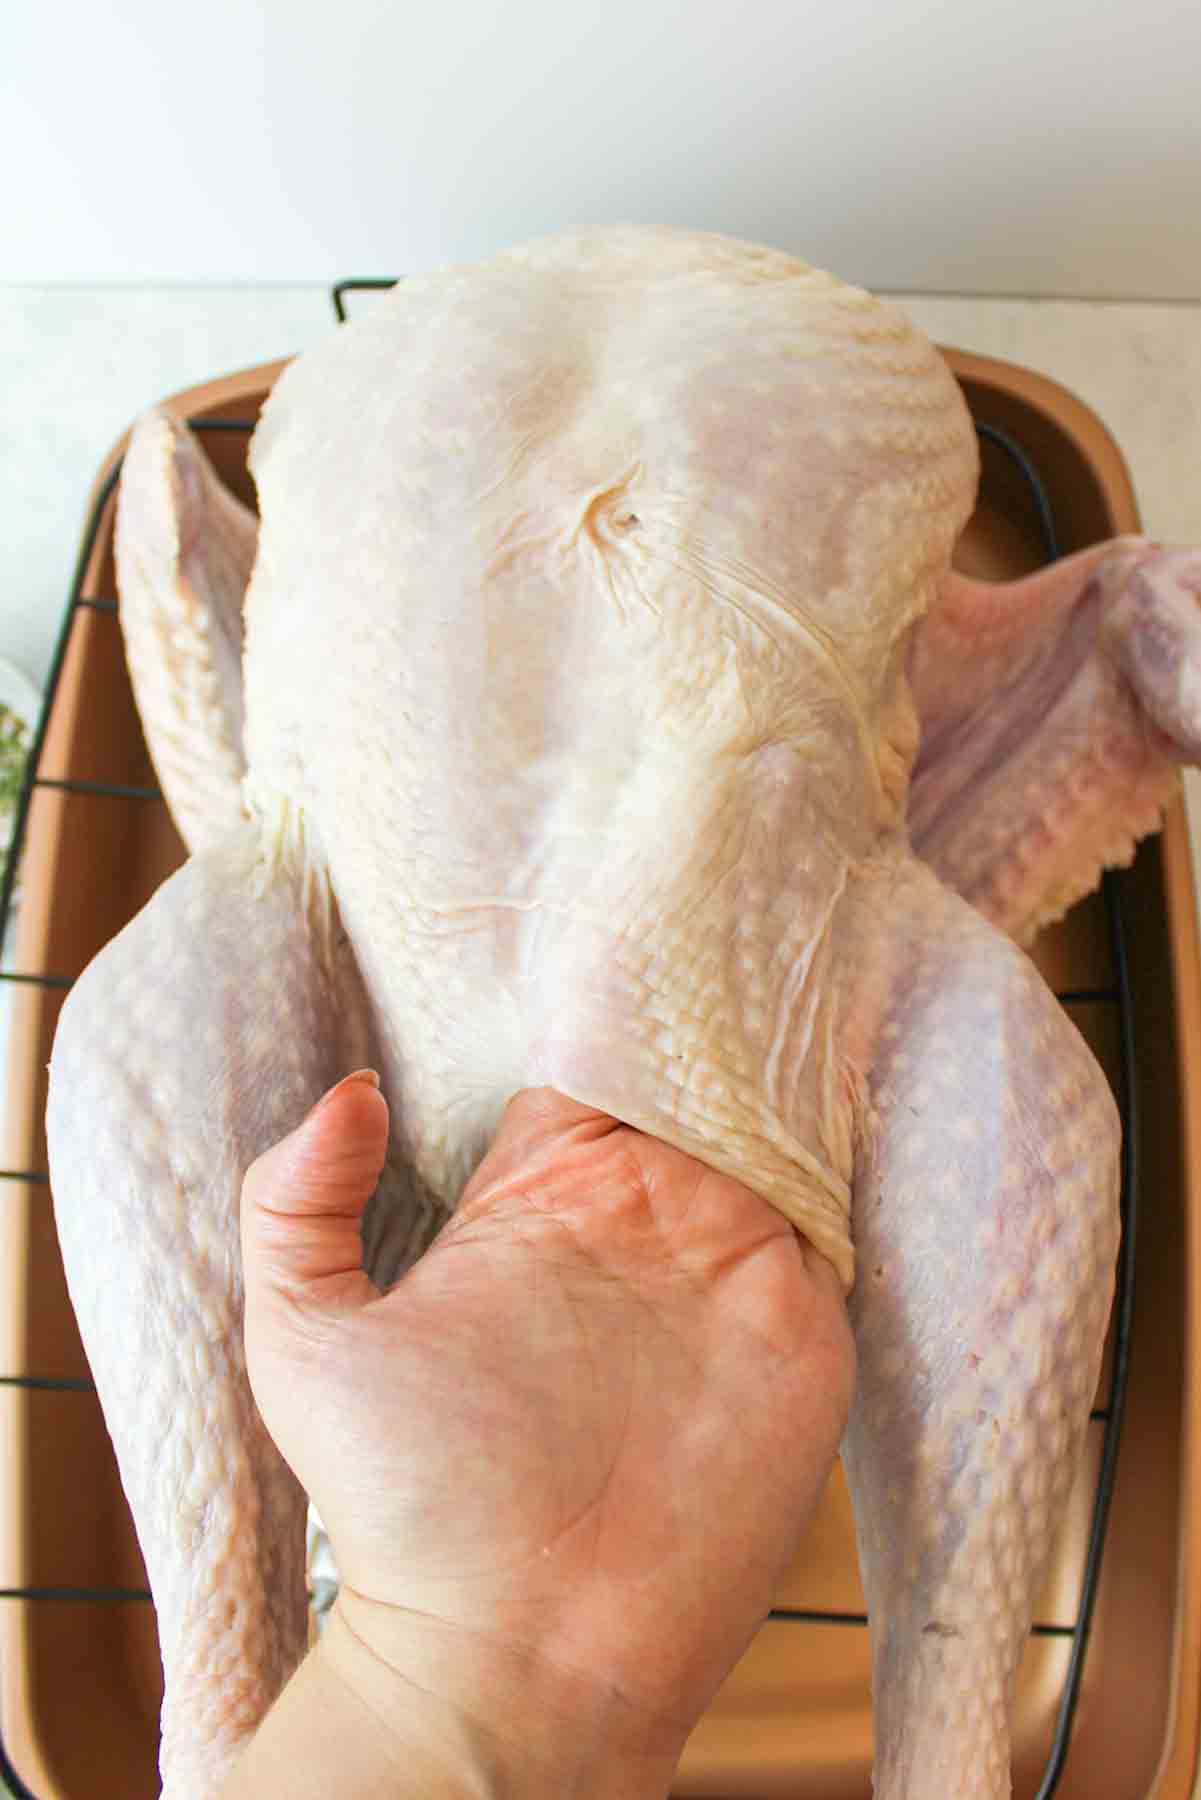
Step 4: Loosen the skin around the turkey by placing your hand between the skin and the meat and working your way all over the breasts and thighs as best as you can. The skin is pretty elastic so don't worry about popping holes in it unless you have long/sharp nails.
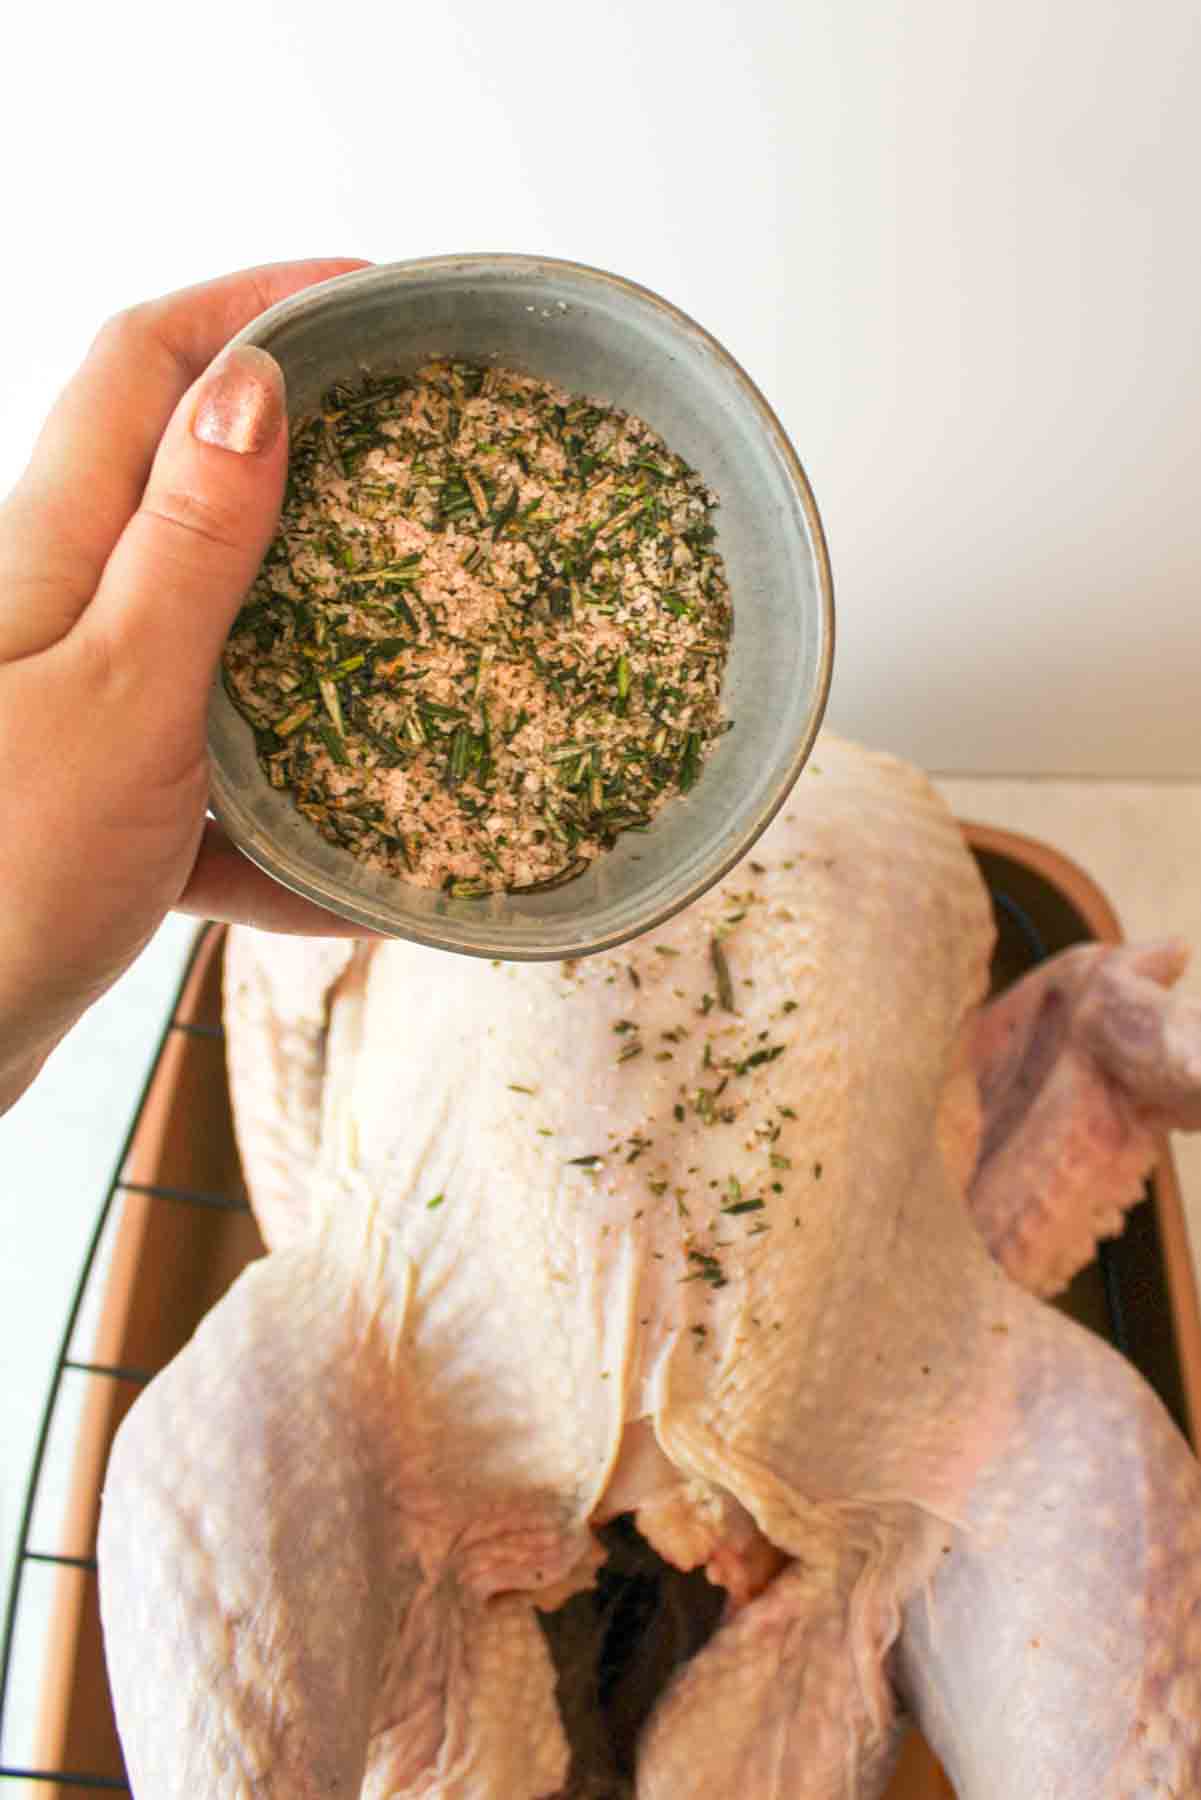
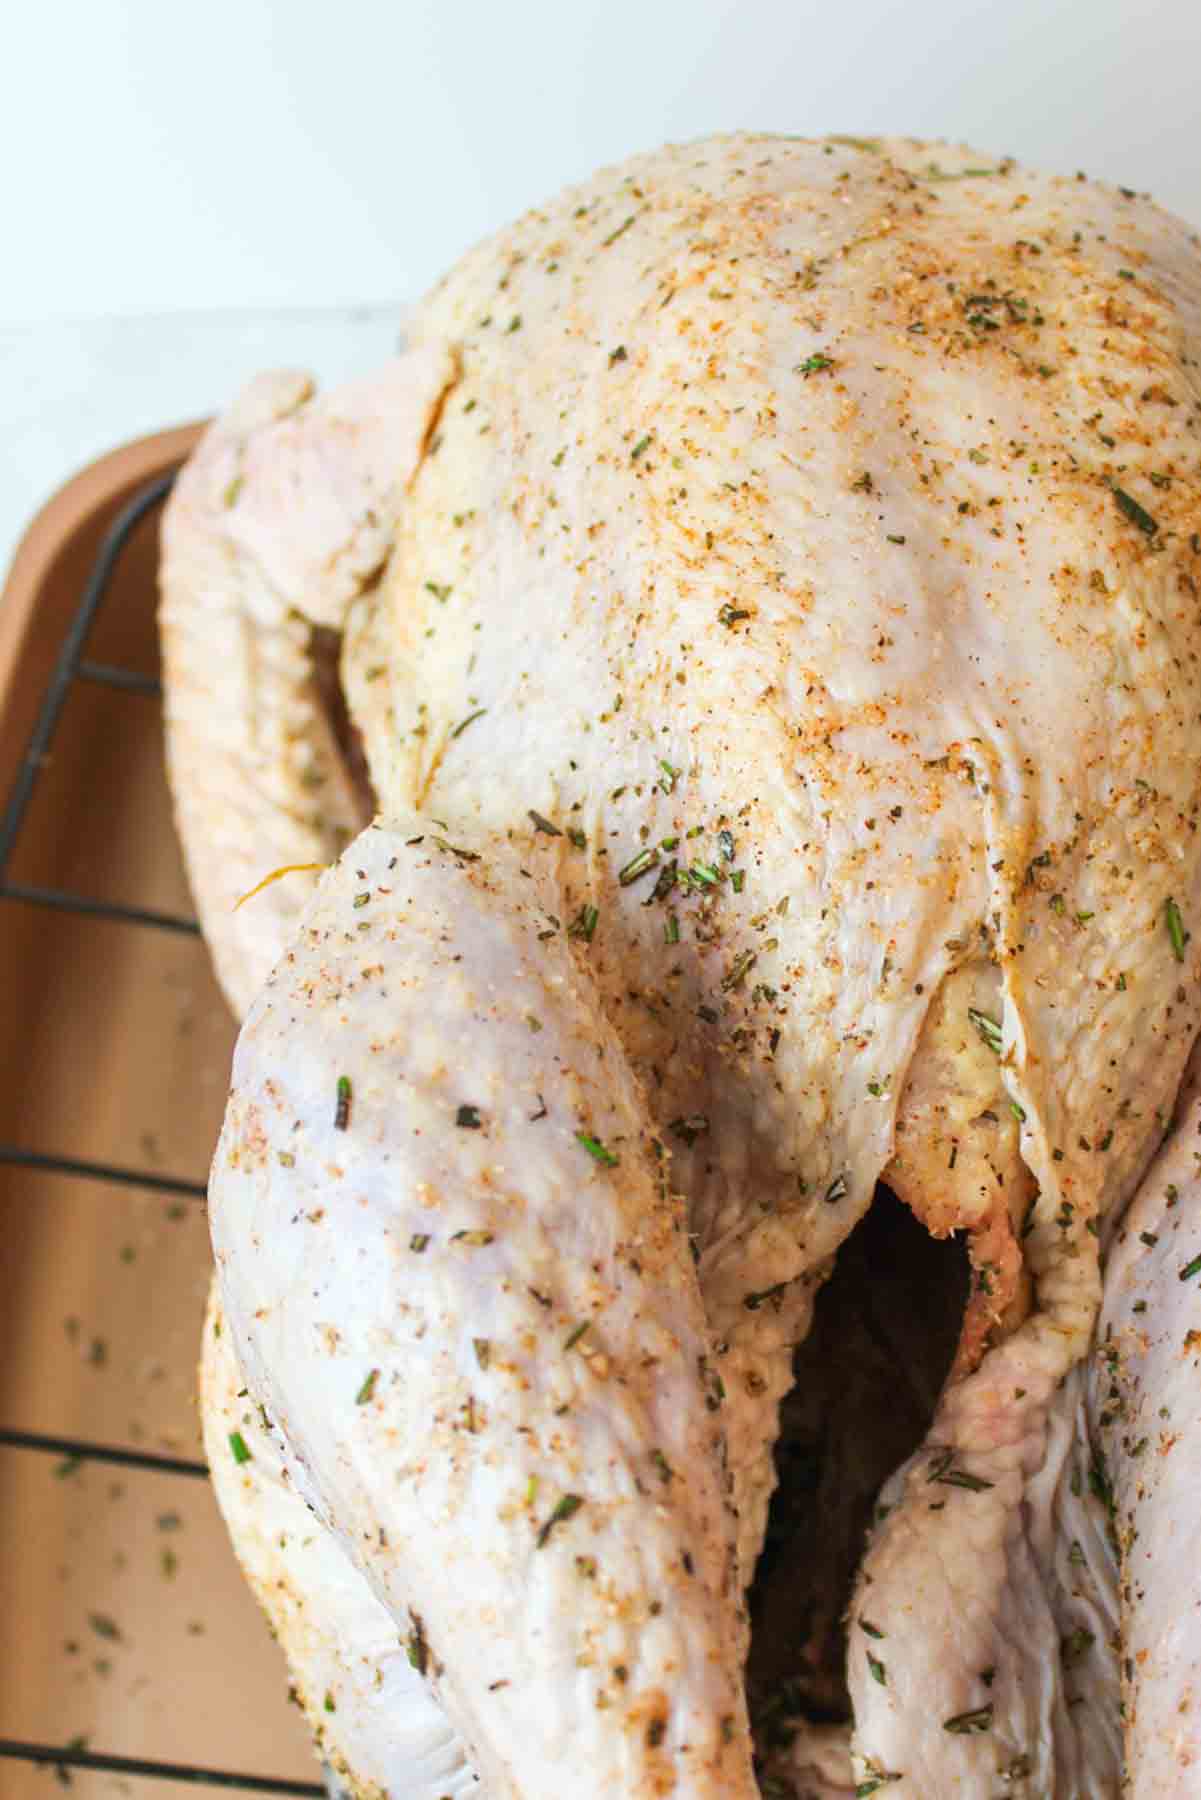
Step 5: Sprinkle the seasoning blend over the turkey.
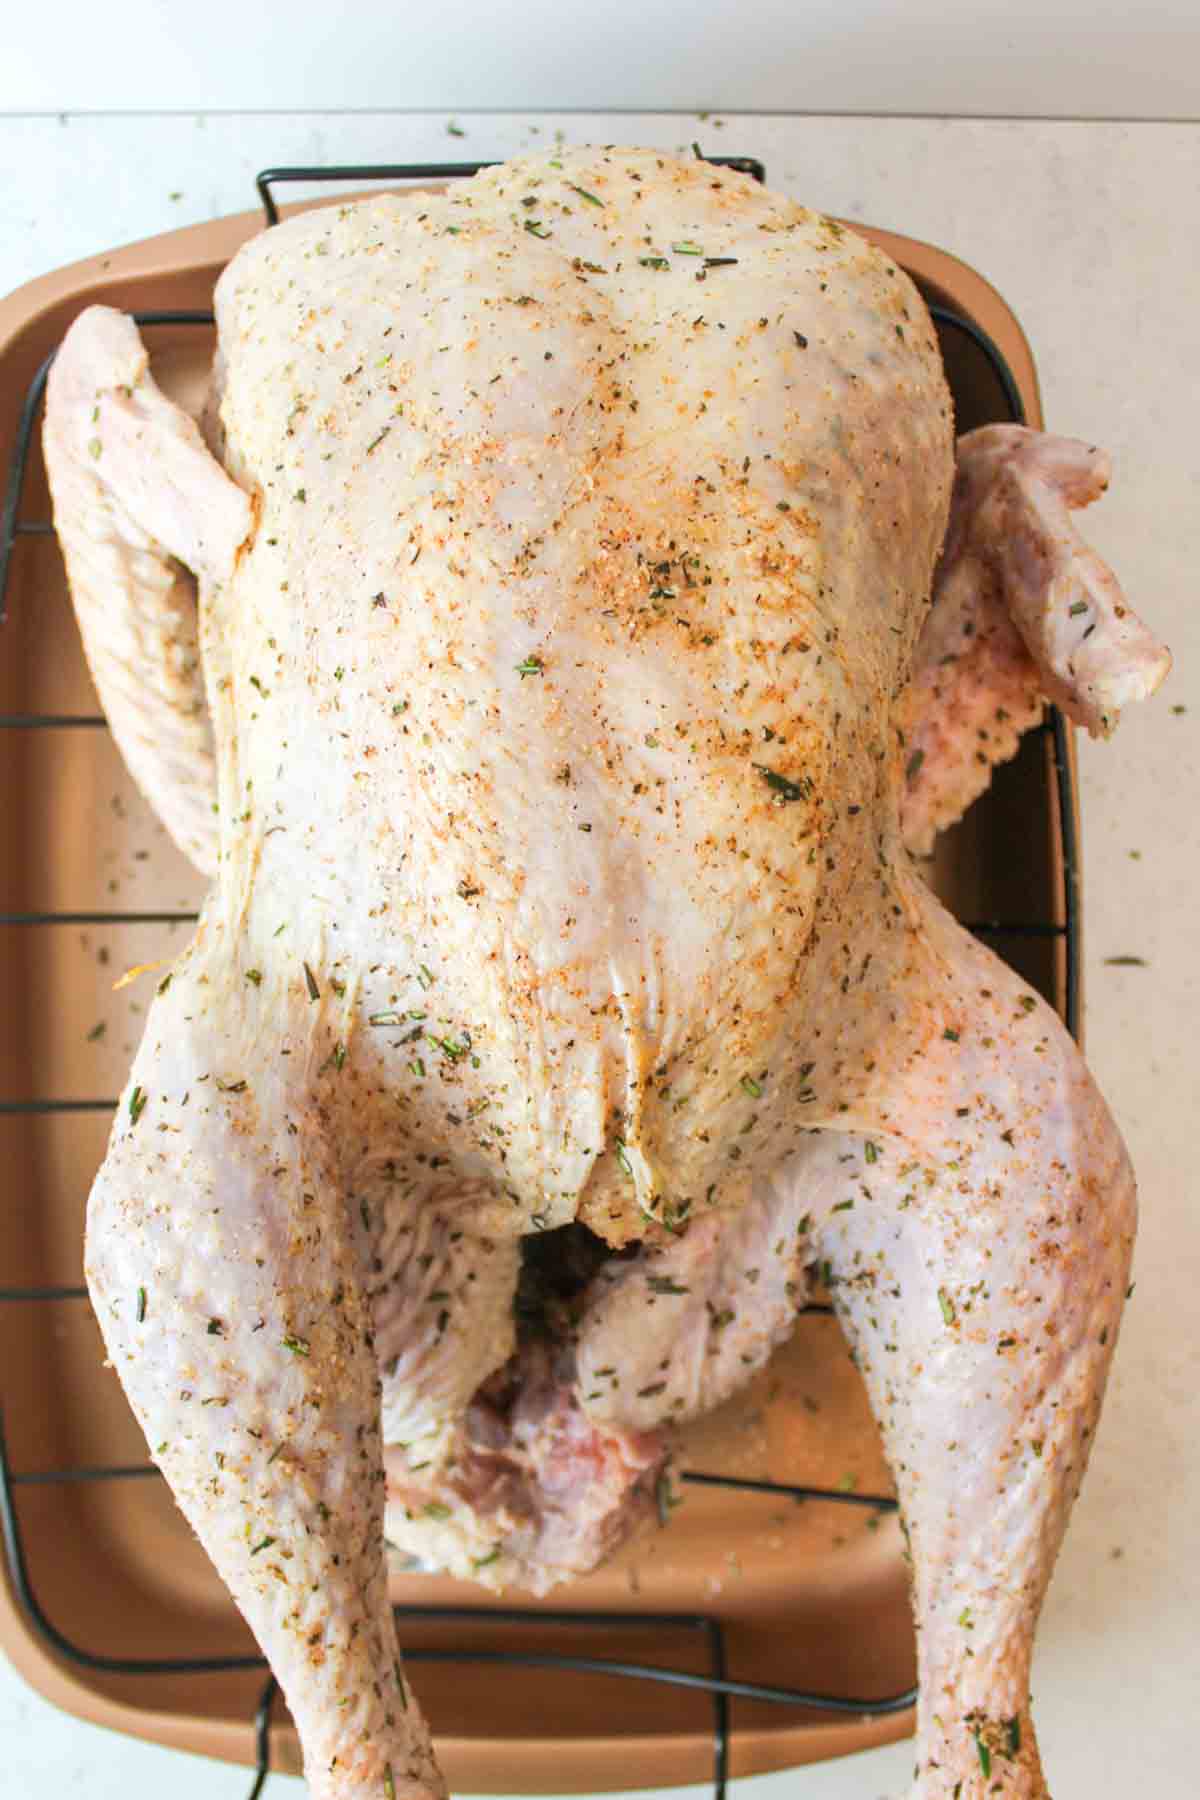
Step 6: Smother the bird with the seasonings salt, get inside the cavity, on the skin, underneath, and directly on the meat layer under the skin too.
Step 7: Place the turkey in a large roasting pan and then place it uncovered in the fridge overnight or for 24 hours, or even up to 4 days.
Step 8: When ready to cook, place the turkey on the counter to rest for 30 minutes while the oven preheats.
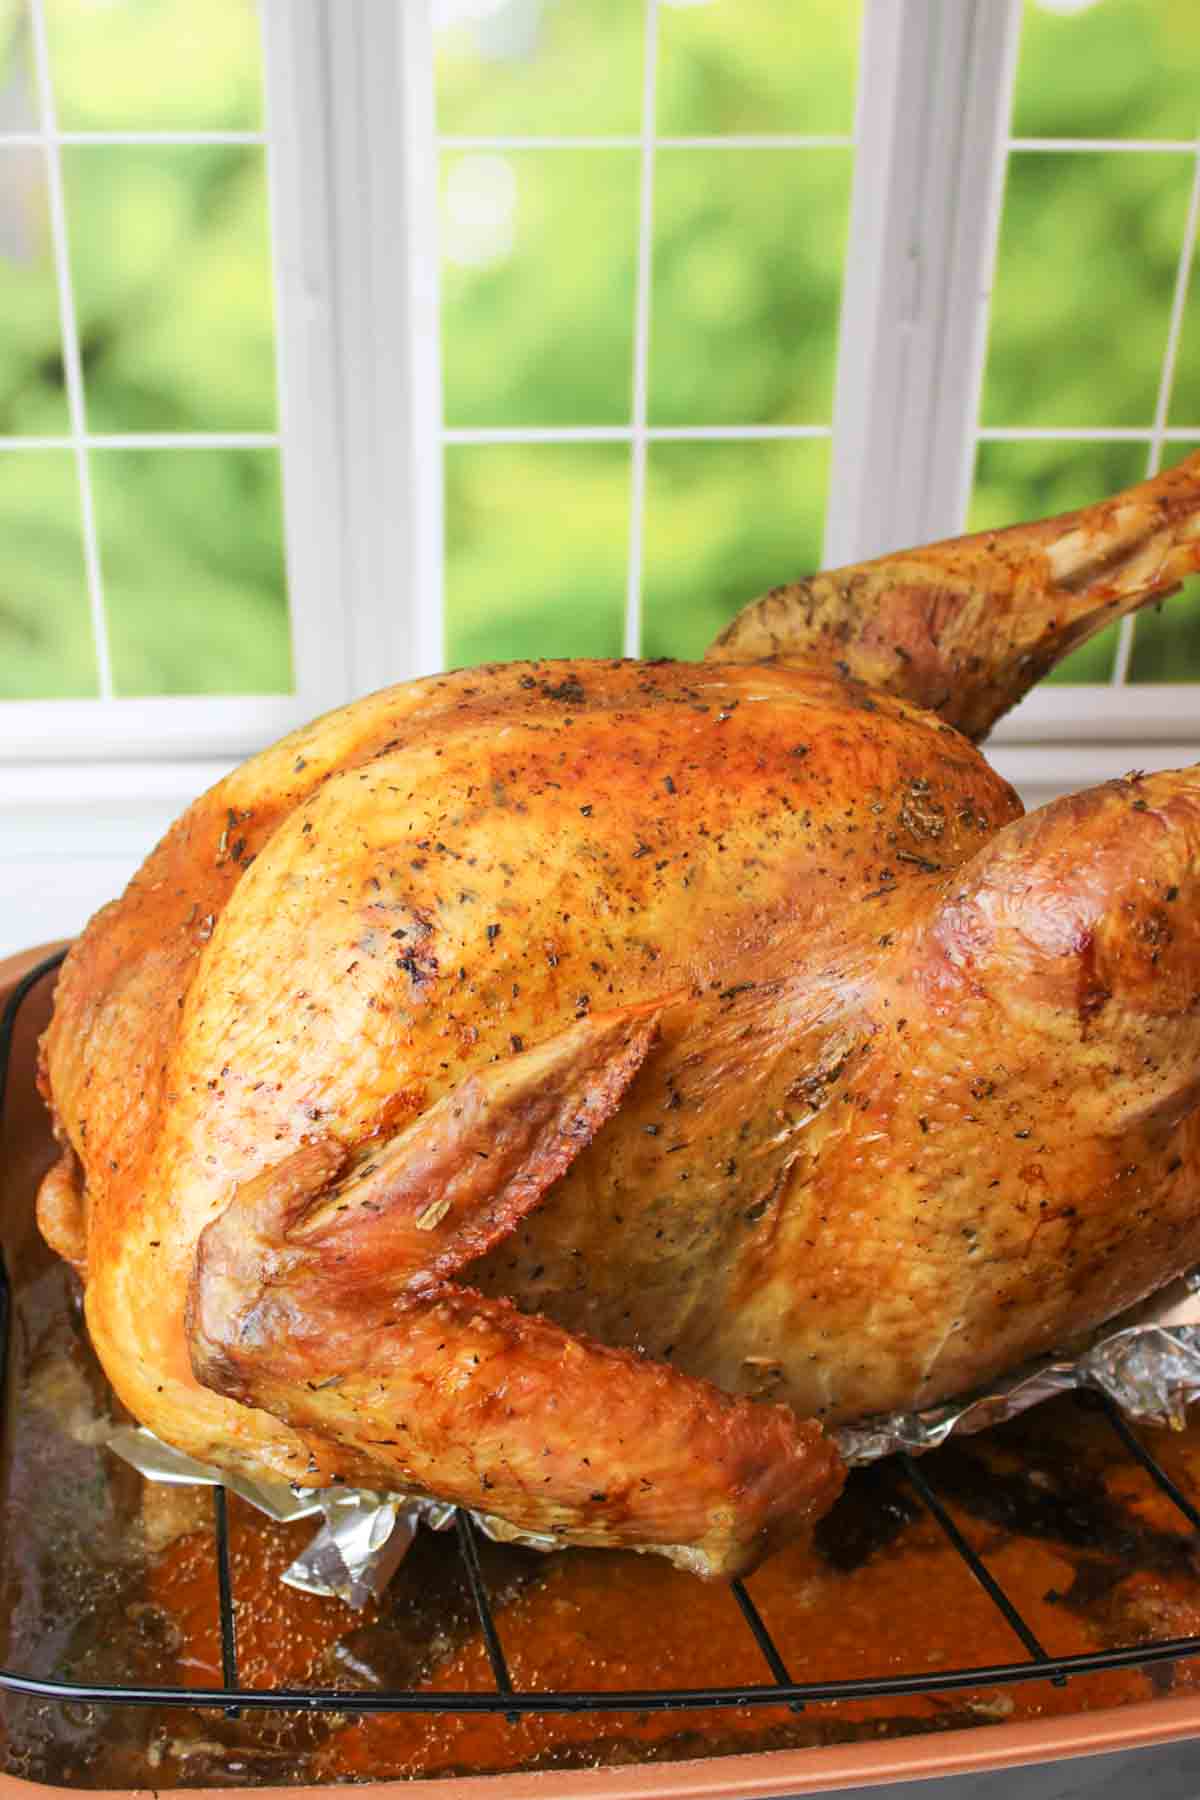
Step 9: Cook at 350 degrees F for roughly 2-3 hours (15 minutes per pound) until the thigh reaches 165 degrees F with an instant read thermometer.
Note: If you don't want the turkey breasts to darken further, cover them with a foil tent at any point during the baking process.
Step 10: Let the turkey rest for 30 minutes before carving. I let mine rest for 1 hour with a tight tent of foil over the top and several clean bath towels laying over the top of the foil, to hold in the heat.
👩🏻🍳 Expert Tips
- Easy Dry Brining. Dry brining is a simple, low-effort way to season a turkey and delivers great results every time.
- Faster, Juicier Cooking. Dry brining helps the turkey cook more evenly and often slightly faster by reducing surface moisture, while the salt tenderizes the meat and keeps it juicy.
- Optional Flavor Boost. Stuff the cavity with aromatics like onions, apples, carrots, or celery, or rub unsalted butter under the skin for extra richness.
- Perfect Drippings. Properly brined turkey drippings aren't overly salty, making them ideal for gravy, especially Sourdough Gravy.
❄️ Storage, Reheating & Make Ahead
Storage: Store cooked Dry Brined Turkey in an airtight container in the refrigerator for up to 4 days.
Reheating: Reheat sliced turkey covered in foil at 325°F with a splash of broth or water.
Make Ahead: The dry brine can be applied up to 3 days in advance and kept uncovered in the refrigerator until roasting.
🥗 Side Dishes or Pairing Ideas
This Dry Brined Turkey pairs well with mashed potatoes, stuffing, roasted vegetables, green bean casserole, or cranberry-based side dishes for a classic holiday meal.
- Dairy Free Mashed PotatoesRecipe $2.42 / Serving $0.61
- Cranberry Orange Sourdough BreadRecipe $3.09 / Serving $0.19
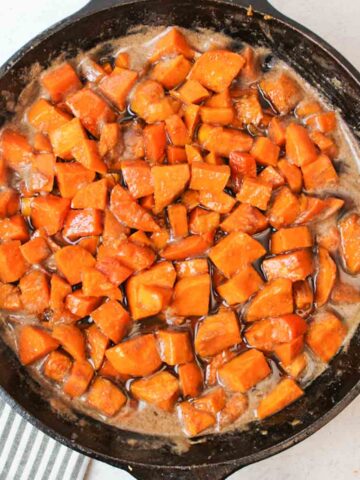
- Stove Top Candied Sweet PotatoesRecipe $3.88 / Serving $0.49
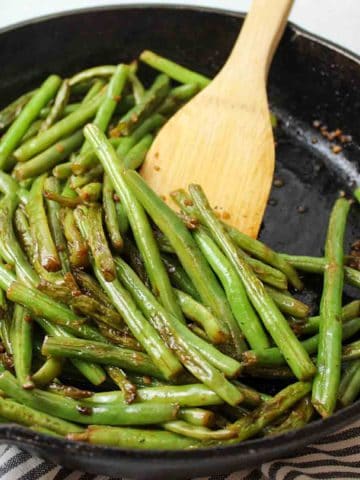
- Cast Iron Green BeansRecipe $2.34 / Serving $0.39


❓ Dry Brined Turkey FAQs
No, this is a big NO! Table salt has way more salty flavor packed into those tiny grains and will make your dry brined turkeys taste like a salt lick and not like a fresh herb turkey.
A wet brine is usually done by placing a turkey in a large pot or bag full of liquids and then storing it in the fridge. Dry brine is just rubbing it with salt and calling it a day. No leaks, no fuss, the way Thanksgiving was meant to be.
This is another big no. The salt is pulling out moisture and locking it in at the same time like magic (well, science). To add water by rinsing off the salt, you will completely undermine your efforts and it will be like you wasted the past few hours of your life. Leave the salt. You'll thank me later.
Brined turkeys cook faster than unbrined ones, so start checking the internal temperature about an hour before the expected cooking time ends. When the breast and thighs reach at least 165°F, it's ready. Be vigilant about temperature checks, and once done, let the turkey rest for 20 minutes before carving.
🍽️ More Recipes You'll Love
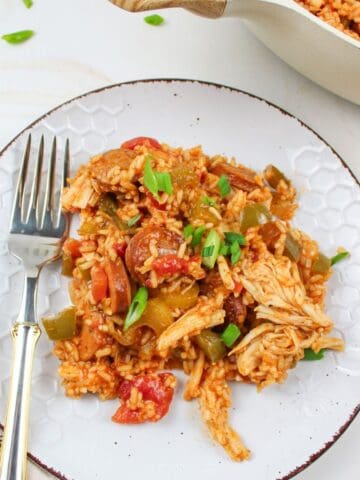
- Leftover Turkey JambalayaRecipe $8.67 / Serving $1.45
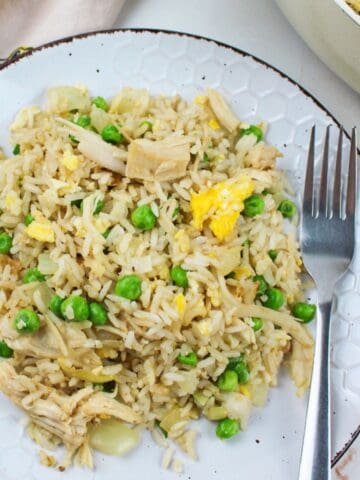
- Leftover Turkey Fried RiceRecipe $3.25 / Serving $0.54
- Leftover Turkey LasagnaRecipe $5.52 / Serving $0.69
- Leftover Turkey EnchiladasRecipe $6.86 / Serving $1.72


🐝 If you tried this Dry Brined Turkey, please leave a ⭐️ star rating and share your buzz in the 💬 comments below. I'd truly appreciate it!
📖 Recipe
Dry Brined Turkey
Ingredients
- 10-12 pound whole turkey - ($10.68)
- 3 tablespoons kosher salt, not table salt - ($0.02)
- ¼ teaspoon garlic powder - ($0.02)
- ¼ teaspoon paprika - ($0.02)
- ¼ teaspoon onion powder - ($0.02)
- ¼ teaspoon ground black pepper - ($0.02)
- 1 pinch cayenne pepper - ($0.01)
- ½ teaspoon dried basil - ($0.04)
- 2 tablespoons fresh rosemary, chopped, or 2 teaspoons dried - ($0.20)
Instructions
- Mix the seasoning. In a small bowl or jar, combine all seasonings and set aside.
- Prep the turkey. Remove the neck, giblets, and any packaging from the turkey. Pat the turkey completely dry with paper towels.
- Loosen the skin. Carefully slide your hand between the skin and meat over the breast and part of the thighs to loosen the skin as much as possible.
- Season. Rub the seasoning mixture all over the turkey, including under the loosened skin and inside the cavity.
- Dry brine. Place the turkey in a large pan and refrigerate uncovered for 24 hours, or up to 3 days.
- Bring to temperature. When ready to cook, let the turkey sit at room temperature while preheating the oven to 350°F.
- Roast. Roast for about 15 minutes per pound, roughly 2 to 3 hours, until the thickest part of the thigh reaches 165°F. Check periodically, as cook time may vary.
- Shield if needed. If the breast browns too quickly, tent loosely with a triangular piece of foil.
- Rest. Let the turkey rest for at least 30 minutes before carving to retain juices.
Notes
- Flavor and texture: Salting under the skin improves seasoning penetration and creates crispier skin.
- Juiciness: Dry brining helps tenderize the meat without making drippings overly salty.
- Aromatics: You may stuff the cavity with onions, apples, or celery for added aroma.
- Timing: Turkey can be dry brined uncovered for up to 3 days for best results.
Nutritional Information
Save This Recipe to Your Inbox
By signing up, you'll join our email list and can unsubscribe anytime.


Comments
No Comments