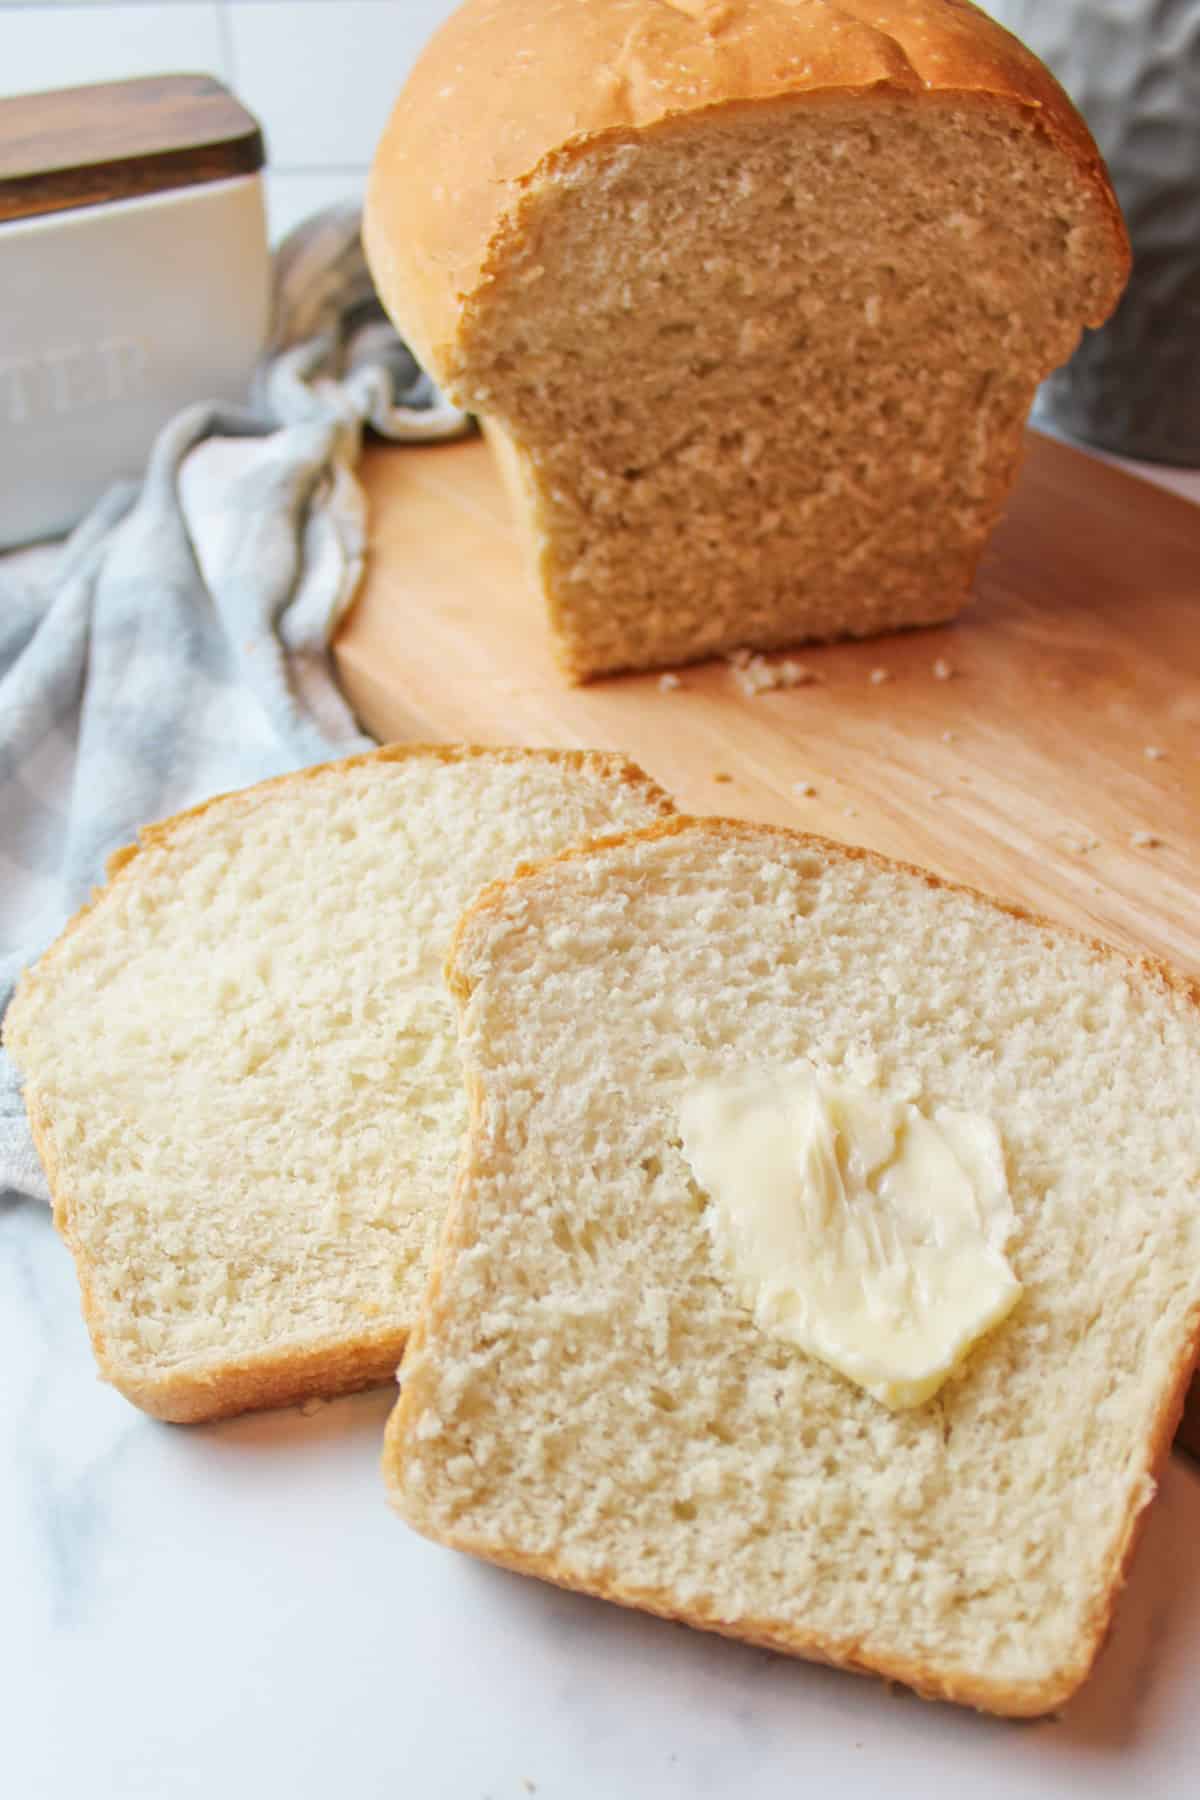
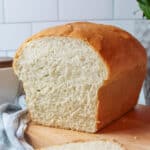
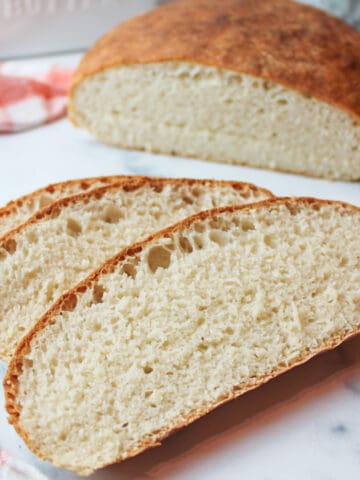
If you're looking for a soft and chewy white bread that's perfect for sandwiches, toast, and snacking- this 5 Ingredient White Bread Recipe is it!
Recipe: $0.96 | Per Loaf: $0.96 | Loaves: 1
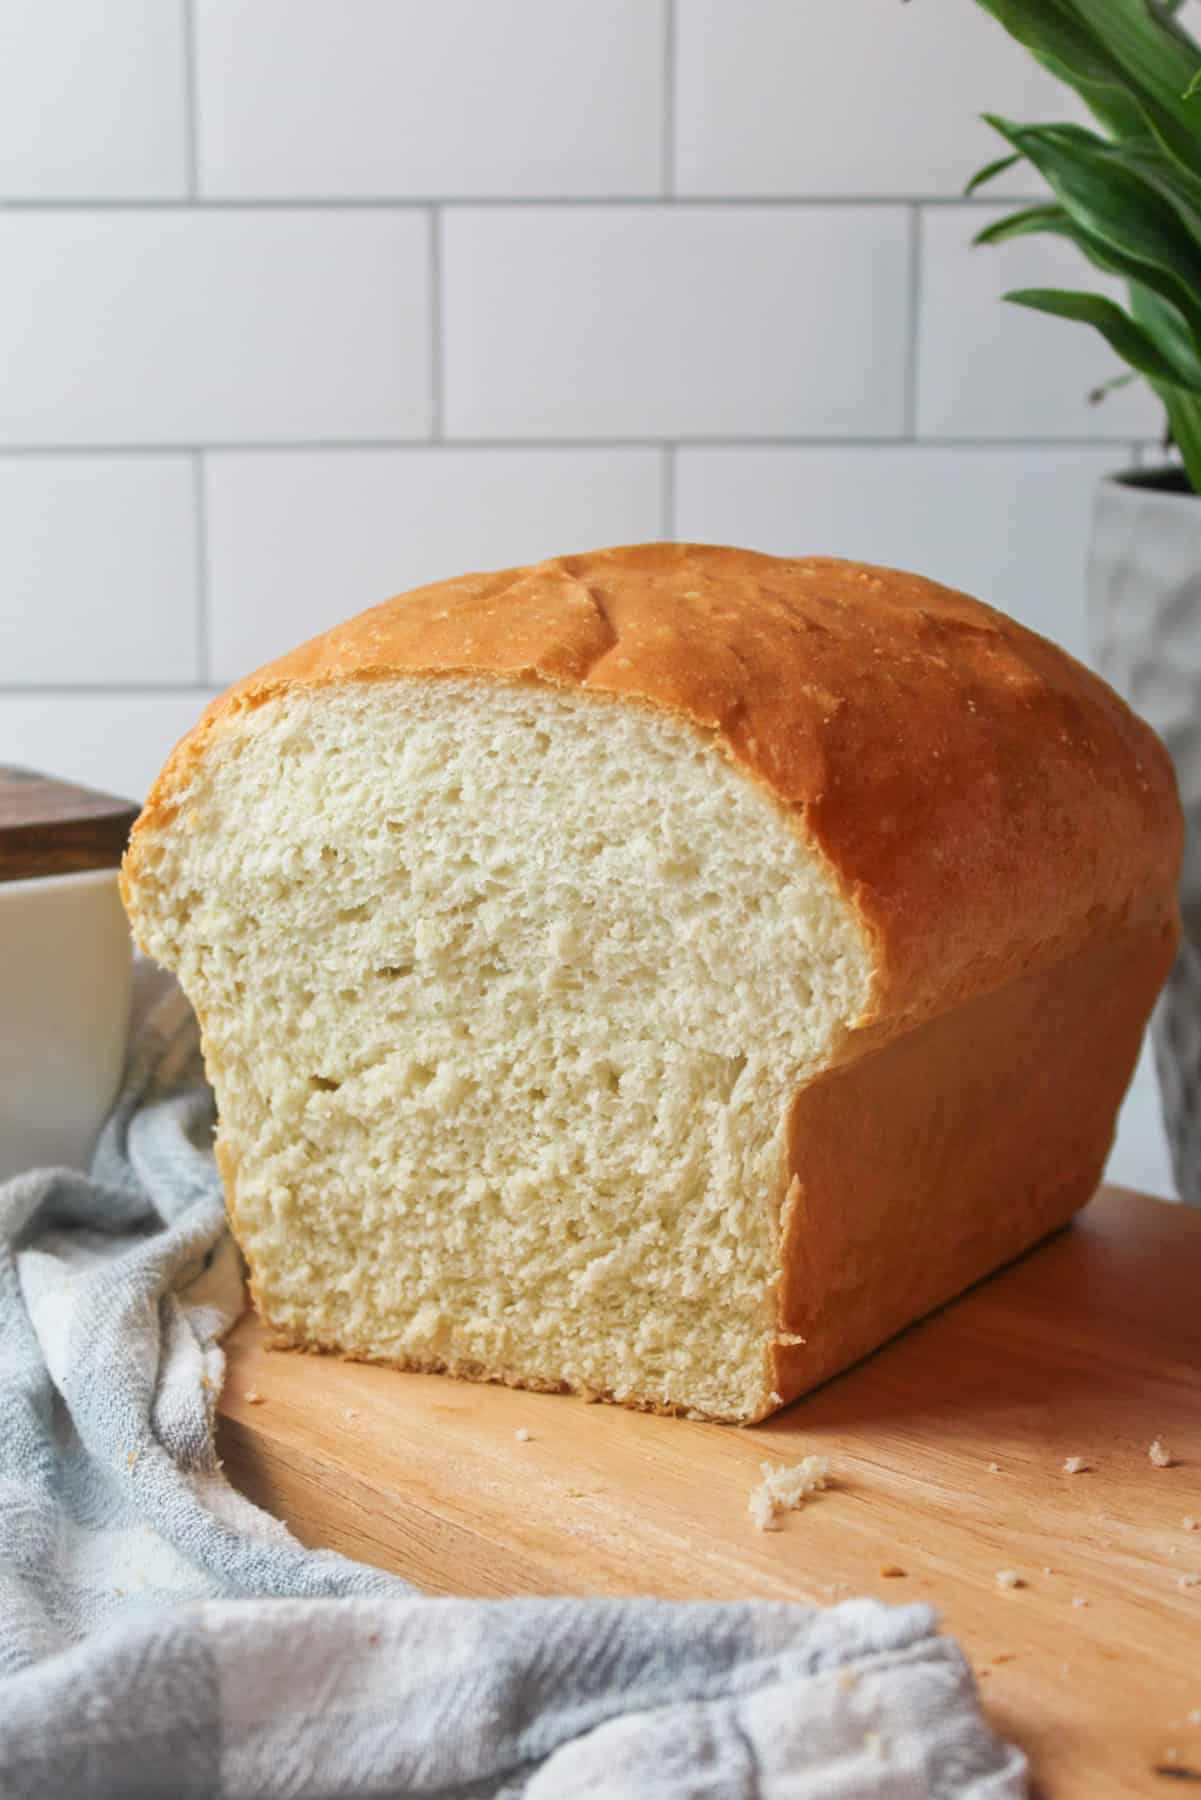
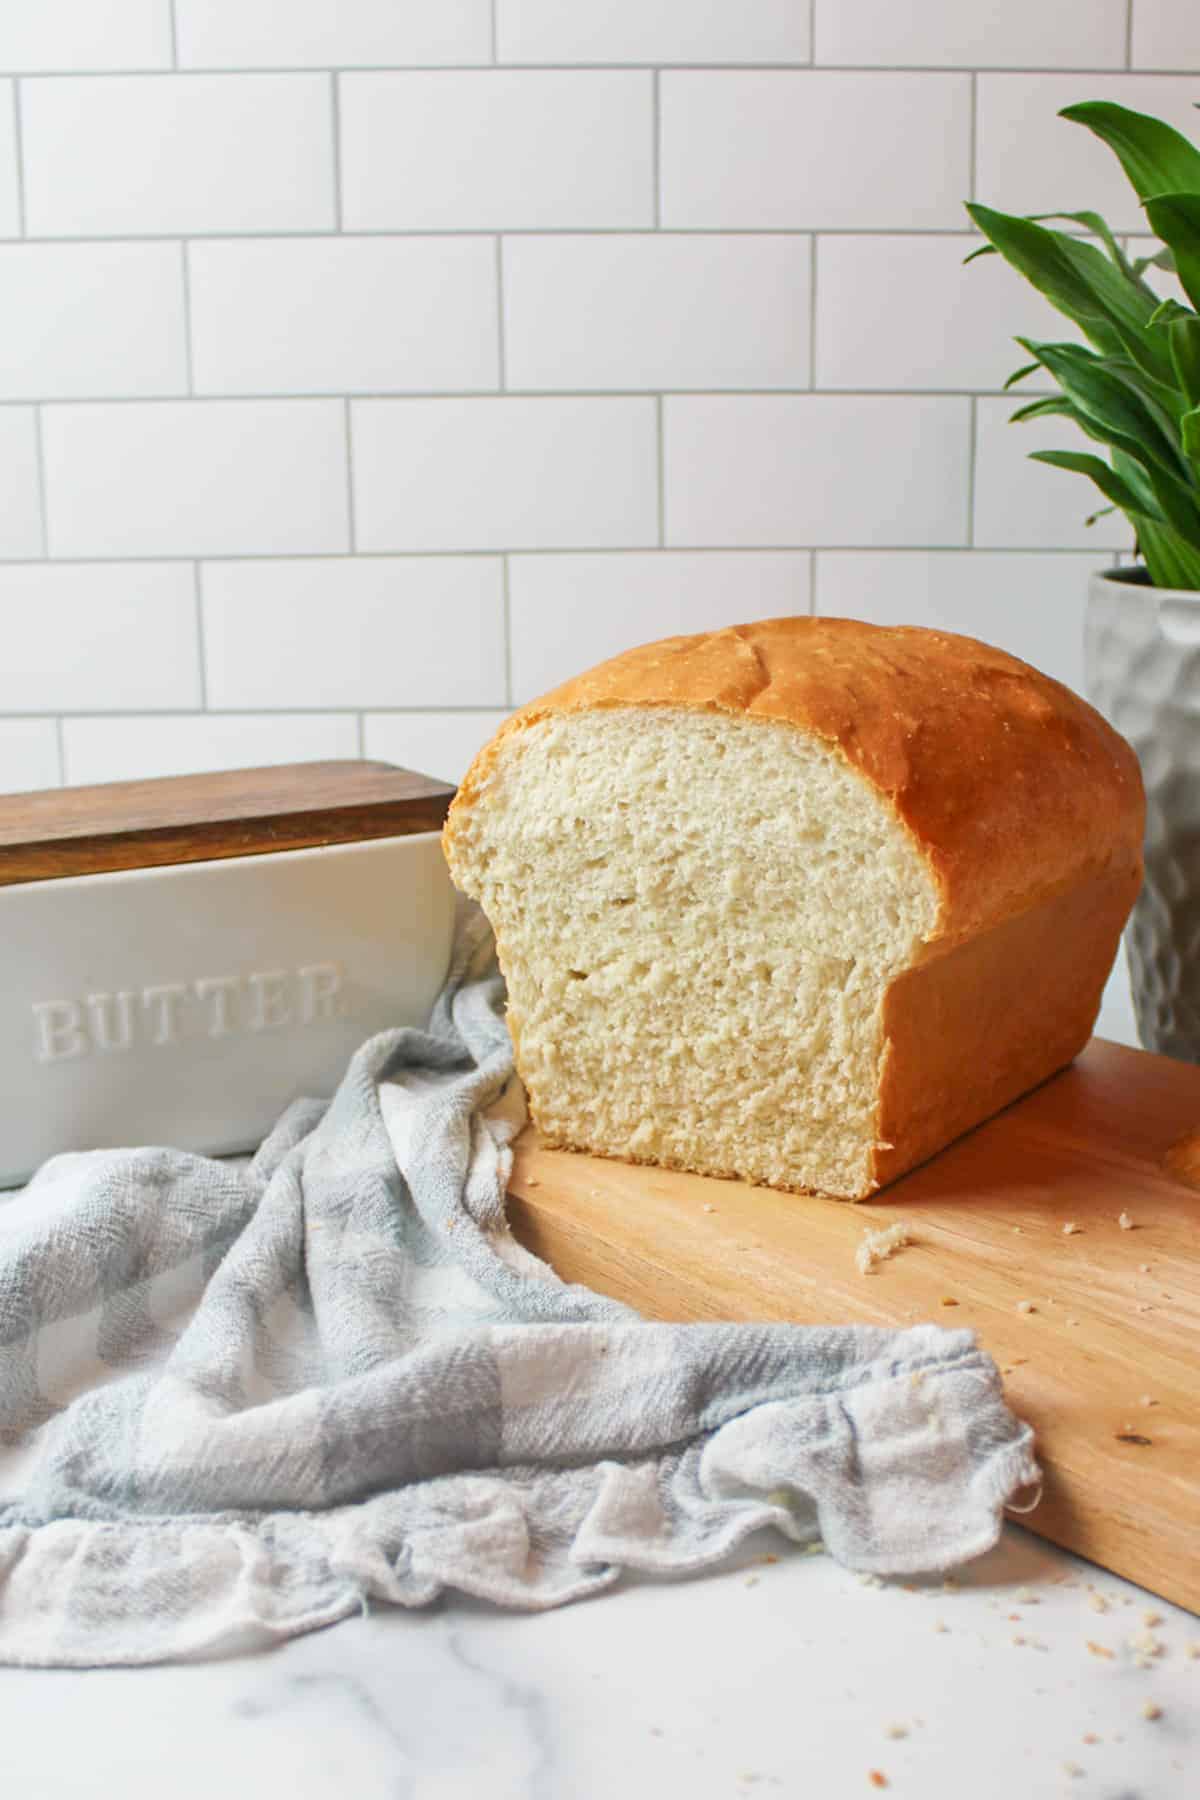
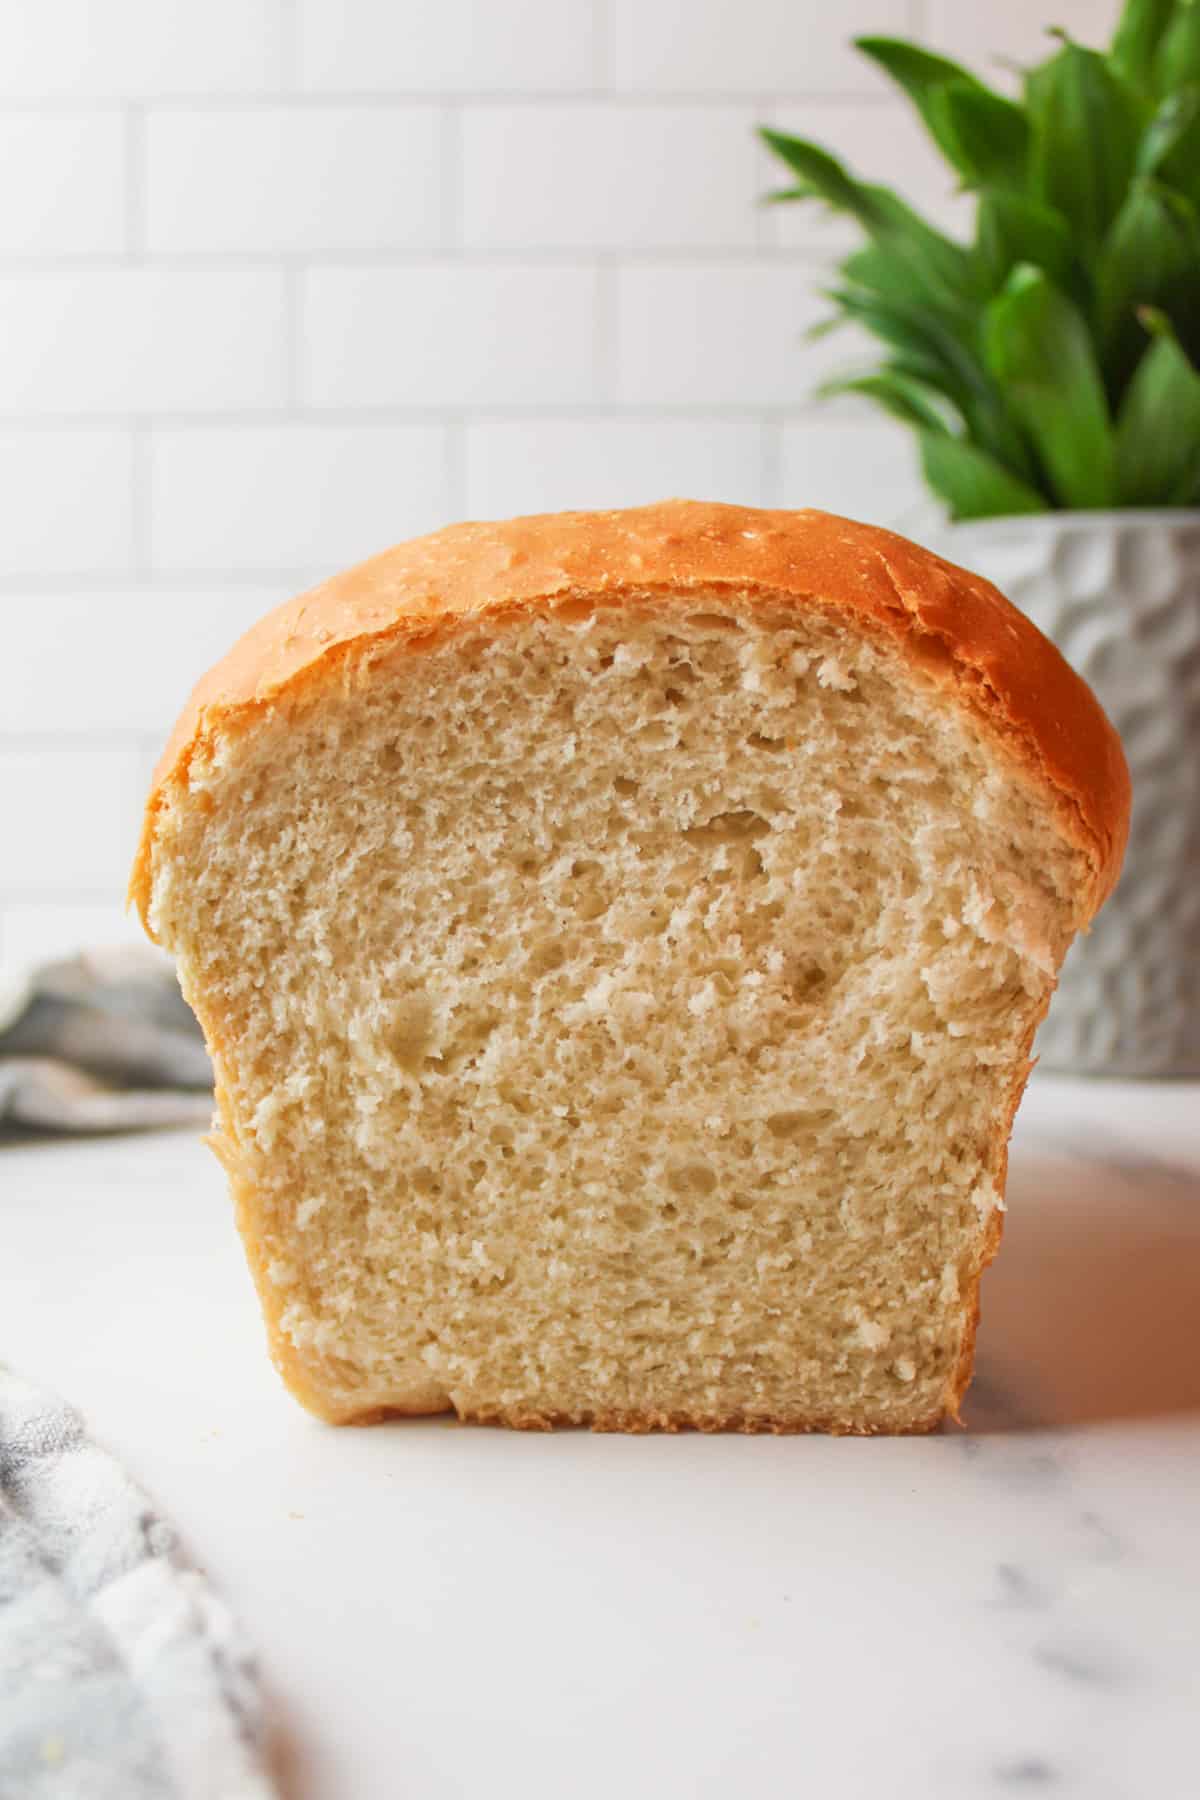
I love EVERYTHING about making homemade white bread! The smell of the yeast dough proofing and baking, all the way up to seeing that gorgeous golden top crust and slicing through to reveal the soft fluffy crumb inside.
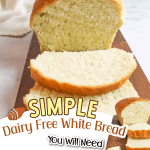
This dairy free sandwich bread recipe is easy, simple, and PERFECT for beginner bread makers. Speaking of bread makers, I've included steps below and on the recipe card explaining how to make milk free white bread in the bread machine if you don't wish to make it by hand.
Once you've mastered this 5 Ingredient White Bread Recipe you can turn it into pretty much anything. I've adapted it to make Vegan Hamburger Buns, Vegan Slider Buns, Easy Yeast Rolls for Beginners and 2 Hour No Knead White Bread. I've even made Small Batch Cinnamon Rolls with it!
Jump to:
🍯 Why This Recipe Works
- It's super simple! This 5 Ingredient White Bread Recipe just needs a few basic pantry staples (most of which you probably have on hand right now!)
- You can make it by hand or bread machine. Using a bread machine really cuts down on time and effort without sacrificing taste. I like to use my bread machine to prep and proof the dough, then turn it into a loaf pan for the final proof and bake.
- This recipe is beginner friendly. If you've never made bread before, you're in luck. This recipe is great for beginners! Just follow along with the thoughtful tips and tricks in this post and you should have no issues.
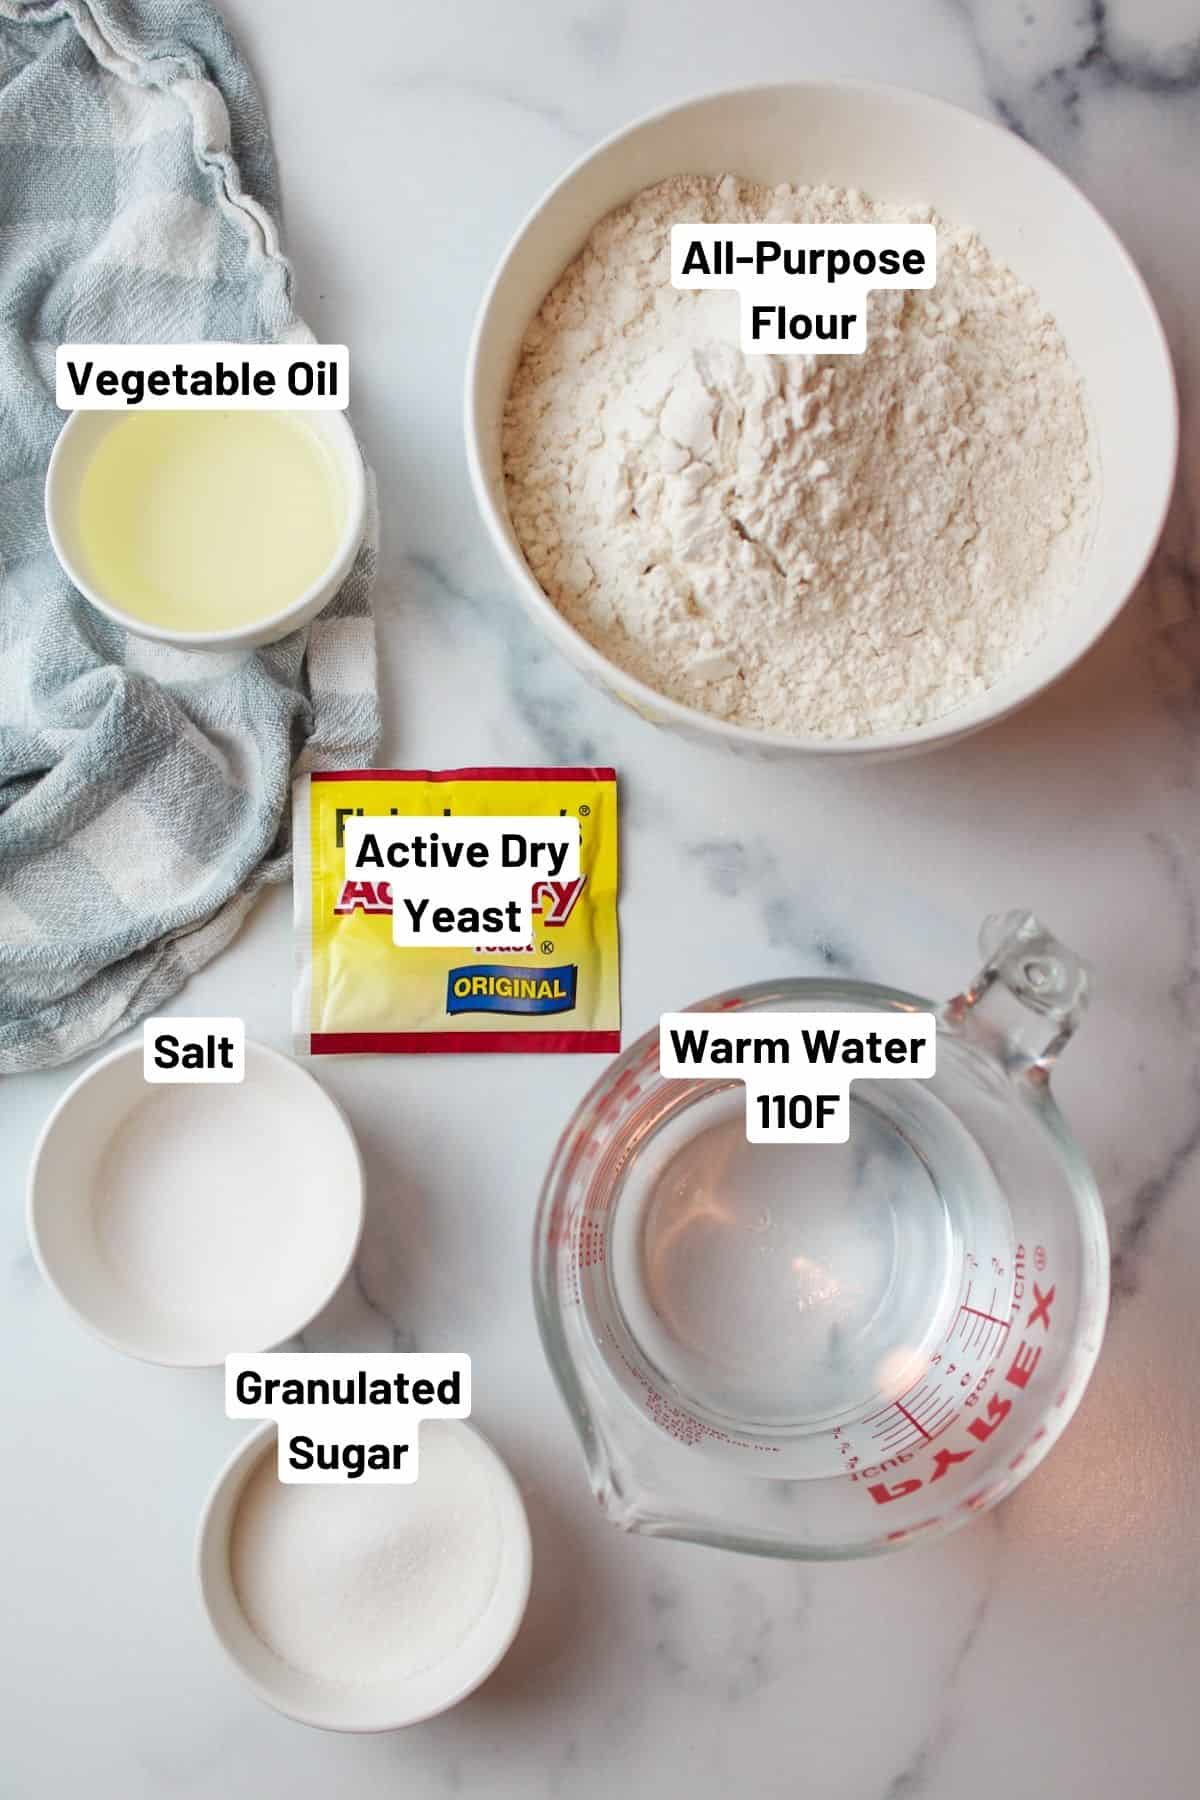
🥘 Ingredients
Ingredient Notes:
Flour- You can use all-purpose flour or bread flour, depending on what you have on hand. Both are great, but bread flour has more protein and will give you a slightly chewier texture and stronger bread flavor.
Yeast- You can use any dry active or instant yeast. We will not be proofing the yeast beforehand, so make sure the expiration date on your yeast packet is still good.
Sugar- To feed the yeast, we need to add in a little granulated sugar. You could use honey or agave if desired.
Water- This is technically "not an ingredient" since it's not something you'd buy at a store. The water is used to bring the dough together and give it the moisture needed for baking. Room temperature water (or slightly warmed) is best. The optimal temperature is 110F.
For specific ingredients and measurements, please see the recipe card below.
🔪 Instructions for 5 Ingredient White Bread Recipe
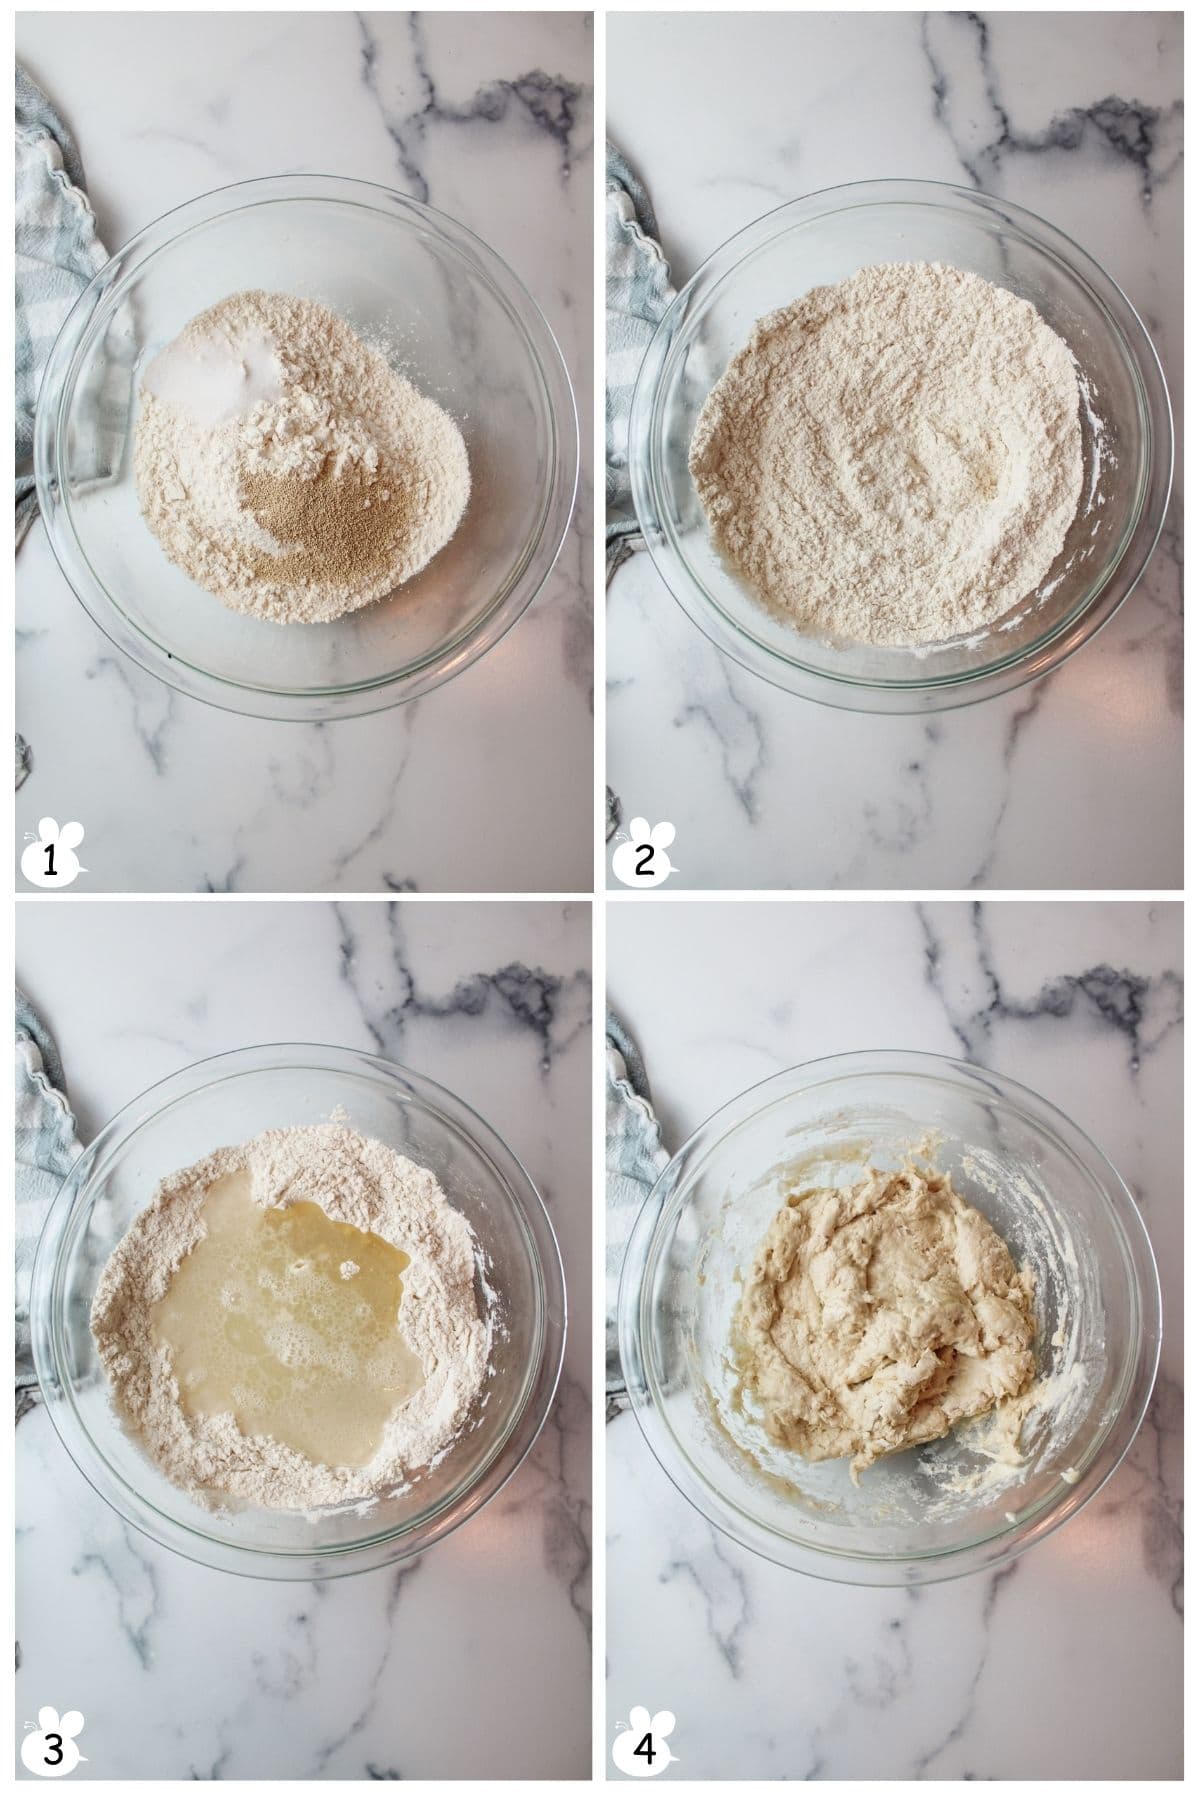
Step 1: Add flour, yeast, and salt to a large mixing bowl (Image 1).
Step 2: Whisk together to combine (Image 2).
Step 3: Make a well in the center and add in the sugar, oil, and water (Image 3).
Step 4: Stir the dough to combine. The dough will appear shaggy (Image 4).
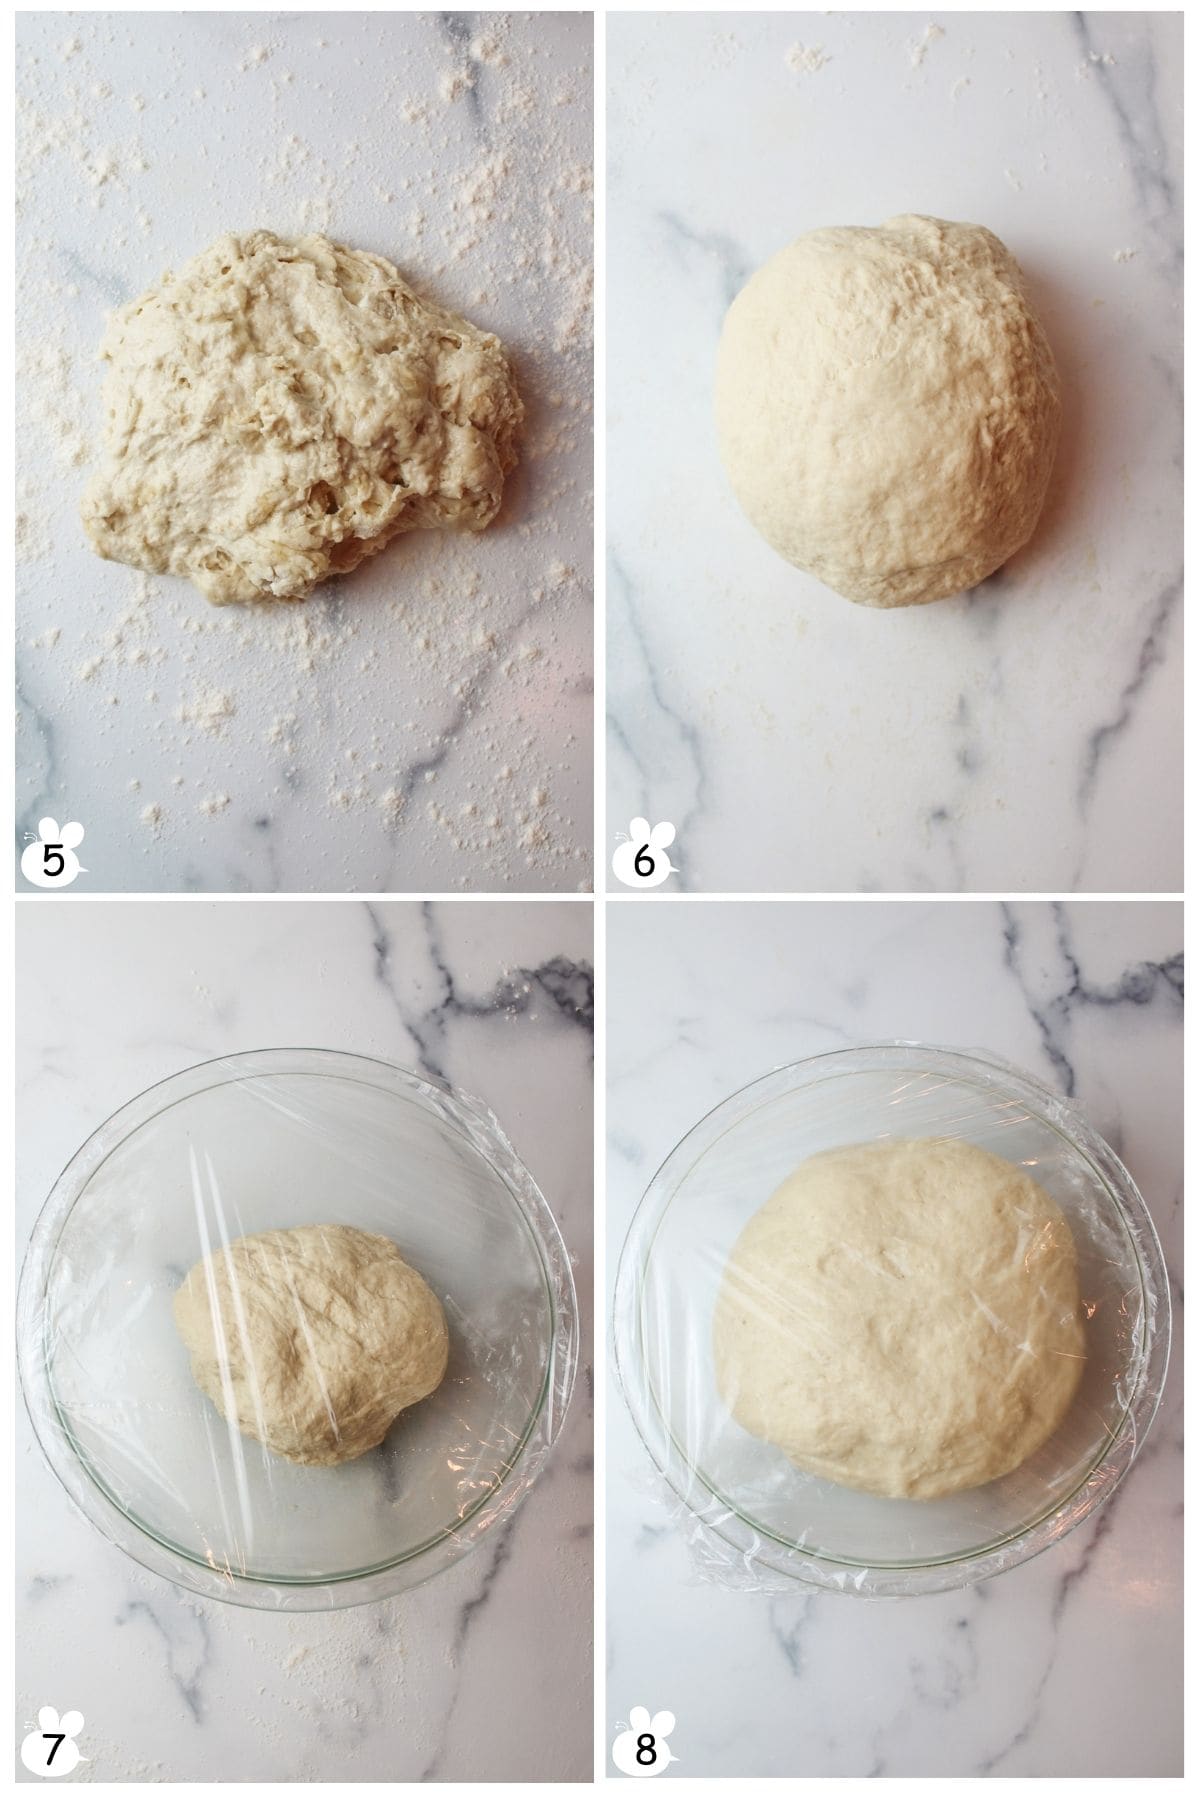
Step 5: Turn the dough onto a floured surface (Image 5). Feed it more flour as needed as you knead for 10 minutes. It shouldn't be sticking to your fingers.
Step 6: Knead for 10 minutes until smooth and elastic (Image 6). If pressed, it should "spring back" to fill in the gap.
Step 7: Place your dough into a clean greased mixing bowl. Top with plastic wrap (Image 7).
Step 8: Let rise 1 hr or until doubled in size (Image 8).
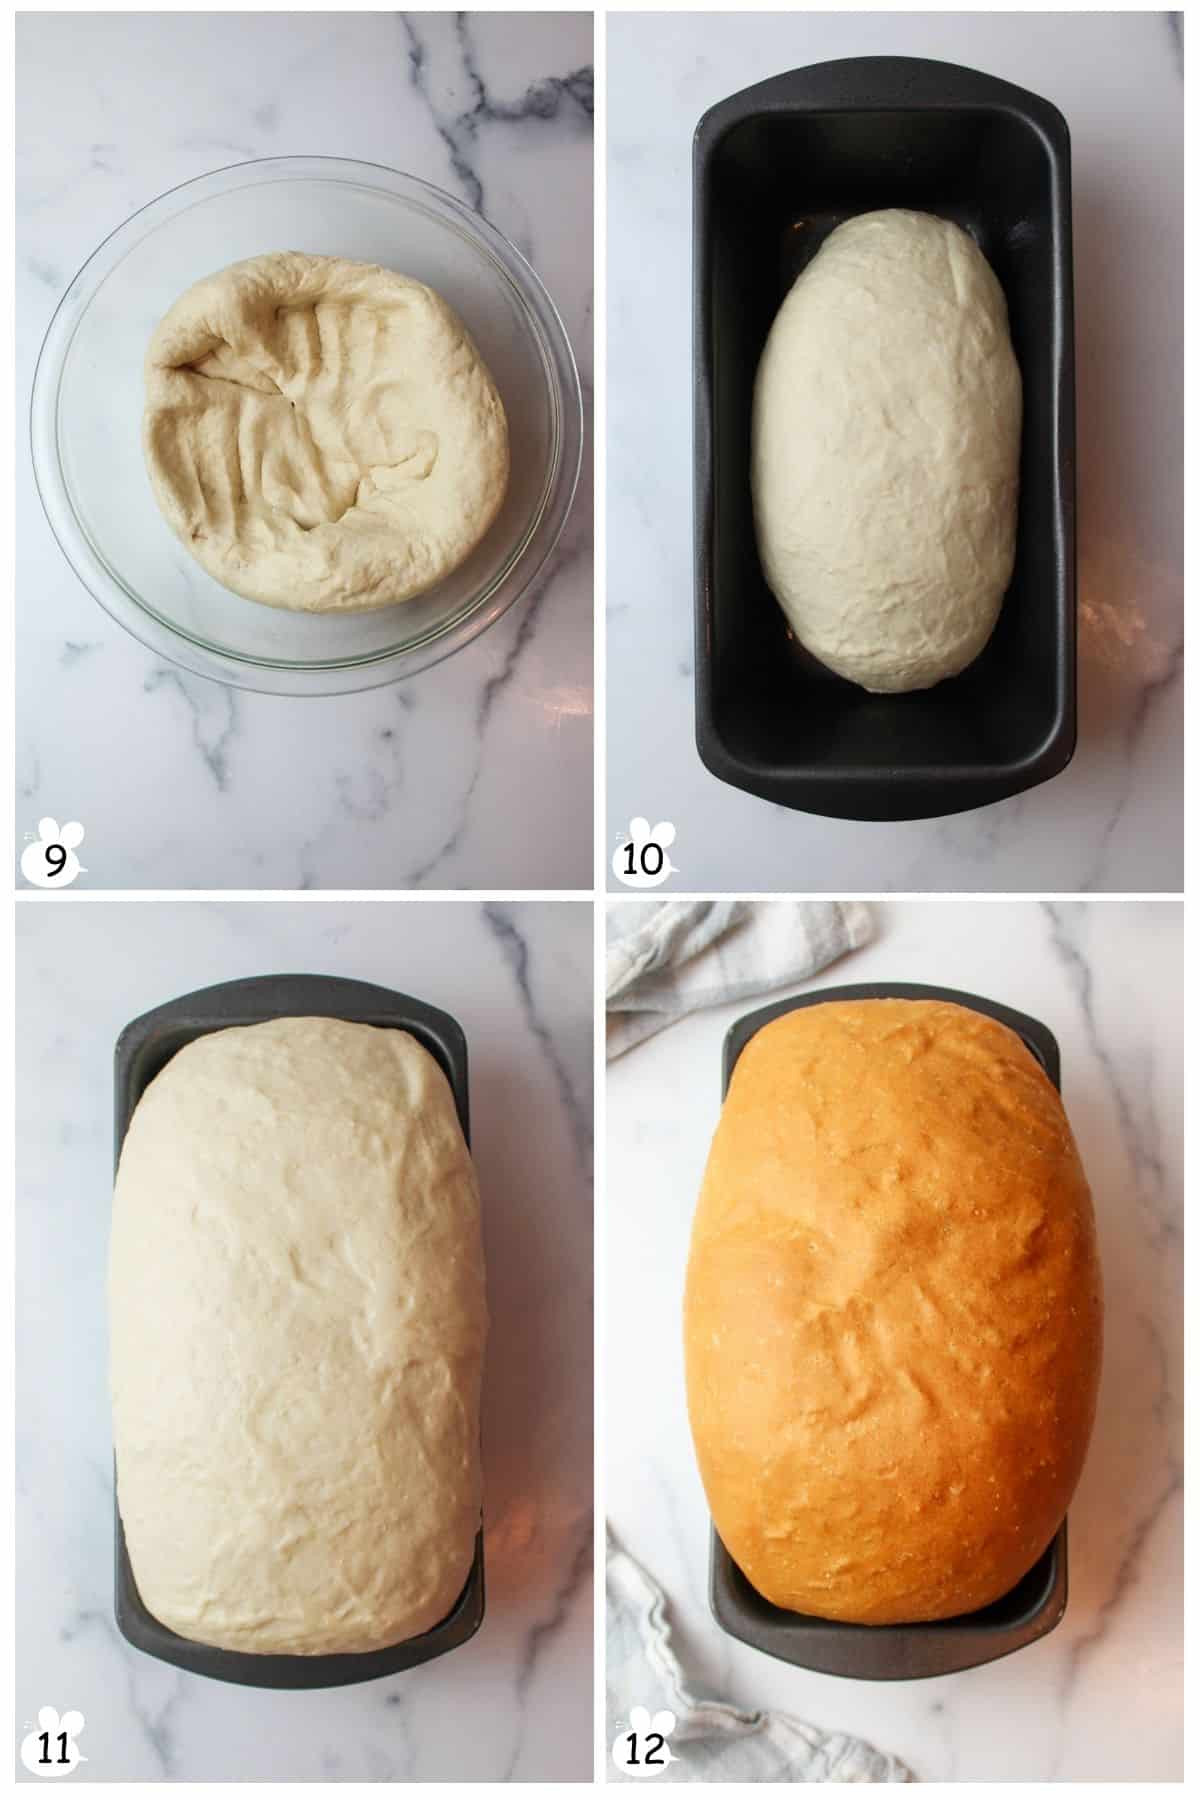
Step 9: Punch down the dough (Image 9).
Step 10: Roll the dough back out onto a floured surface and shape it into a log and place it into your greased bread pan (Image 10).
Step 11: Cover the top of the dough with plastic wrap again and wait about an hour until doubled in size (Image 11).
Step 12: Preheat the oven to 350 degrees F and bake the bread for 30-35 minutes (Image 12).
Step 13: Cool the bread for at least one hour before slicing.
🍞 Bread Machine Option
- Prepare Dough: Add ingredients to bread machine in order specified by manual (usually wet first, yeast last).
- Set Dough Cycle: Close lid, select "dough cycle," and wait for completion.
- Knead and Shape: Transfer dough to floured surface, knead briefly, shape into log.
- Place in Pan: Grease bread pan, place dough in, tucking ends.
- Allow to Rise: Cover pan, let dough rise until doubled, about 1 hour.
- Bake: Preheat oven to 350°F (175°C), bake bread 30-35 minutes until golden.
- Cool and Slice: Let bread cool in pan for 1 hour before slicing.
🍴 Recipe Tips
- Listening to Your Loaf- When freshly baked, bread should have a hard crust that sounds hollow when tapped. As it cools, the crust softens, similar to pancakes.
- A Tip for a Golden Top- Brushing the top of the bread with butter after baking gives it a nice shine and adds moisture to the crust. Cracks and white spots on the crust indicate good moisture content.
- Scoring the Dough- Before baking, consider scoring the top of the proofed dough with a sharp knife. This helps the bread expand evenly during baking and prevents it from becoming lopsided.
- Wait Before Serving- Allow the bread to cool for at least an hour, if not more, before slicing with a serrated knife. This resting time helps the bread soften and retain moisture, resulting in fluffy sandwich-like texture.
👩🏻🍳 Common Issues and Solutions
Why is My Bread Tearing? If your bread tears during baking, it may be due to insufficient gluten elasticity caused by dough drying out during proofing. This can create a premature crust, restricting dough expansion. Scoring the loaf before baking can help direct tearing.
How Do I Know if My Bread is Done? Check the internal temperature of your bread, aiming for 190-205°F as specified in your recipe. Underbaking even slightly can yield unexpected results, so adhere closely to the recipe guidelines.
Why is My Bread Dense in the Center? Slicing warm bread, underbaking, and inadequate kneading can result in dense centers. Ensure thorough kneading, proper baking, and allowing the bread to cool fully before slicing.
🥖 How Long to Proof Dough
Proofing dough time varies based on factors like weather, climate, and yeast activity. It typically ranges from 1 to 3 hours, but may occur in as little as 30 minutes.
Key Considerations:
- Observation Over Time: Instead of a specific time frame, observe the dough's response. Look for it to double in size before proceeding.
Tips for Successful Proofing:
- Covering: Use greased plastic wrap to cover the dough, preventing drying and trapping heat. Cooking spray helps prevent sticking.
- Warm Environment: Place the dough in a warm location for optimal proofing. Options include preheating the oven to 200°F for 2 minutes, then turning it off, or using a closed microwave or oven with only the light on.
- Alternative Locations: On a hot, sunny day, your kitchen countertop can also facilitate proofing.
🥖 How to Knead Bread Dough
Kneading dough by hand is my preferred method for optimal control and texture, although using an electric mixer with dough hooks is also effective.
Steps:
- Prepare Surface: Place dough on a floured surface to prevent sticking.
- Rolling and Folding: Use both hands to roll dough into an oval shape, then fold it in half. Repeat this process, rotating the dough 90 degrees each time, until smooth and elastic.
- Smooshing Technique: Press down on the dough as you roll it out, then fold it back onto itself. This helps evenly distribute ingredients and develop gluten.
Indicators of Proper Kneading:
- No Tears: The dough should not tear easily when stretched. It should maintain its shape without jagged edges.
- Elasticity: Poke the dough with your finger; it should quickly bounce back and fill in the indentation. This elasticity indicates proper gluten development.
Timing: Kneading typically takes about 10 minutes by hand, though it may be quicker with practice.
⏲️Make Ahead Instructions
You can prepare the dough and complete the initial proofing in the bowl as instructed. Then, before the second rise, cover the dough tightly with plastic wrap and refrigerate it for 8-10 hours or freeze it.
Freezing Instructions: If freezing, ensure the dough is solid before transferring it to an airtight container. Frozen dough can be stored for up to 3 months.
Thawing and Baking: To use the frozen dough, thaw it overnight in the refrigerator while still in the loaf pan. Once thawed, allow the dough to rest at room temperature for about an hour. Then, preheat the oven as directed and bake the loaf according to the recipe instructions.
💭 Recipe FAQs
Yes. You can freeze the dough just before the second rise or freeze the loaf after it has completely cooled. For the best result, make sure it's well wrapped and covered so it won't get freezer burnt or lose flavor/dry out.
Once baked, homemade bread should last about 3-5 days if stored in an airtight container at room temperature. It doesn't last as long as storebought loaves due to the lack of preservatives.
Now then, when your bread has finished baking it will sound hollow to the tap, and if you stick a toothpick inside it will come out clean. An instant read thermometer will read the internal temp at being close to 200 degrees F as well. These are all great signs that the bread has finished baking.
❤️ More Delicious Yeast Recipes


If you tried this 5 Ingredient White Bread Recipe, please leave a ⭐️ star rating and share your feedback in the 📝 comments section below. I would truly appreciate it!
📖 Recipe
5 Ingredient White Bread Recipe
Ingredients
- 3 cups all purpose flour ($0.39)
- 2 ¼ teaspoons active dry yeast (one packet) ($0.38)
- 1 ½ teaspoons salt ($0.01)
- 2 Tablespoons granulated sugar ($0.05)
- 3 Tablespoons vegetable oil ($0.13)
- 1 cup warm water (up to 110° F) ($0.00)
Instructions
- In a bowl whisk together the flour, yeast, and salt.
- Make a well in the center and add to it the sugar, oil, and water.
- Stir to combine.
- Knead the dough on floured surface for about 10 minutes until smooth and elastic. Feed it more flour as needed to get it no longer sticky.
- Place in a bowl and cover. Let rise until doubled, about 1 hour in a warm place.
- Roll the dough out on a floured surface and form it up into a log.
- Place log in a pan, tucking ends underneath and cover. Let rise again until doubled.
- Bake in a greased bread pan for 30-35 minutes at 350 degrees F.
- Cool for at least one hour before slicing and serving.
Bread machine option
- Place ingredients in order of owner manual for your specific bread machine.
- Turn the machine to "dough cycle" and close the lid. Waiting for the beep.
- Take the dough and turn it onto a lightly floured surface. Knead a minute, roll into log, and place in a greased bread pan. Tuck the ends underneath as you place it in the pan.
- Cover and rise 1 hour or until doubled. Bake uncovered 35-40 min until golden brown.
Notes
- Scoring: Use a sharp knife to guide rise and prevent lopsided expansion.
- Freshly Baked Bread: Tap crust to ensure hardness; softens as it cools. Cracks indicate excess moisture.
- Fully Baked Bread: Ensure a hollow sound and internal temperature of 200 degrees F.
- Finishing Touch: Brush hot bread with butter; wait an hour before slicing.
- Storage: Freeze dough before second rise; store freshly baked bread for 3-5 days.
- Make Ahead: Cover dough and refrigerate or freeze after first proofing. Thaw before baking.


F says
Made this recipe today and just shared the result with my family. Everyone LOVED IT. I’m not experienced at all making bread so I was pleasantly surprised at how delicious and fluffy it turned out!! It took longer than an hour to double in size but it turned out so wonderful. Thank you!!
Nicole Durham says
The time it takes to double in size will vary every time. Sounds like you waited until it was ready to bake and didnt rush the process. Glad you're family enjoyed it!
F says
After baking, should the bread rest in the same baking pan, or outside of it? Or ir doesn’t matter?
Nicole Durham says
I usually allow my bread to rest for about 10minutes in the pan before removing from the pan to cool completely on a wire rack
Wendy says
Oh, this recipe is very good! I made this in my bread machine and it came out absolutely perfect and it is so delicious- we ate it up! My husband is vegan so I appreciate the vegan recipe.
Nicole says
So glad you liked it. This is one of our favorite bread recipes
Shalini says
Wow, this looks so soft and fluffy! I love that the bread is dairy free too!
Gail Montero says
I love homemade bread and this one looks so fluffy and tender! YUM!
Karlie says
We love a dairy-free bread recipe! Often times brioche loaves, etc. have milk and/or butter, so it's tricky to find a good vegan loaf. Thanks for this recipe! Can't wait to toast it up with some avocado.
Julie says
A beautiful white bread that is light and fluffy.
Maria says
Wow this bread looks so perfectly fluffy! It must be great for using for sandwiches!
Michelle says
This bread looks so soft and fluffy! Great for everyday sandwiches 🙂