These dairy free Rice Krispie treats are a fabulous dessert that's allergen friendly and oh so delicious! The coconut flavor, soft texture, and gooey crispy treats are a perfect snack for anyone.
Recipe: $2.64 | Per Serving: $0.29 | Servings: 9
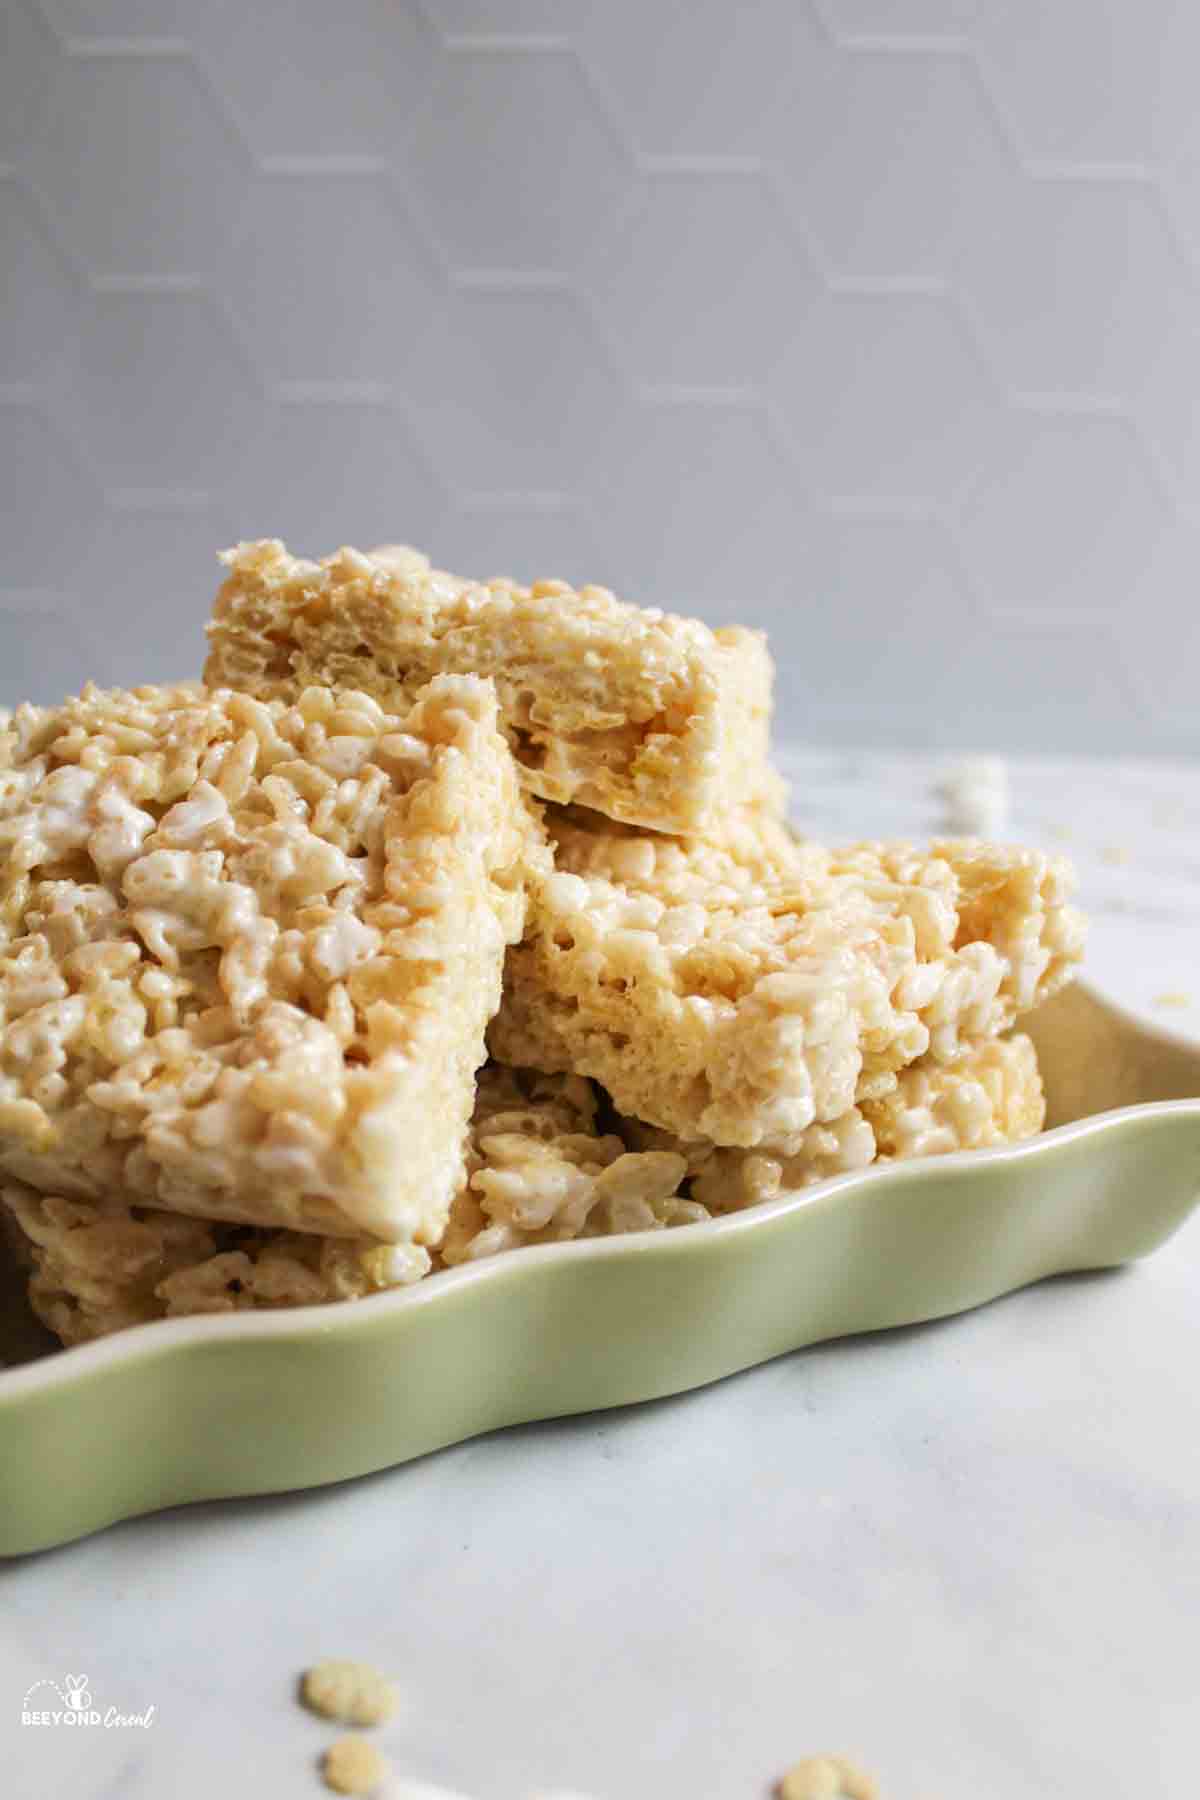
I love these rice crispy treats so much that I may never go back to the butter version again. The subtle coconut flavor isn't overwhelming and adds just the right amount of flavor to every bite to make it truly unique. Even my picky kids (that hate coconut) couldn't detect it! Win!
I like to sprinkle a little flakey salt over the top of my coconut oil rice krispie squares to help round out the flavors, but even without salt, these treats taste incredible.
For more rice krispie treat fun, make sure to check out my Chocolate Peanut Butter Rice Krispie Treats, Rice Krispie Treats with Marshmallow Fluff, and Peanut Butter Rice Krispie Treats.
Jump to:
🍯 Why This Recipe Works
- Simple ingredients. One of the best parts about making rice krispie treats is that they use basic and simple ingredients. This recipe only needs 3 ingredients to make it work.
- Easy to make. This recipe doesn't take any extra effort or time compared to making traditional rice krispie treats.
- Delicious! Soft, chewy, gooey rice krispie treat that you already know and love and filled with a subtle hint of delicious coconut.
🥘 Ingredients
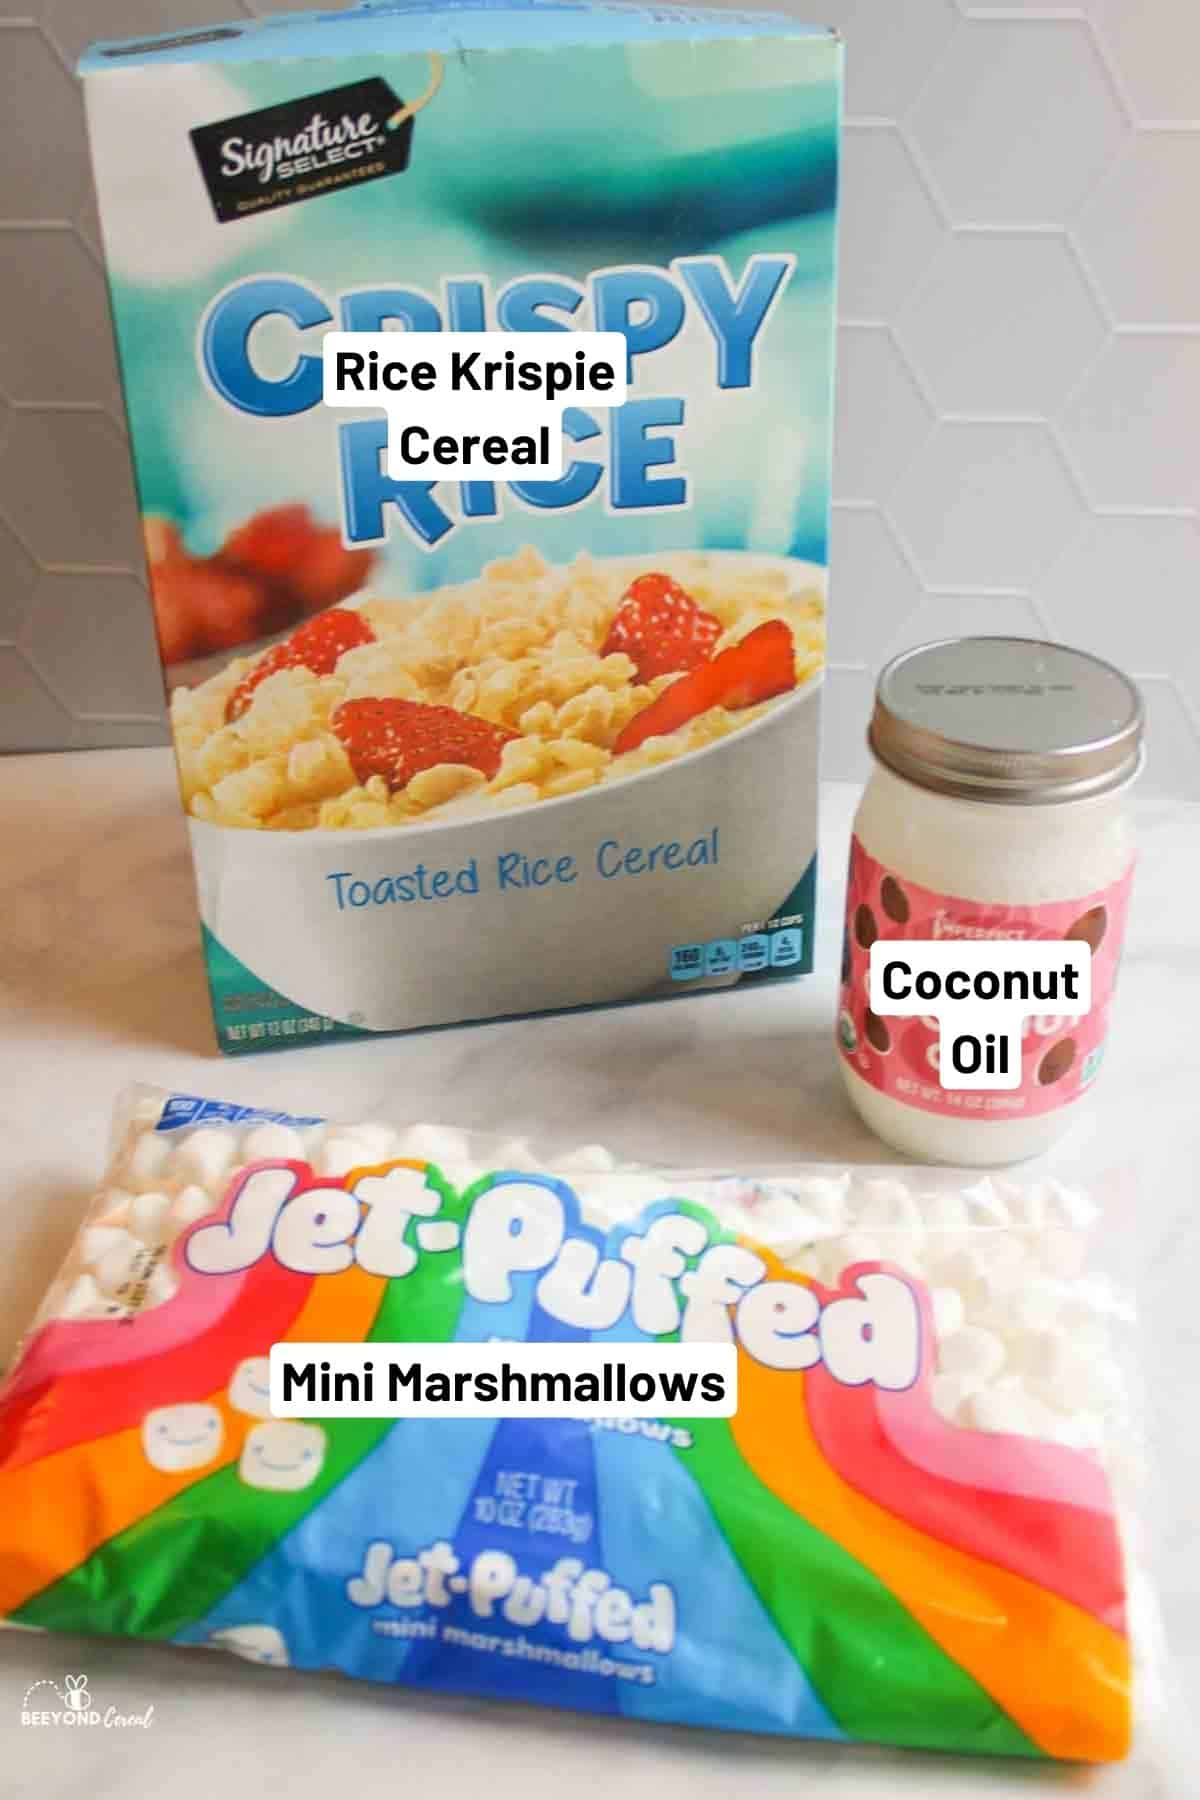
Ingredient Notes:
Mini marshmallows- Using mini marshmallows is best because they melt down easier.
Coconut oil- We will use coconut oil in place of butter for this recipe. This is what will help everything not to stick to the pan and to help the marshmallows melt more evenly.
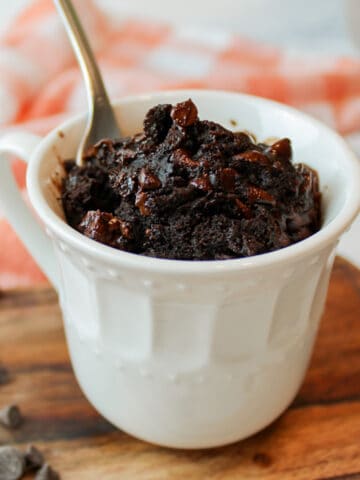
Rice crispy cereal- You can use any brand of rice crispy cereal, but you will need several cups of this dry cereal. If you still have cereal leftover, try our Rice Krispie Treat in a Mug and Oreo Rice Krispie Treats.
For specific ingredients and measurements, please see the recipe card below.
🔪 Instructions for Dairy Free Rice Krispie Treats
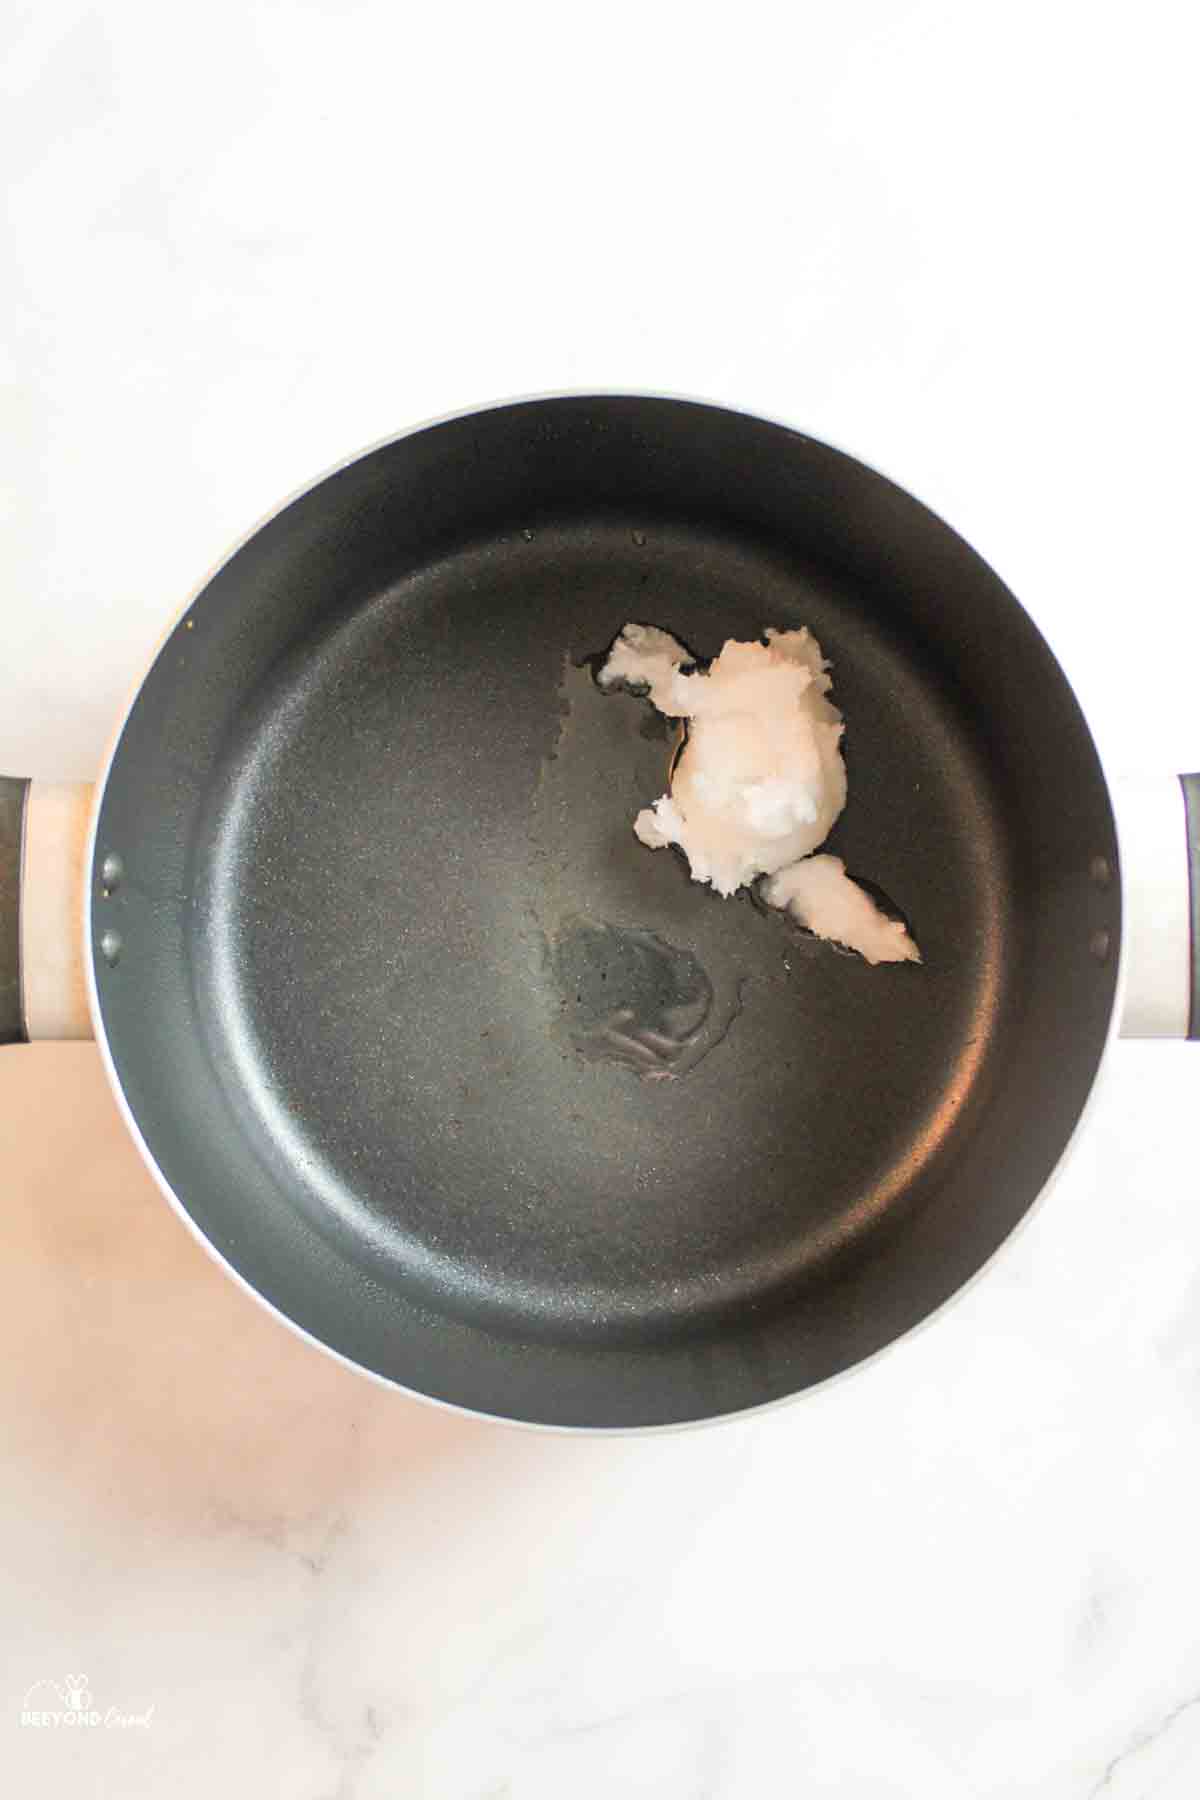
Step 1: Melt your coconut oil in a large pot over medium/low heat on the stove.
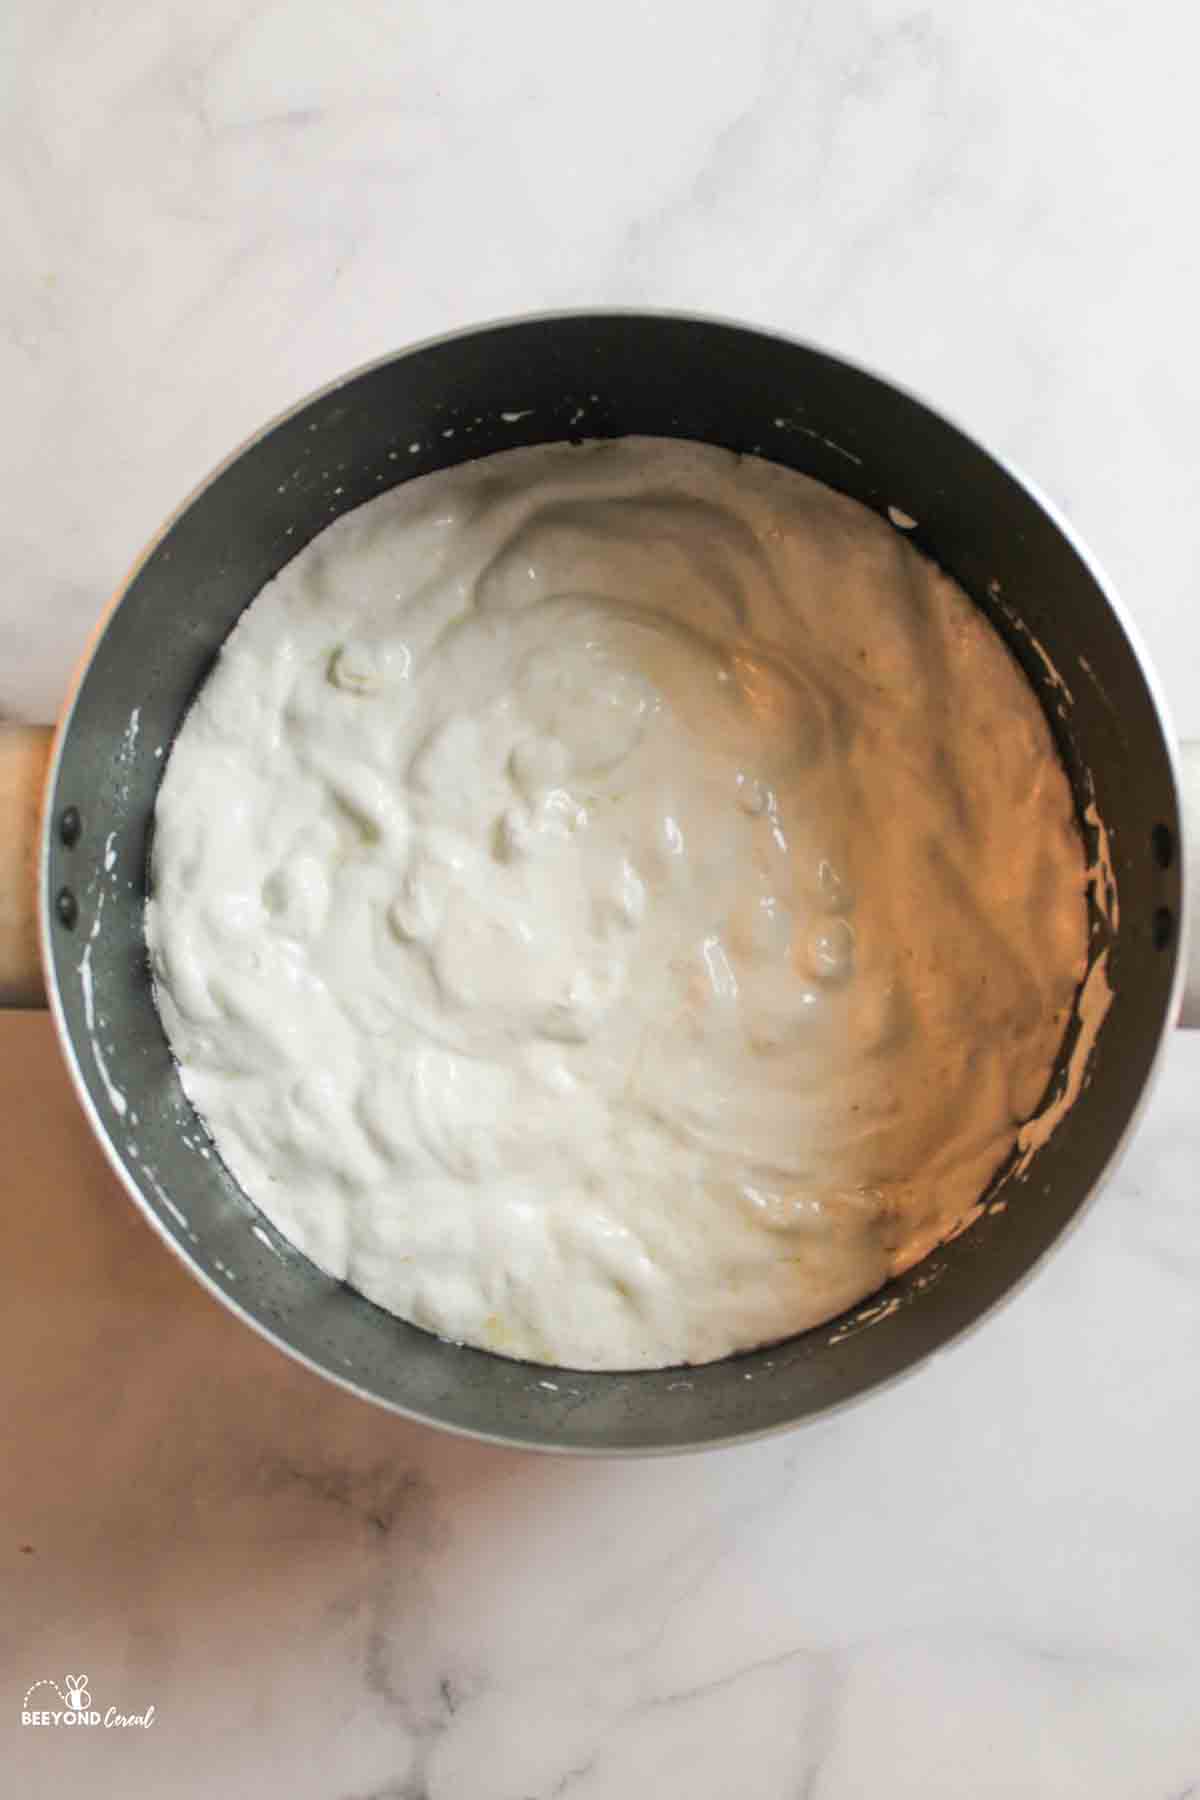
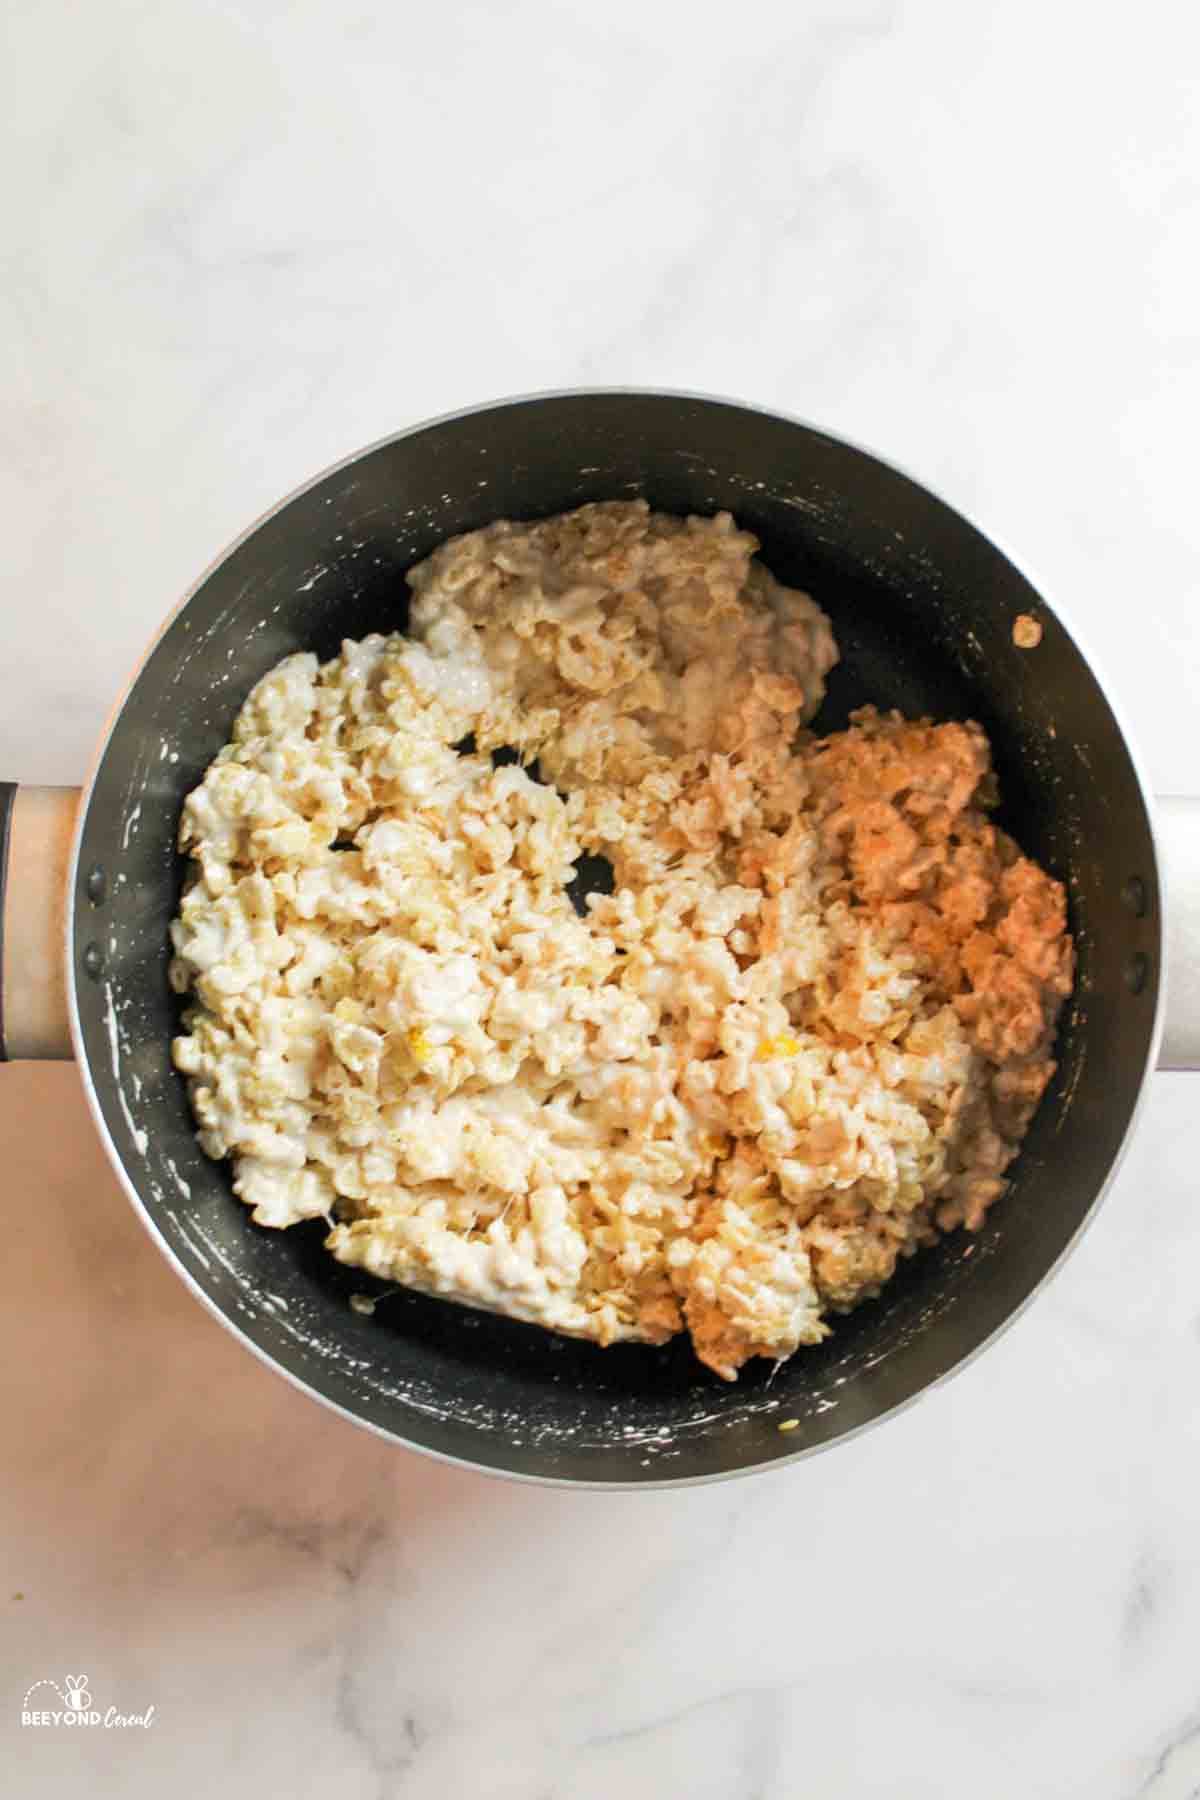
Step 2: Add in the marshmallows using a wooden spoon, stirring every so often until the marshmallows are fully dissolved.
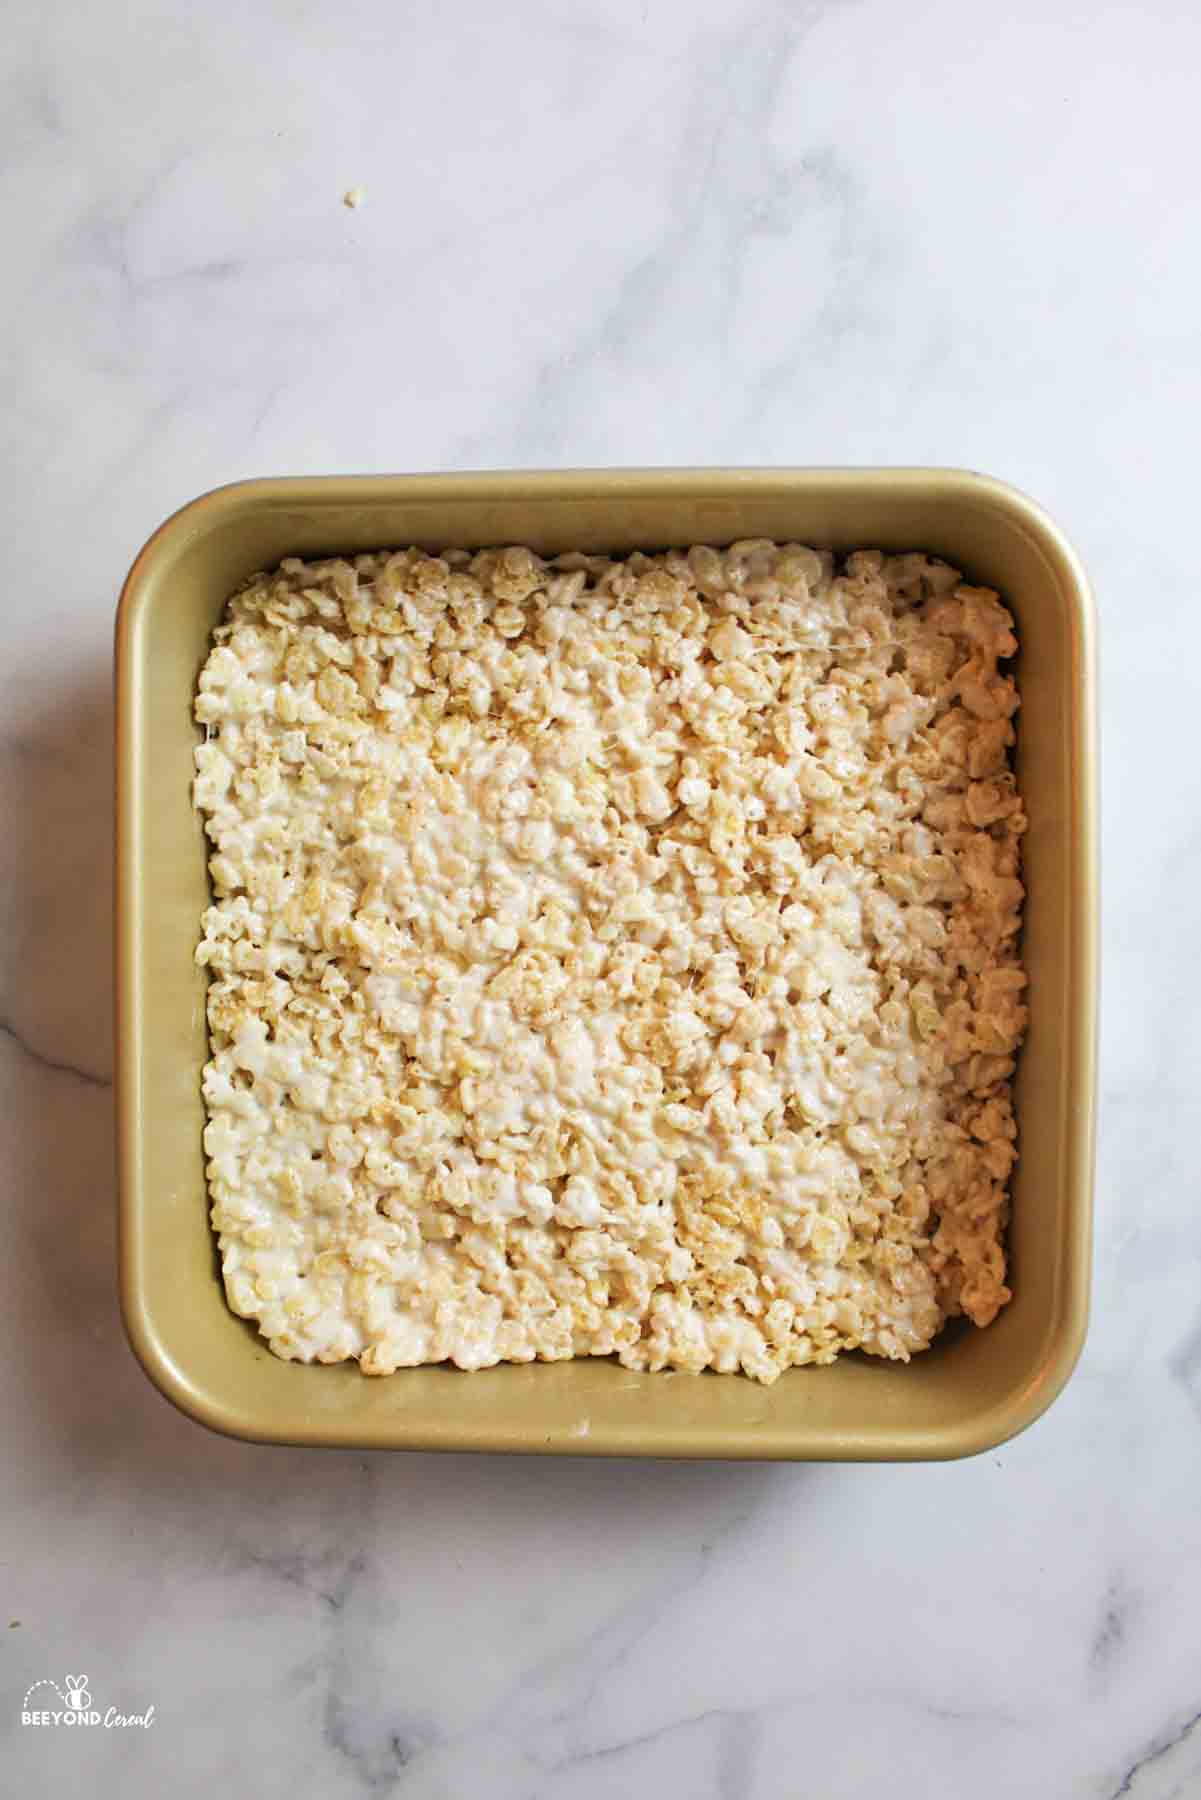
Step 3: Stir in the cereal until it's well mixed and then pour the mixture into a greased 9x9 baking dish.
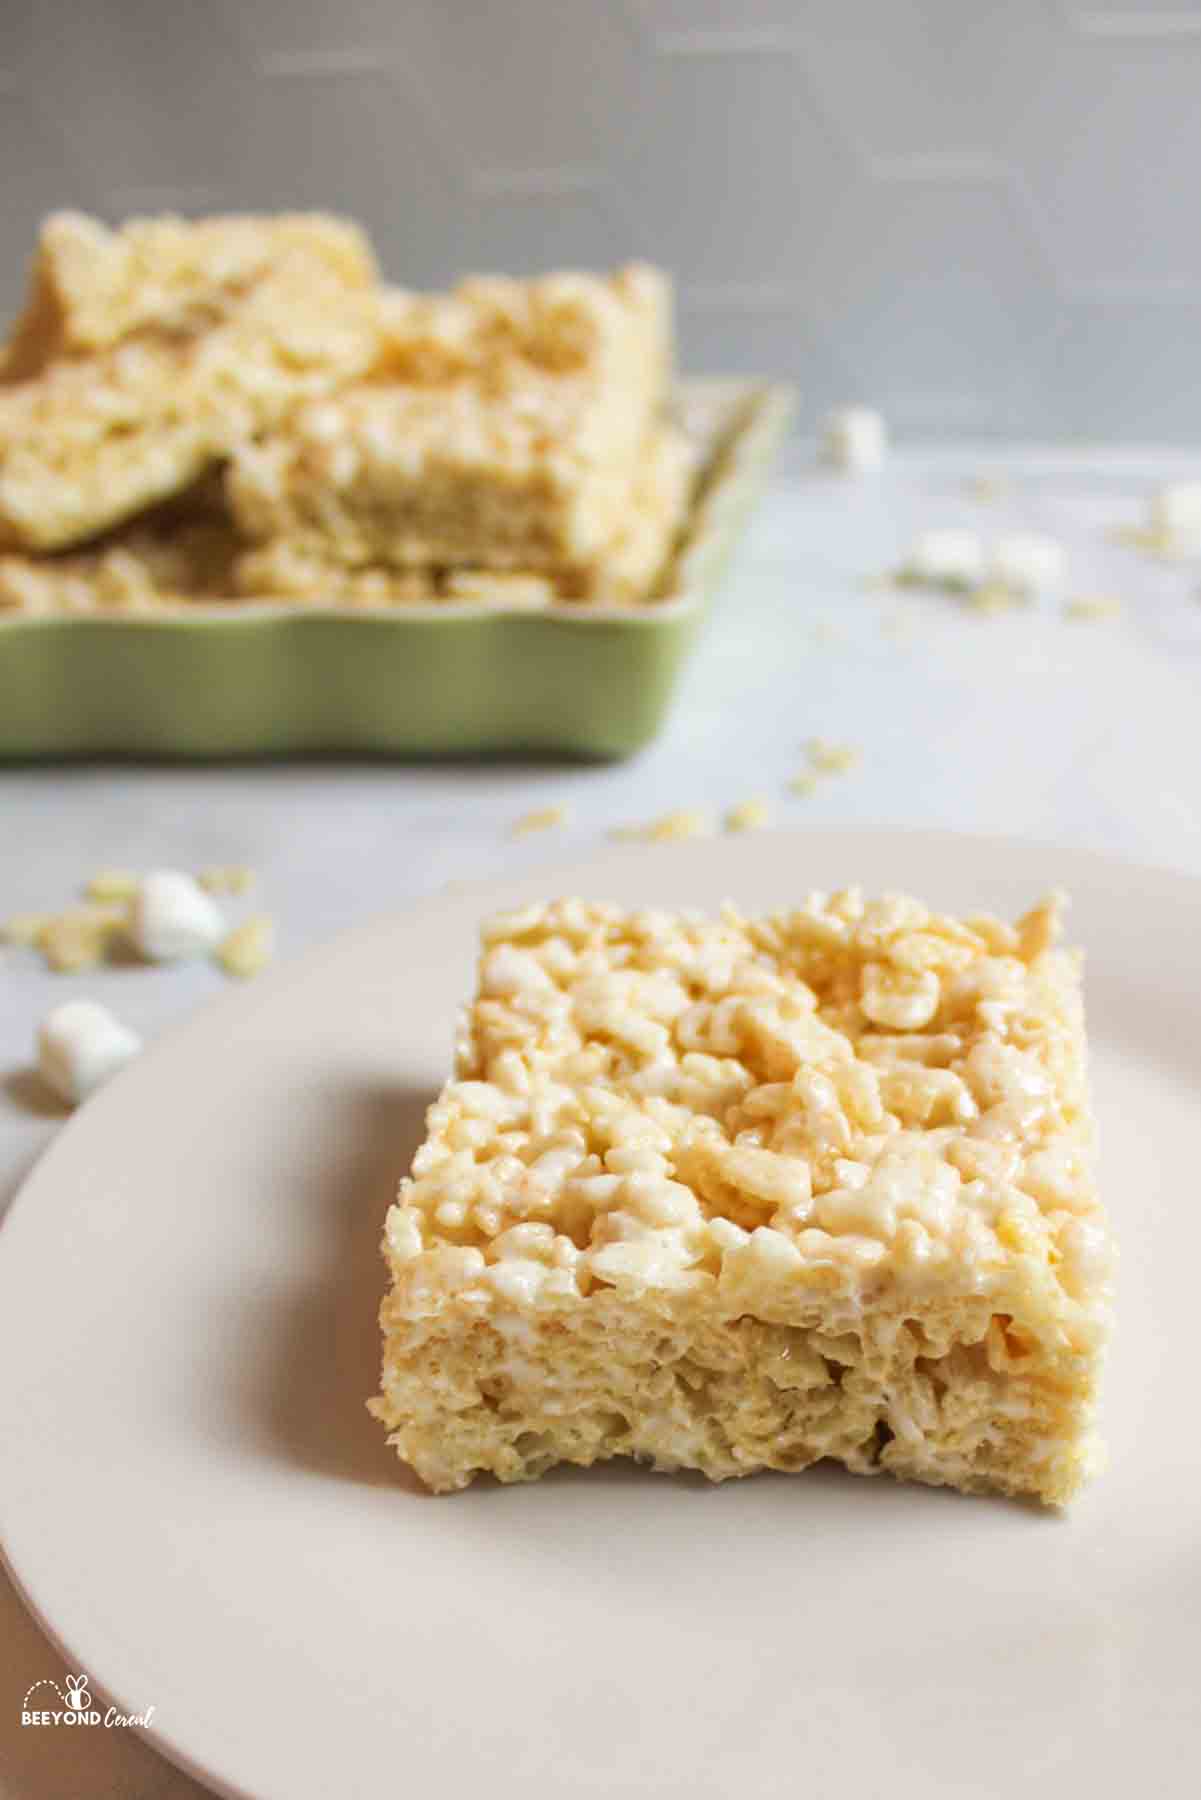
Step 4: Let cool and set for at least one hour before serving.
🍴 Recipe Tips
- Avoid Overworking Marshmallows: Stir as little as possible to avoid overworking the marshmallows, ensuring they stay soft and gooey.
- Heat Control Tip: Cook over medium/low heat to prevent overcooking the marshmallows, resulting in perfect, gooey treats. While it may take longer, it prevents brittleness later.
- Cooling and Serving: Allow the treats to cool for at least an hour before serving. Lining the pan with parchment paper makes removal easier, eliminating the need to slice them in the pan.
💭 Recipe FAQs
While there is no dairy in these treats, they are not vegan-friendly. Marshmallows contain an ingredient that is not vegan friendly (gelatin) and cereal would need to be purchased specifically labeled as vegan.
If you want to swap out half of the coconut oil for plant-based butter, you can do that! The flavor will be less coconut and still remain dairy free.
These coconut oil rice krispie treats can last up to 3 or 5 days if stored in an airtight container at room temperature. To store them, stack them with small parchment paper layers between them to prevent sticking (you'll thank me for this tip later).
❤️ More Delicious Dairy Free Recipes


If you tried this Dairy Free Rice Krispie Treats, please leave a ⭐️ star rating and share your feedback in the 📝 comments section below. I would truly appreciate it!
📖 Recipe

Dairy Free Rice Krispie Treats
Ingredients
- ¼ cup coconut oil ($0.72)
- 1 bag (10oz) mini marshmallows ($1.12)
- 5 cups Rice Krispie cereal ($0.80)
Instructions
- In a large pot over medium/low heat, melt your coconut oil.
- Add in the marshmallows and using a wooden spoon, stir every so often until the marshmallows are fully dissolved.
- Stir in the cereal until well mixed and then pour the cereal into a greased 9x9 baking dish.
- Let cool and set for at least an hour before slicing and serving.


Comments
No Comments